Advanced Sheet Metal Design Using NX Cad Challenge_7_ Metal bracket-II
CREATE A BRACKET-2
OBJECTIVE:-
Create a bracket using NX sheet metal design.
INTRODUCTION:-
I created bracket-2 by using various command like counter flange, Normal cutout, Bead, Break Corner, Unbend, Rebend, Simple Hole, Gusset, advanced flange.
DESIGN METHODOLOFY:-
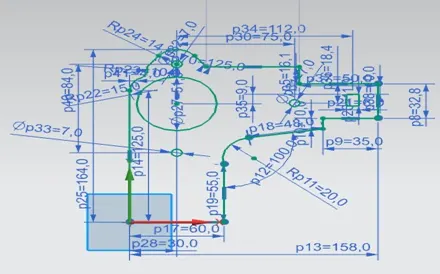
- Create a sketch as shown in figure.
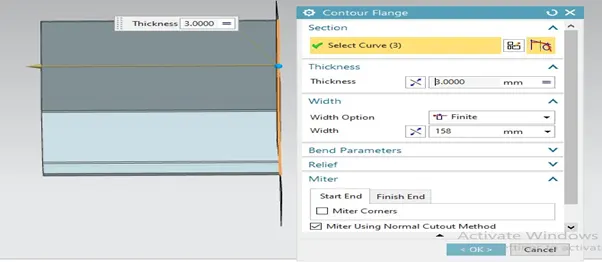
- Make a Counter Flange with 158 mm width and 3 mm thickness.
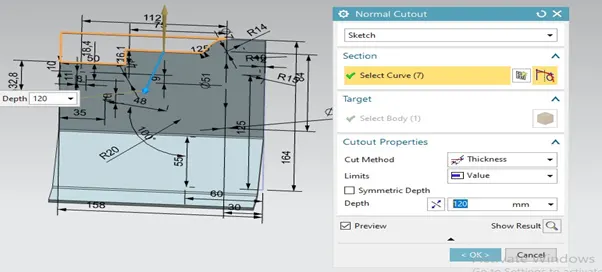
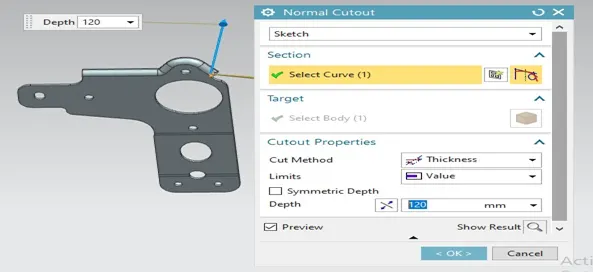
- Make Normal Cutout of 120mm Depth.
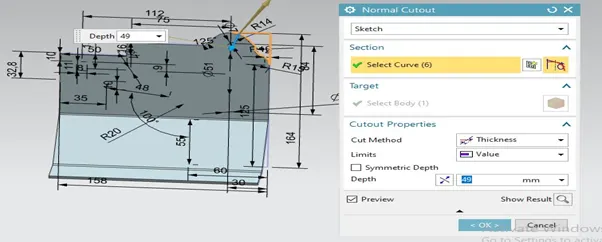
- Apply Normal Cutout of 49 mm depth.
- Break corner to remove sharp edges
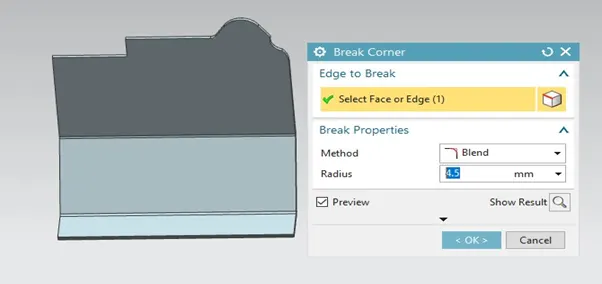
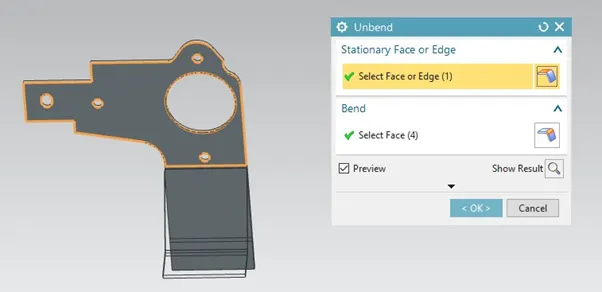
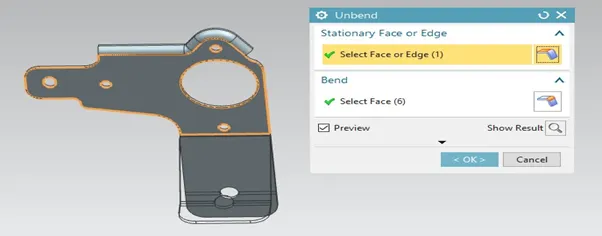
- Unbend the sheet metal as shown in fig.
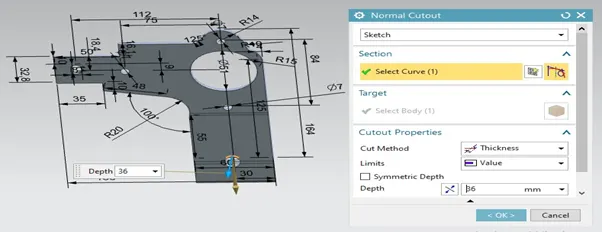
- Make 36 mm round shape Normal Cutout .
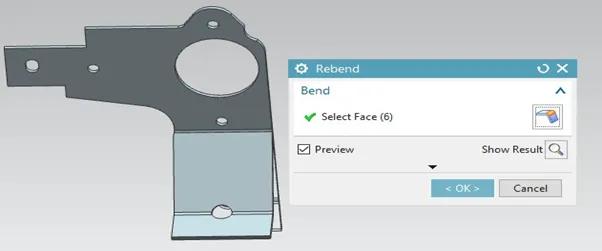
- Rebend surface with reference face.
- Apply 12 mm Break corner to remove sharp edges.
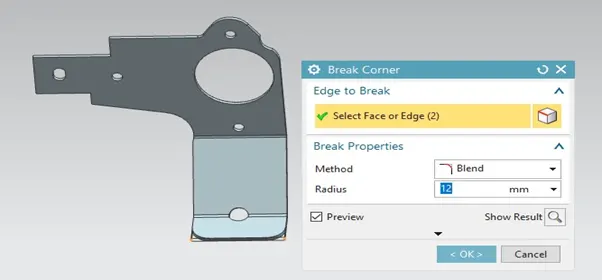
10.Again apply 5 mm blend by Break Corner.
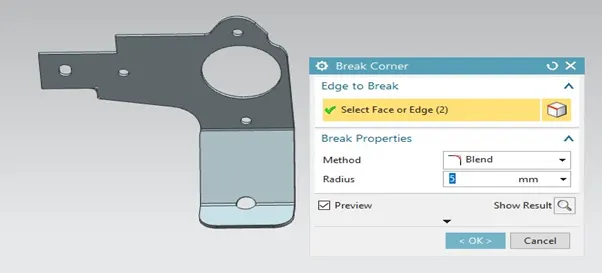
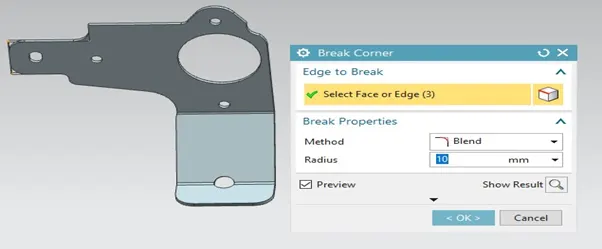
11.Apply 10 mm Blend on sharp edges.
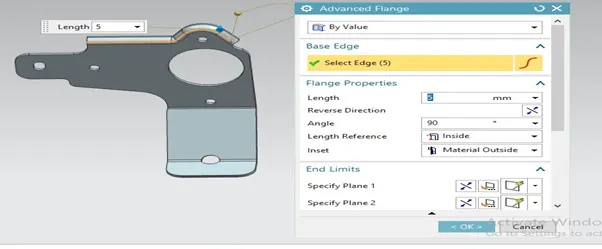
12.Apply 12 mm Advanced Flange on upper surface.
- Unbend surface as shown in figure.
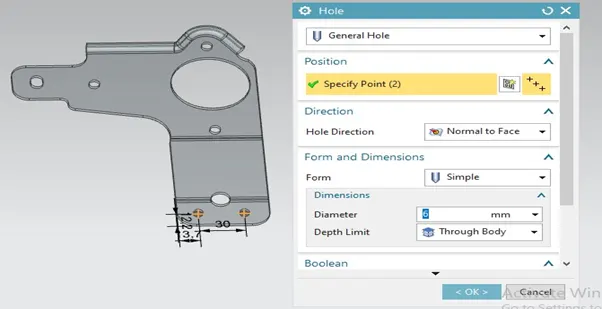
- Apply 6mm Dia. General Hole.
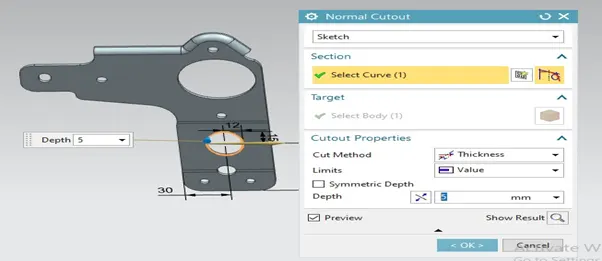
- Make Ellipse and apply Normal Cutout.
16.Apply Normal Cutout as shown in figure.
17.Rebend the surface.
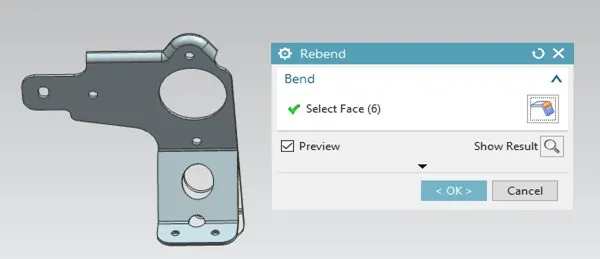
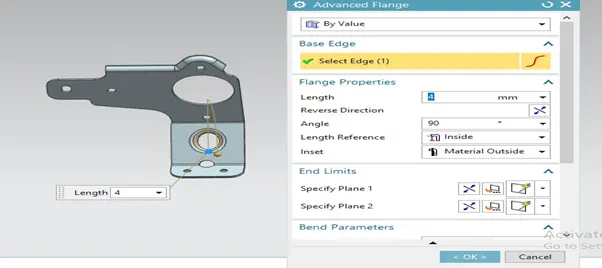
18.Apply 4mm Advanced Flange on ellipse.
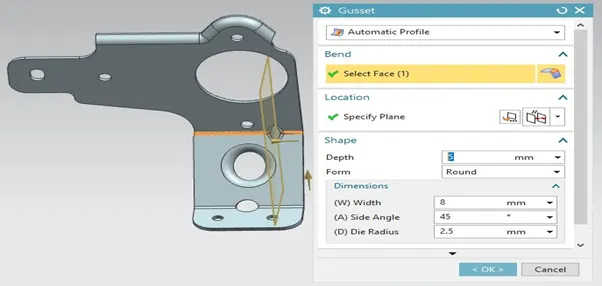
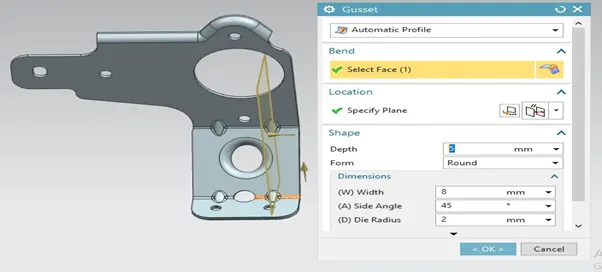
19.Apply Gusset of depth 5mm as shown in fig.
Description:-
- Unbend:- Usethe Unbendcommands to unbend and rebend non-uniform thickness bends.
- A General Size Hole :- This command use for create a general size hole in sheet metal.
- Gusset:- Gussetsare usedto strengthen a flange without the need for secondary processes such as welding.
- Rebend:- Usethe Rebendcommands to unbend and rebend non-uniform thickness bends.
- Break Corner:- Use this command to round or chamfer sharp corners.
- Counter Flange:- Use the counter flange command to create a flange by extruding a sketch along a vector or by sweeping a sketch along an edges or chain of edges.
- Normal Cutout:- Use the normal cutout command to cut material by projecting a sketch onto the model and then cutting perpendicular to the faces intersected by projections.
- Advanced Flange:-This command use for create a flange on complex surfaces like round etc.
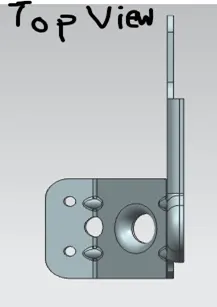
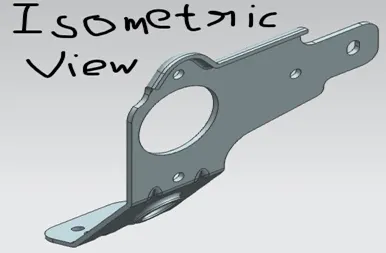
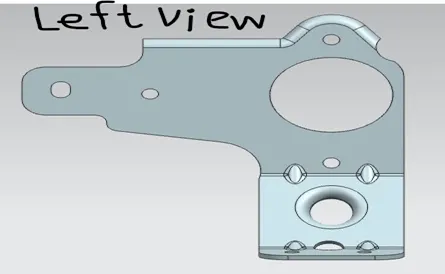
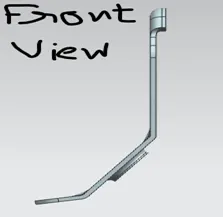
Various views in CASING DESIGN:-
- Top view:-
- Isometric View:-
- Left View:-
- Front View:-
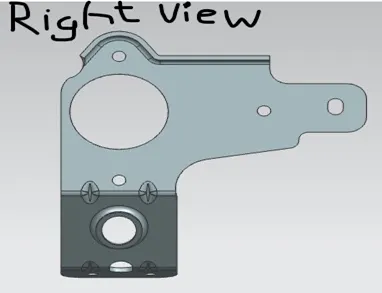
- Right Hand Sided View:
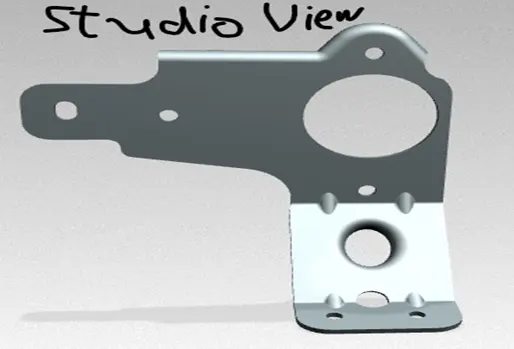
- Studio View
Conclusion:-
By using various commands I created a BRACKET-2.
Google Drive Link:-
https://drive.google.com/file/d/1NAkqwQTSx4VyvuDLjwfCIryFunFWioN2/view?usp=sharing