Advanced Sheet Metal Design Using NX Cad Challenge_7_ Metal bracket-II
Design and modelling of Metal Bracket using NX software
OBJECTIVE
The main objective of this project is to design a metal bracket as per the requirement. Nx sheetmetal workbench will be used to design the sheetmetal for this purpose.
INTRODUCTION
Sheet Metal Fabrication is the process of forming parts from a metal sheet by punching, cutting, stamping, and bending.
3D CAD files are converted into machine code, which controls a machine to precisely cut and form the sheets into the final part.
Sheet metal parts are known for their durability, which makes them great for end use applications. Parts used for low volume prototypes, and high volume production runs are most cost-effective due to large initial setup and material costs.
Sheetmetal Brackets are manufactured by conducting stamping or die casting operation. These can be used for many application for mounting of any products like antennas to TV, projectors or street lights, etc.
DESIGN METHODOLOGY
The features that will be used to desing the metal bracket is shown be step by step:
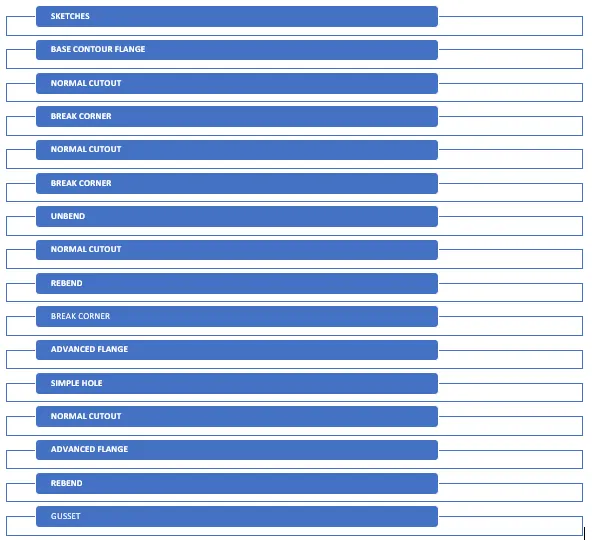
PROCEDURE
1. The first step in designing a product for a sheetmetal is to determine the thichness of the sheet and the bending radius.
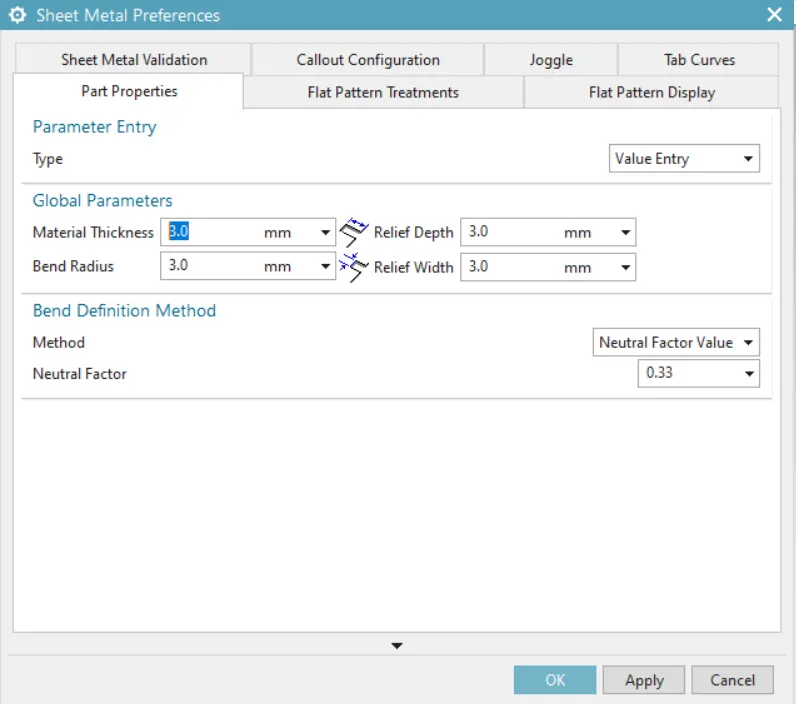
The above images shows that the sheetmetal that will be used for making the bracket will be 3 mm thick and have a bending radius of 3 mm.
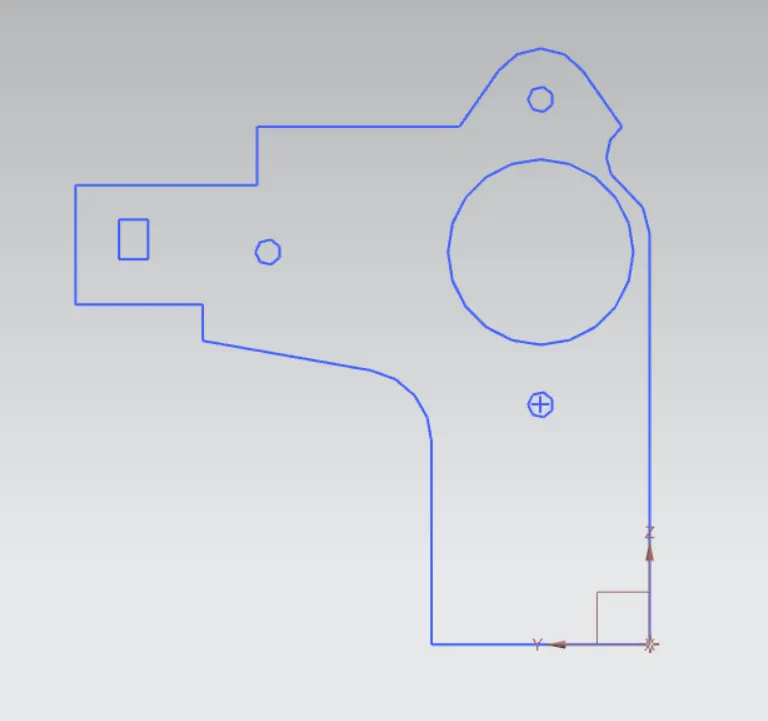
2. In order to make the bracket in the required shape sketches will be made in two planes.
Sketch in YZ plane:
Sketch in ZX plane
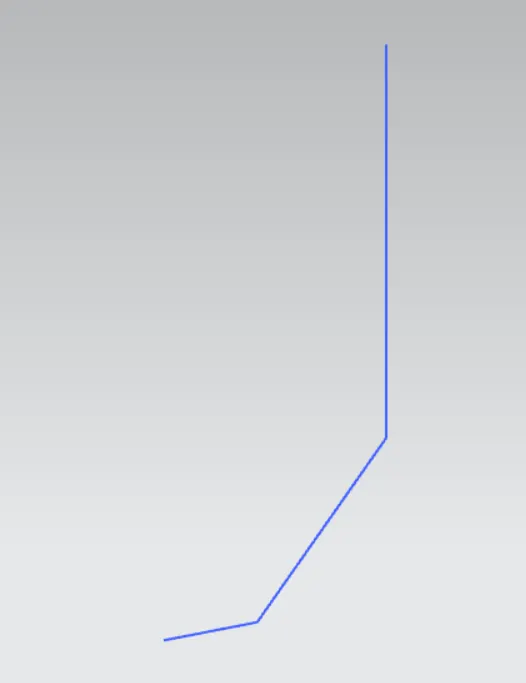
2. As the sketches drawn are not straight, countour flange feature will be used to make the base of the bracket.
Contour Flange - Whenever a material needs to be made in a curve shape, this feature is used. It creates a base feature by extruding a sketch along a vector, or adds material by sweeping a sketch along an edge or chain of edges.
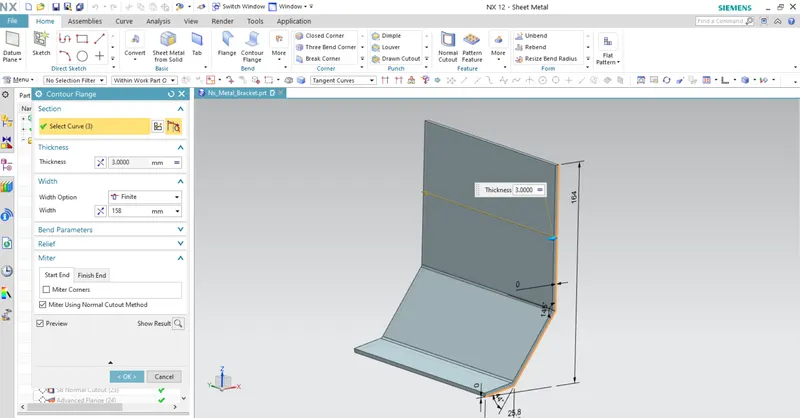
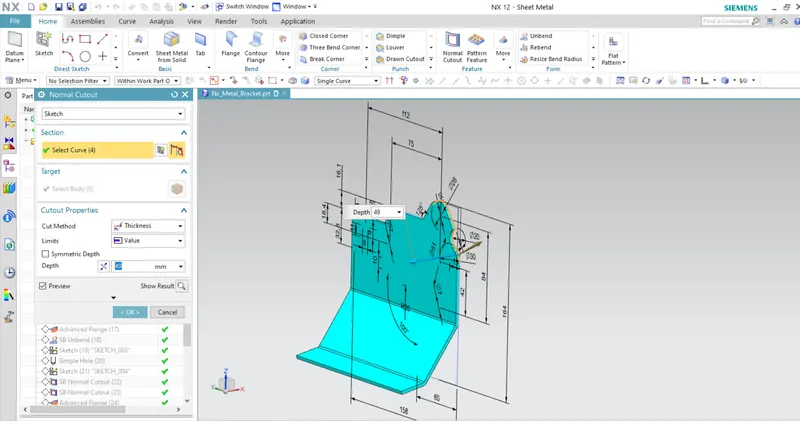
3. To give the base bracket required shape normal cutout feature will be used to remove the unwanted material from the base flange.
Normal Cutout- This feature is used to remove the material from the sheetmetal material. A profile is first drawn using the sketch feature and the material will be removed inside the sketched profile.
Step by step curves are selected to remove the material from certain places.
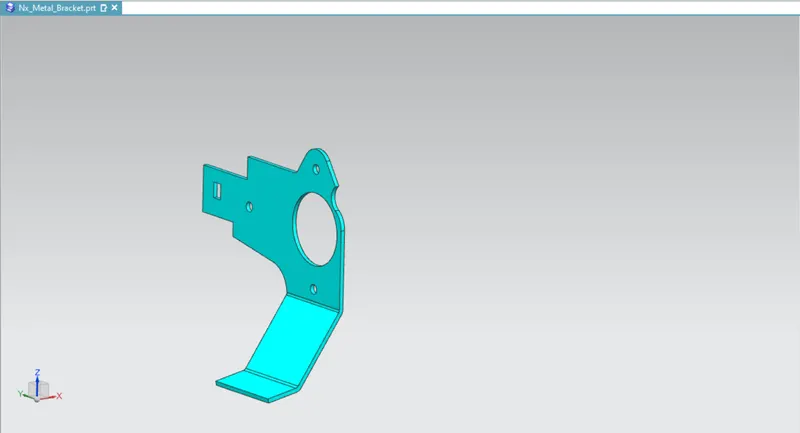
4. The sheet is then unbended to add more features to sheetmetal.
Unbend - This feature is used to convert all the angled flanges into flat sheetmetal by selecting the base face along which all the other flanges need to be straightened.
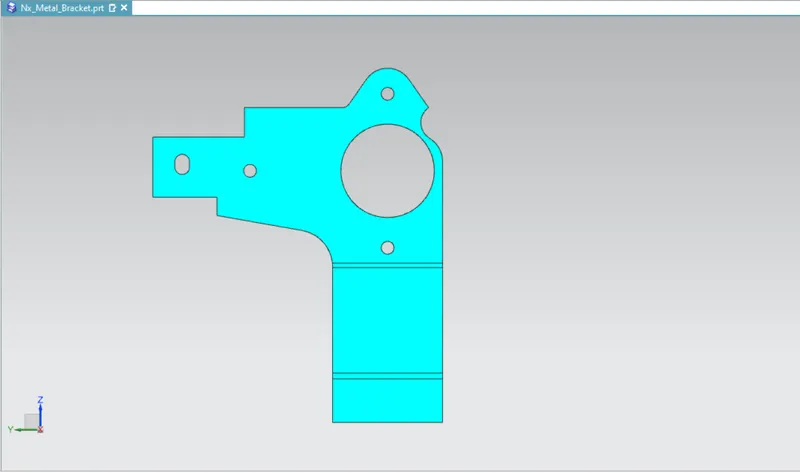
5. A hole is made on the bending area with the help of normal cutout feature, which can only be made after the sheet is flattened.
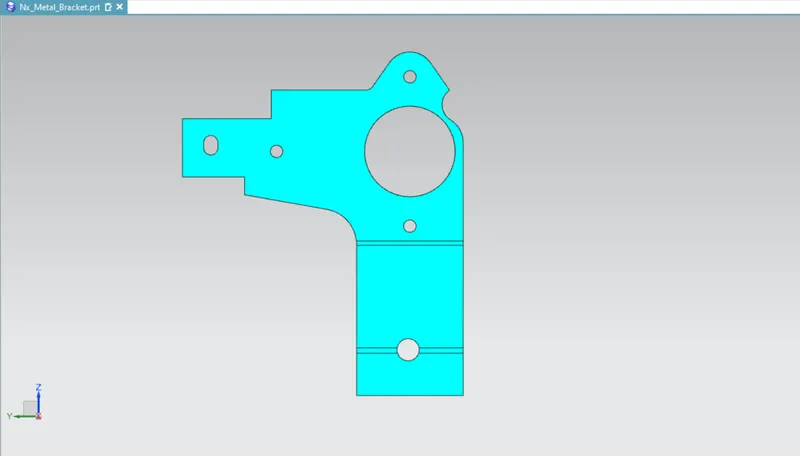
6. Break Corner feature is used to remove the sharp edges at required places.
Break Corner - This feature is used to provide to convert the sharp edge into rounded edges.
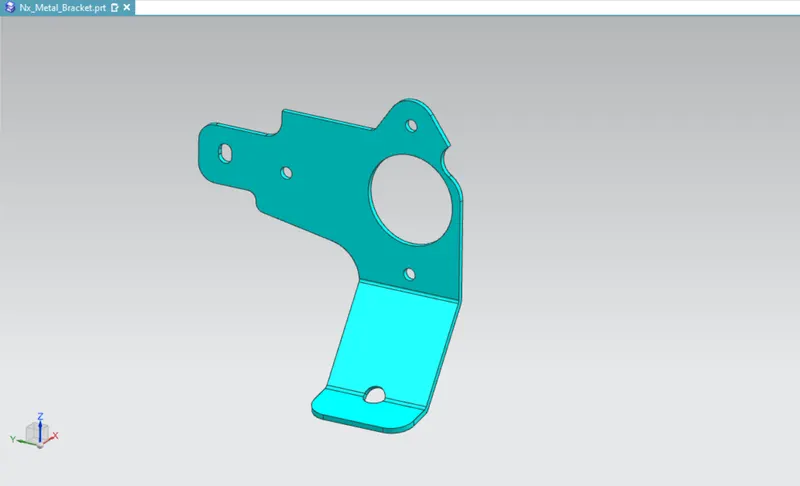
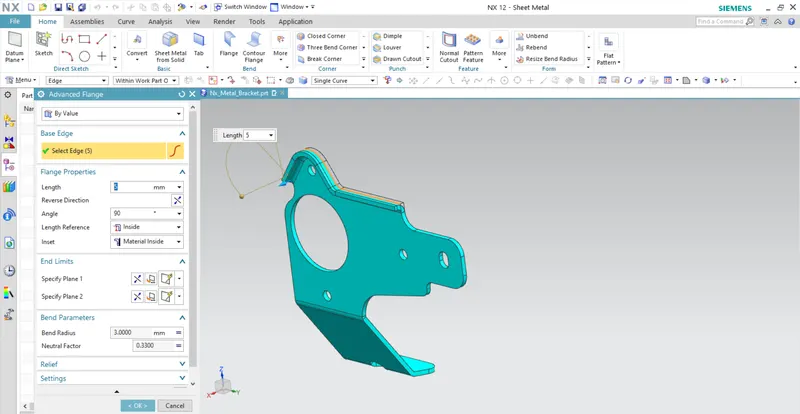
7. At the top portion an advanced flange is made by selecting the edges of the curve on which we want to have the advance flange.
Advanced flange - Advanced flanges can be made on the edges and reference faces by adding flange along an edge using a bend angle or a referecne face which can be straight or curved.
8. More Simple holes are placed on the base of the bracked at appropriate positions. The below image shows the holes.
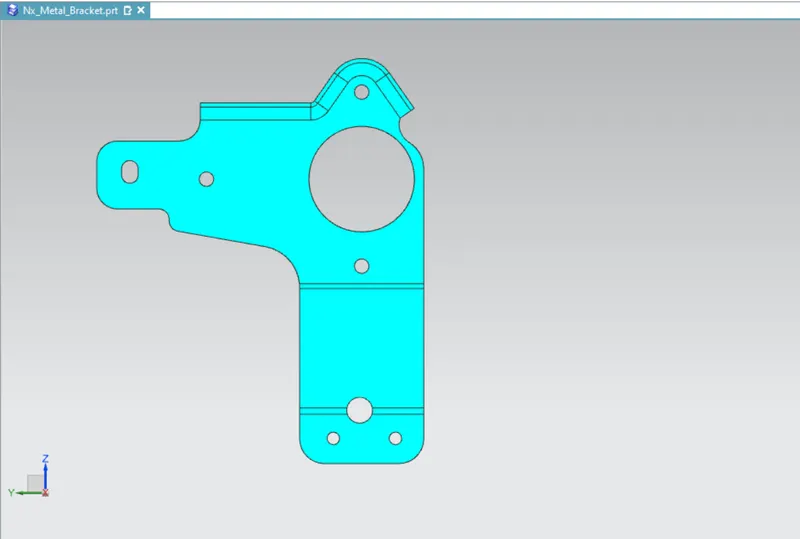
9. Normal cutout feature is used to remove more material in required shape on the base of the bracket.
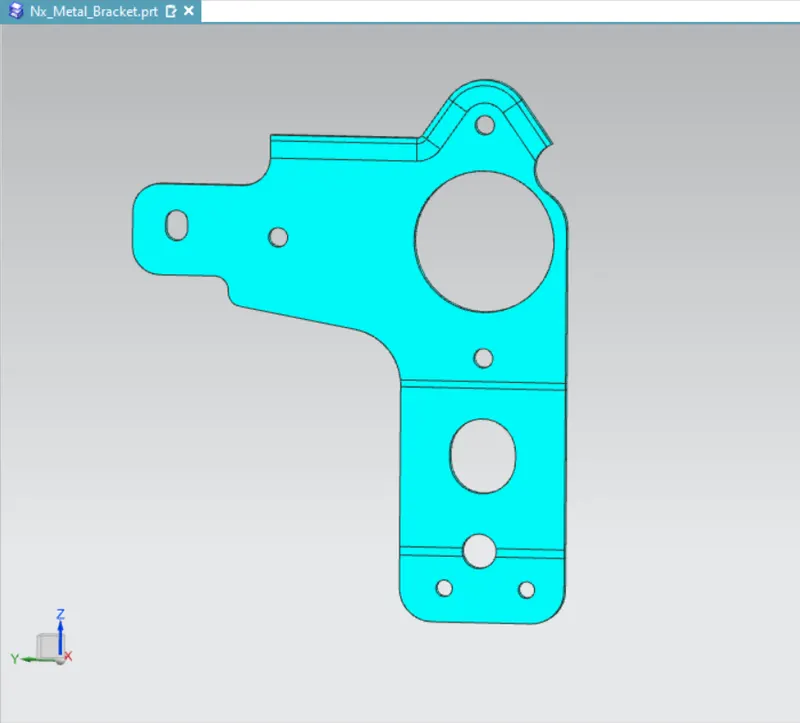
10. Advanced Flange is added to the above normal cutout to give desired shape to the bracket.
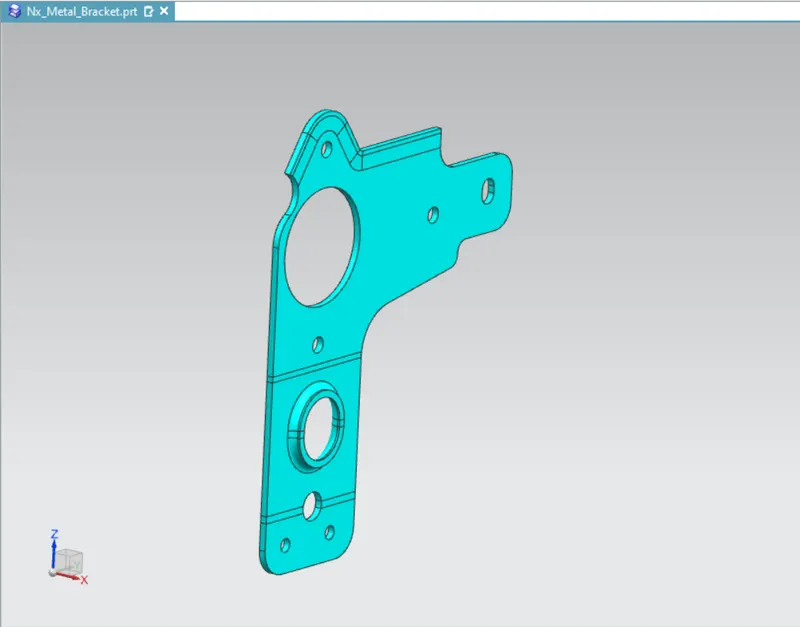
11. After rebending the metal bracket again Gussets are placed on the bending areas to give strength to the metal bracket.
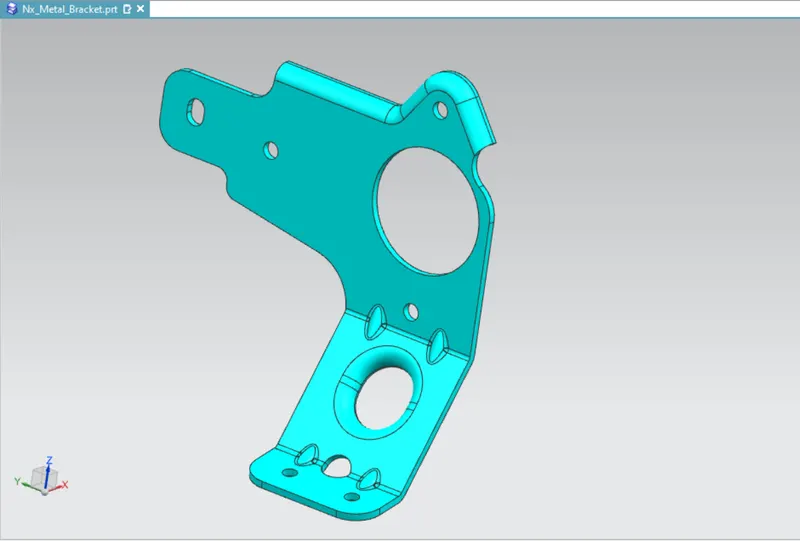
The above image shows that the metal bracked is designed successfully.
Different view of the metal bracket.
1. Isometric view
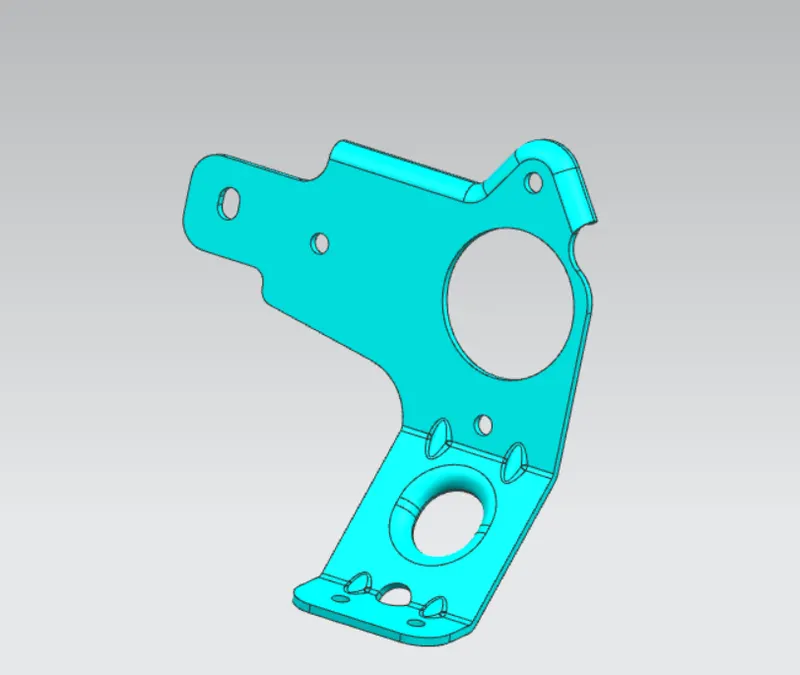
2. Front view
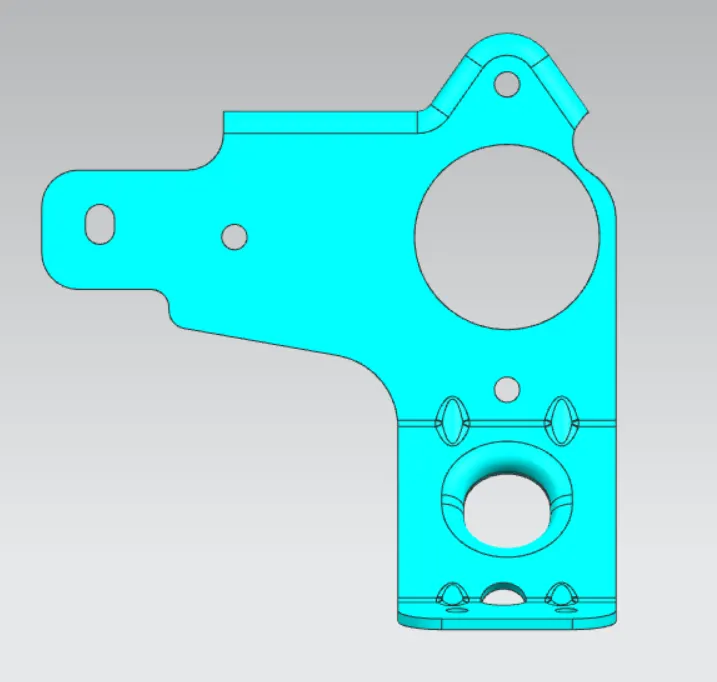
3. Top view
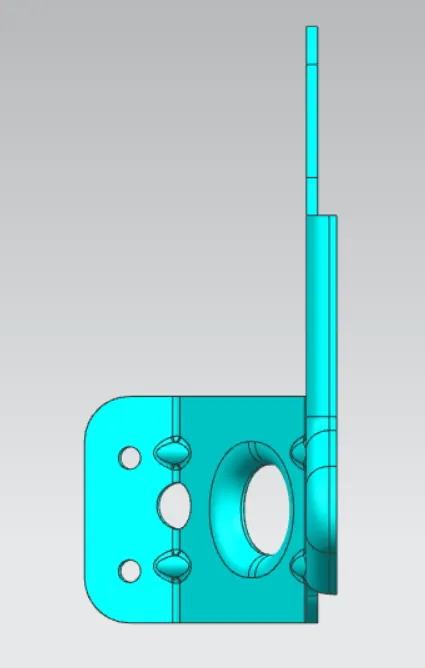
4. Side view
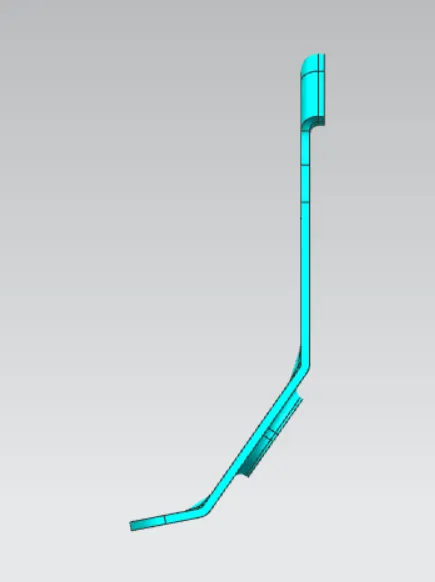
5. Back view
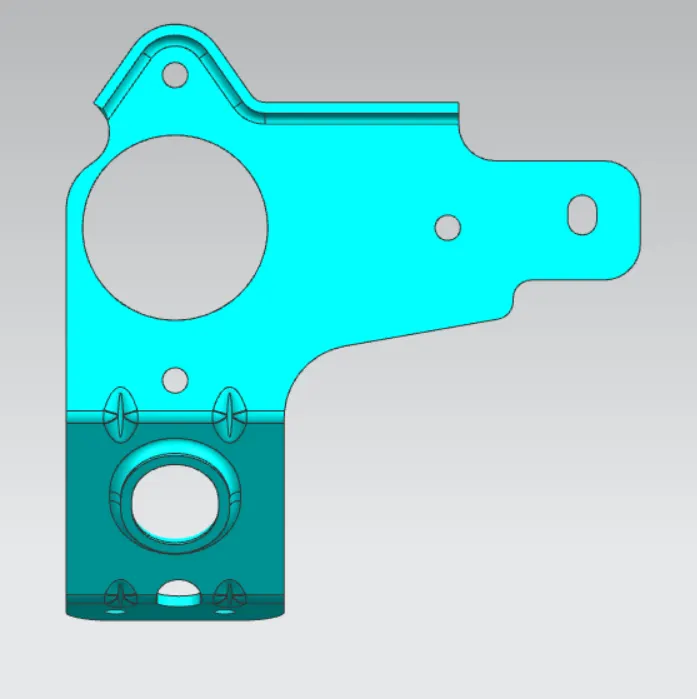
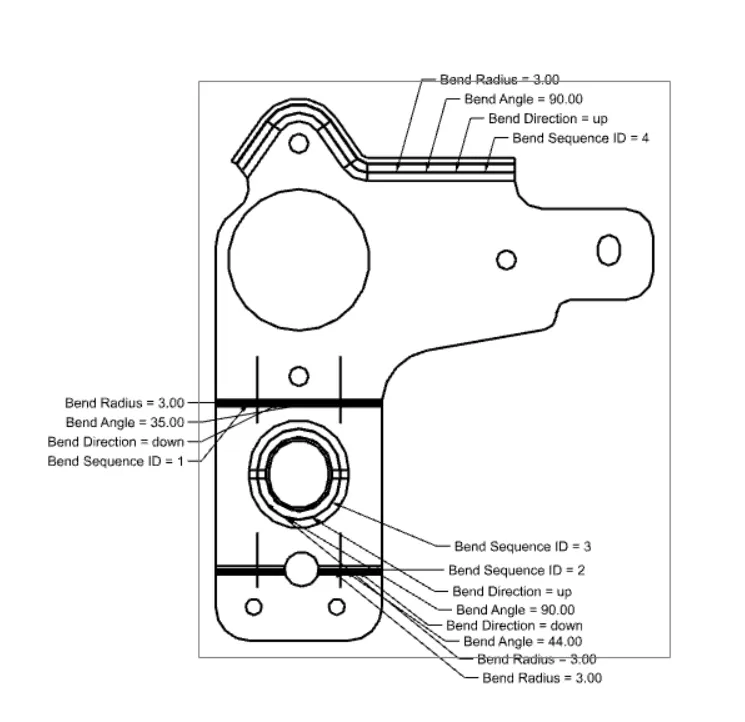
Drafting for the above metal bracket
Drafting is performed to mention all the details of the sheetmetal of the metal bracket. The below image shows the draft of the metal bracket.
CONCLUSION
The metal bracket was designed as per the drawing provided as the input.