Advanced Sheet Metal Design Using NX Cad Challenge_2_Box Assembly
BOX ASSEMBLY
Aim: To design a box assembly with given parameters.
A box is basically a storage unit, and its comes with many shapes. here we're designing a rectangular box of 50mm x 20mm.
so lets start the designing.
this is the flow steps of design shown below.
|
SKETCHING |
|
TAB |
|
FLANGE |
|
CLOSED CORNER |
|
FLANGE |
|
HEM FLANGE |
|
MIRROR |
|
UNITE |
|
DIMPLE |
|
BEADS |
|
ROOF SKETCH |
|
ROOF TAB |
|
ROOF FLANGE |
|
ROOF HEM FLANGE |
|
HINGE SKETCH |
|
HINGE TAB |
|
HINGE FLANGE, HEM |
|
NORMAL CUTOUT |
Get in to design,
first create a sketch of rectangle of dimention 55mm x20mm ,this is the base of our box.
then tab this sketch about 1mm, and add flanges at both ends wrto x-axis about a length of 200mm and radius 10mm. add another flange to this side of 70mm from both sides.and creat a folding area to lock the sheets, so that create another flange of 6.5mm length and a samll radius and also do the hem flange at the end.
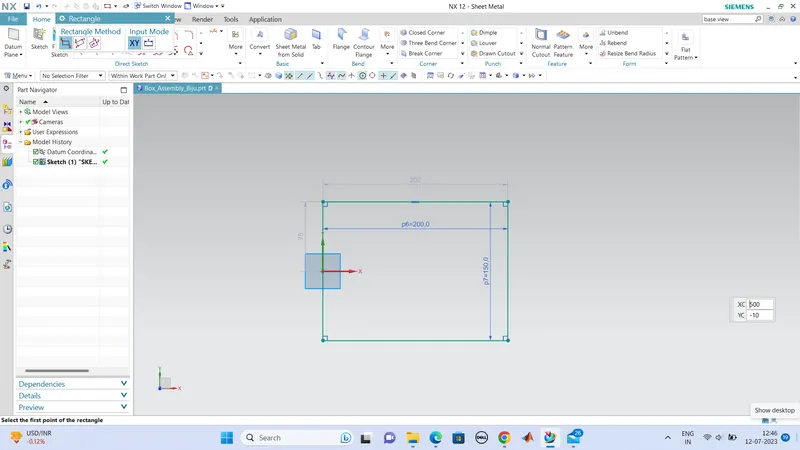
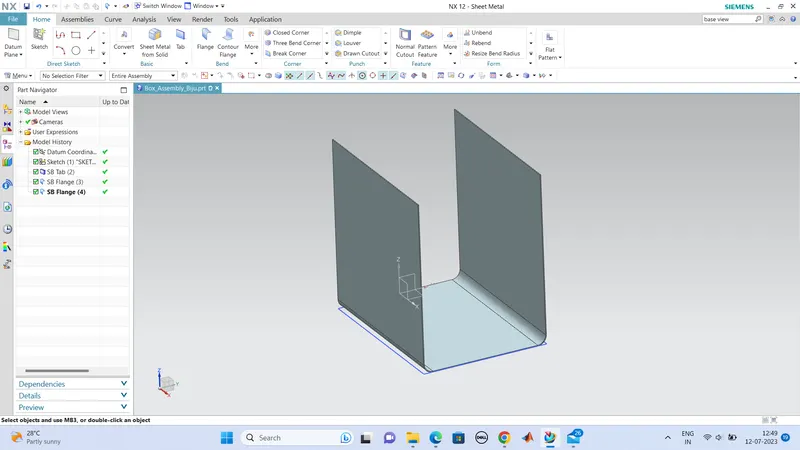
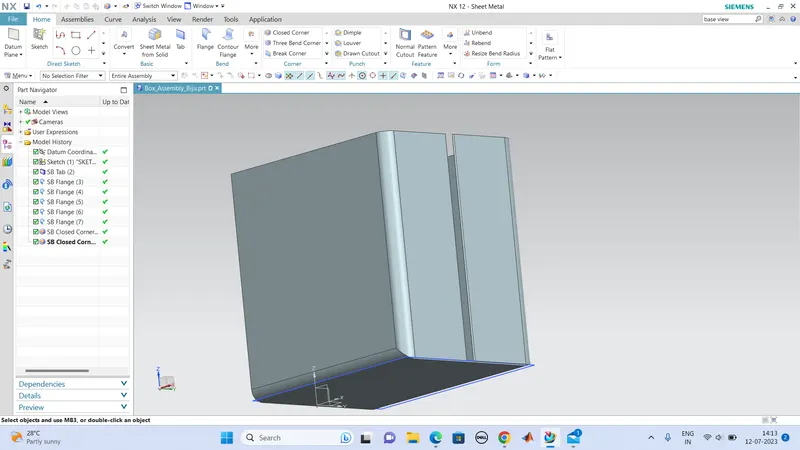
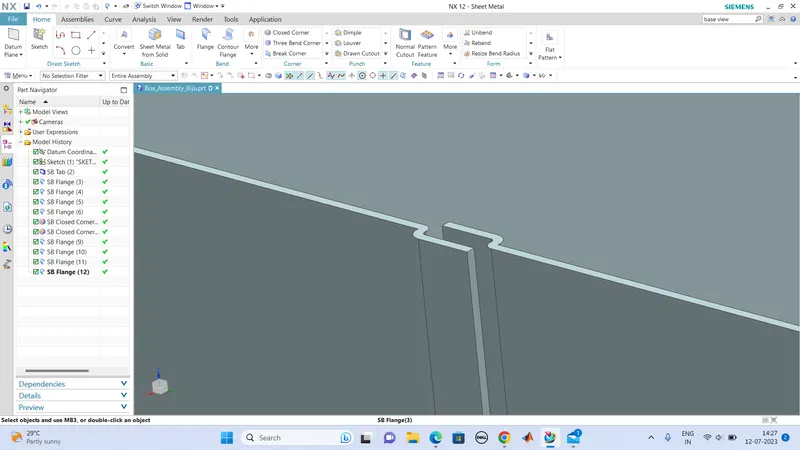
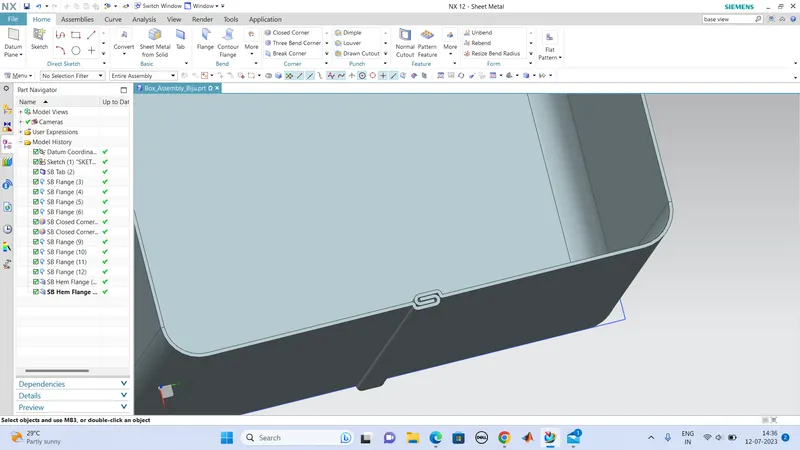
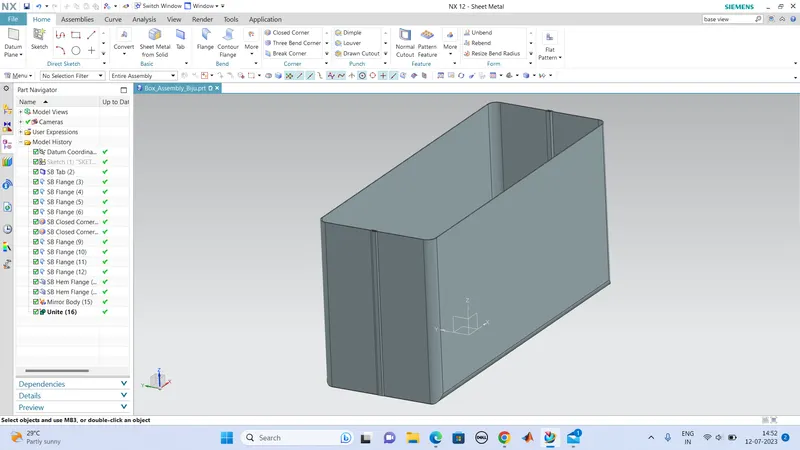
Create a sketch for the dimple in one side and mirror to the opposite side, and also create one dimple in floor surface too.
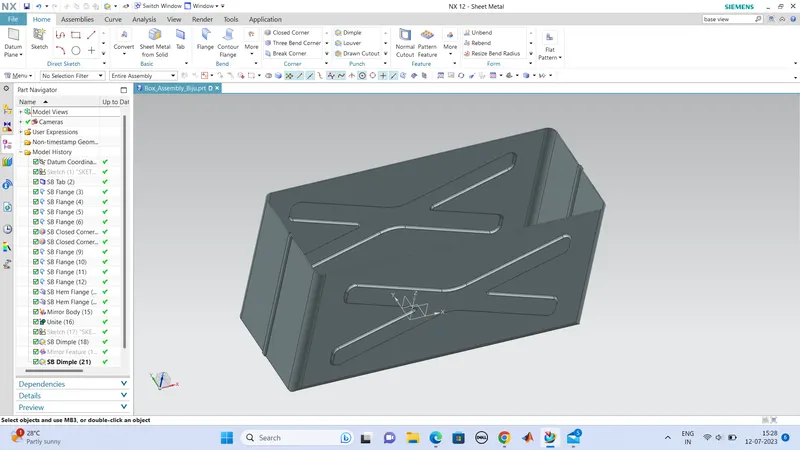
create a sketch for the beads which is on bottom for stability.Beads are of dimentions 15mm and 2mm radius.
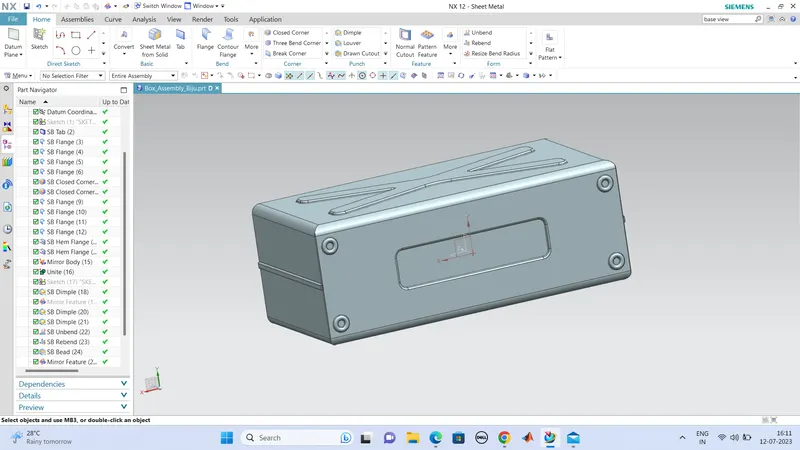
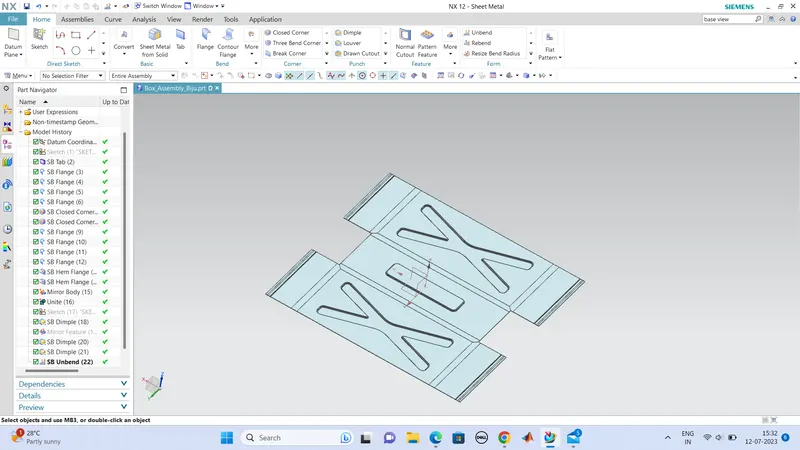
now the basic structure is formed, now unbend the whole structure and rebend it after.
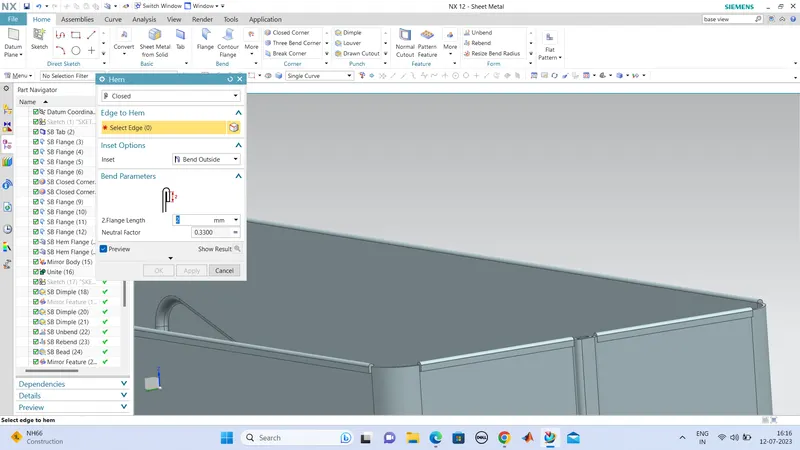
we can create hem on the edge of bottom borders,with hem tool in closed hem, so that it gives a good finish and safty for the box.
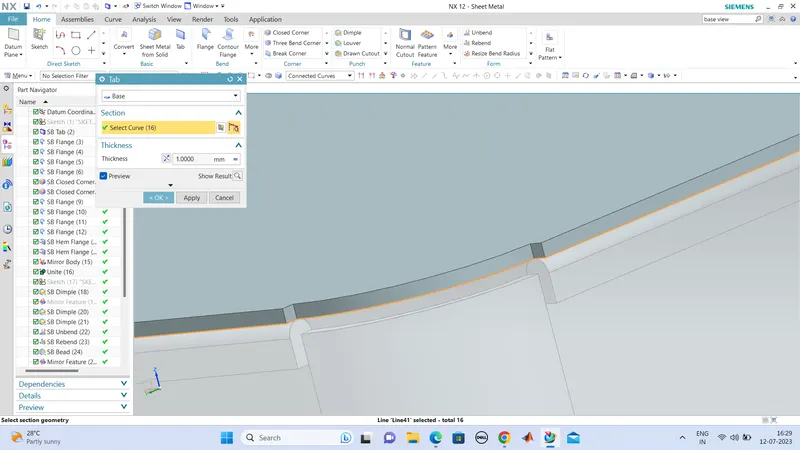
next we can create the top door for this box, so create a datum plane on the top touching the tip of box and create a sketch of same dimentions of the box top, so that it can closes correctly without any irregular gaps. and tab the sketch in upward direction about 1mm. and create flanges to the sides of length 4mm ,which covers the inside part.
so then we can design the hinge portion for this box.
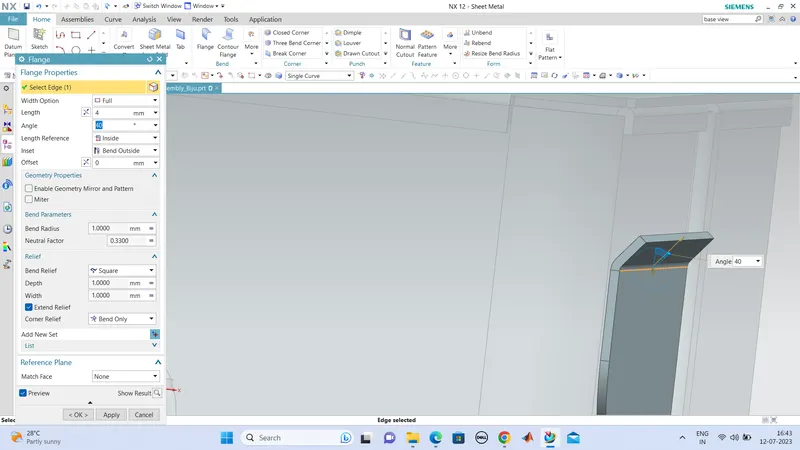
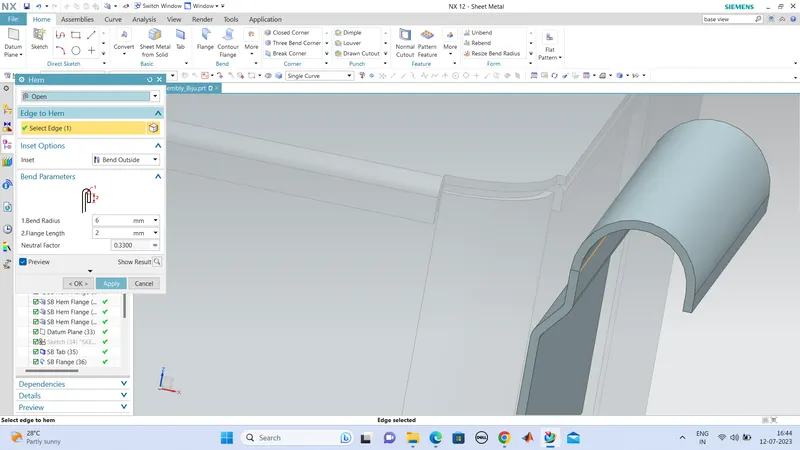
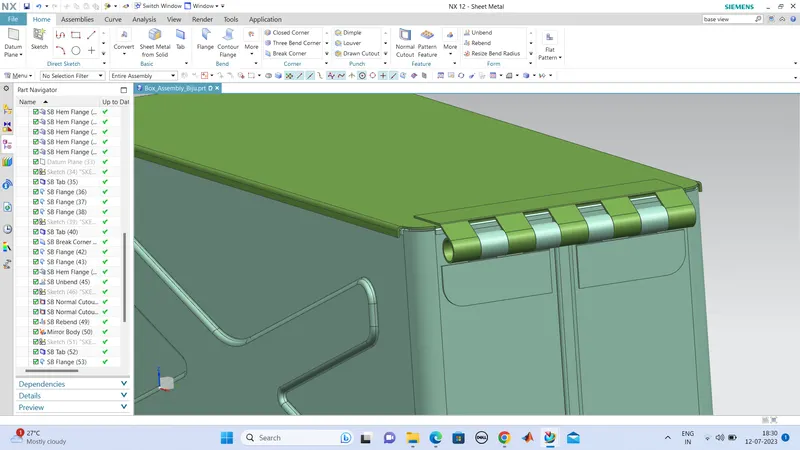
for that first create a sketch of rectangle in the hinge side and create flange to upward at a angle 40degree about 4mm and repeat the flange in 90degree, after create a hem of open hem and adjust the sweep angle to 325degree so that it have a minimum clearance in the hole structure.
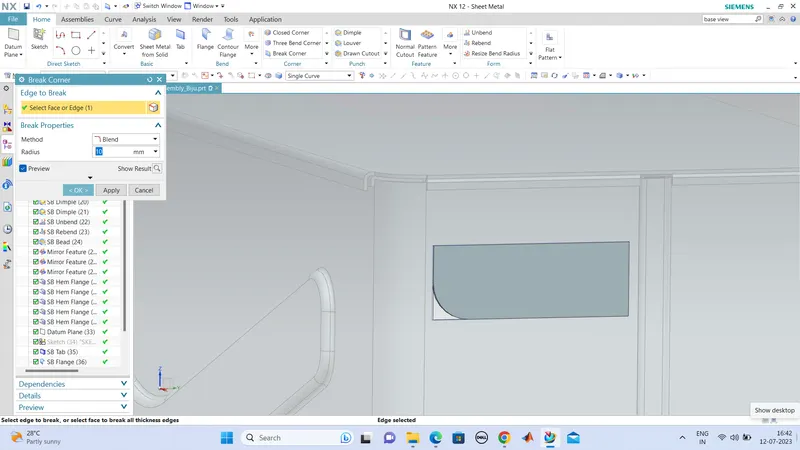
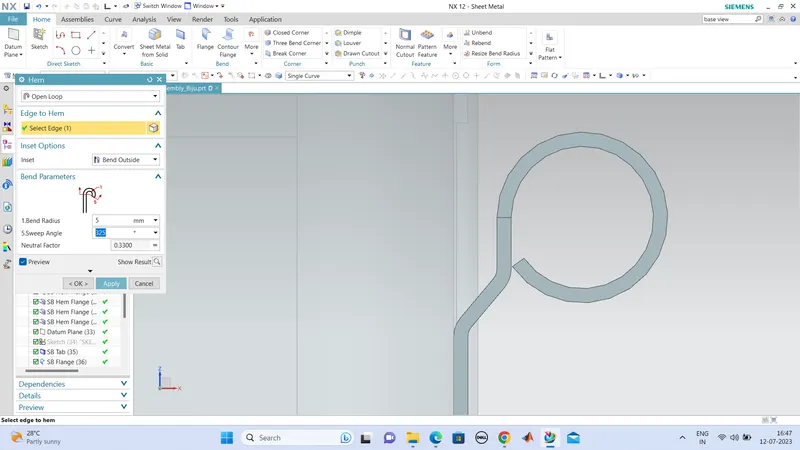
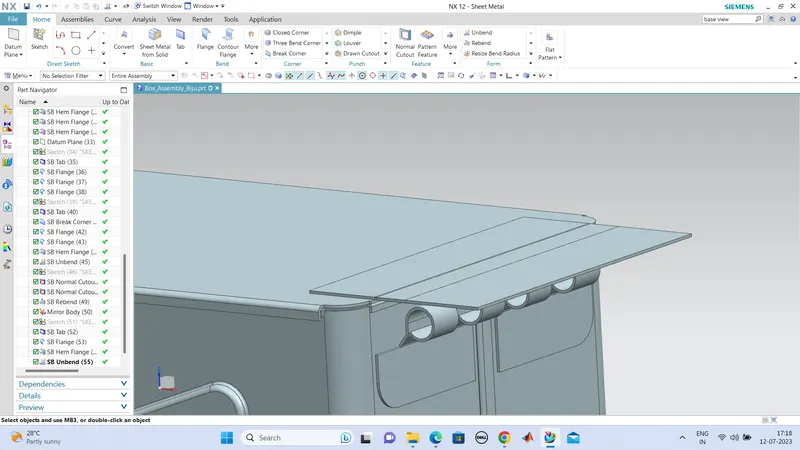
unbend the tab for normal cutout,
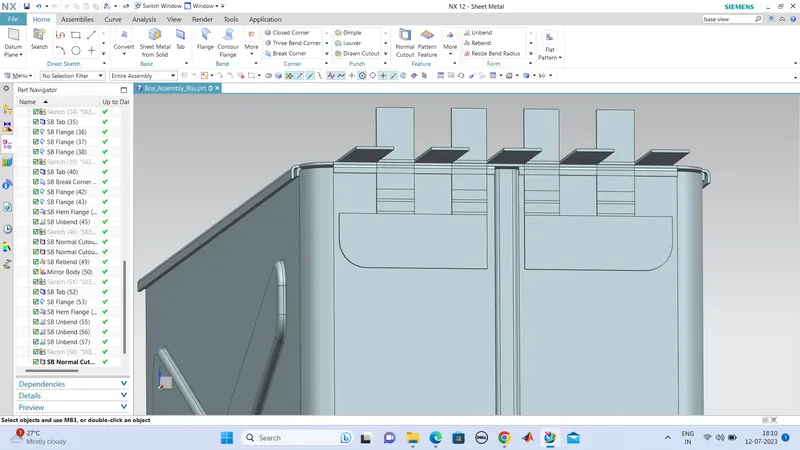
then create the normal cutouts at a splitted equal distance of 14mm in the 55mm tab, and last portion have 13mm (then only divide aproxx equal).
and cut out the portions we dont want , which means its the gap for mating flange.
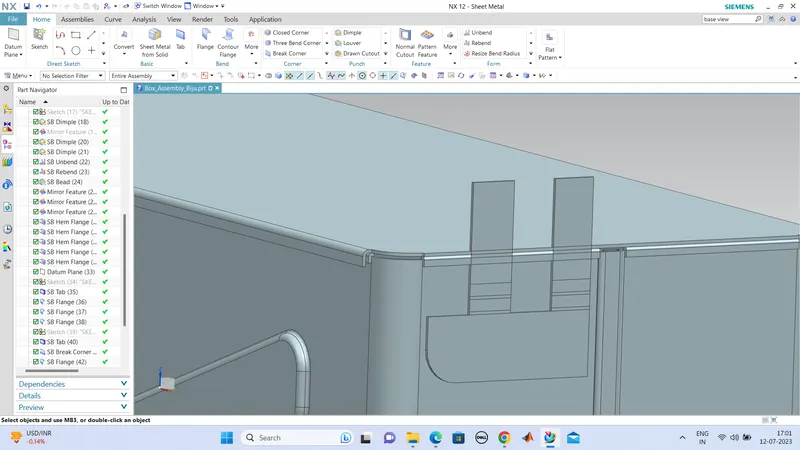
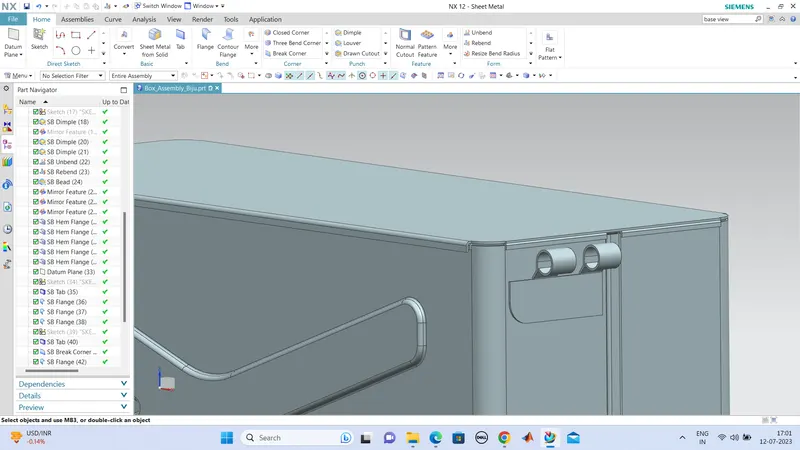
mirror this feature to adjacent side of the same face.
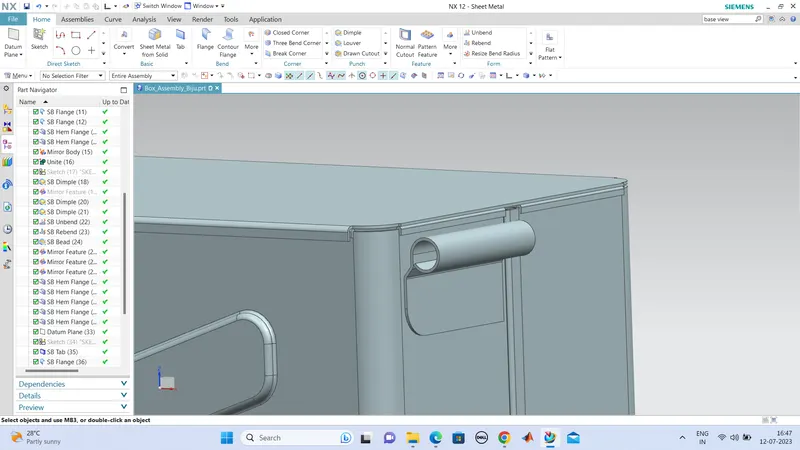
then create the tab for the mating hinge stay, and do the same thing that had done to the first hinge we've done. and unbend the structure and cut and place the mated portion of this half hinge. and rebend it again. so the design is completed.
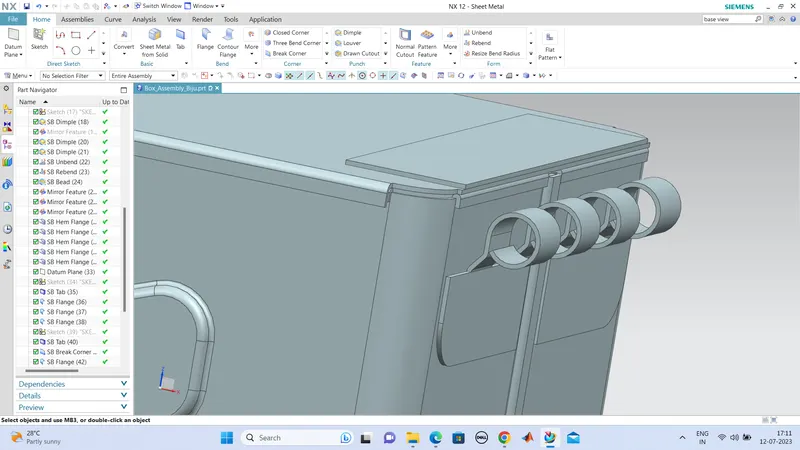
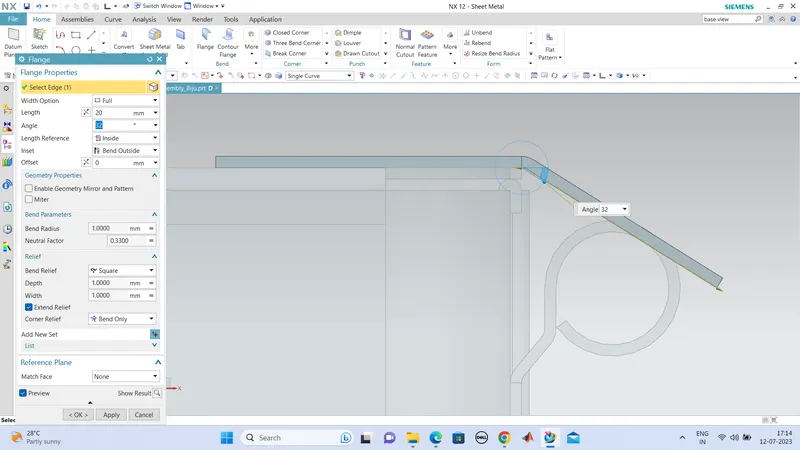
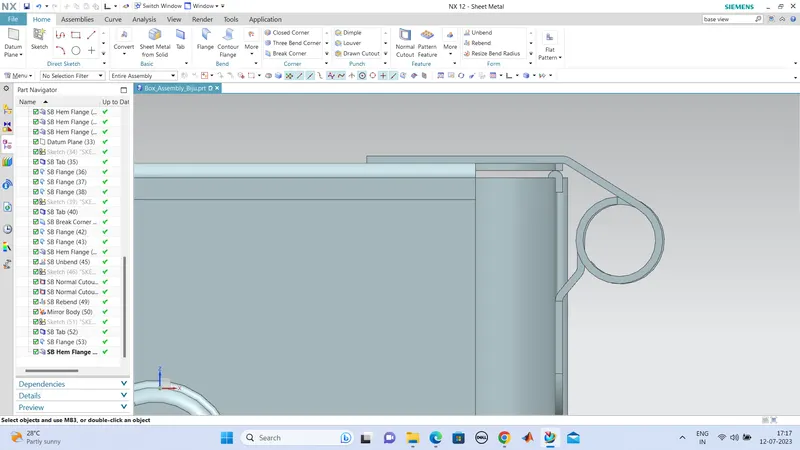
unbend it
add cutouts,
rebend it to the final finish.
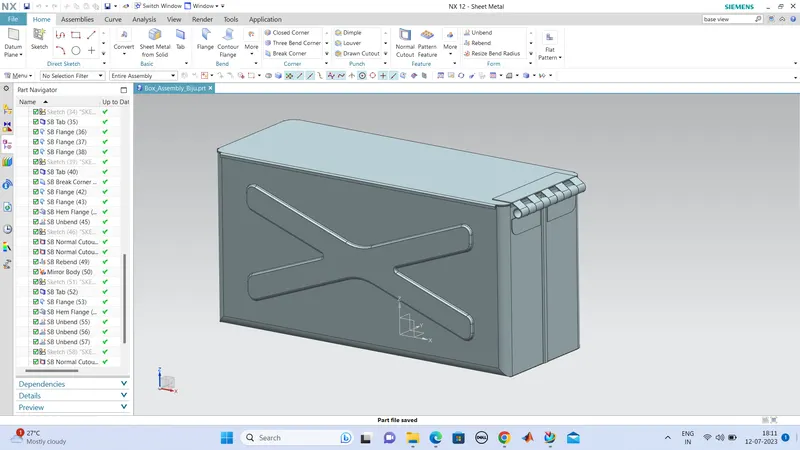
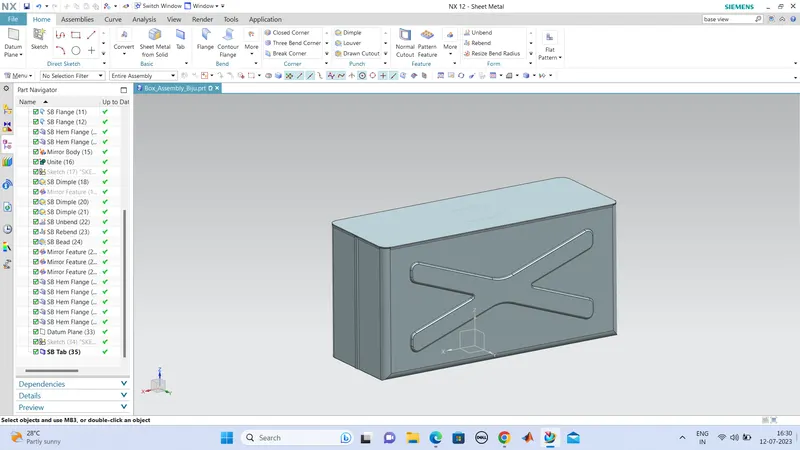
the finished box assembly is here,
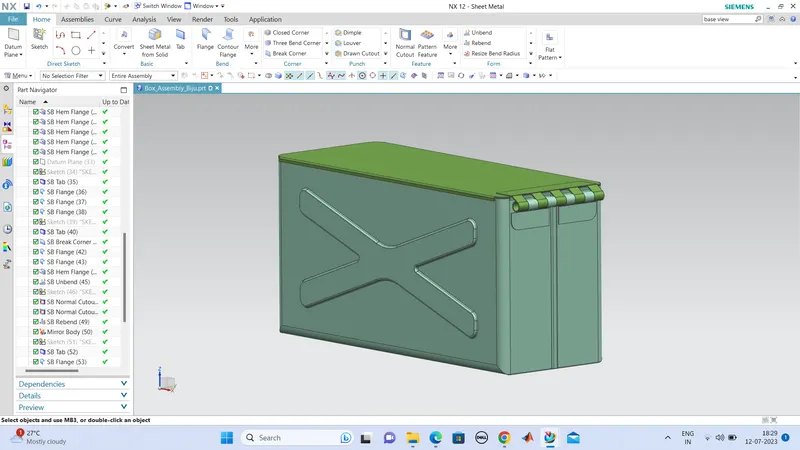
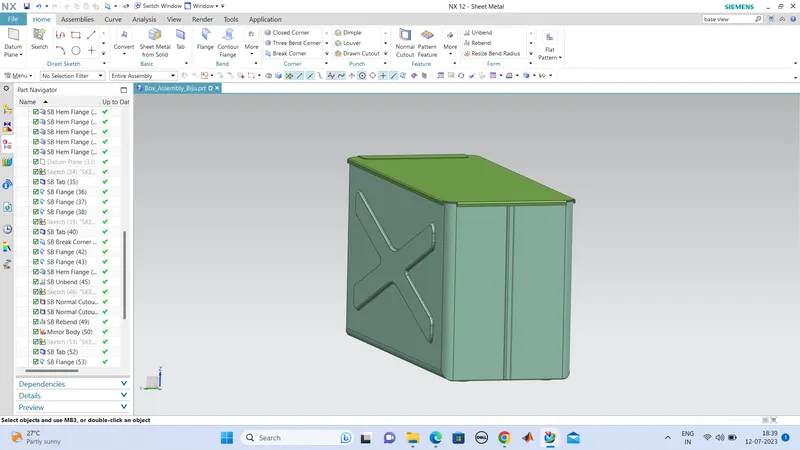
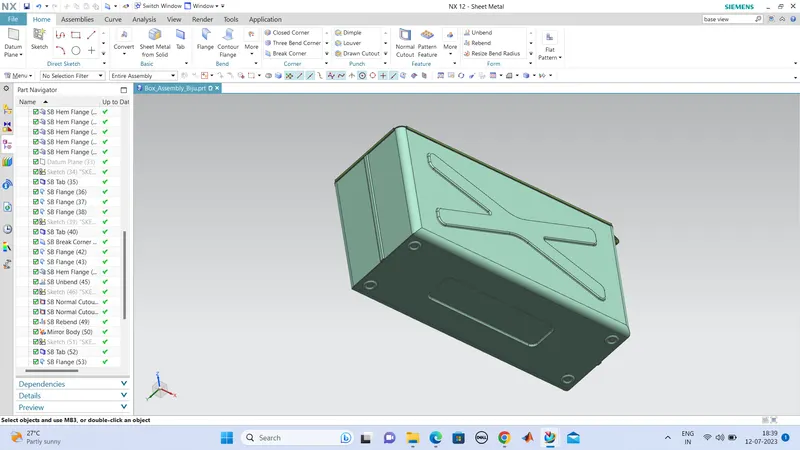
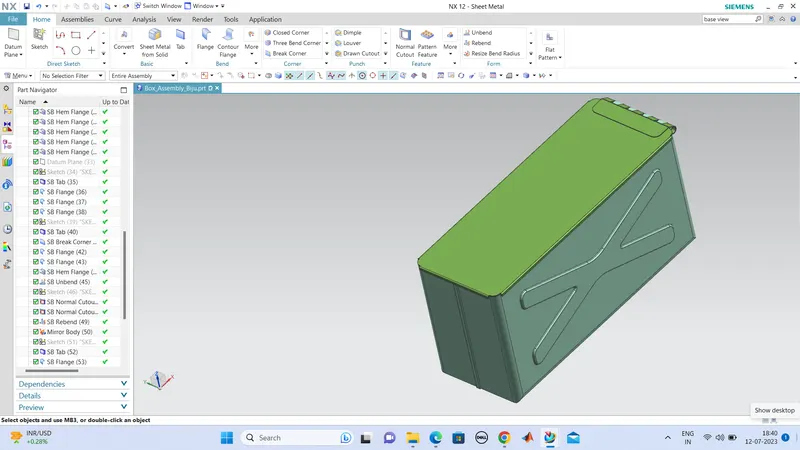
CONCLUTION:
Hence the Box assembly design is done in a proper way of given parameters, and the finished box assembly is ready.