Advanced Sheet Metal Design Using NX Cad Challenge_2_Box Assembly
Design of Assembly of a Box using NX software
OBJECTIVE
The objective of this project is to apply various advance features of sheetmetal design in NX software and then design an assembly of a box using these features.
INTRODUCTION
In this project advance features of sheetmetal design workbench are used to understand designing sheetmetal in NX software. An assembly of a box is designed with the help of a sheet which shows how the box needs to be designed.
DESIGN METHODOLOGY
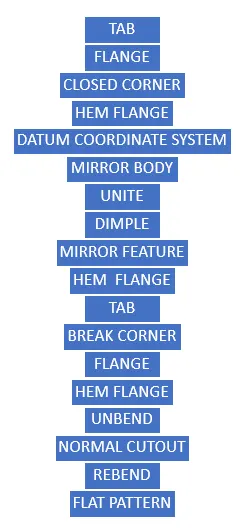
The features that are used to make this model is shown below in the flowchart
PROCEDURE
1. The first step in designing the sheetmetal is to assign the global parameters of the sheetmetal that needs to be created, in the global parameters material thickness, bend radius, relief depth and relief width is assigned. This input will remain constant throughout the designing of the sheetmetal features.
Steps to go to Sheet Metal Preference - Menu -> Preference -> Sheetmetal
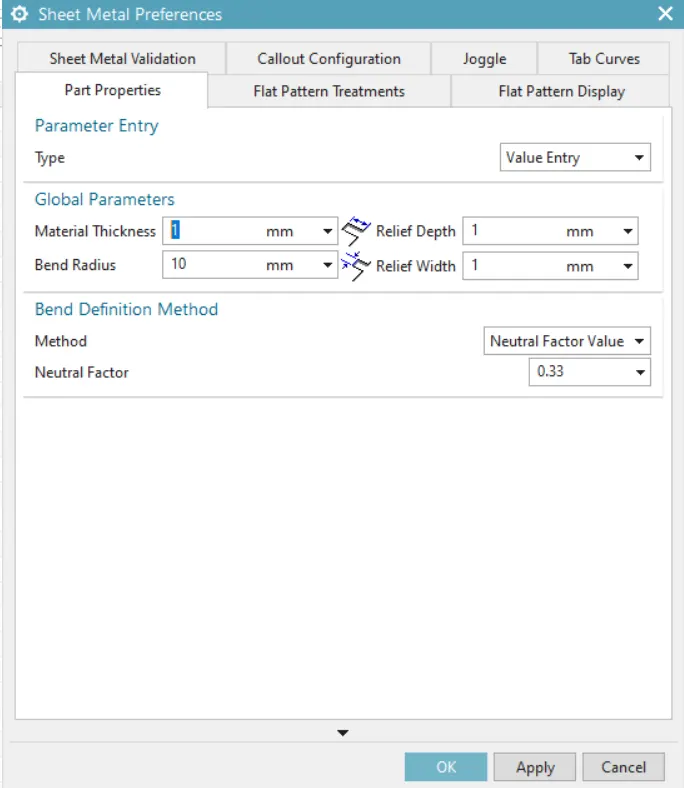
The above image shows the value assigned to the sheetmetal parameters that will be used to design the assembly of the box.
2. The next step in designing the component is to make the sketch for using the Tab feature.
Tab- This feature is used to give thickness to the required sketch which is drawn. It is the generally the first command which is used to make the base of the sheetmetal.
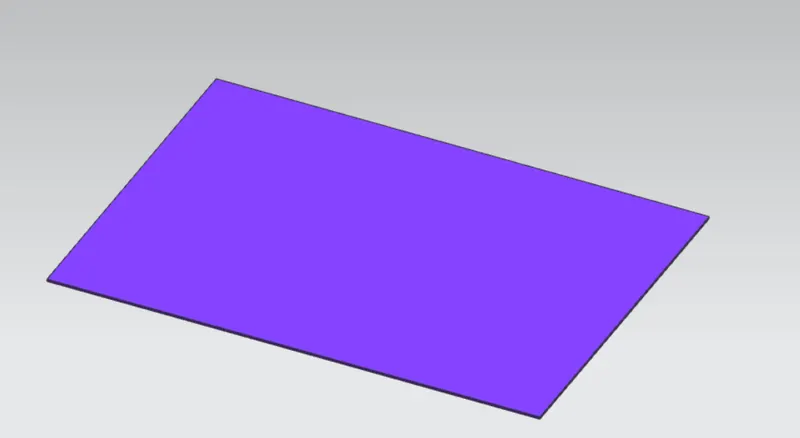
The above image shows the base tab which is used to make the sheetmetal of the box.
2. Flanges are made on some selected edges of the sheetmetal.
Flange- This feature is used to add a flat web at an angle to the planar surface. Flanges consists of web and bending radius which is already defined in the global parameters.
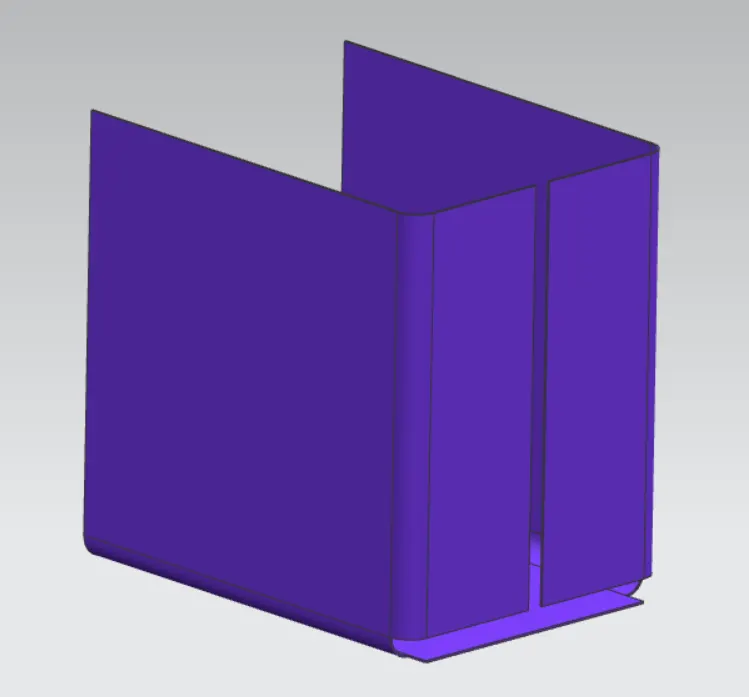
The above image shows the flanges made on the two edges with a bending radius of 10 mm.
3. Closed Corner feature is used to fill the gap between the two bending curves, in the above case there is gap between the horizontal and vertical flanges, in order to fill that gap closed corner feature will be used.
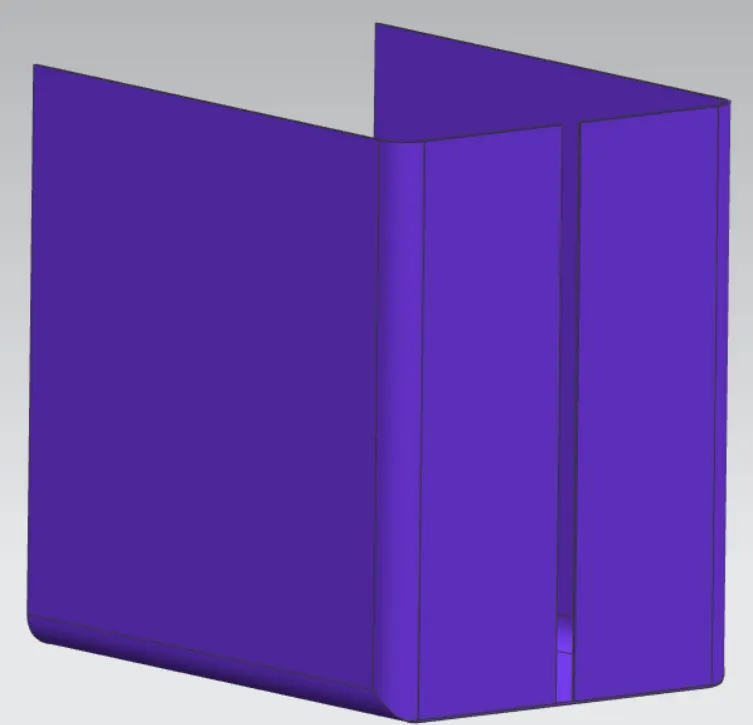
The above image shows how the gap is filled using the closed corner feature.
4. Flanges are then applied to below edges to give desired shape using the below inputs.
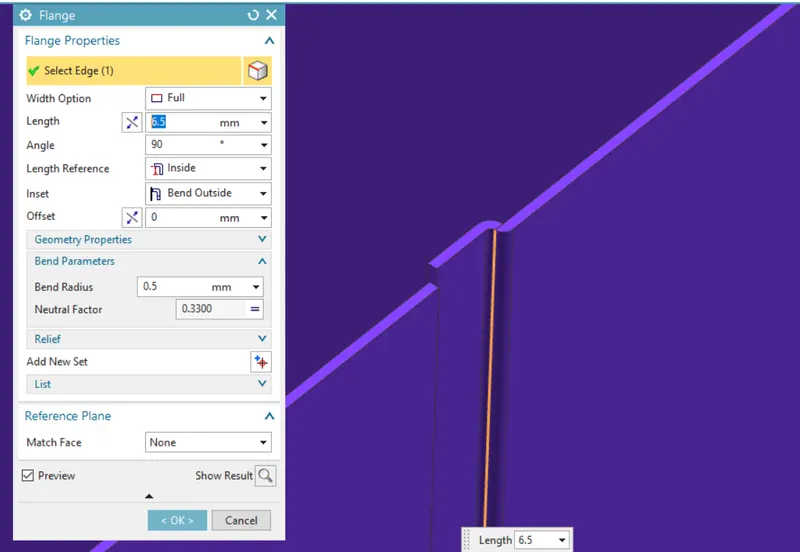
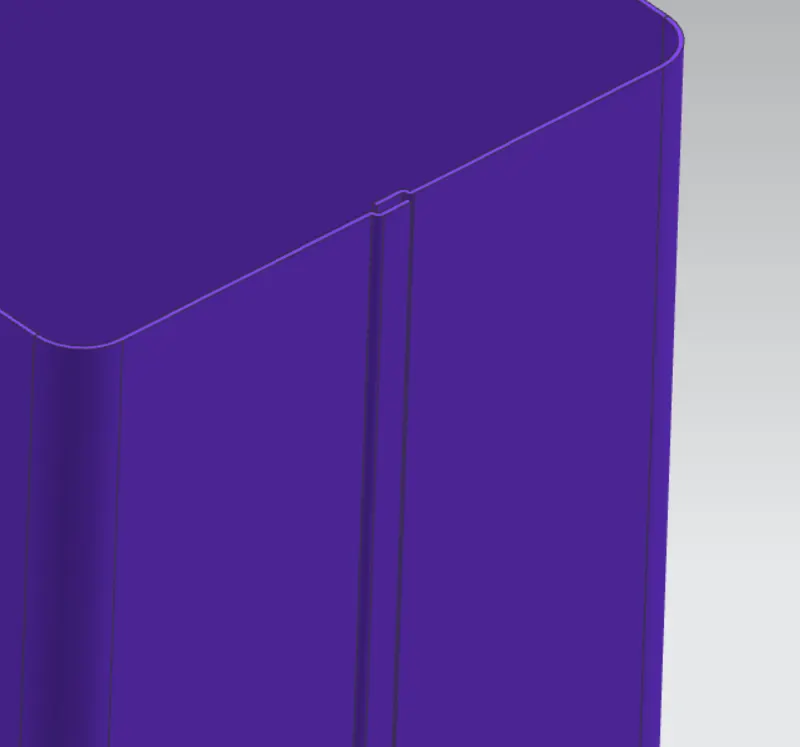
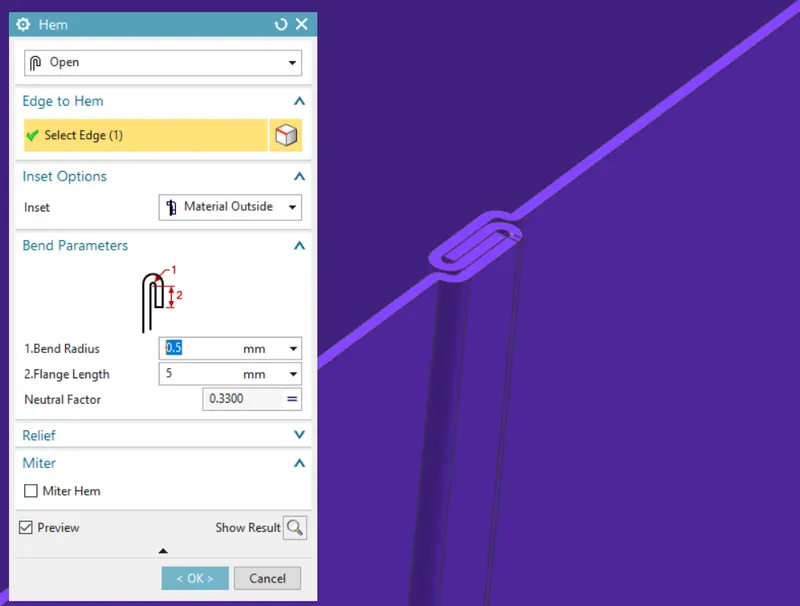
5. Hem flanges are made on the inside of the above flanges.
Hem Flange - This feature is used to modify the edge of the sheetmetal part by folding it onto itself for the purpose of safe handling or to increase the edge stiffness. It is always a secondary feature.
6. In order to complete the making of the base of the max, Mirror Body feature is used to make a symmetry of the above body which was designed till now. In order to create a mirror body first step to select the body which needs to be mirrored and then select a reference plane about which the mirror will be replicated.
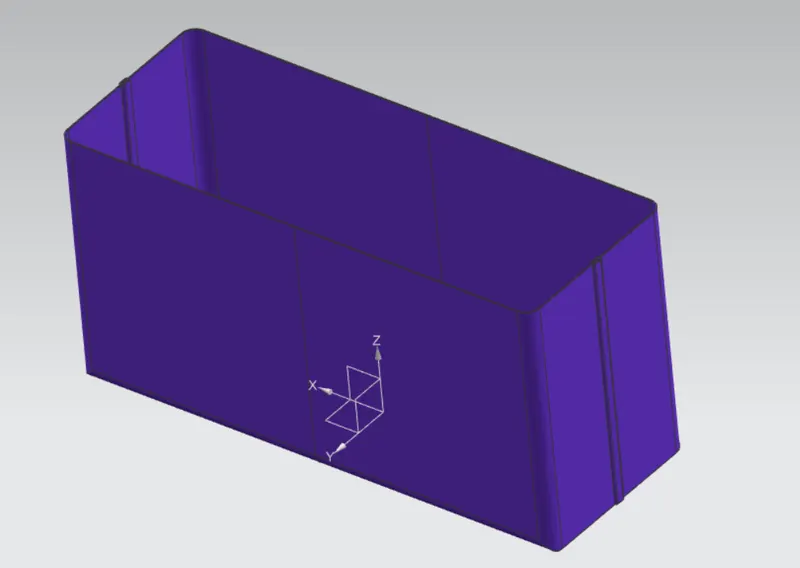
7. Both the bodies are then converted into a single body using the Unite feature.
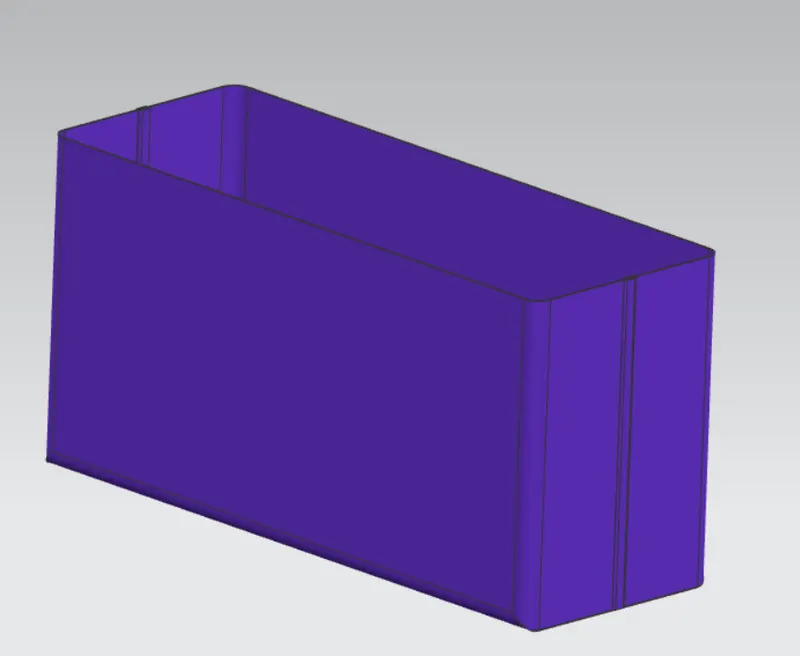
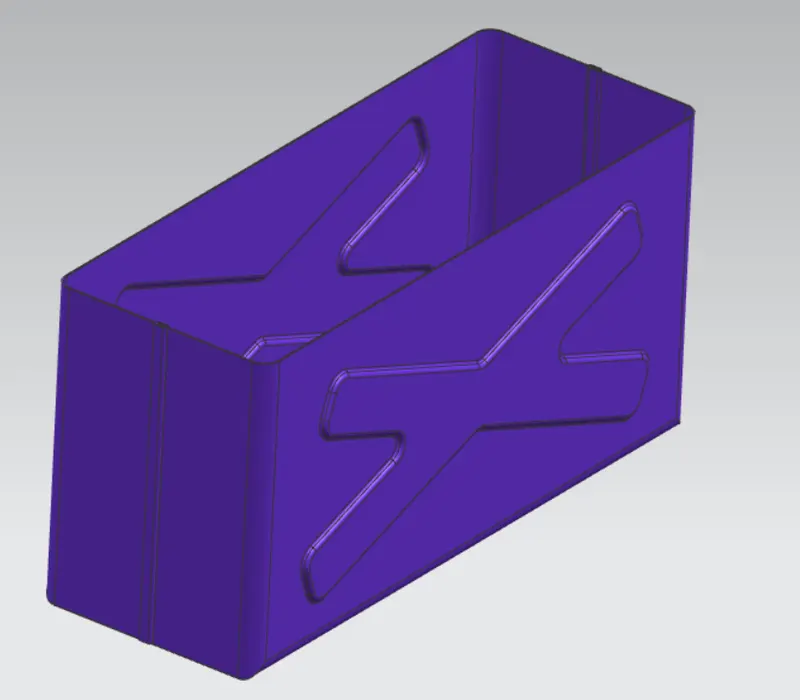
8. A sketch is drawn on the sides of the sheetmetal to form dimple on the it.
Dimple - this feature is used to lift an area of the model by selecting a sketch with reference to which the area needs to be lifted. Dimple operation are done with the help of stamping tool in the manufacturing industry.
Then this created dimple is then mirrored to the other side as well using the mirror feature command.
9. In order to check once everything designed till now is correct first unbend feature is used to see the complete body in flat state and then again it is rebended to work further on it.
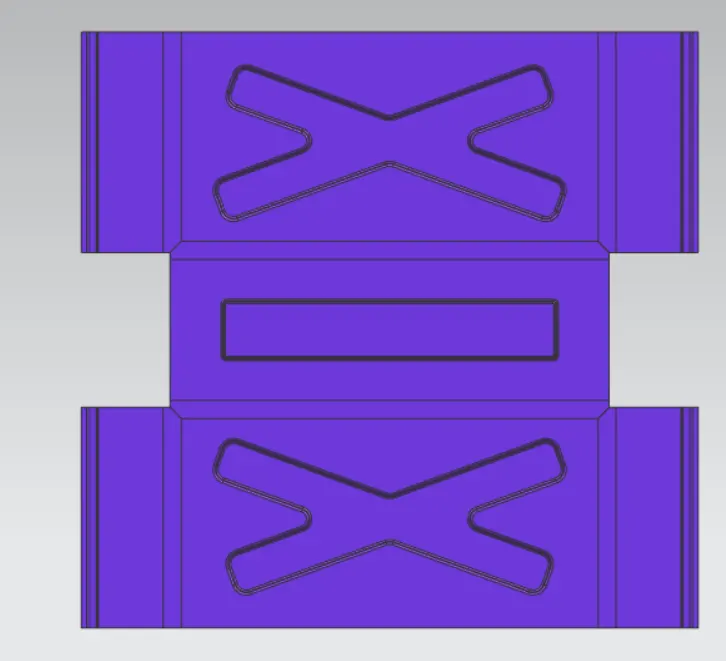
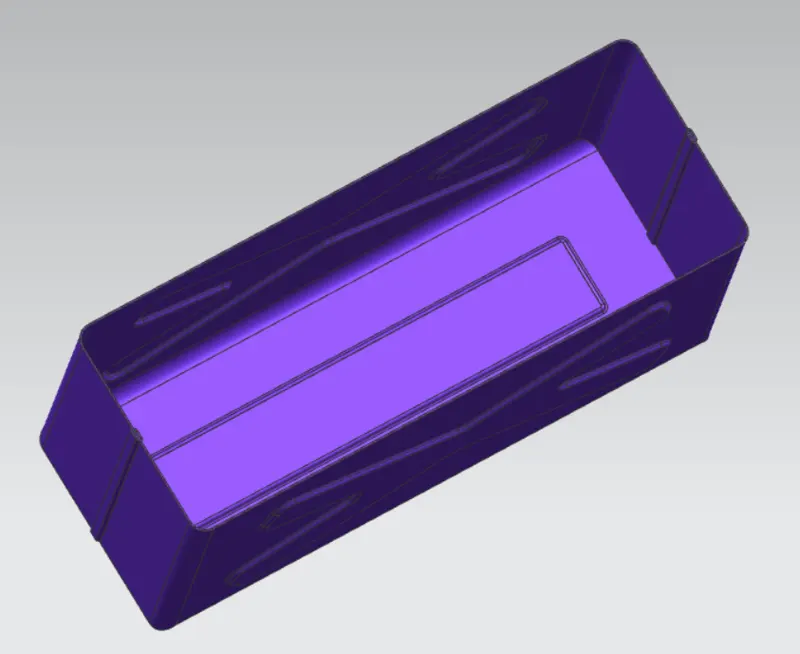
Bead is the next feature which is used to make circular lifts at the required places. This operation is also performed with the help of stamping tool in the manufacturing industry.
Bead - this feature is used to lift material along the contour a sketch.
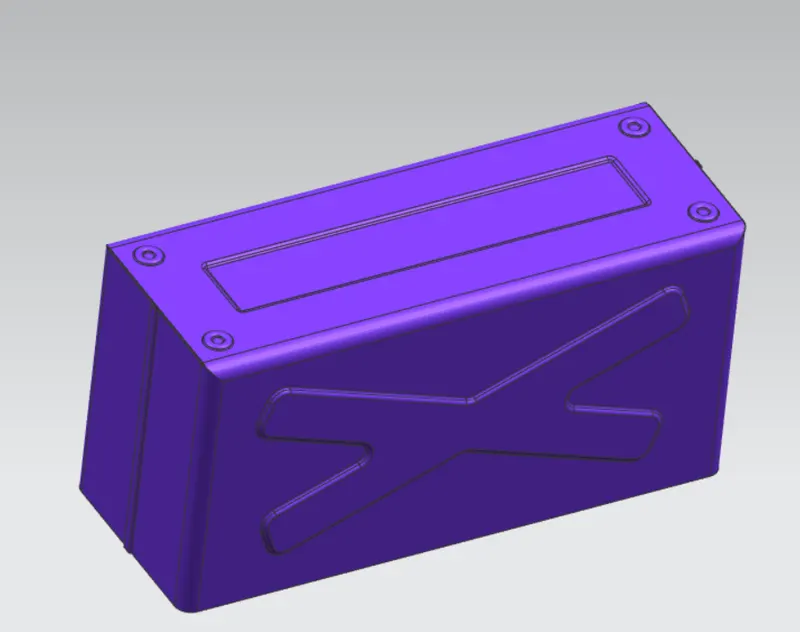
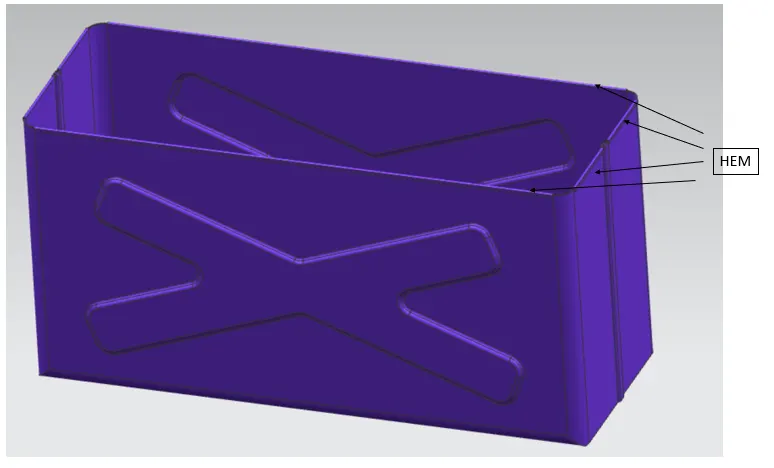
11. Hems are again applied on the upper edged of the box to avoid the sharp edges present on it.
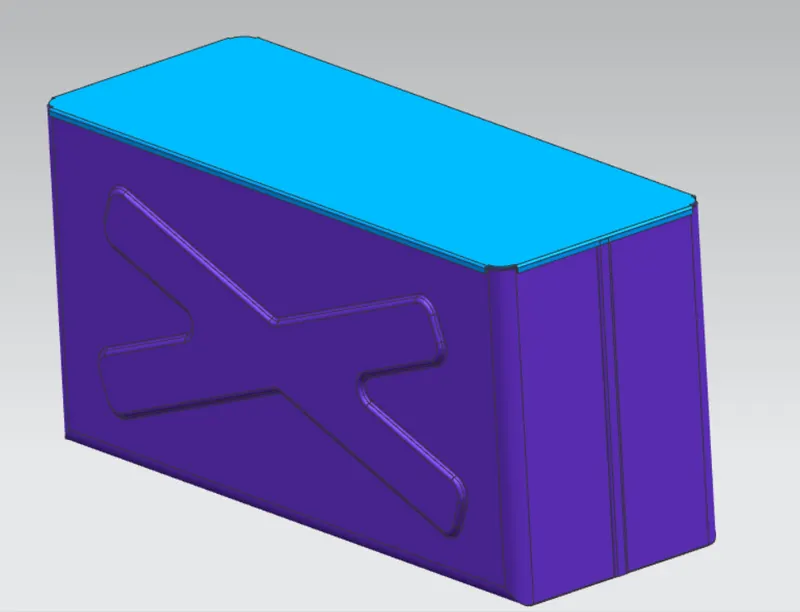
12. Lid of the box is designed using the Tab feature and then flanges is also provided to the side edges to give smoother edges.
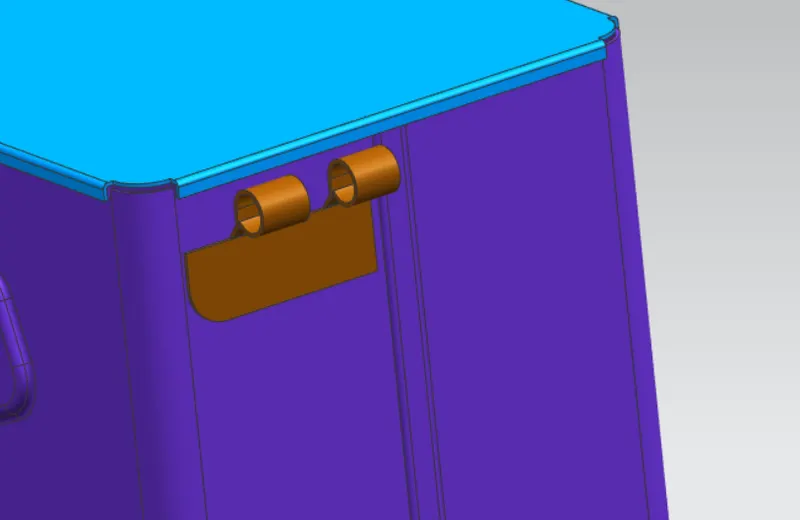
13. The next body which needs to be designed will be used for closing and opening the box.
In order to make this body first a tab needs to be made as the base feature by selecting the surface of the side of the box.
Next flanges needs to be made on the upper side of the tab to give desired shape to it.
After making the flanges the hem feature is used to make a roll shape on the upper portion of the flange.
It is then unbend and the normal cutout feature is used to remove the unwanted material from this body.
It is then again rebend to get the desired shape of the body.
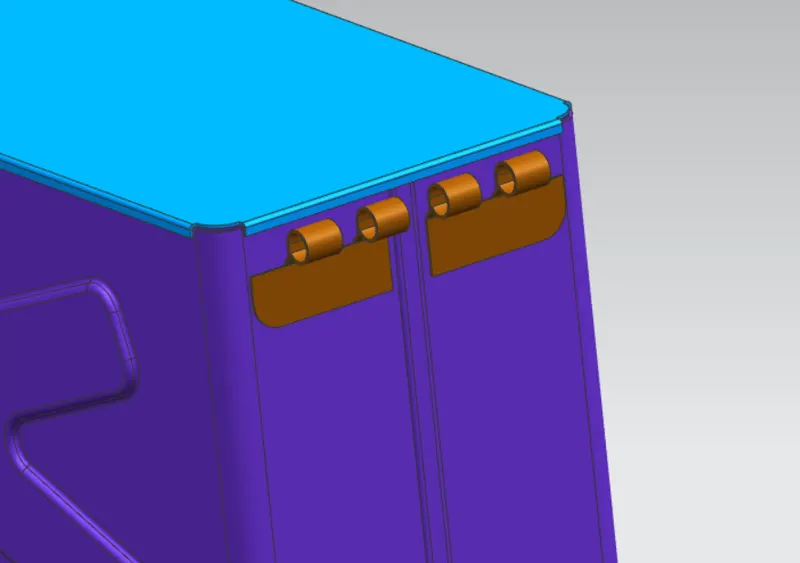
14. Mirror feature is used to get same body in the adjacent side as well as shown below:
15. In order to open and close the lid with the bottom box, another body is made on top of the lid which is designed using the same above features like tab, flange, hem.
This body will be designed in such a manner that the circular hems which will be decided will be concentric with the hems of the body on the box, so that they can be fixed together easily in order to rotate about its axis.
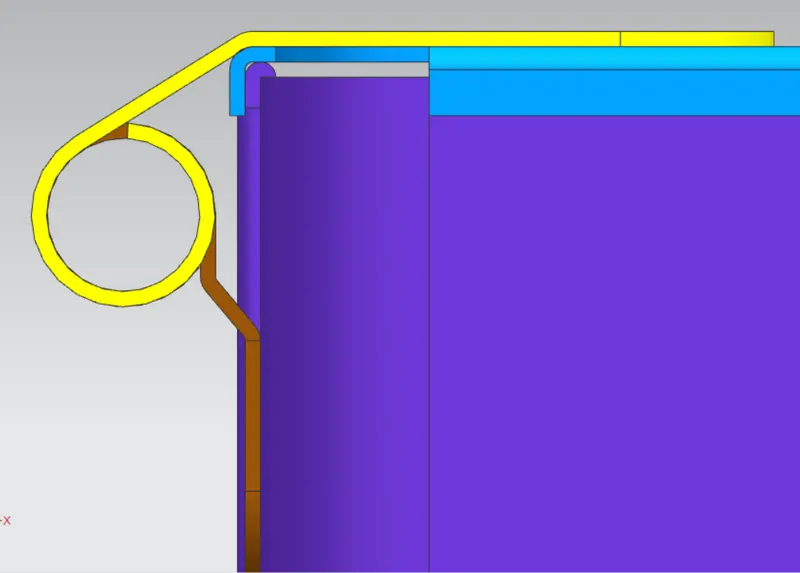
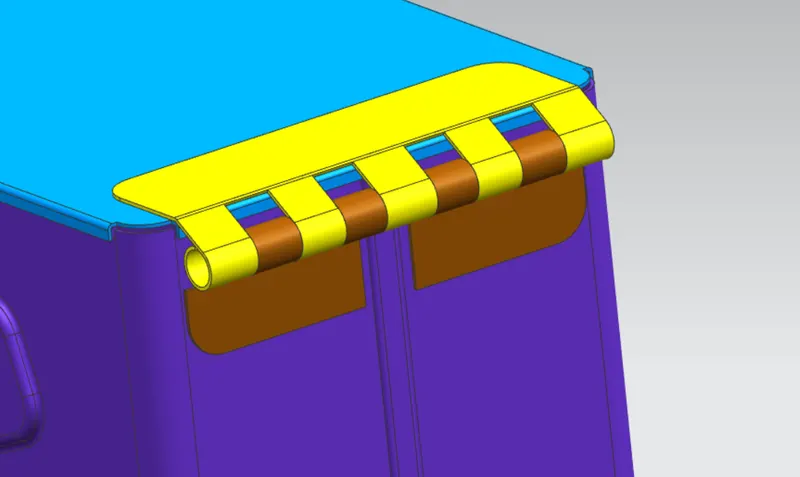
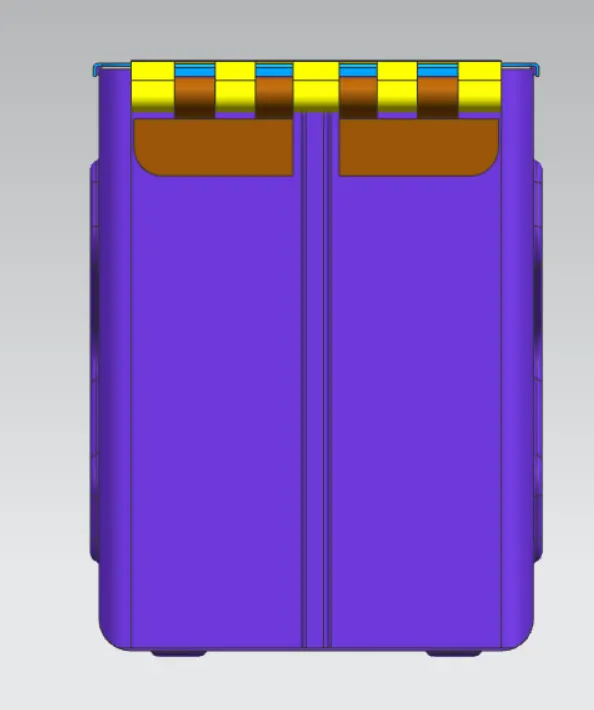
The above image shows how the lid and the box will be fixed togther using the bodies that we designed for the lid and the box. The lid will roatate about with the help of these hems for the opening and closing of the lid.
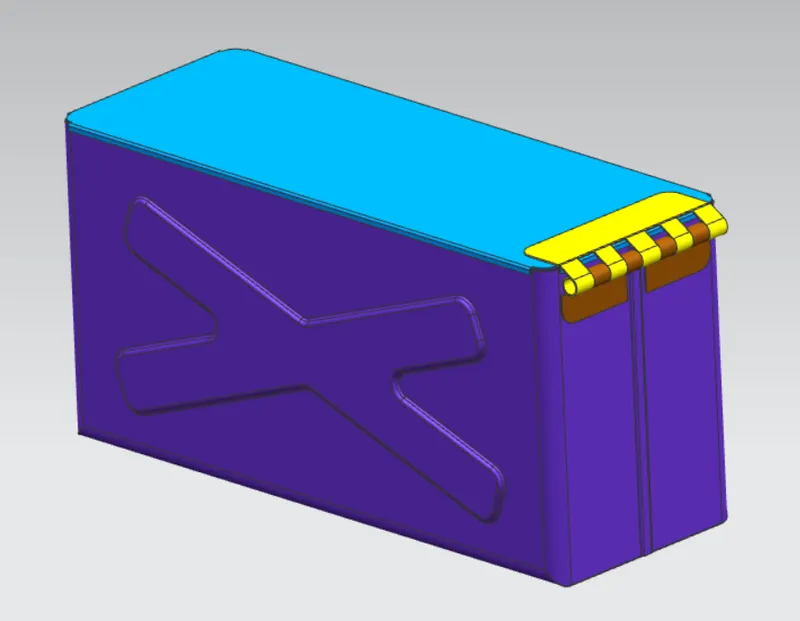
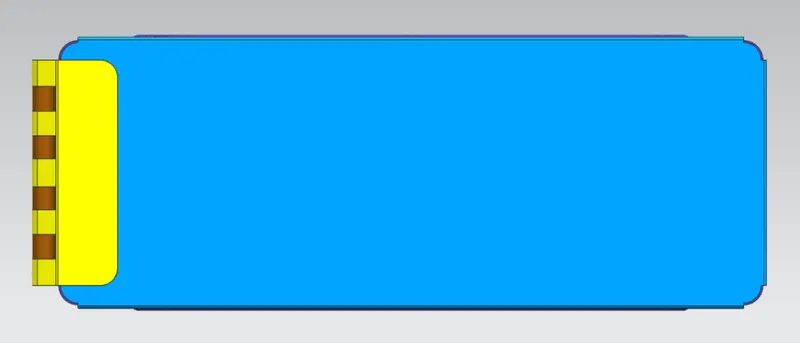
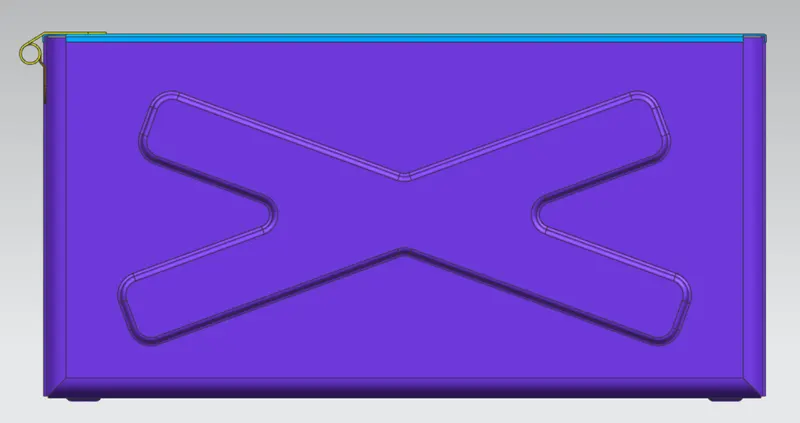
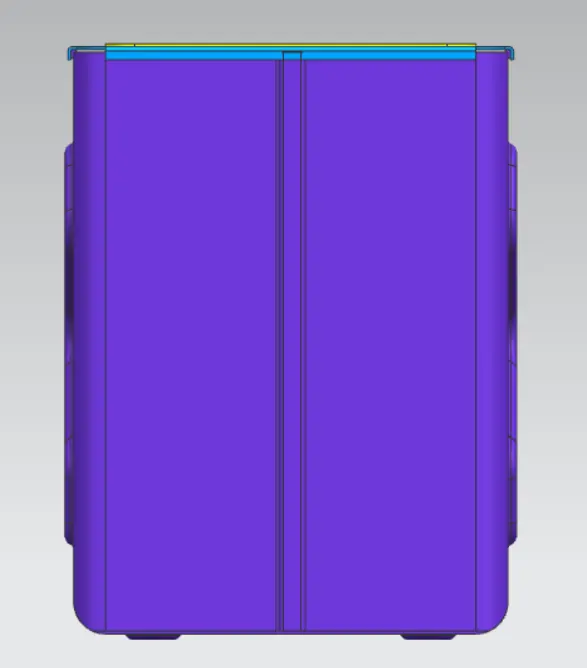
Different view of the assembly of the box:
1. Isometric view
2. Top view
3. Front view
4. Side view
DRAFTING
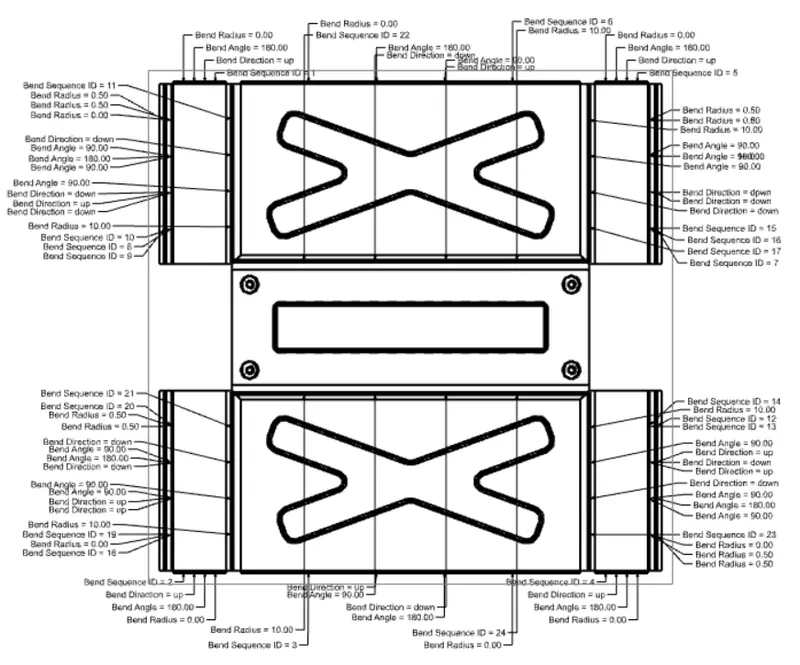
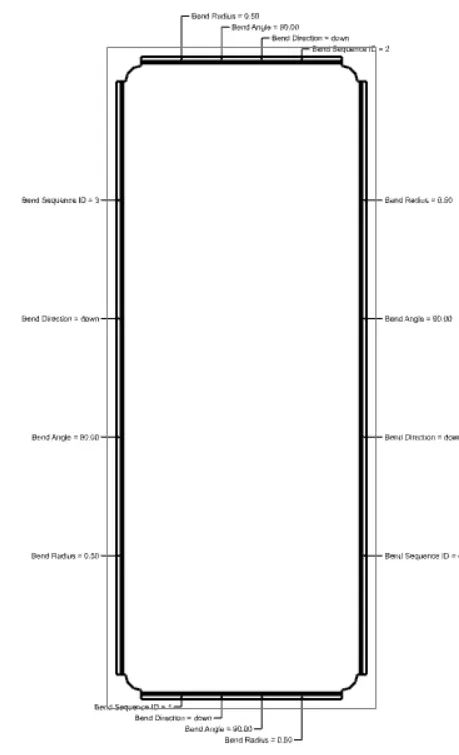
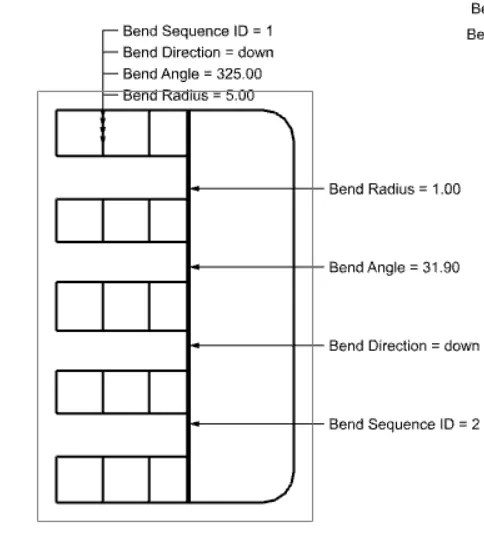
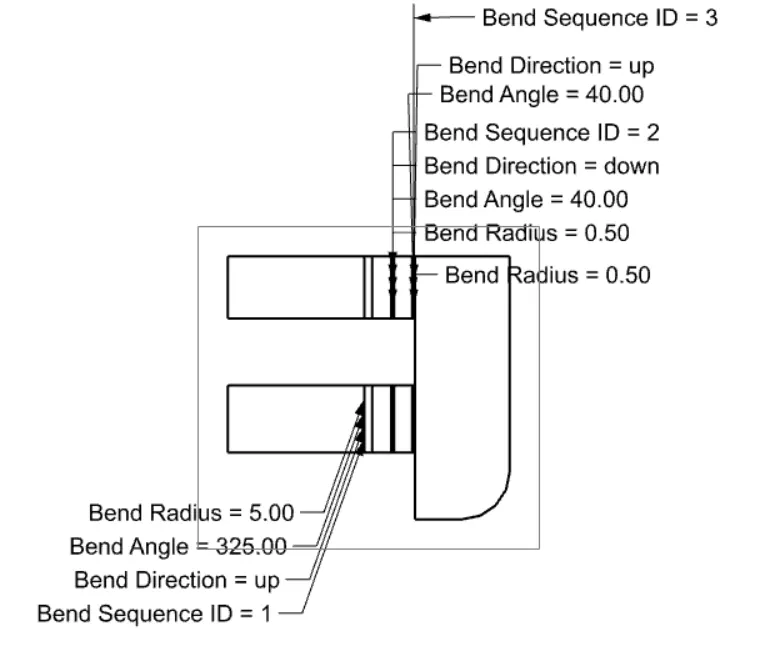
In order to view all the details of the box assemble flat pattern feature is used for each individual body to give details above about the bend values at different places and vaious other feeatures used in the making of the box.
CONCLUSION
1. The different bodies of the assembly of the box were designed as per the given input and then different colours were given to it for better appearance.
2. Drafts were prepared for each individual bodies to provide the specifications of them.