3D Creation of Celing, Roof, Architectural plan, Structural plan, Sectional view, Elevation view and Camera specific view for a house plan using REVIT
Ans 1:-
Aim:- To model a ceiling from the architecture tab above the first floor level
Commands used: Architecture , Ceiling
Procedure:
- Open the model
- Click on the architecture tab and select ceiling
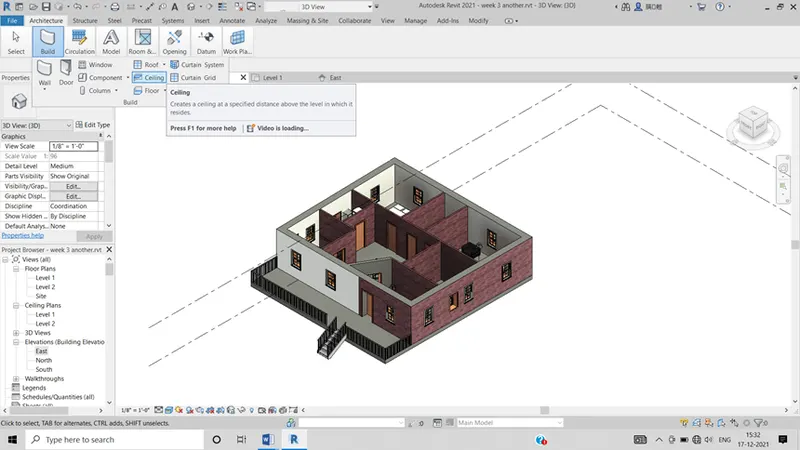
- Select the celing and click on sketch ceiling
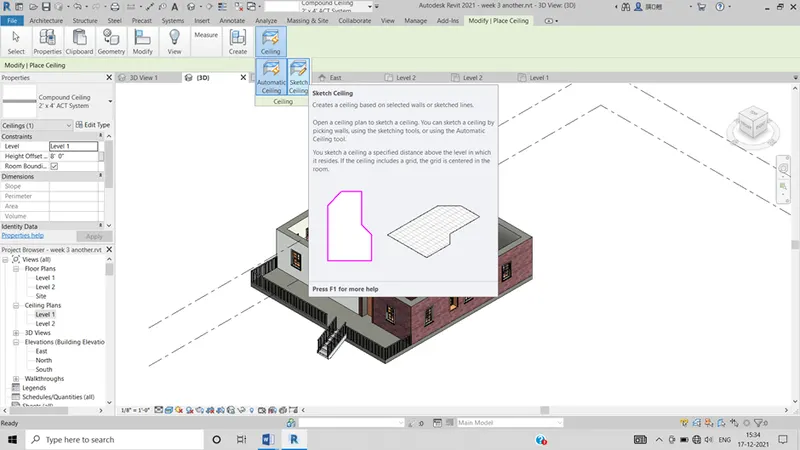
-
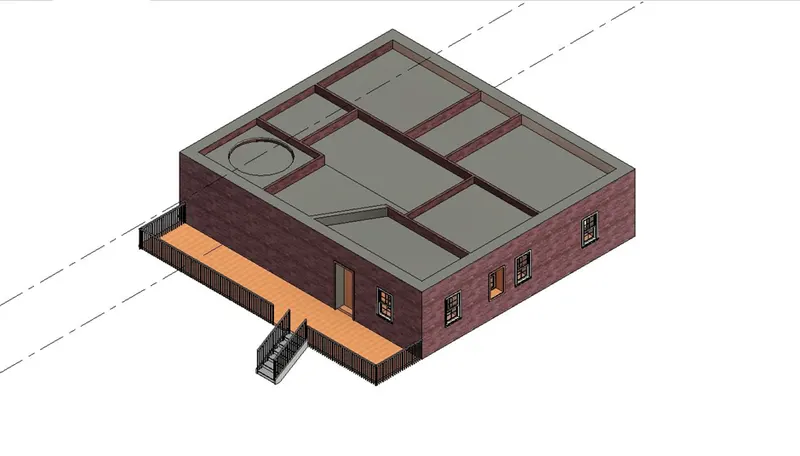
- Draw the ceiling in required shapes and adjust the height and type of material required in ceiling and click ok.
Result:
Ans 2:
Aim:-To model a roof above the ceiling by selecting the foot prints of ceiling.
Commands used:- Architecture. Roof
Procedure:
1. Open the architecture toolbar and select the roof by foot print option as shown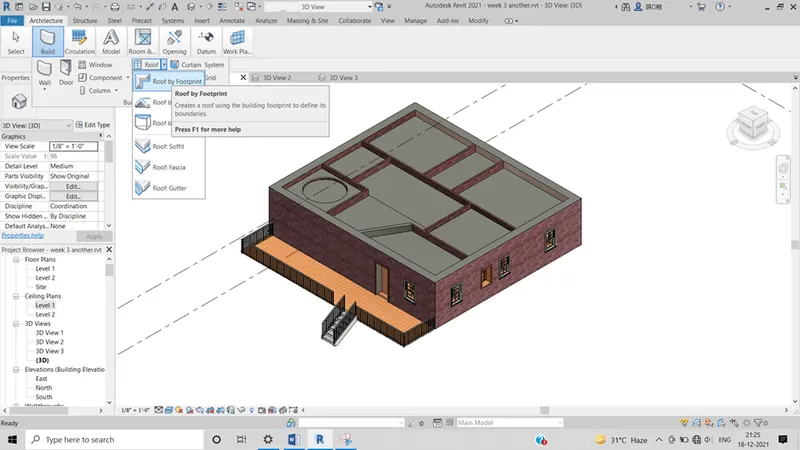
- Draw the roof and adjust the slope in the propert panel shown at the left corner click ok.
- Result:
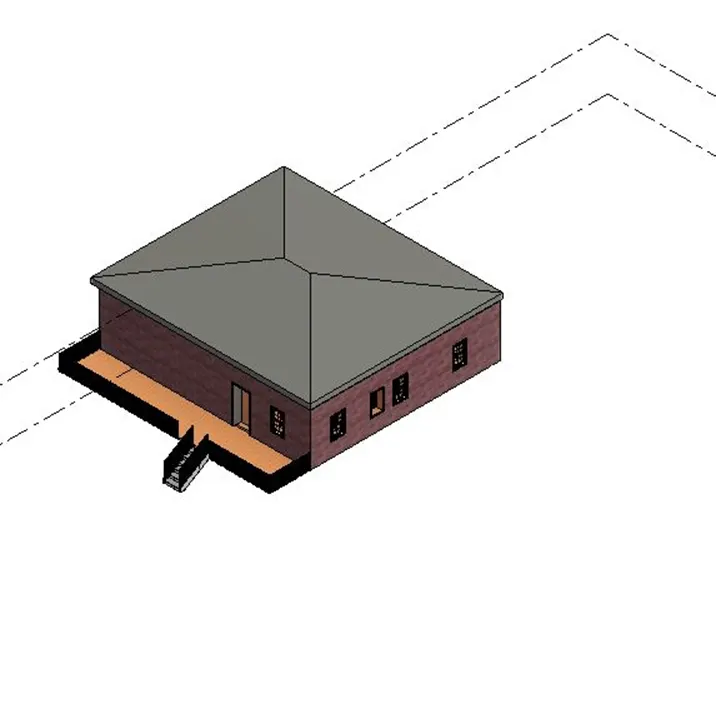
Ans 3:
Aim:-to create the plan views for ground floor level and FF level including the walls ,floors and components and to separate them to architecture structural plans
Commands used:
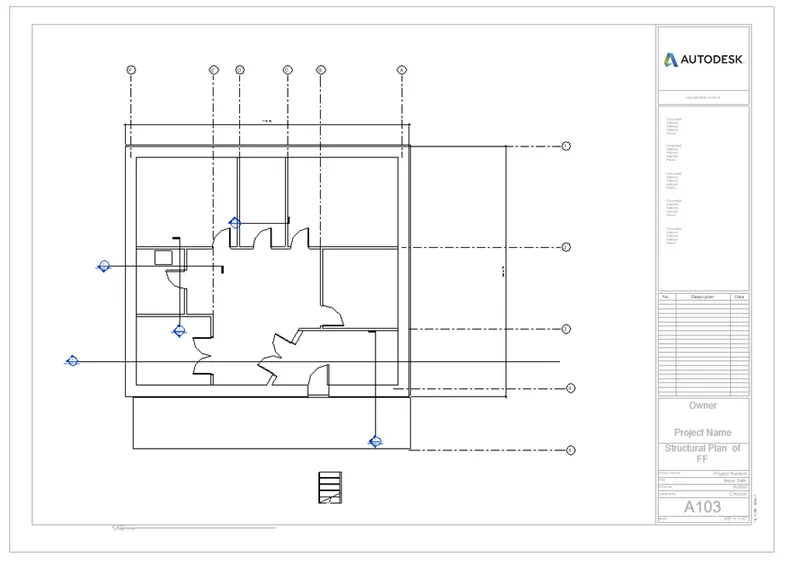
The structural plan view is the default view when you start a new project using structural template .
Most projects include at least one structural plan ,new structural plan views are created automatically as you add new level to projects
Th e floor plan view is the default view in anew architectural project. Most projects include at least one floor plan
Procedure
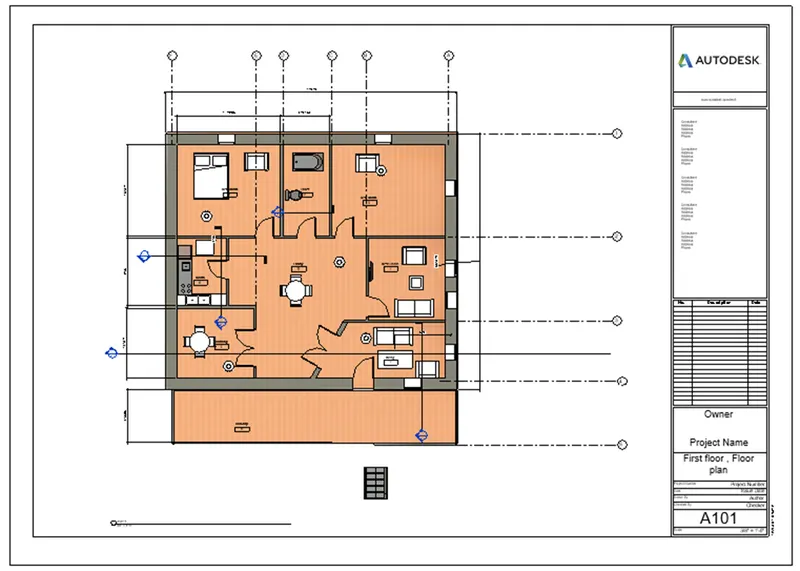
1.first we draw the architectural plans of the FF and SF as shown below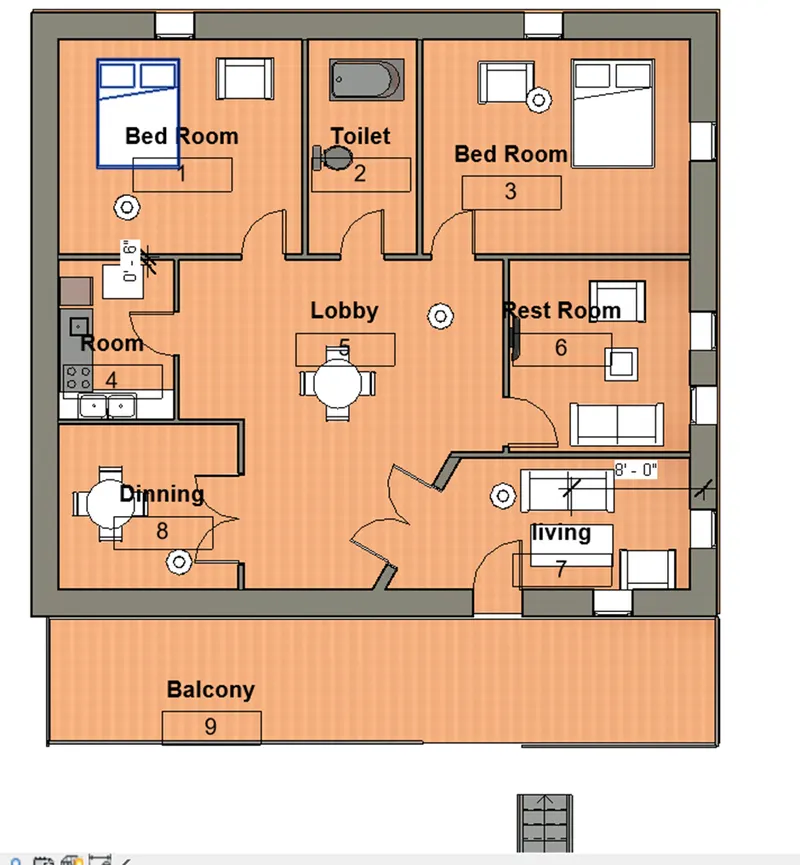
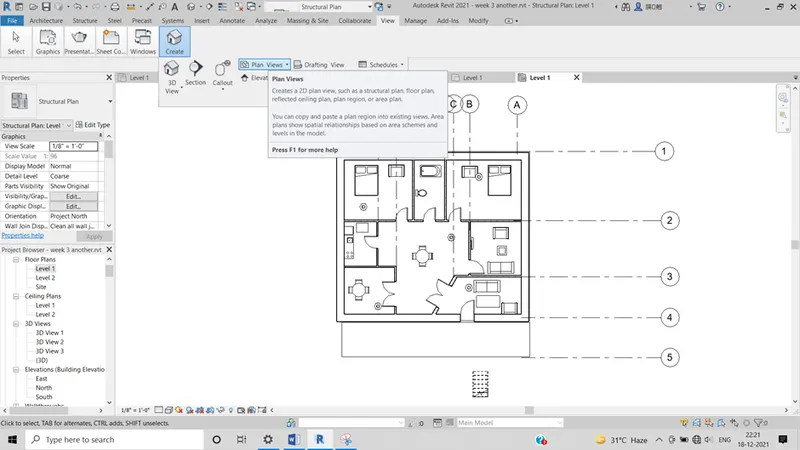
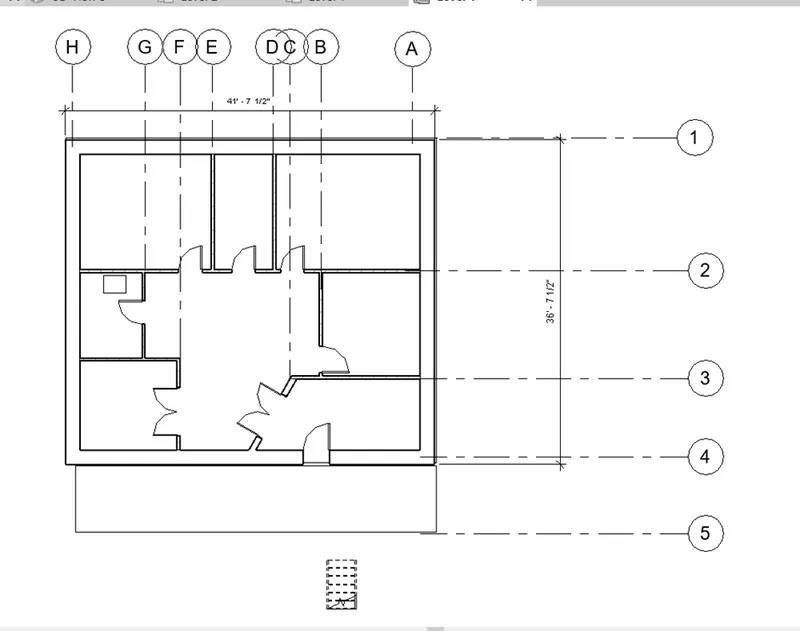
- next we draw the structural plans for ff and sf levels for this go to view tool bar there under #d panel select the structural plans
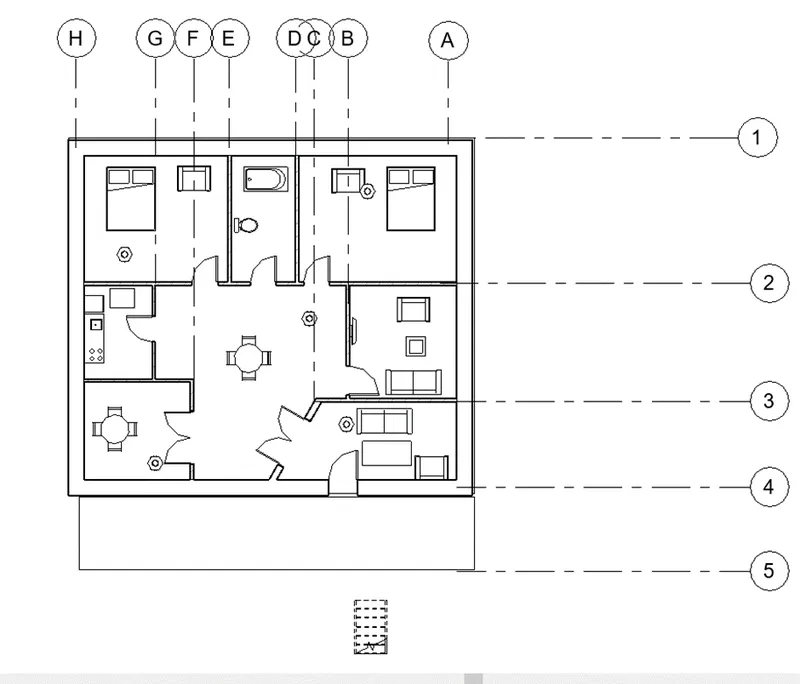
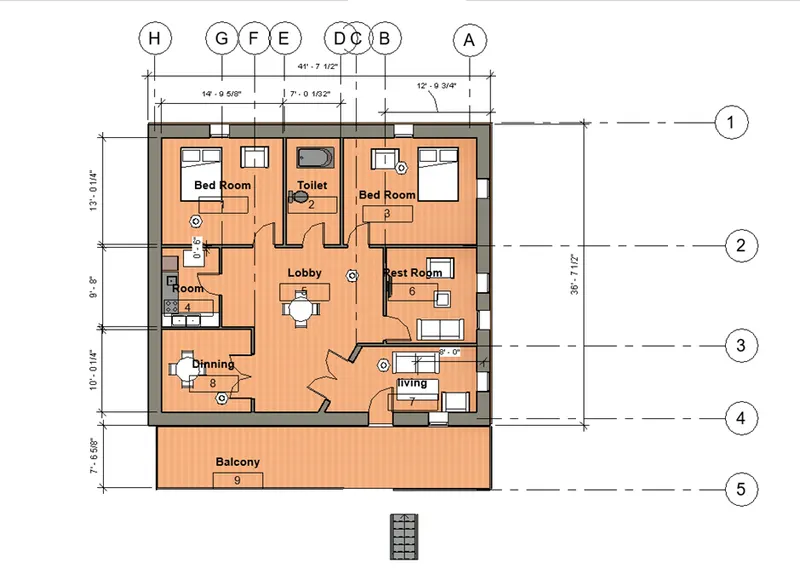
Ans 3:- Aim:- to Add the dimensions to all the walls and floors with reference to the grids
Commands used: Architecture, Datum
Procedure
- Open the architecture tool bar and click on datums and then grid
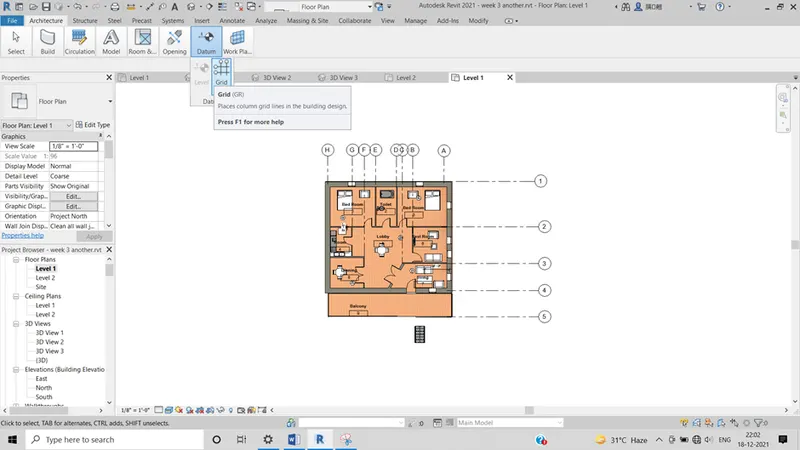
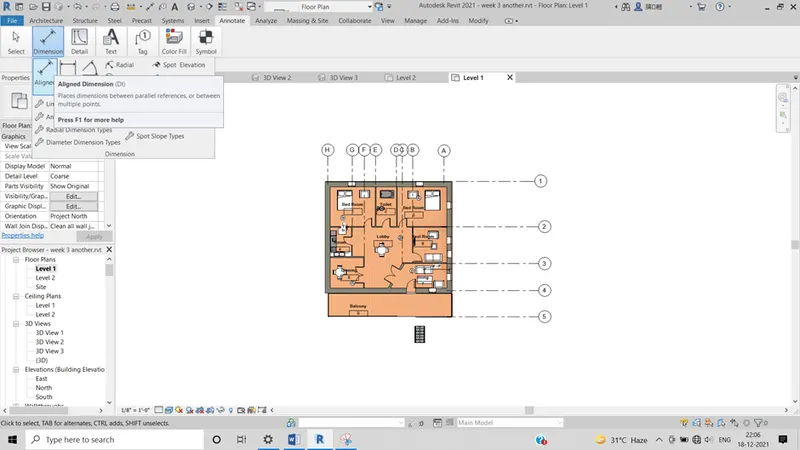
- Open the architecture tool bar and click on datums and then grid
- 5.
- start drawing the dimensions
- For the structural plan go to view toolbar and select on the create panel and click on structural panel.
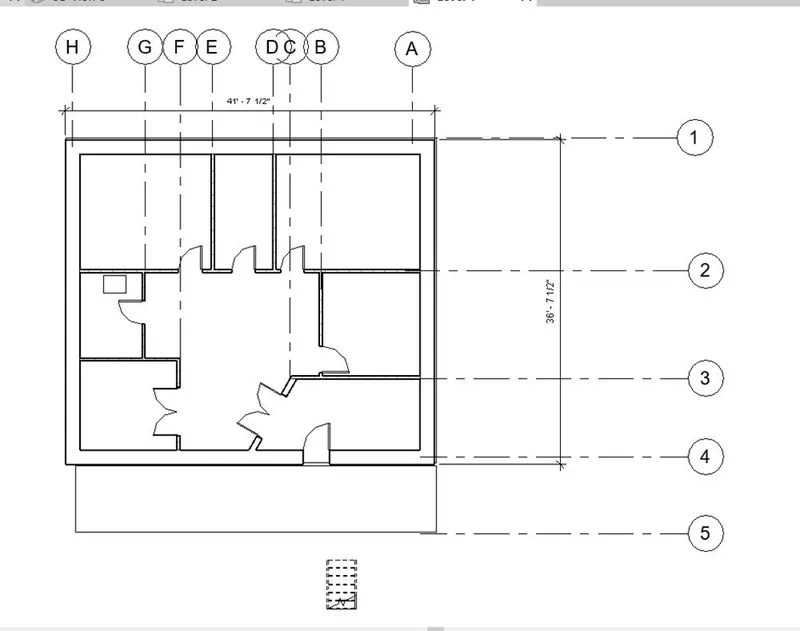
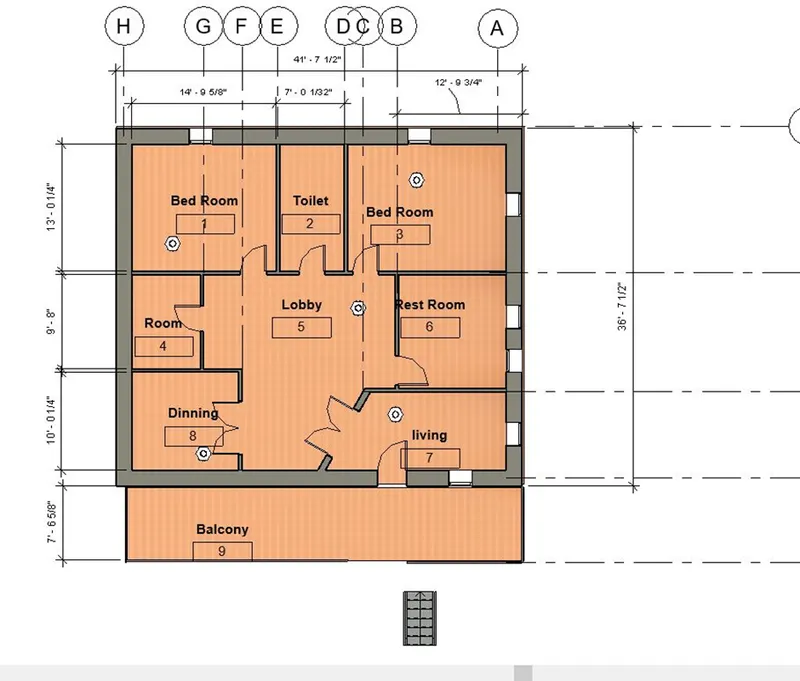
Ans 5:
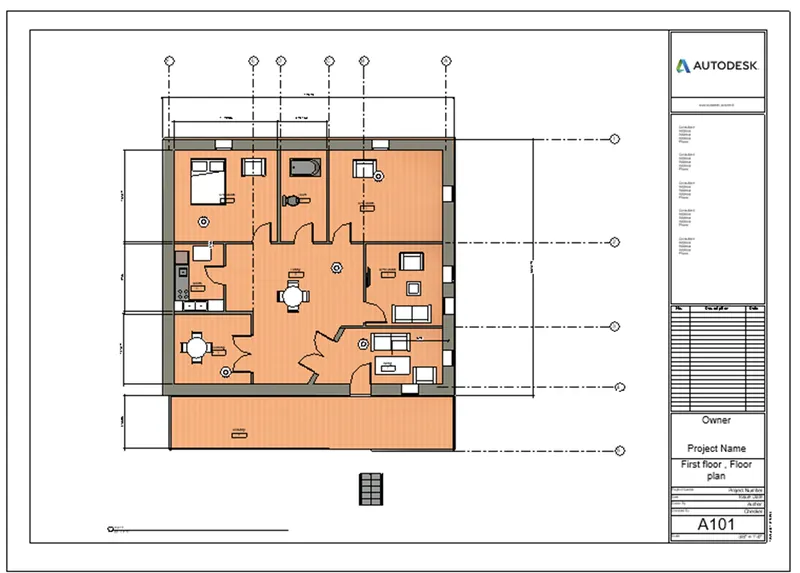
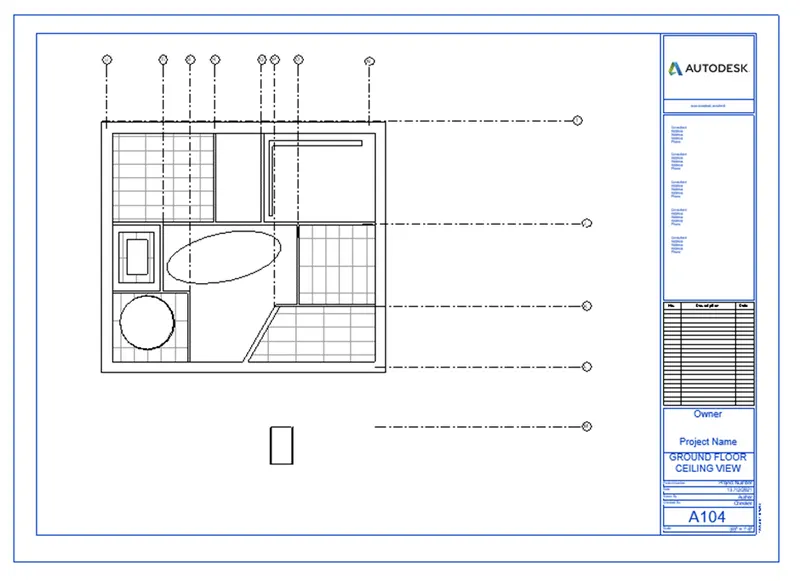
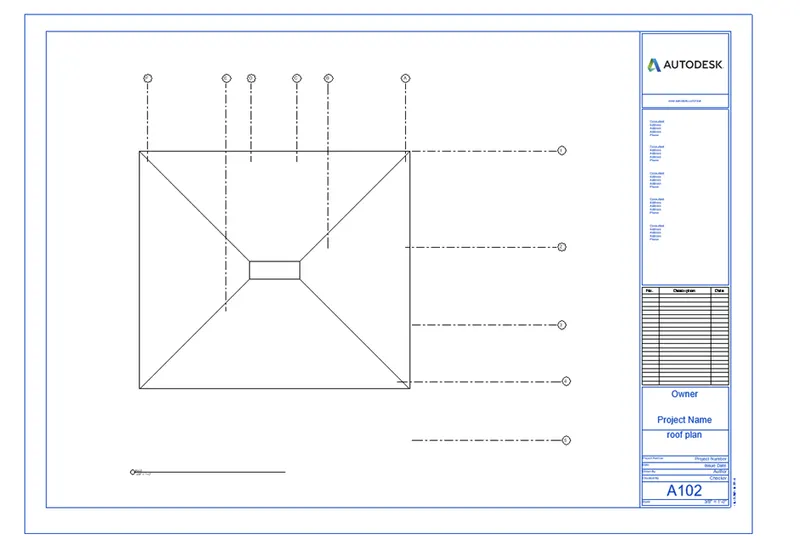
Aim:-To create the sheet template from the view tab and to add the appropriate views
Commands used: view elevations
Procedure
1.Click on the view toolbar and click on sheets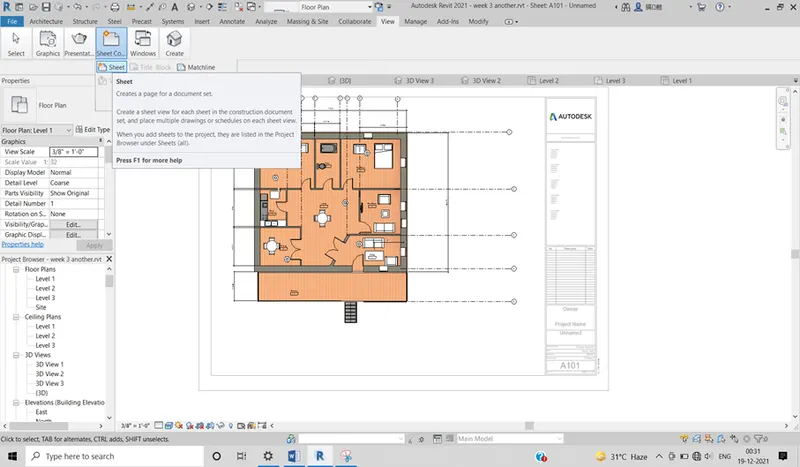 2. A sheet will be appeared on the screen edit the details in the right corner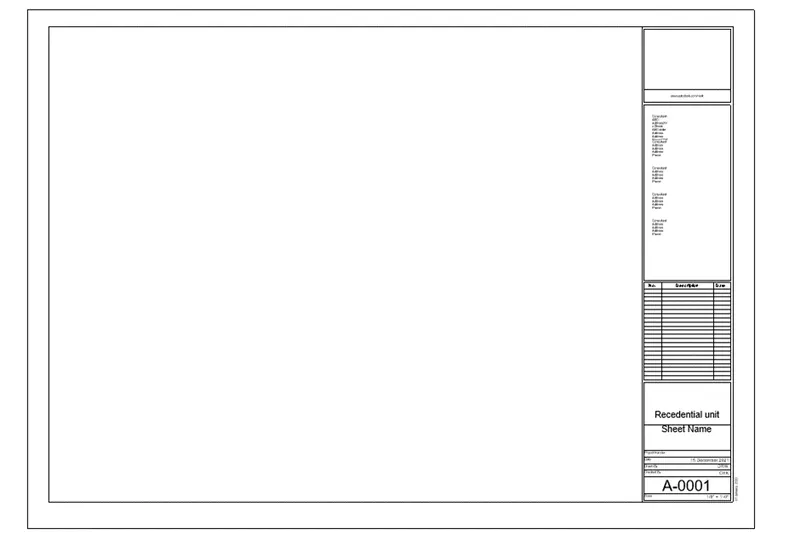
- Add the required details by editing it
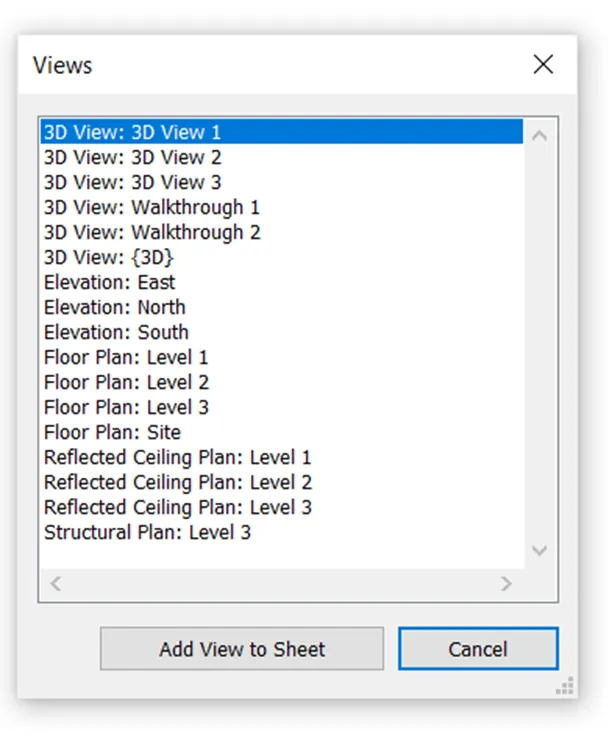
- Go to view tool bar and select the tab view and insert the required views and click ADD view to sheet
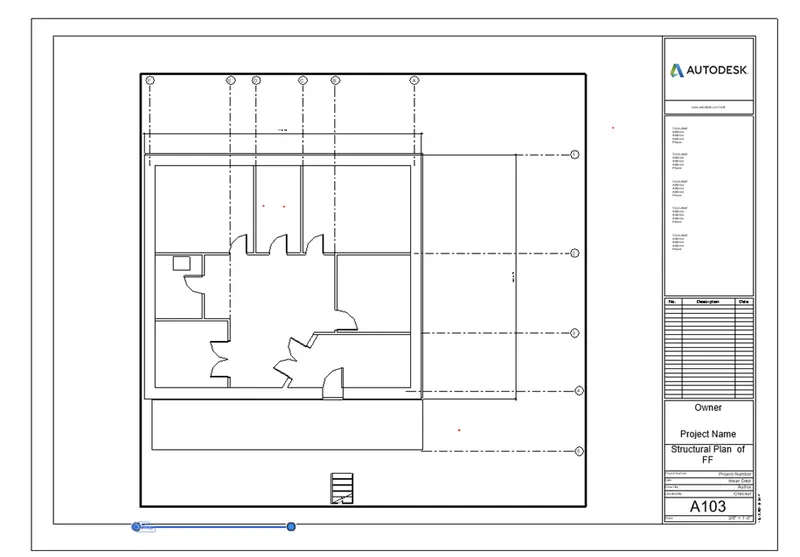
ans 6:-
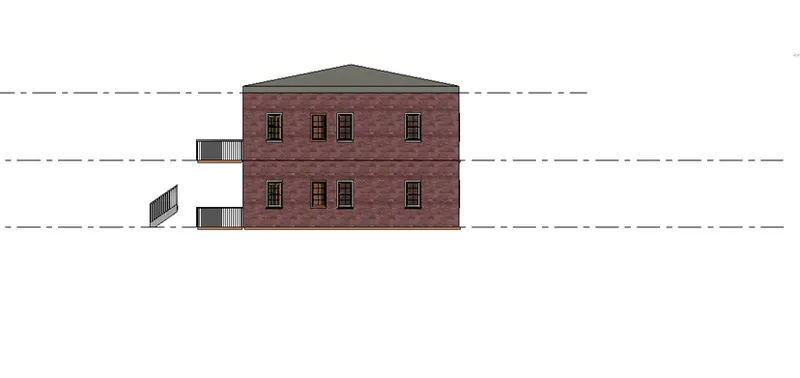
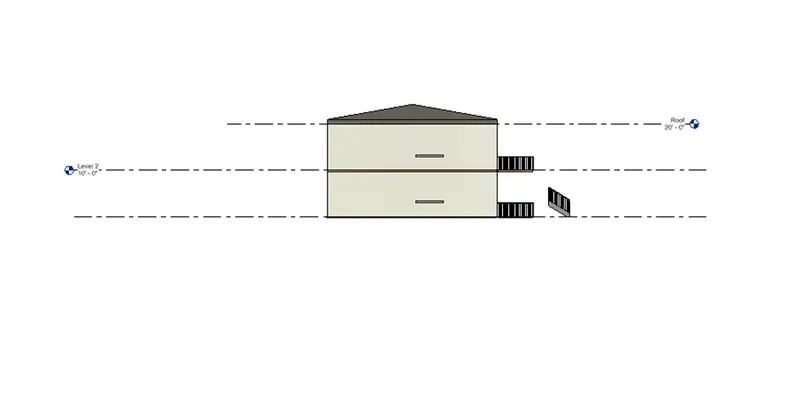
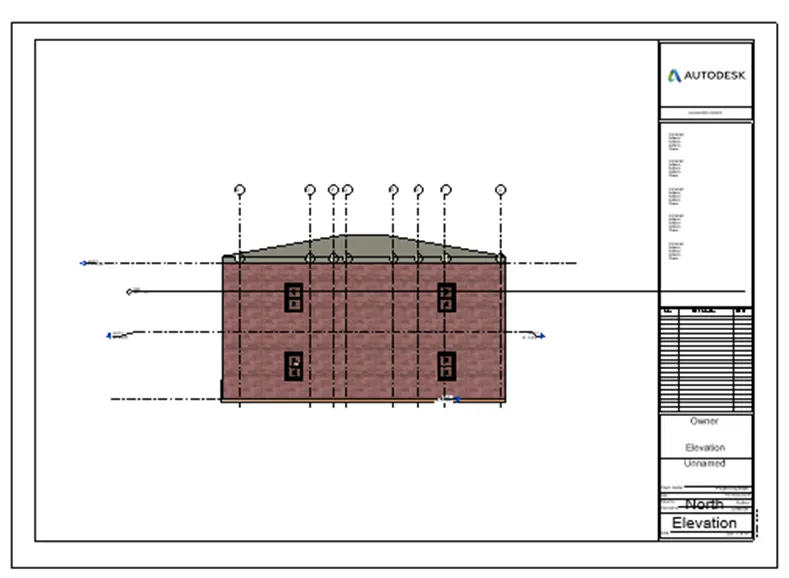
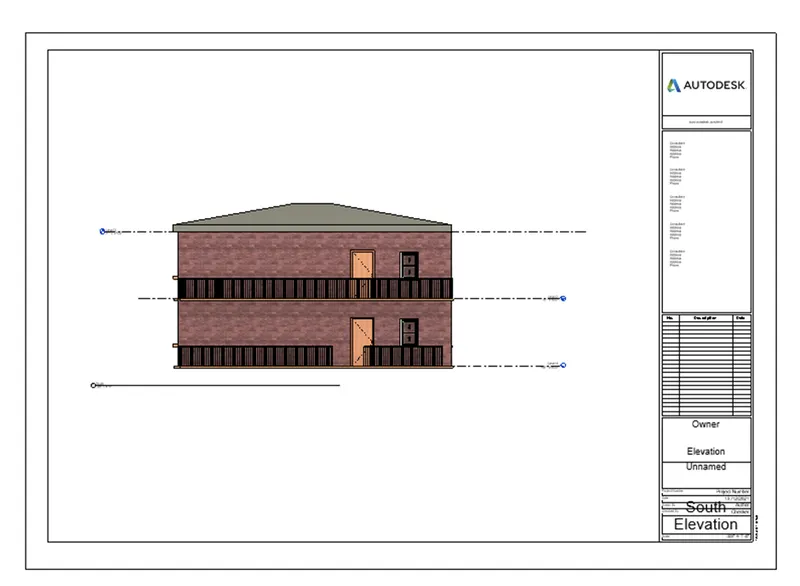
Aim:- To create the elevation views
Commands used:- views. Elevations
Procedure:-
- Go to view tool bar and click on the elevation
- East view
 West view
 North view
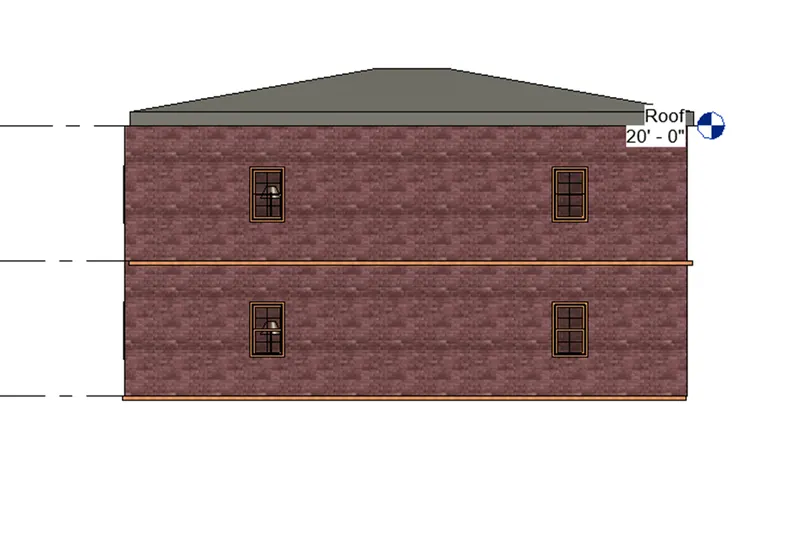 South View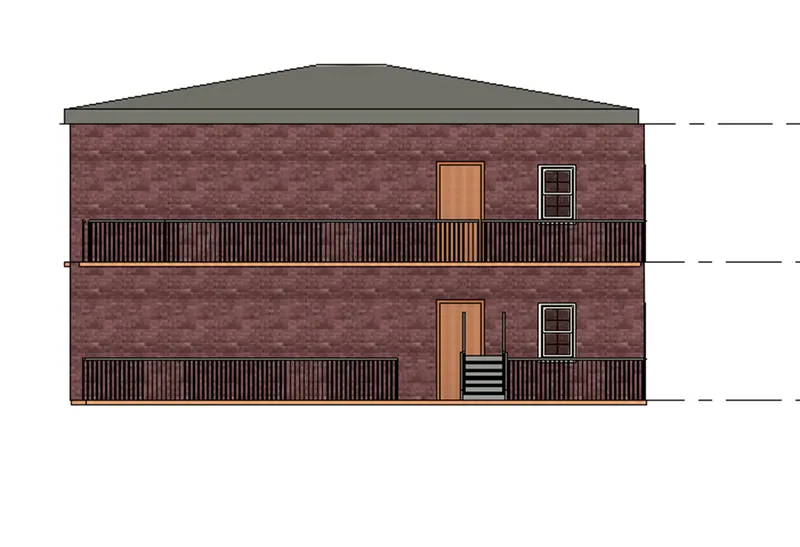
Ans 7:
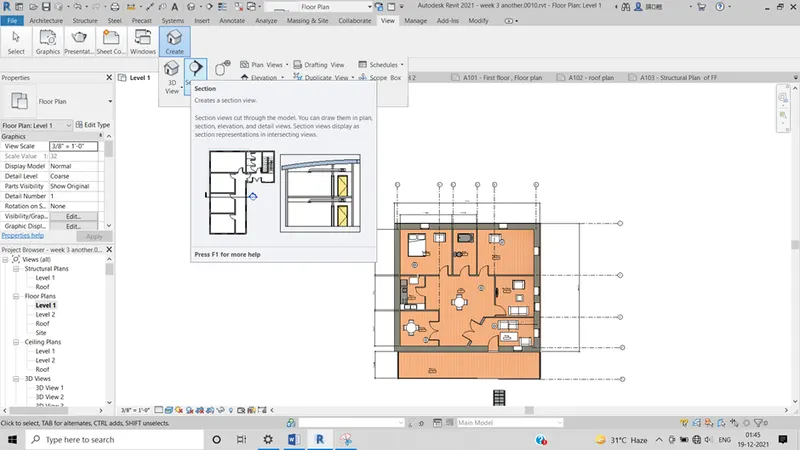
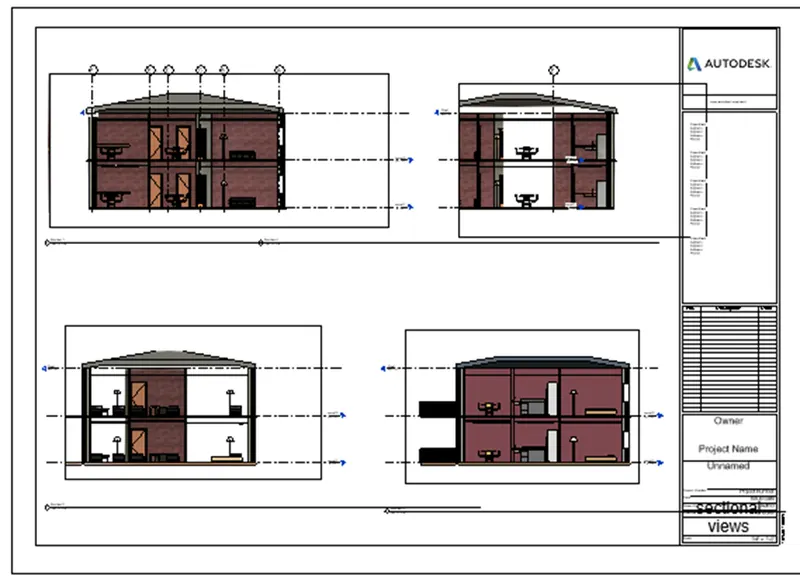
Aim:- to produce the sectional cuts through each rooms
Commands used:
Procedure
- Go to view toolbar and select the sections
 2. Sections passing through living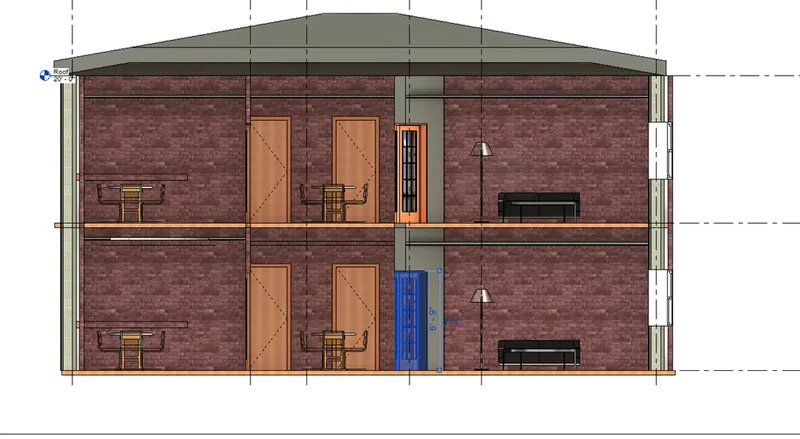
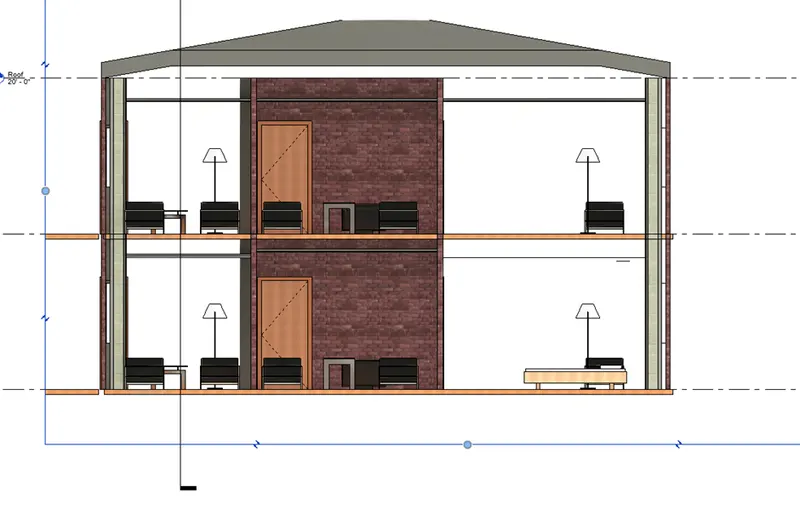
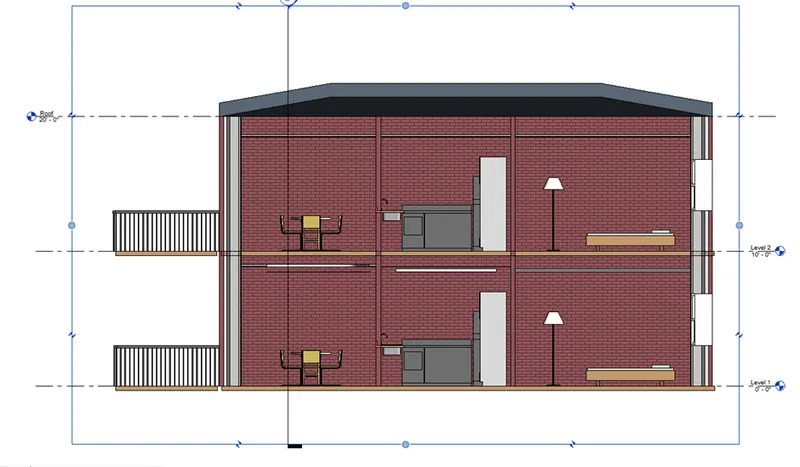
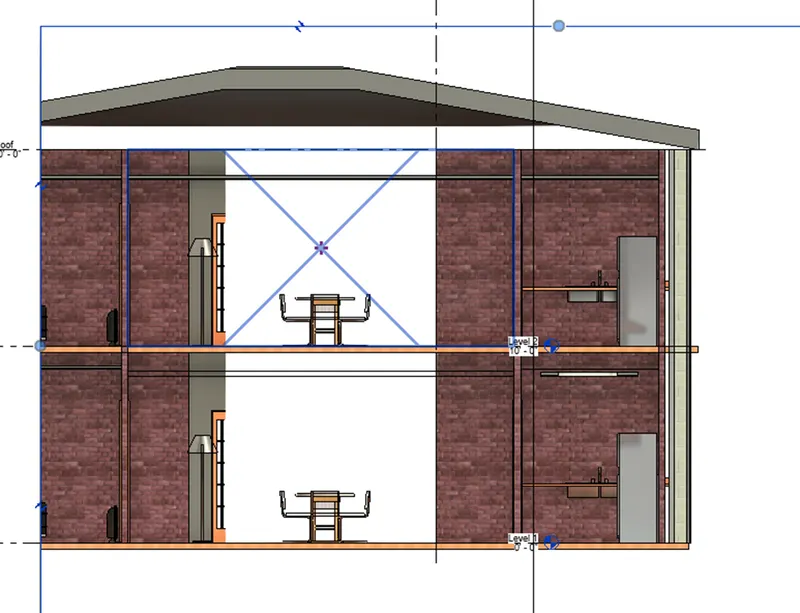
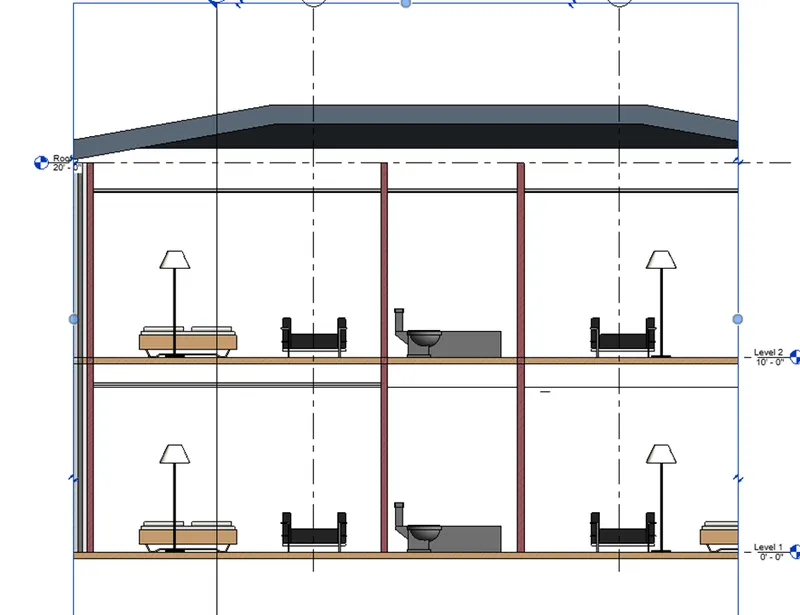
Ans 8:-
Aim:- To classify the views such as plan views,, section views and elevation views
Tools used:- Project browser, views and sheet
- First we produce all the elevations go to view click on sheets
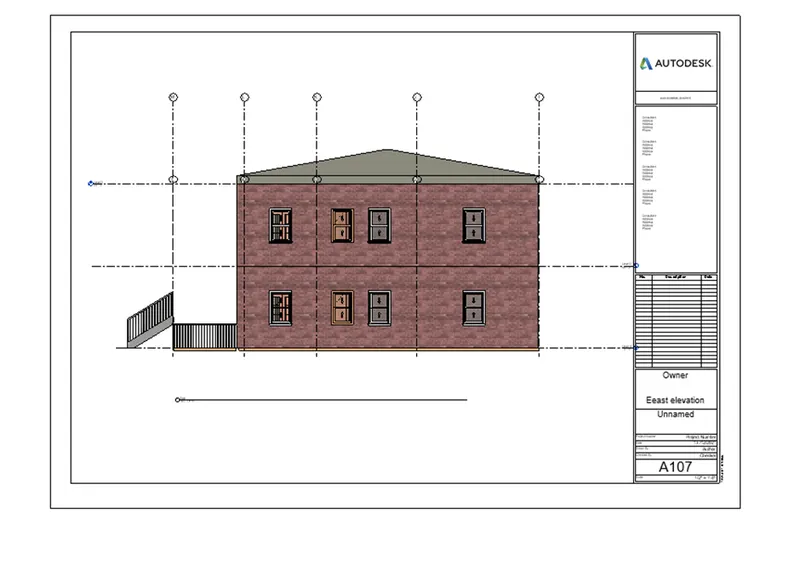
Ans 9:
Aim:-To create the multiple sheets
Procedure:
- In the first step go to view toolbar and create the sheets
- From the project browser start adding the required views, section/ elevation
- Adjust the scale
- Click ok
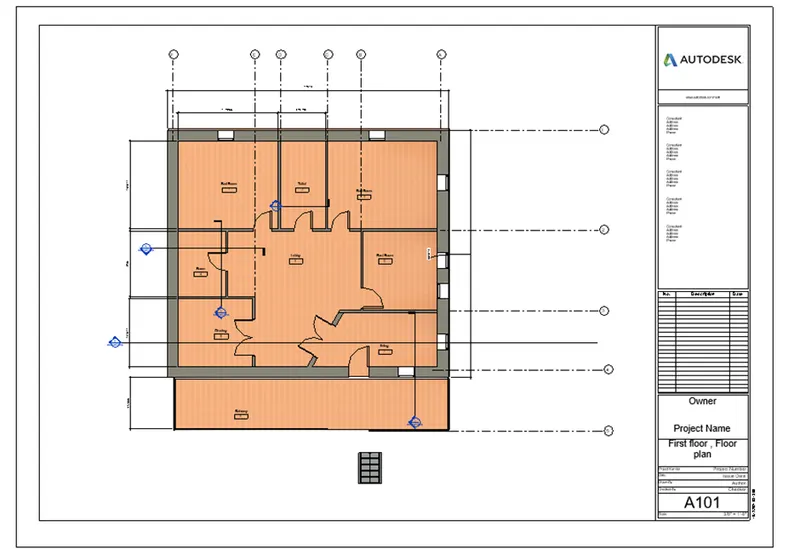
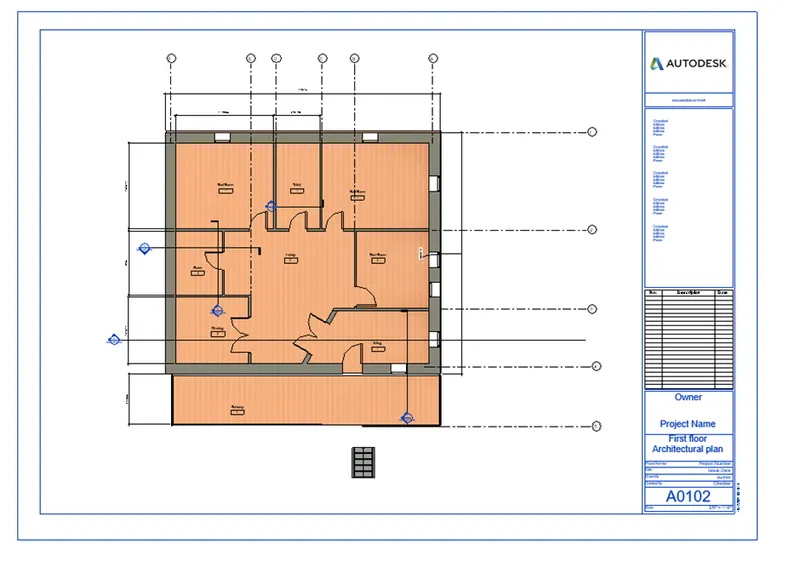
GF and FF Architecture plan
- Roof plan
- FF and GF structural plans
- Roof framing plan and elevations
Ans 10:
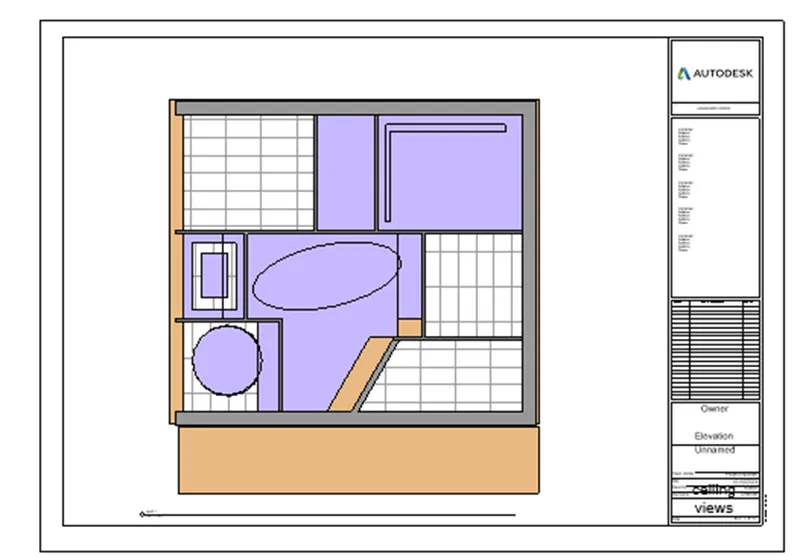
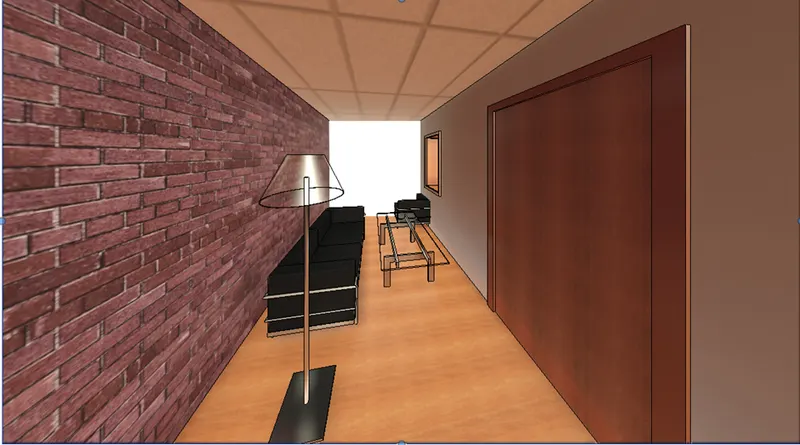
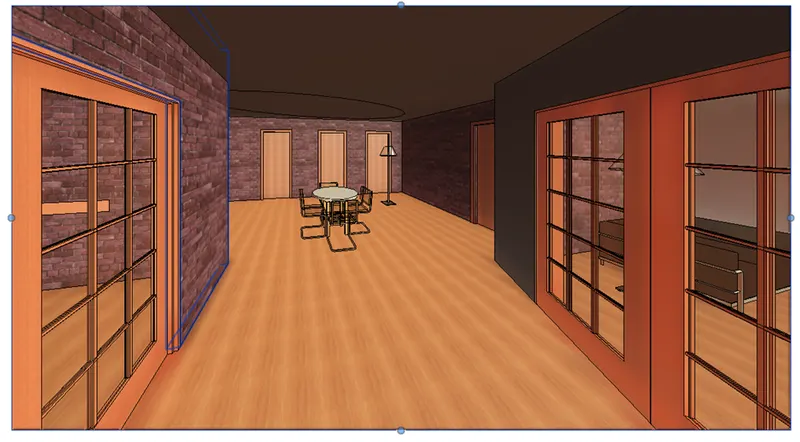
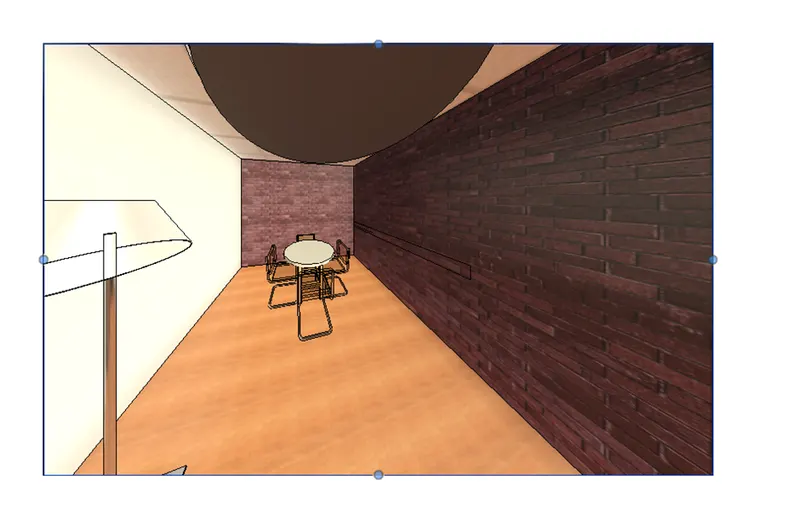
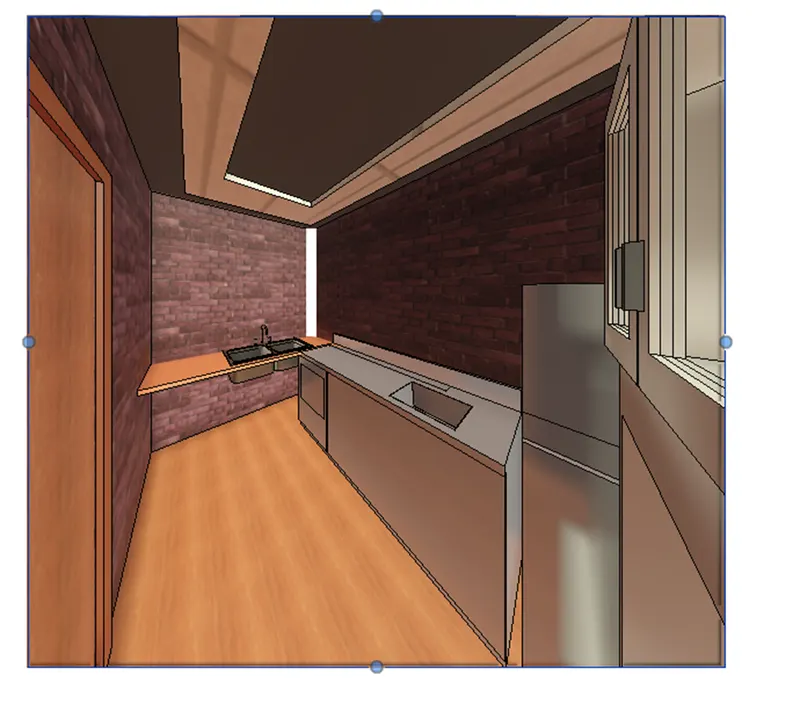
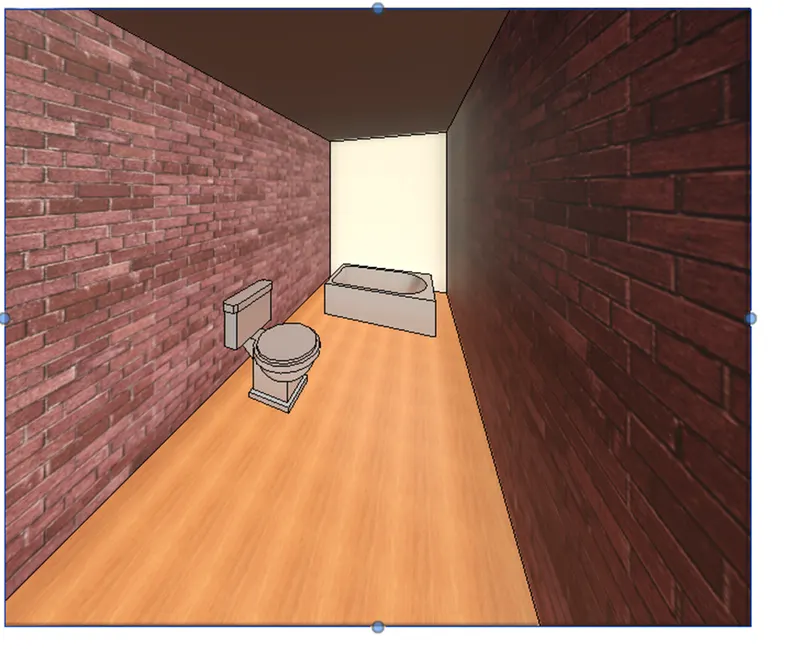
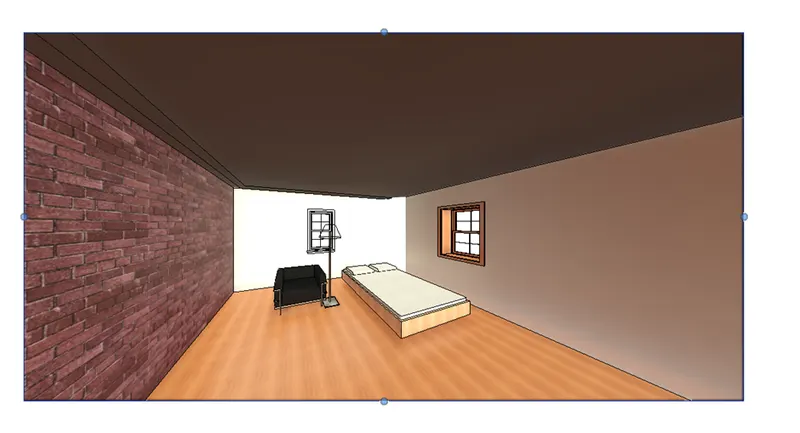
Aim:-to create the 3d images of All the rooms
Procedure:-
- Go to view and click on 3d view and camera
- Place the camera at the required location click ok
- Go to view toolbar and select the sections