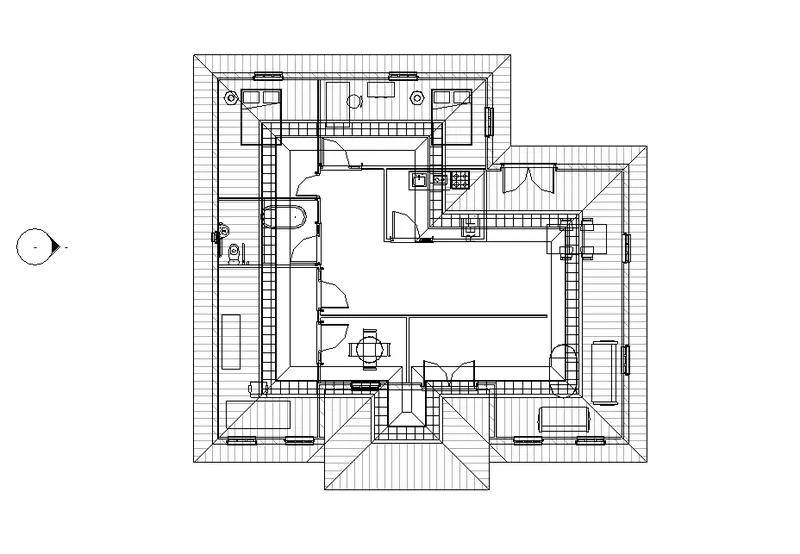
3D Creation of Ceiling, Roof, Architectural plan, Structural plan, Sectional view, Elevation view and Camera specific view for a house plan using REVIT
AIM:- To model a Ceiling from the architecture tab above the walls at the ground floor level.
INTRODUCTION:-
The creation of Ceilings within Revit is a very similar process to that of Floors and Roofs- ie you can let Revit do most of the work and “guess” where you want the boundaries to be,Or you can enter “Sketch Mode” and literally sketch out the boundary of the ceiling yourself.
The main thing to remember is to be in the Correct Ceiling Plan View before you start. Revit “will” let you place Ceilings in Floor Plan Views, but I would not advise this as you cannot readily see what you have created.
PROCEDURE:-
Step:-1
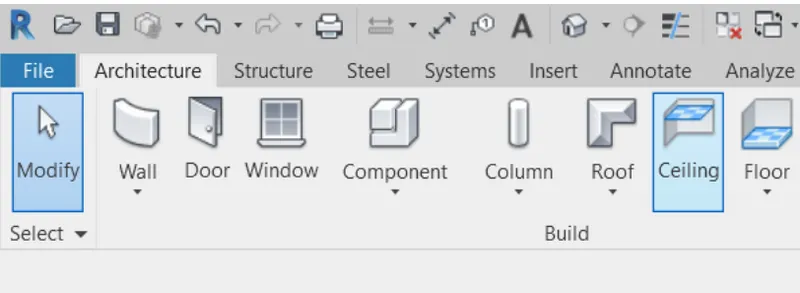
First we open the revit sofware, and select the ceiling option from the architecture toolbar.
Step:-2
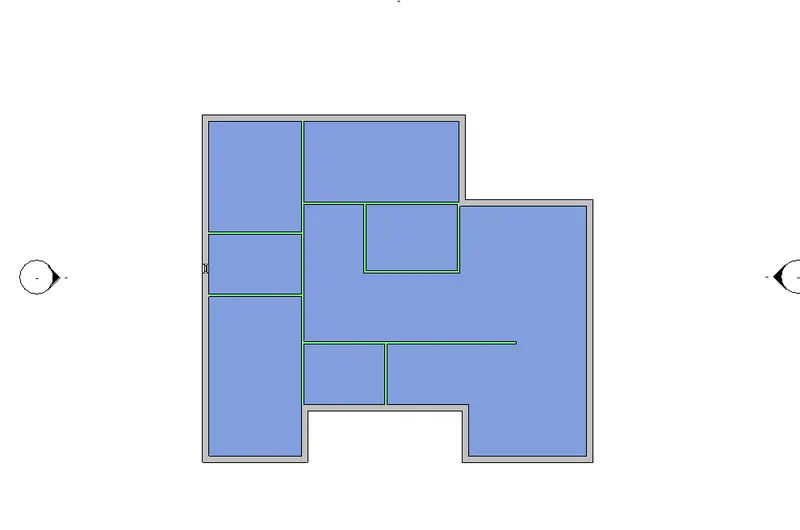
After selecting the ceiling option, then select the each room one by one.
Then the ceiling will be created, as shown in the below figure.
Step:-3
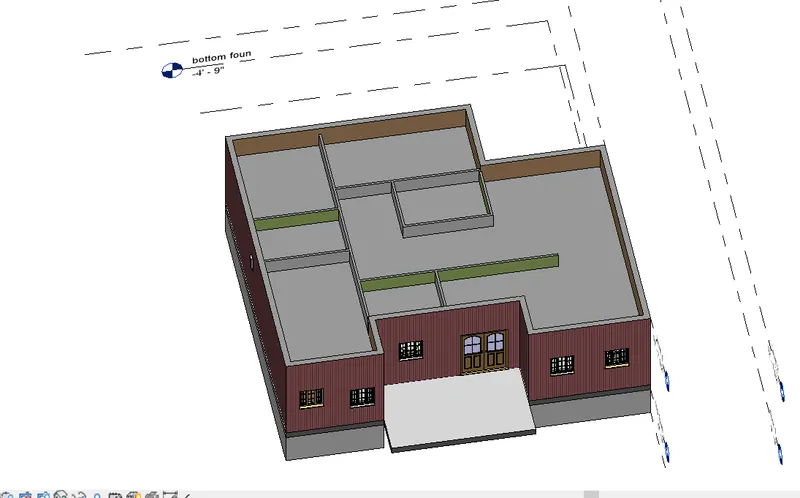
Here we can the ceiling in the three dimensional view as shown in the below figure.
RESULT:-
The ceiling has been modeled successfully from the architecture tab above the walls at the ground-floor level.
2) Model a roof above the ceiling by selecting the footprints of the ceiling. Using the adjustment toolbars appearing on-screen adjust the roof slope to 10 degrees.
AIM:- To model a roof above the ceiling by selecting the footprints of the ceiling.
INTRODUCTION:-
Roof, covering of the top of a building, serving to protect against rain, snow, sunlignt wind, and extremes of temperature.
Roofs have been constructed in a wide variety of forms flat, pitched, vaulted, domed, or in combinations as dictated by technical, economic, or aesthetic considerationsThe earliest roofs constructed by man were probably thatched roofs that were made of straw, leaves, branches, or reeds; they were usually set at a slope, or pitch, so that rainfall could drain off them.
Conical thatched roofs are a good example of this type and are still widely used in the rural areas of Africa and elsewhere.
Thicker branches and timbers eventually came to be used to span a roof, with clay or some other relatively impermeable substance pressed into the interstices between them.
Gabled and flat roofs were possible with these materials. With the invention of brick and cut stone for building, the basic roof forms of the dome and vault appeared.
PROCEDURE:-
Step:-1
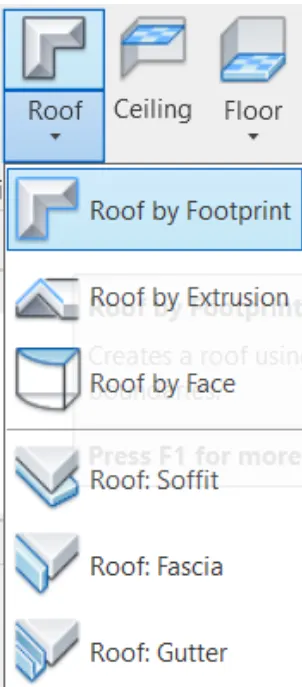
Open the architecture toolbar, and select the Roof by Footprint option as shown in the below figure.
Step:-2
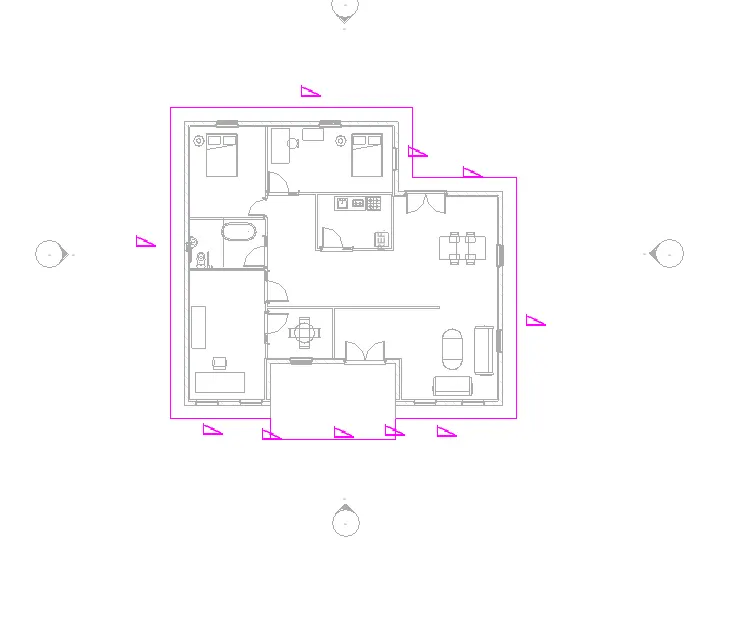
Next we select the roof and adjust the roof to 10 degrees by selecting it, as shown in the figure.
Step:-3
The roof has been created, as shown below.