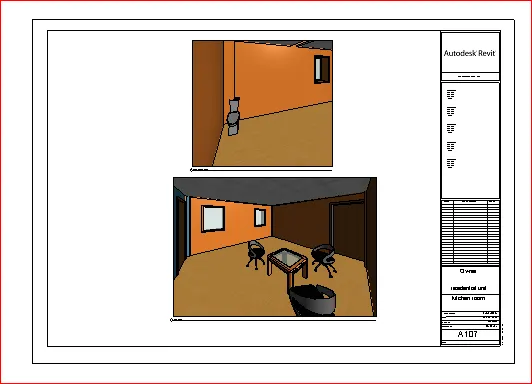
3D Creation of Ceiling, Roof, Architectural plan, Structural plan, Sectional view, Elevation view and Camera specific view for a house plan using REVIT
Q-
Ans:-
Aim:- to model a ceiling from the arctitecture from tab above the wall at first floor level
indroduction:-
the creation of ceiling within revit is a very similer process to thats of floor and roof.
procedure:-
step-1
-first select the cieling option
srep-2
after selection the ceiling option then select the each room one by one
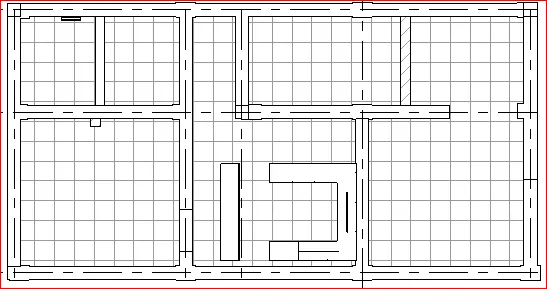
results:-
the ceiling has been modeled sucessfully from the architecture tab.
q-2
Aim:-to model a roof above the ceiling by selecting the footprint of ceiling
indroduction:-
roof covering of the top of a building serving to protection against snow sunlight wind.
procedure:-
step-1
select the roof by footprint
step-2
next select the roof and adust the roof to 10 degree
step-3
the roof has bben created as shoen in figure
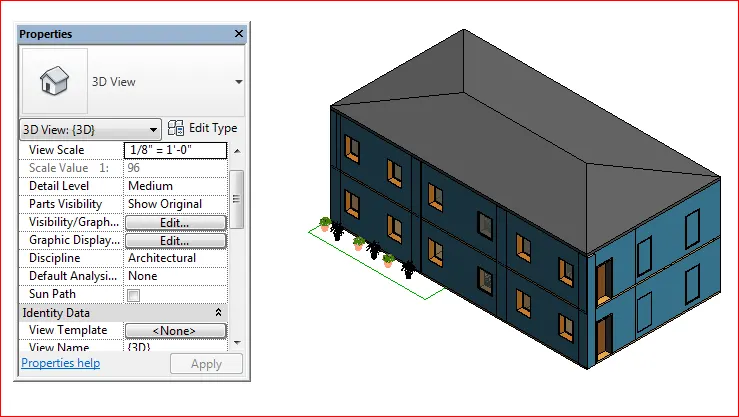
results:-
the roof has been created suceesfully to model in the revit in details manner
Q-3
Aim:-to create plan view for ground floor and first floor level includeing the wall floor and components
and seprate them architecture and structral plan
introduction:-
the structral plan view is the defalt view when you start a new project
most project include at least one strutral plan. and one arctitectural plan
procedure:-
step-1
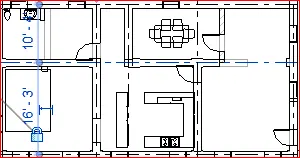
first we draw the architectural plan of first floor and second floor as shown in figure
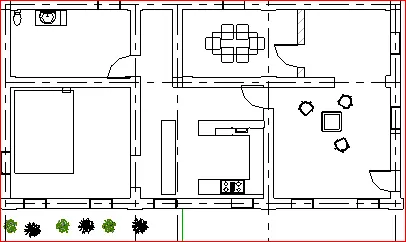
step-2
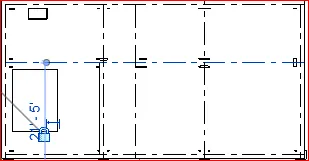
draw the structral plan of first and second floor
results:-
creates plan veiw for ground floor level and first floor level include all the wall and floor and component
Q-4
Aim:-
to add dimension to all the wall and floor with reference to the longtitunal and transverse grid created in the project file
indroduction:-
the structural plan view is the defalt view when you start a new project using a structural template.
procedure:-
step-1
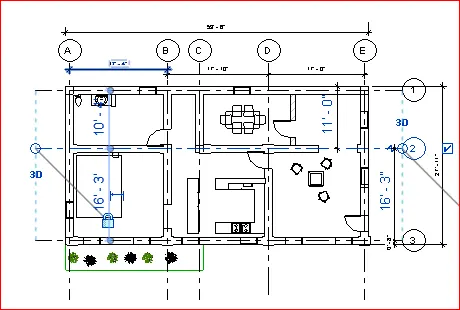
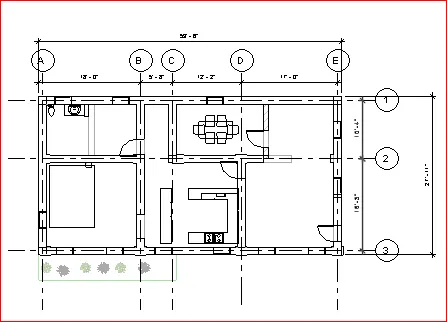
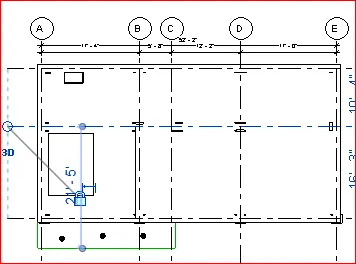
here we drawn the longitunal and transeverse gris to the architectural planas shown below
and add the dimension to the architevtural plan
step-2
here we drawn the longitunal and transeverse gris to the structral plan as shown below
and add the dimension to the architevtural plan
results:-
the dimension are added to the strutural and arcitectural plan
in longitunal and transverse direction
Q-5
Aim:-
to create a sheet template from the view tab and adust the parameter on the sheet to add oprropraite view
indroduction:-
cretae vieiw on the project template before you start building the model to steamline the project douomentation process
procedure:-
step-1
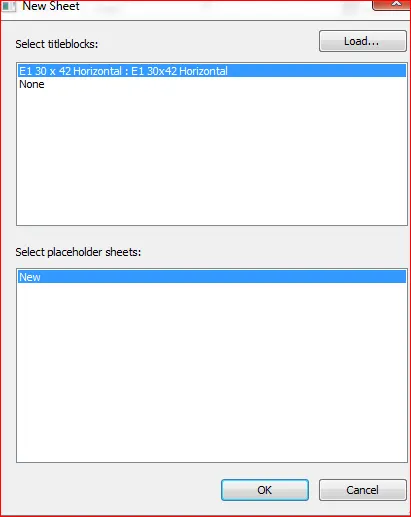
first we click on the sheet option from the view tolbar as shown below
after click the sheet the new tab will be vissible on the screen
then select the A1 metric template will be displayed
step-2
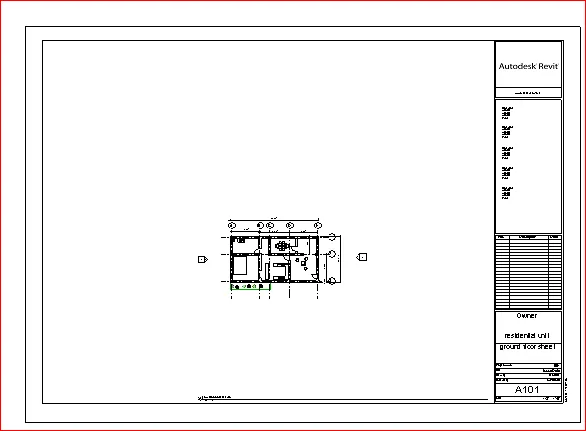
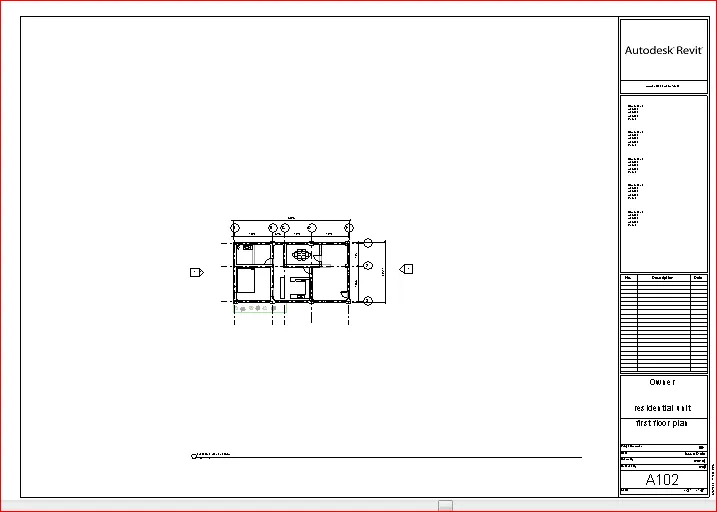
in this sheet template we insert the first floor plan and secon floor plan separately as shoen below
next edit the project name and sheet number as in the below figure
results:-
created a sheet templete from the view and adust paramter on the sheet for adding appropriate view
Q-6
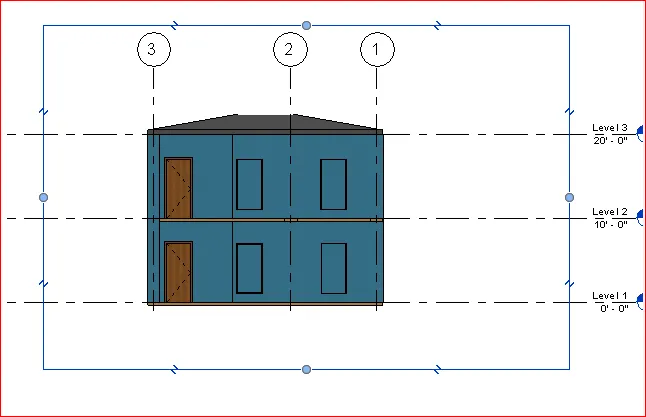
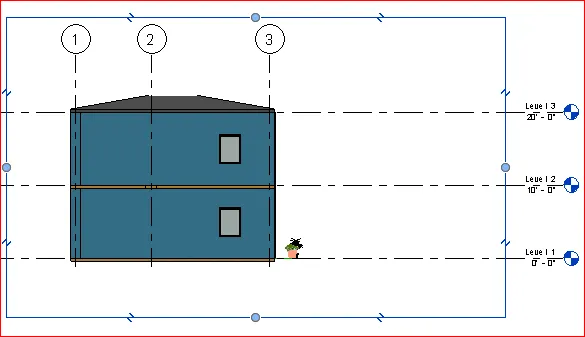
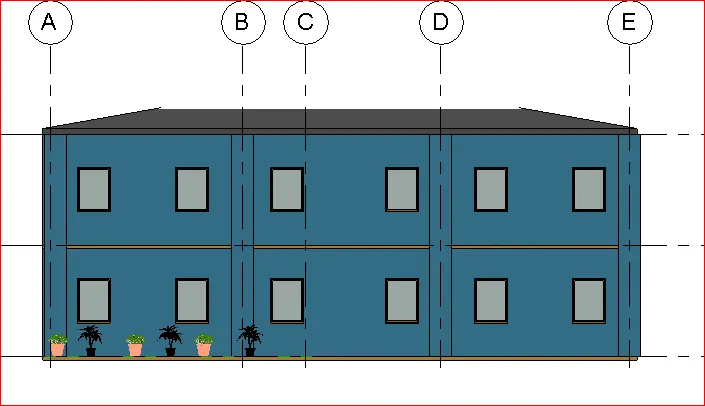
Aim:-to cretae the elevation view looking at your building from east north south and west using the elevation tab
indroduction:-
an elevation is a view of a building seen from on side
procedure:-
step-1
firtst we click on the elevation optin from the view toolbar
step-2
next the elevation from the east will be vissble as shown below
step-3
next the elevation from the west will be vissble as shown below
step-4
next the elevation from the south will be vissble as shown below
step-5
next the elevation from the north will be vissble as shown below
Q-7
Aim:-
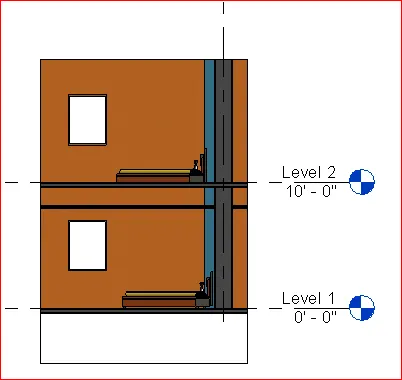
to produce section cut through each room either cutting acreoss longitnally or in transverse direction
indroduction:-eveal hideen details in a mechanical drawing
procedure:-
step-1
first we click on the section option from the view toolsbars as shown below
-next we produce the section view of the bed room as shown figre
step-2
first we click on the section option from the view toolsbars as shown below
-next we produce the section view of the toilet room as shown figre
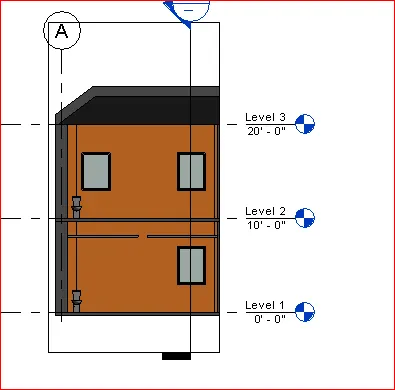
step-3
first we click on the section option from the view toolsbars as shown below
-next we produce the section view of the tea room as shown figure
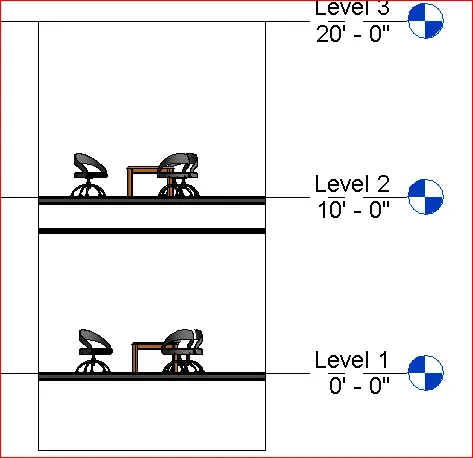
step-4
first we click on the section option from the view toolsbars as shown below
-next we produce the section view of the dinning room as shown figure
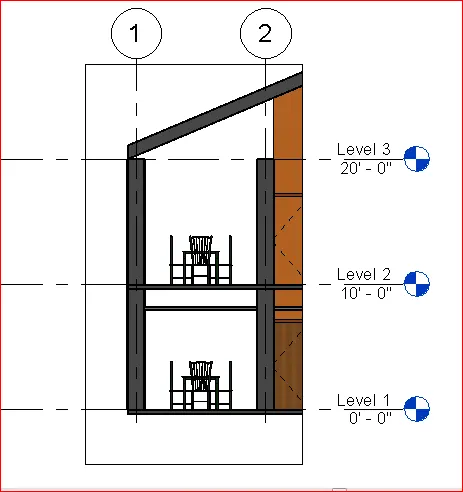
step-5
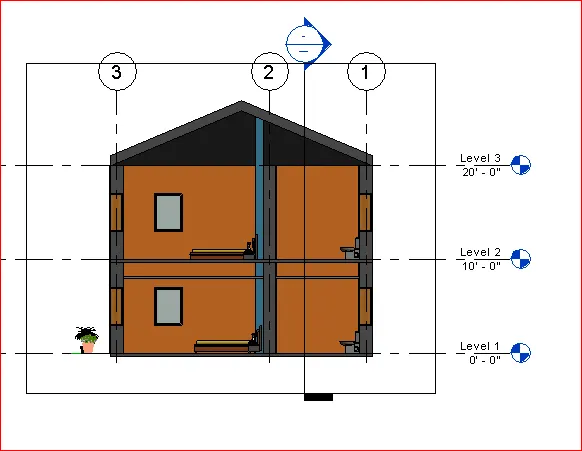
first we click on the section option from the view toolsbars as shown below
-next we produce the section view of the wall room as shown figure
q-8
Aim:-to calssify the view plan section and elevation view to either design or doucmentation catagory using properties browser
indroduction:-
the structural pLAN VIEW IS A DEFALT VIEW WHEN YOU START A NEW PROJECT USING structral tempate
procedure:-
step-1irst we open the project browser the view plan view section view and elevation view are visible in that project browser
next we indert therse plan one by one in the sheet separately
step-2
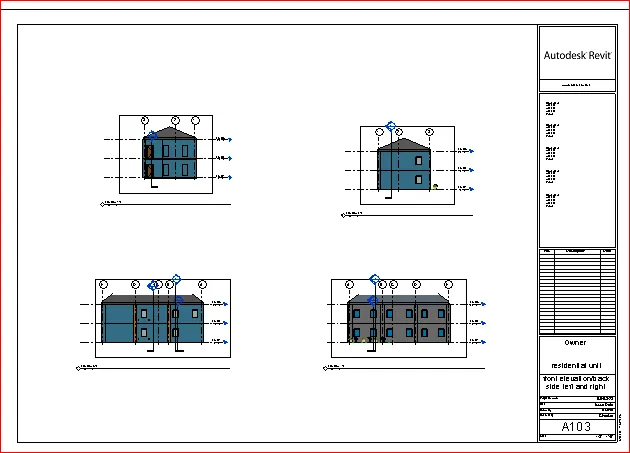
first ew insert the front/back&left and right elevation in the sheet template
step-3
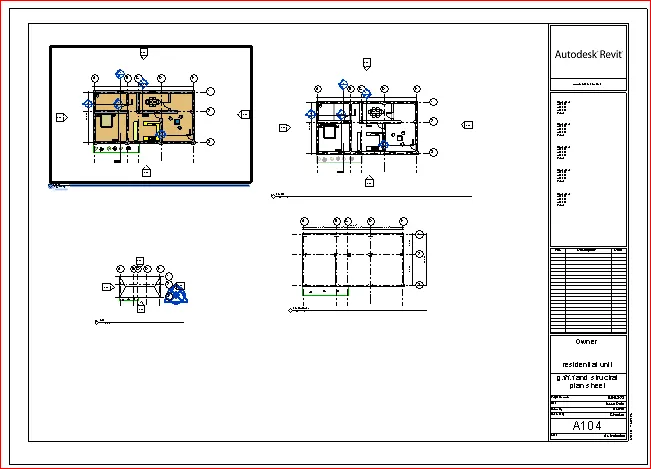
first ew insert the ground floor and first floor elevation in the sheet template
results:-:-view plan section view and elevation view are claasifed to design category using properties browser
Q-9
Aim:-
Aim:-
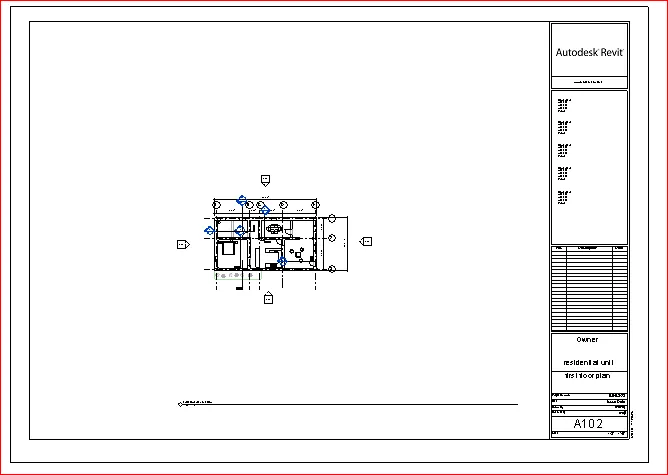
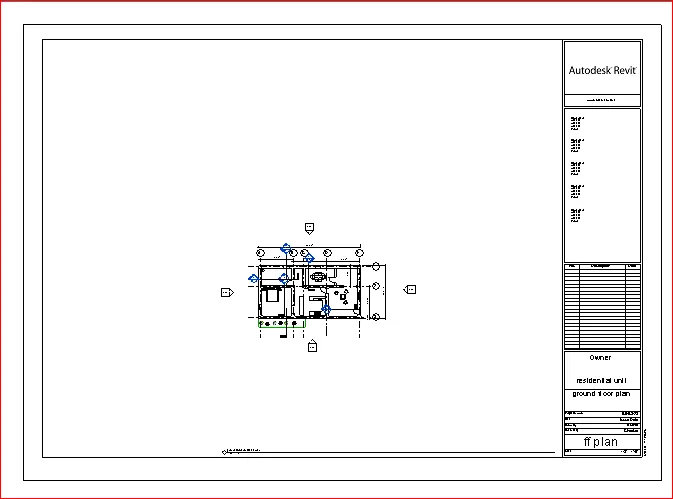
to create the multiple sheets and produce the drawing in the sheet from the given drawing list
indroduction:-
to create view on the project template before you start building the model to steamline the project documentation process
procedure:-
step-1
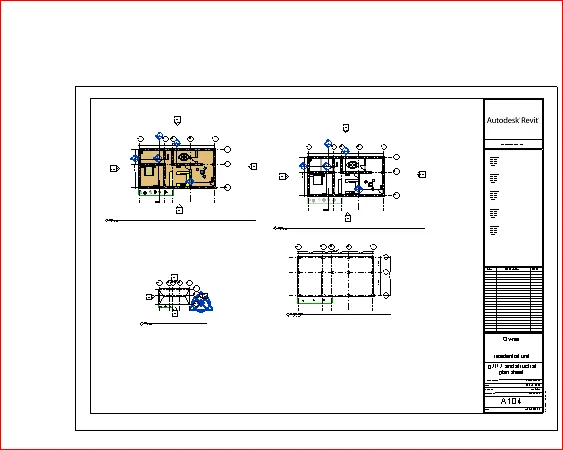
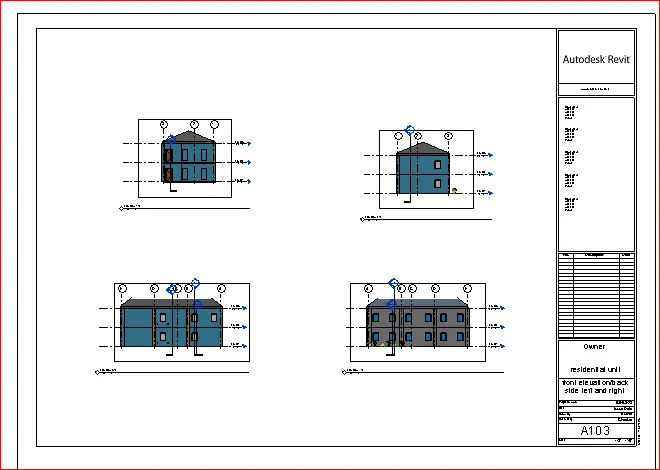
first we produce the ground floor arctitectural olan in the sheet template A-101 as shown in below figure
results:-
to create the sheet template of different plan in one sheet or single tepmplate sheet.
Q-10
Aim:-
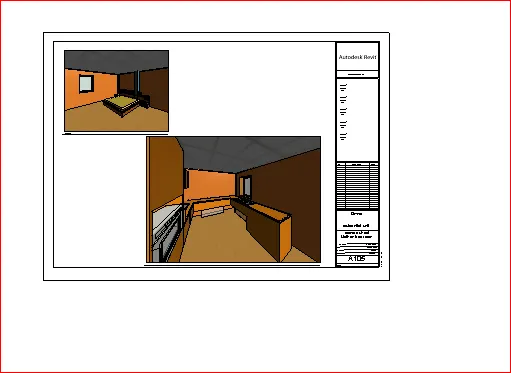
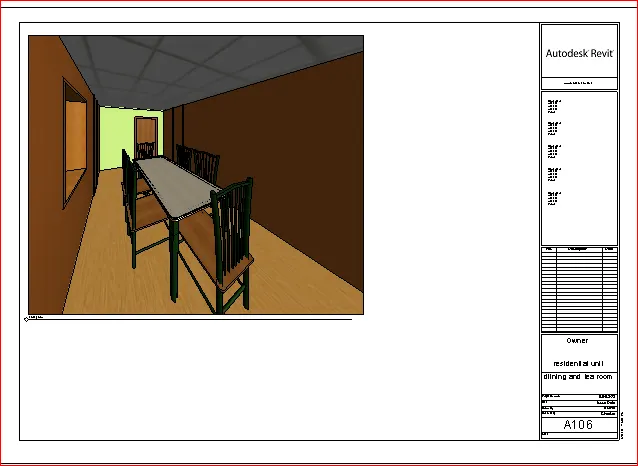
to create a camera specfic view of 3d viw living room dinning and bed room in sheet seprately.
indroduction:-
camera veiw are reallt useful in rivet
procedure:-
step-1
first we take the sheet and name its camera sheet
next goto the floor plan and place the camera in the kitchen&bed room and camera will be shown below
step-2
first we take the sheet and name its camera sheet
next goto the floor plan and place the camera in the dinning room room and camera will be shown below
step-3
first we take the sheet and name its camera sheet
next goto the floor plan and place the camera in the tea room & toilet room and camera will be shown