3D Creation of Ceiling, Roof, Architectural plan, Structural plan, Sectional view, Elevation view and Camera specific view for a house plan using REVIT
1. Answer:
Aim: To place the ceiling in the first floor level using ceiling tool from the architecture tab.
Procedure:
- Step1: Open a revit software and also open the already created plan layout and go to the first floor.
- Step2: Now we have an option called ceiling from the architecture tab just to draw the ceiling click the ceiling from architecture tab once you have clicked there we have 2 options, 1 is automatic ceiling and sketch ceiling now you just select sketch ceiling immediately a ribbon will appear.


- Step3: Now the ribbon will show the various options to draw a ceiling for example line option rectangle option polygon option or ellipse option select the line option.

- Step4: Now using the line option draw the ceiling across outer side of the wall borders after that click the tick mark and the ceiling will be successfully created on the first floor level.
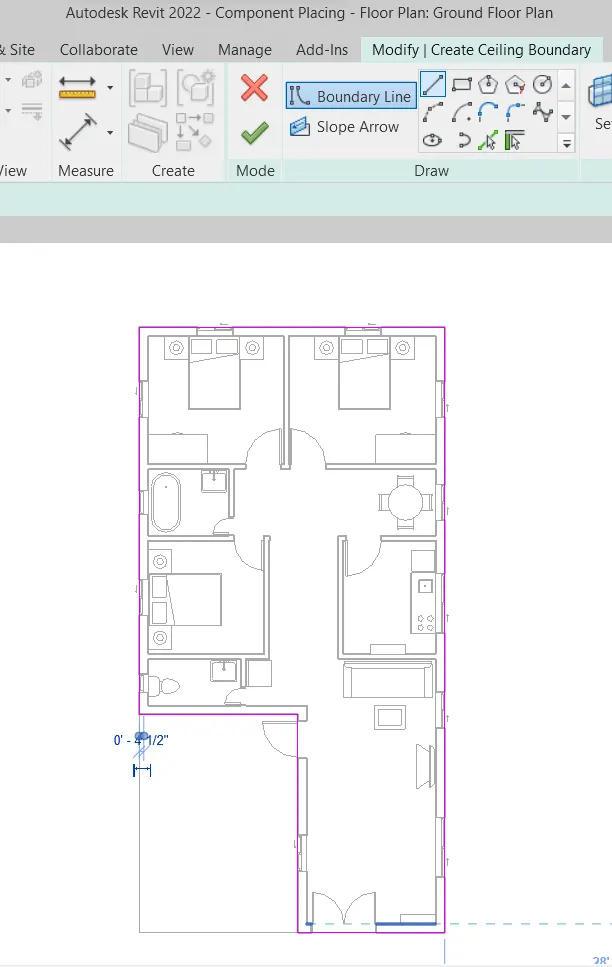
- Step5: Now to cross check this go to 3D view and it can be seen.
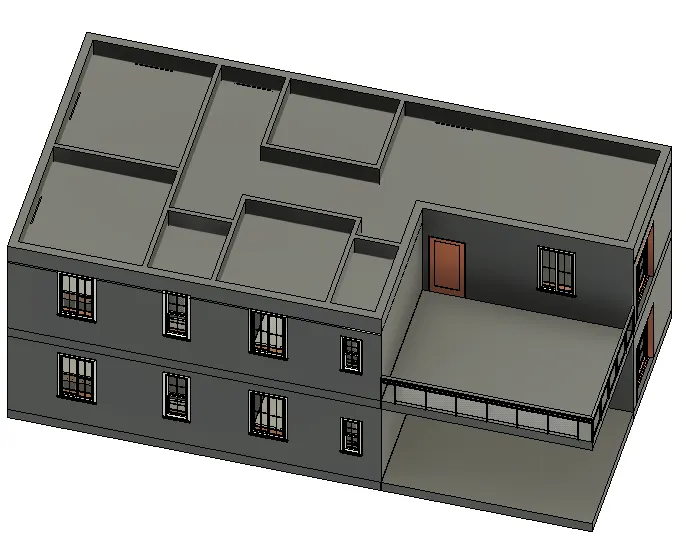
Result: The file attached is named as "Ceiling Placement".
2. Answer:
Aim: To model a roof above the ceiling by selecting the footprints of the ceiling and also provide 10 degree slope.
Procedure:
- Step1: Open the revit software then and also open the already created plan layout and go to the first floor.
- Step2: Now go to the option called roof there will be a drop down option just click that and after that there will be six option just select the 1st option called “Roof by footprint”.

- Step3: Now a ribbon tab will appear just like ceiling ribbon tab there just click the line option.

- Step4: Now draw the roof using the line option draw the roof along the outer side of the wall borders after that click the tick mark and it will automatically create the roof.
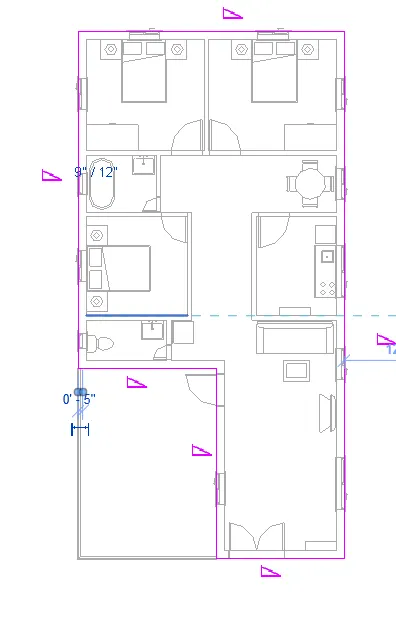
- Step5: Now to cross check this go to 3D view and it can be seen.
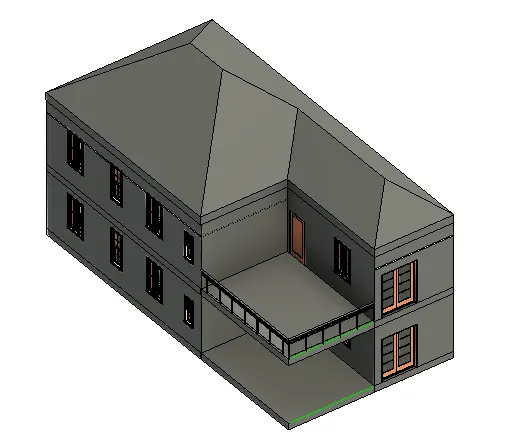
- Step6: Now to change the slope 10 degree, first check the unit by typing “UN” command.
- Step7: Now a ribbon tab will appear, then go to the slope option and click now a tab will open.
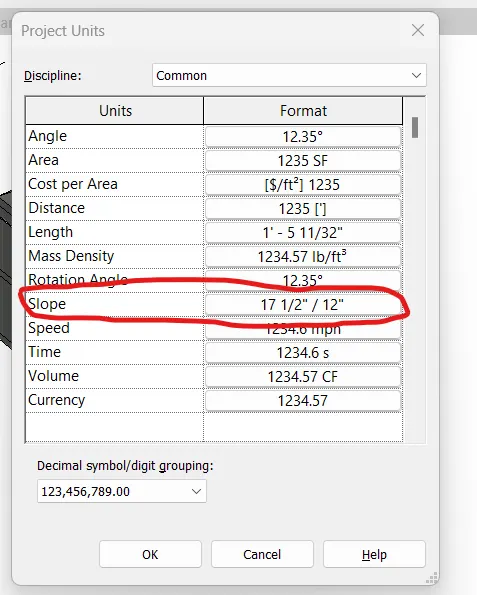
- Step8: Now in that tab beside units a drop down arrow will be there click that and there will be option called “Degrees” click that, then click Ok.
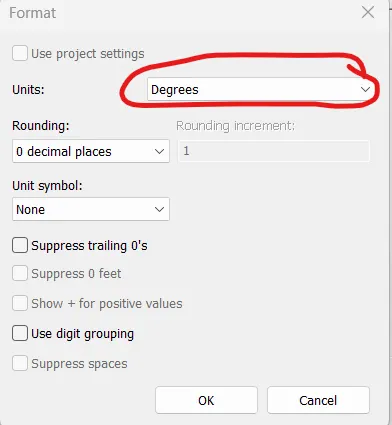
- Step9: Now click the Roof and go to the properties tab and change the slope degree to 10.
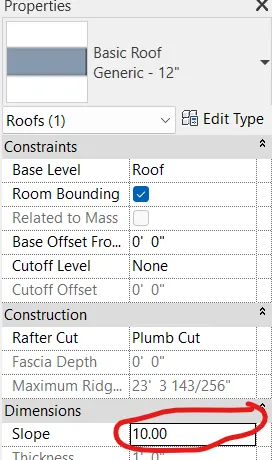
Result: The file attached is named as "Roof creating".
3. Answer:
Aim: Using the file saved from weeks 2 to 4, create architecture plan views and structural plan view for ground floor level and first-floor level including all the walls, floors, and components.
Procedure:
- Step1: Open the revit software now open the created layout now in this layout we need to separate structural and architectural plan.
- Step2: Now go to view option there an option called Plan view now go to dropdown then go to floor plan then click the edit type option click ok click ok so this is architecture.
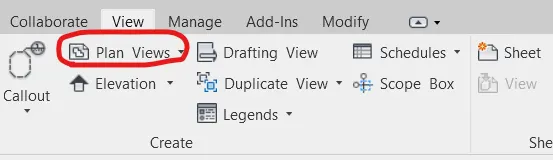
- Step3: Now for the structural plan just go to plan view then structural plan then choose the floor as per requirement then click ok the structural plan will appear in the model automatically.
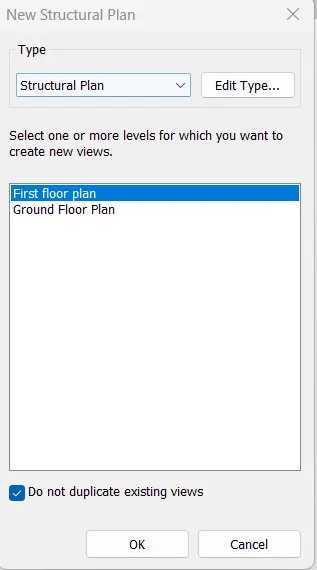
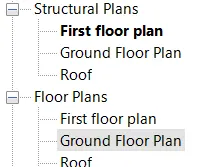
Result: The file attached is named as "Plan View".
4. Answer:
Aim: Using annotate toolbar add dimensions to all the walls and floors with reference to the longitudinal and transverse grids created in the project file for both the architecture & Structure plan.
Procedure:
- Step1: Open revit software and open the architecture plan created in Question 3.
- Step2: Now for providing the dimensions for architectural plan first go to annotate tab and choose the linear or aligned as required.
- Step3: After selecting linear now click on the edges of the wall and provide the dimension and similarly for rest of the rooms as required.
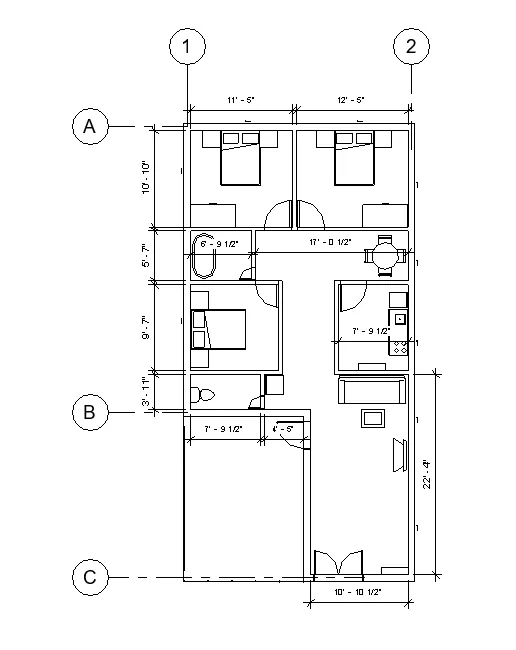
- Step4: Now open the structural plan from question 3.
- Step5:Now again go to annotate tab then select linear then provide the dimensions similarly for all the rooms as required.
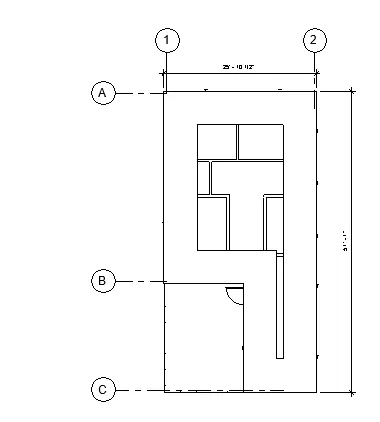
Result : The file attached is named as "Annotate dimensions".
5. Answer:
Aim: Create a sheet template from the view tab and adjust the parameters on the sheet to add appropriate views.
Procedure:
- Step1: Open revit software and also open the already created layout.
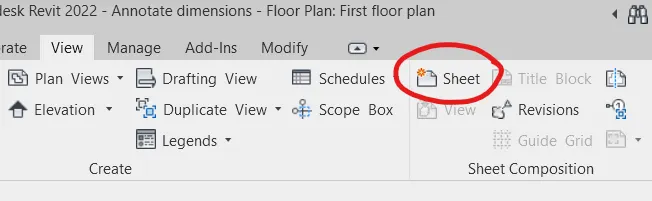
- Step2: Now go to the view tab then there will be an option called sheet icon just click it, then it shows the paper sizes choose anyone as required.
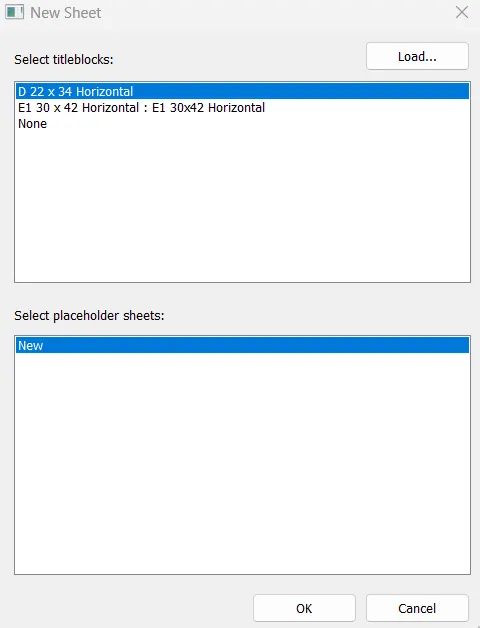
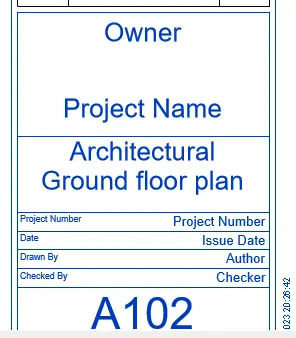
- Step3: After choosing the paper size immediately a sheet will be created now to edit the Project details just double click it and edit or just go to project manage tab and go to project information and edit there.
- Step4: Now to set the plan view in the sheet just go to load plan and from there choose one plan as required then click and drag it into the sheet.
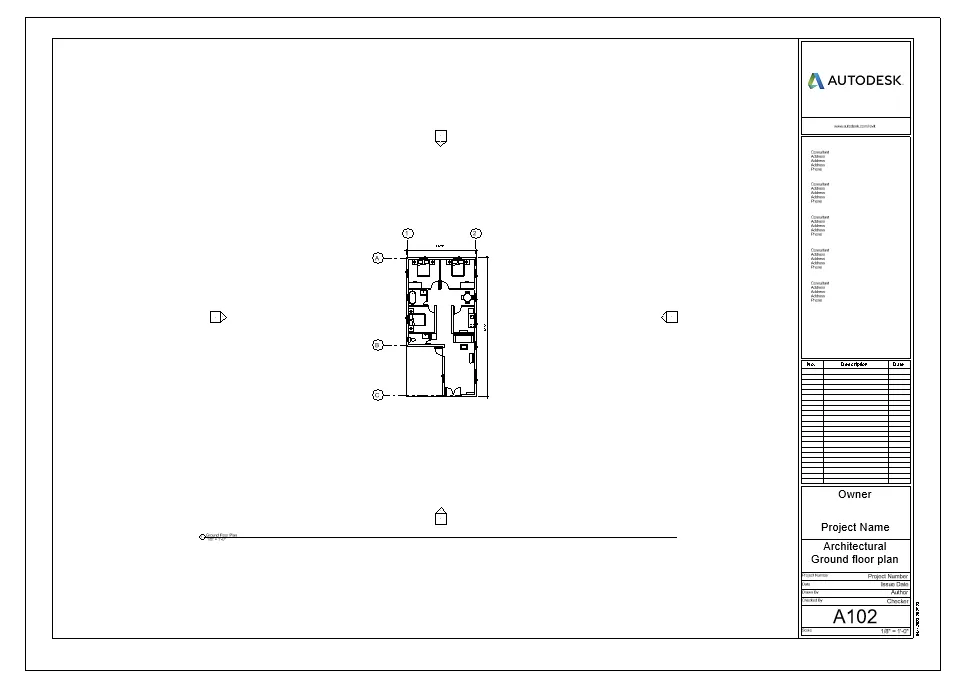
- Step5: Now to adjust the scale for setting the view into the plan just the view scale from the property browser and increase or decrease it as required.
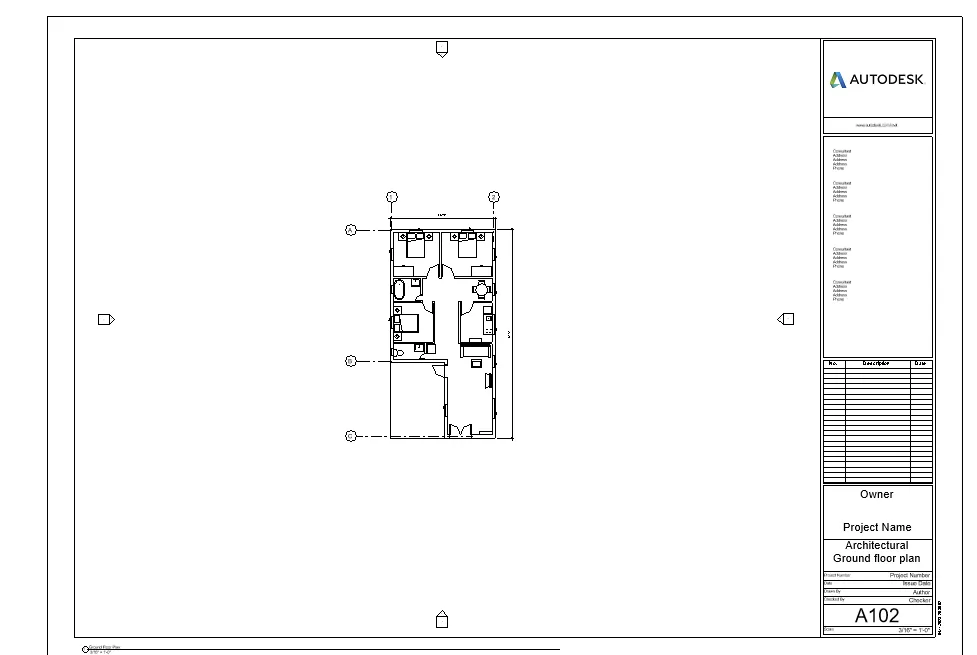
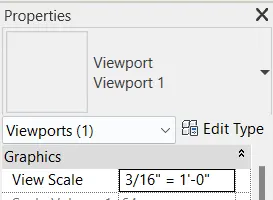
Result: The file attached is named as "Sheet setting".
6. Answer:
Aim: Using the elevation tab create the elevation views, looking at your building from East, North, South, and West.
Procedure:
- Step1: Open revit software and also open the already created floor plan layout.
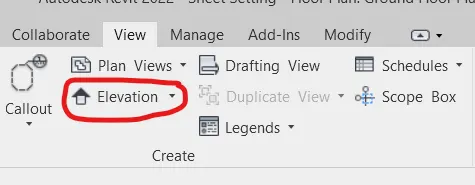
- Step2: Now go to the view tab there an option called elevation just drop down click elevation or go to the project browser there by default four directions will be available, just double click in any one of the direction to view the elevation from that direction.
- Step3: In case the default direction is not available in the project browser then go to the view tab there an option called elevation just drop down click elevation and place it as per ur requirements and then click the elevation placed to put the arrow in the direction required.
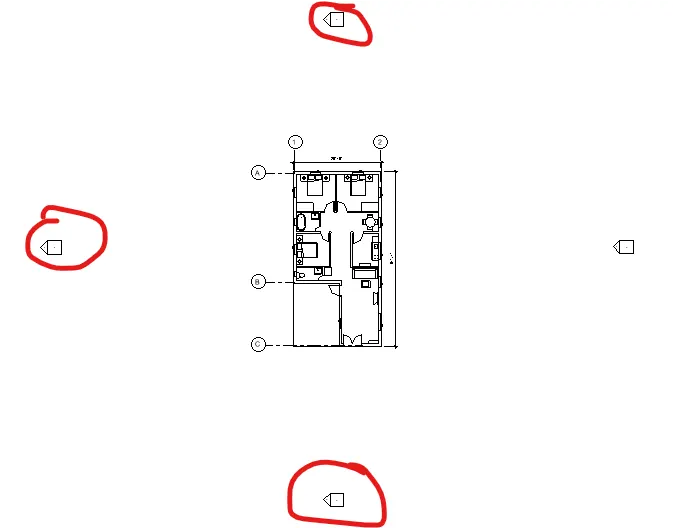
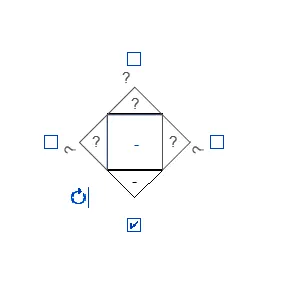
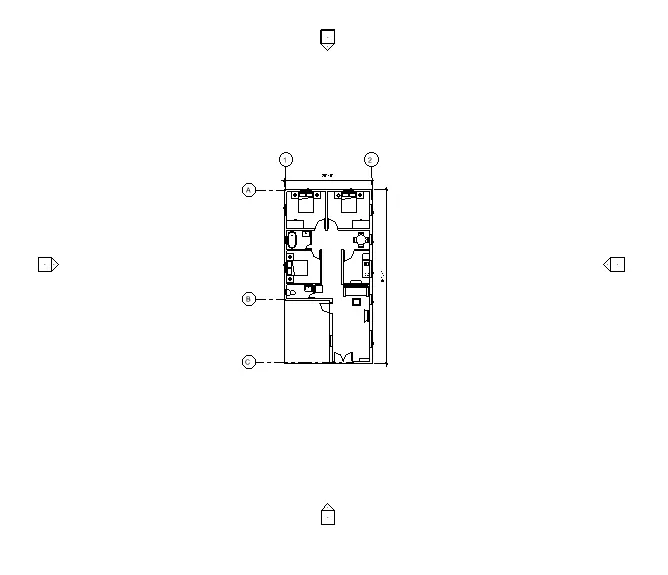
- Step4: Now it will automatically create the directional elevation view in project browser just rename it by selecting it and then right click of the mouse an option will appear called “rename” .
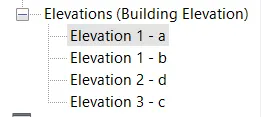
- Step5: Now rename it as per your requirement and to see the elevational view just double click in any one of the direction that created just now.
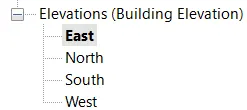
Result: The file attached is named as "Elevation creation".
7. Answer:
Aim: Produce section cut through each room either cutting across longitudinally or in a transverse direction.
Procedure:
- Step1: Open a revit software and open the created floor plan layout.
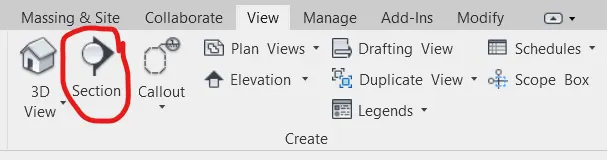
- Step2: Now to create the section cut either transversely or longitudinally just go to view tab then there an option called section click section.
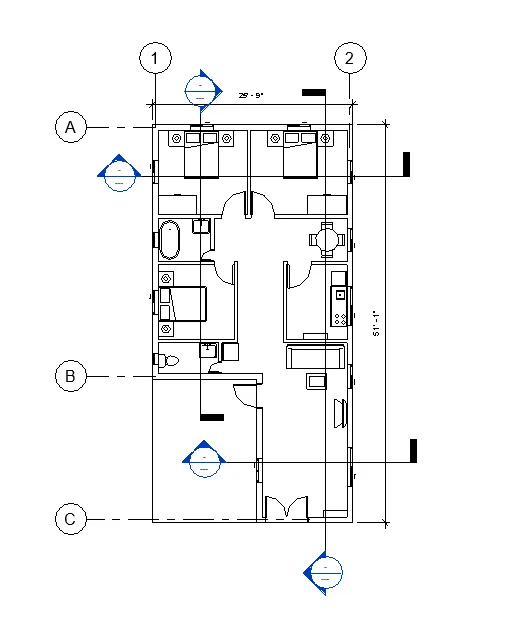
- Step3: Now cut the room either transversely or longitudinally as required then go to project browser tab there go to views there one section will be created.
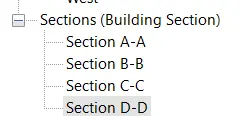
- Step4: Now click the created section and rename it as required and to view that simply double click it and it will automatically redirect to model space for view.
- Step5: Now to adjust the view just click and a point option will be there just click and expand the view as required.
Result: The file attached is named as " Section Creation".
8. Answer:
Aim: Classify the views, Plan Views, Section Views, and Elevation views to either Design or Documentation category using Properties browser.
Procedure:
- Step1: Open revit software along with the created floor plan layout.
- Step2: Now go to project browser and classify all the views like structural plan floor plan, architectural plan, elevation, section view.
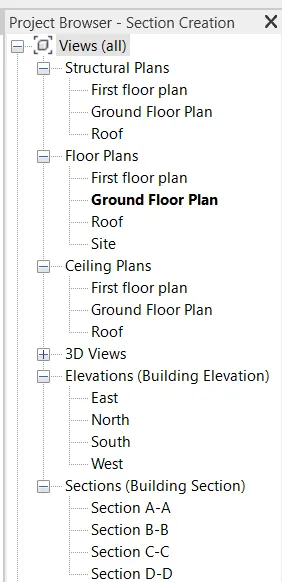
Result: The file attached is named as " View Classification".
9. Answer:
Aim: Creation of multiple sheets using sheet templates.
Procedure:
- Step1: Open revit software and also open the already created layout.
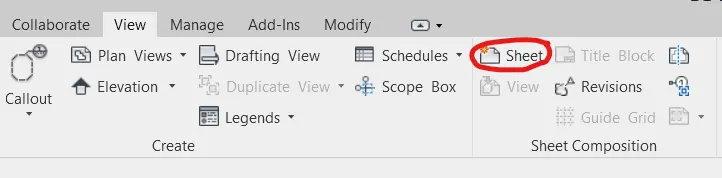
- Step2: Now go to the view tab then there will be an option called sheet icon just click it, then it shows the paper sizes choose anyone as required.
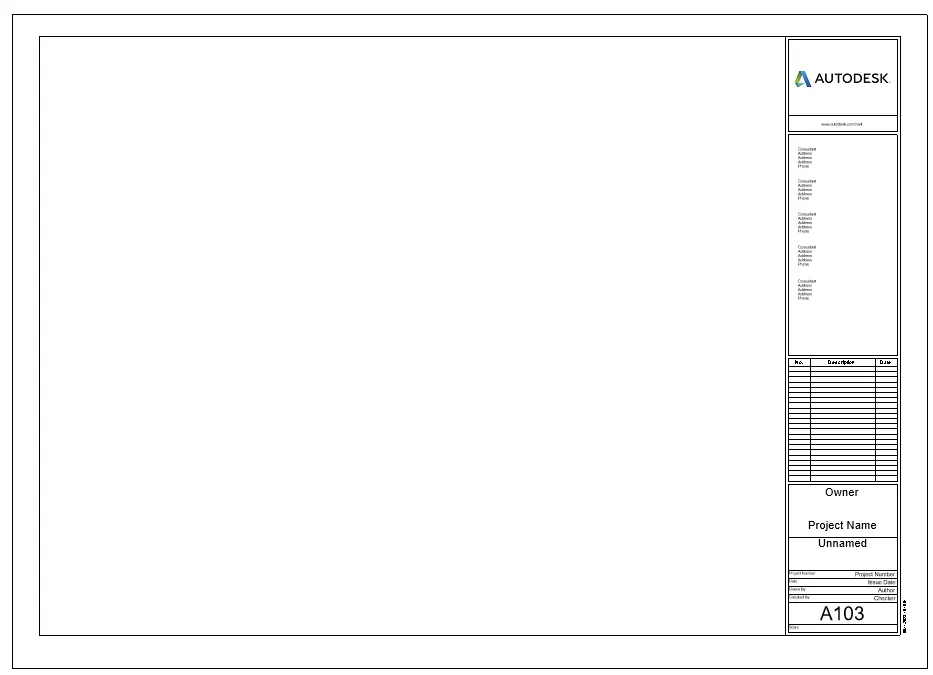
- Step3: After choosing the paper size immediately a sheet will be created.
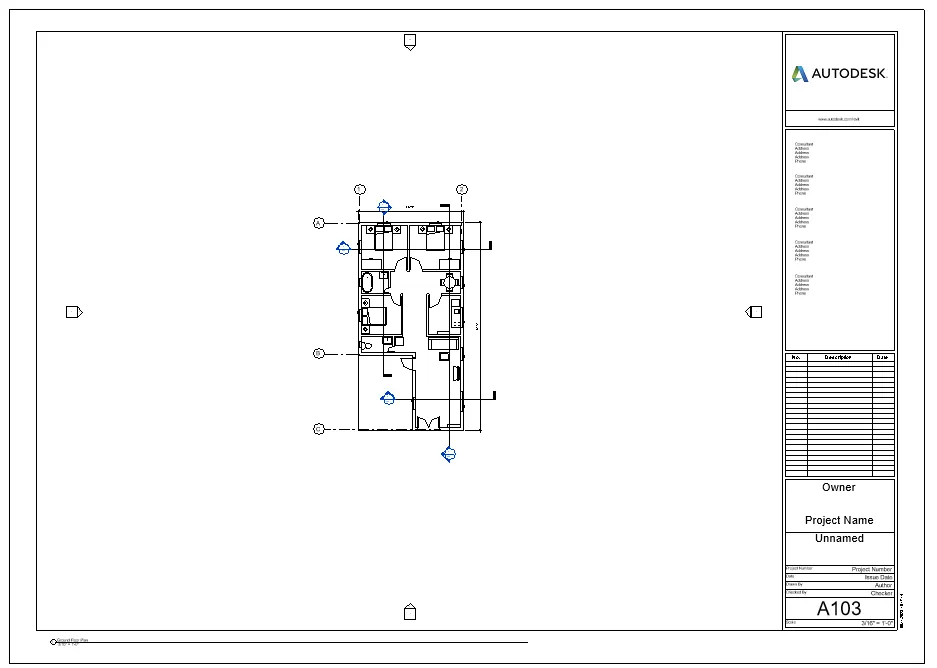
- Step4: Now to set the plan view in the sheet just go to load plan and from there choose one plan as required then click and drag it into the sheet.
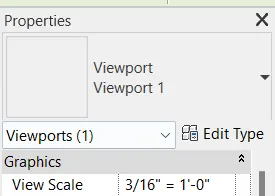
- Step5: Now to adjust the scale for setting the view into the plan just the view scale from the property browser and increase or decrease it as required.
- Step6: Now to edit the Project details just double click it and edit or just go to project manage tab and go to project information and edit there as required.
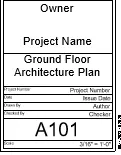

- Step7: Repeat all the above steps for creating the rest of the sheets.
Result: The file attached is named as "Multiple sheets creation".
10. Answer:
Aim: Create a camera-specific view or a 3D view in each room .
Procedure:
- Step1: Open revit software along with the created floor plan layout.
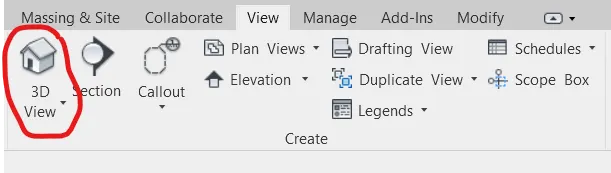
- Step2: Now to place a camera just go to view option then just go drop down the 3D view then an option called camera just click.
- Step3: Now place the camera and set the view as required and it will automatically create the camera view.
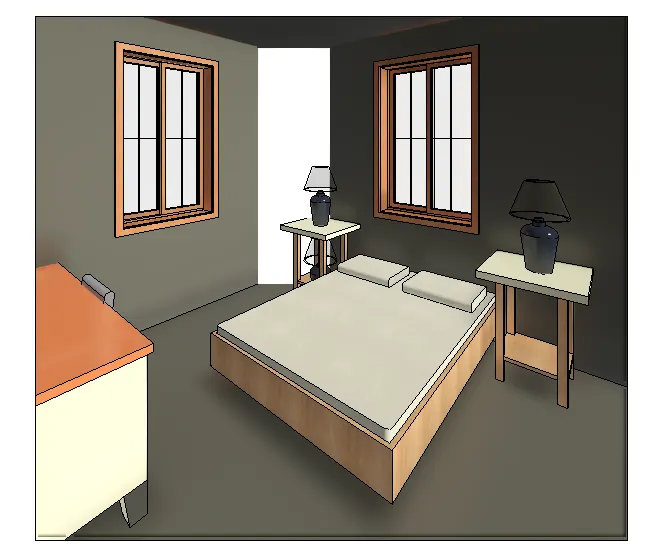
- Step4: Now to see the more realistic view just click realistic, now go to the project browser under the 3D view and just rename it as required.
- Step5: Now go to the view tab then there will be an option called sheet icon just click it, then it shows the paper sizes choose anyone as required.
- Step6: After choosing the paper size immediately a sheet will be created, now to set the 3D plan view in the sheet just go to project browser under 3D view and from there choose one as required then click and drag it into the sheet.
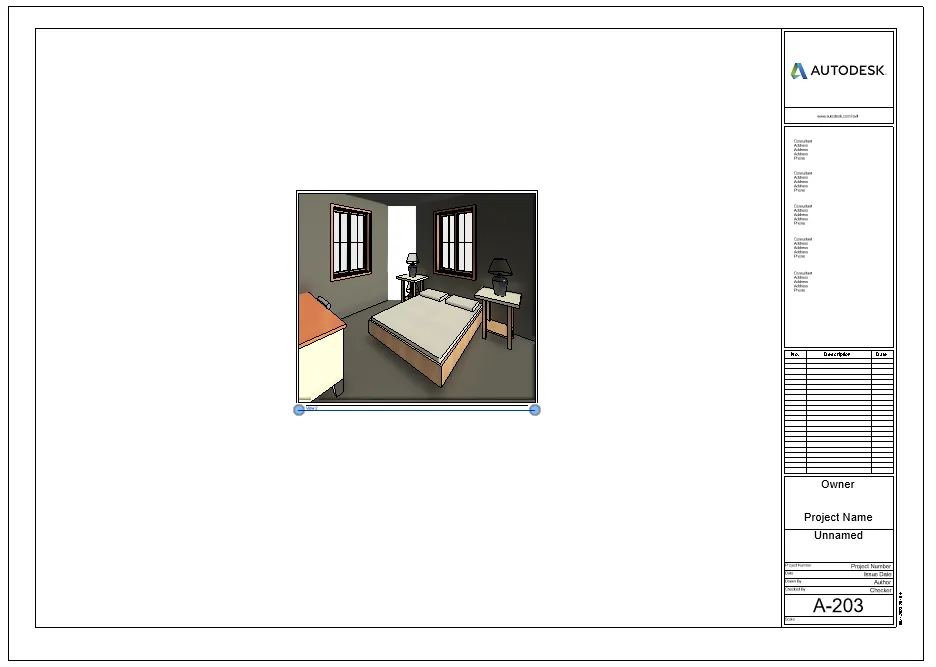
- Step7: Now to set the scale just click the view then there will be an option called size crop click it.
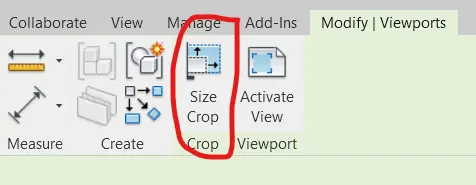
- Step8: After clicking the size crop option a tab will open there just change the “width” and “height” values as required to fit the view in sheets, then click ok and rename the sheets as per questions.
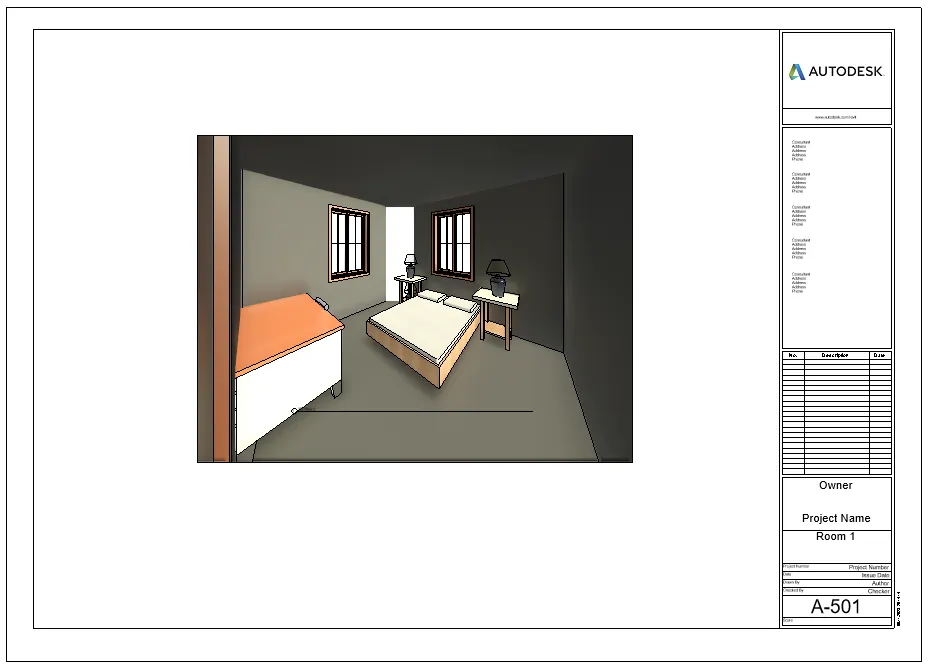
Result : The file attached is named as "Camera View".