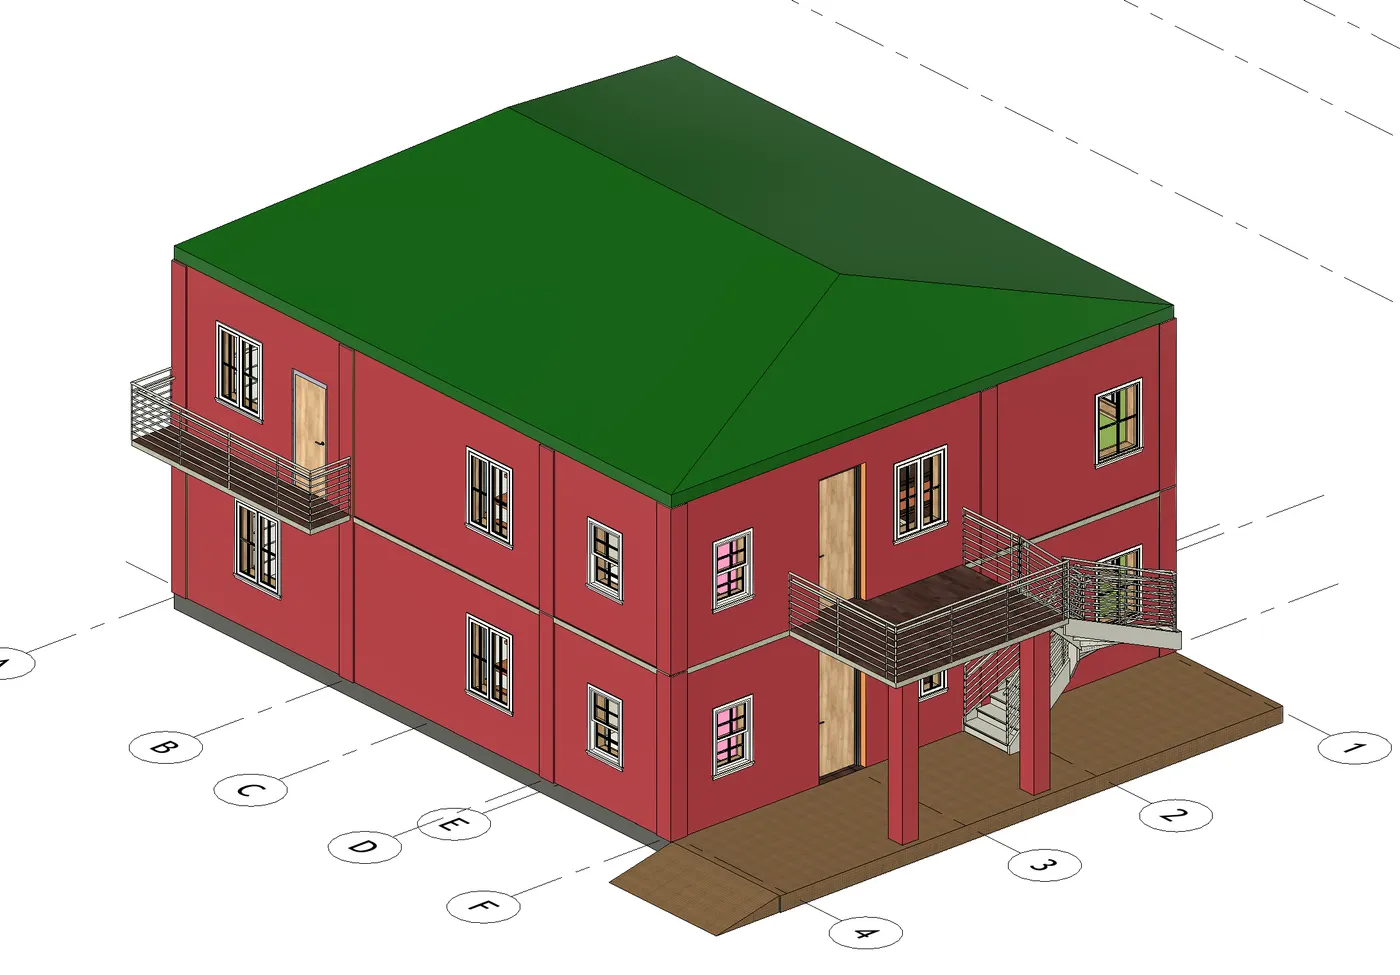
3D Creation of Ceiling, Roof, Architectural plan, Structural plan, Sectional view, Elevation view and Camera specific view for a house plan using REVIT
1) Based on the project saved from Week 3, proceed from the First Floor Level. Model a Ceiling from the architecture tab above the walls at the first-floor level
Ans-
AIM: To model a Ceiling from the architecture tab above the walls at the first-floor level.
Procedure:
- First we open the revit sofware, and select the ceiling option from the architecture toolbar.
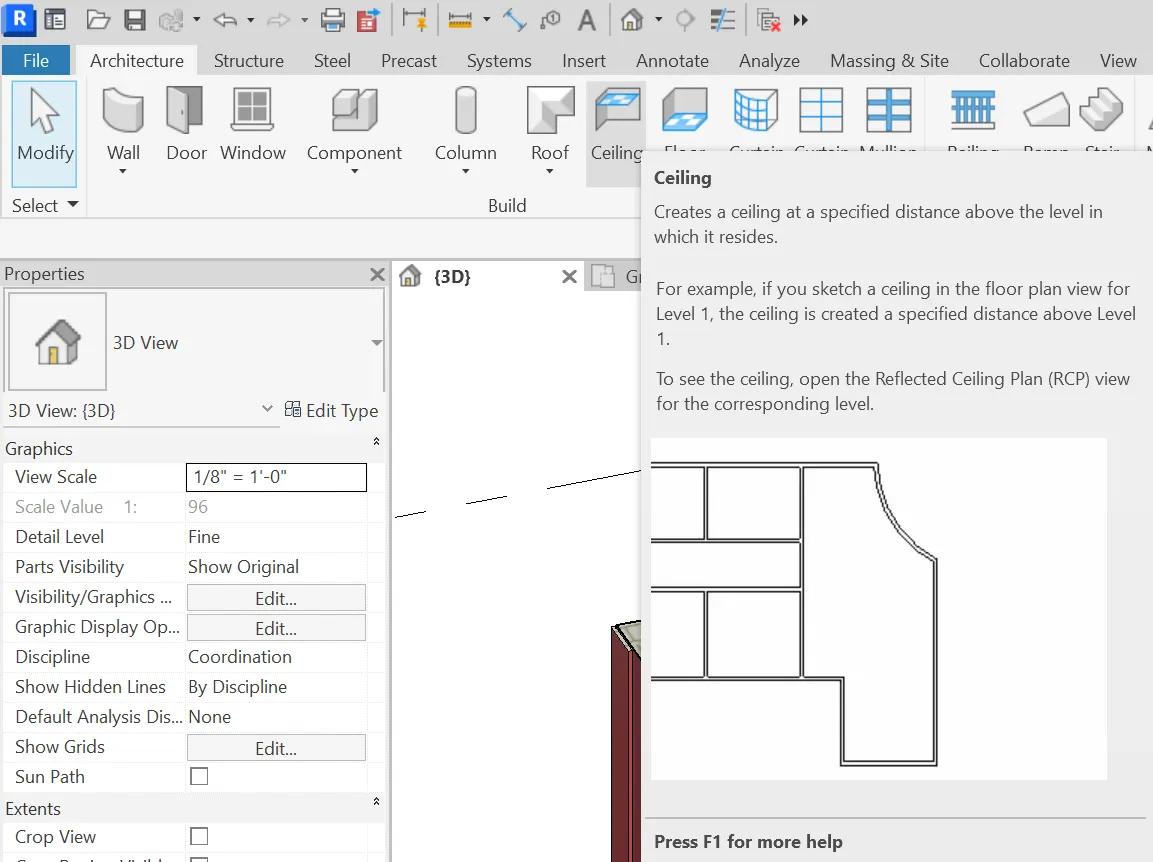
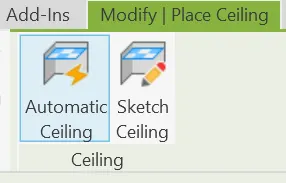
- We have two option to place the ceiling. One is automatic ceiling and other is sketch ceiling.
- Automatic ceiling places ceiling automatically for the respective rooms and in sketch ceiling we need to select the wall outline to create a ceiling.
- We take the option automatic ceiling.
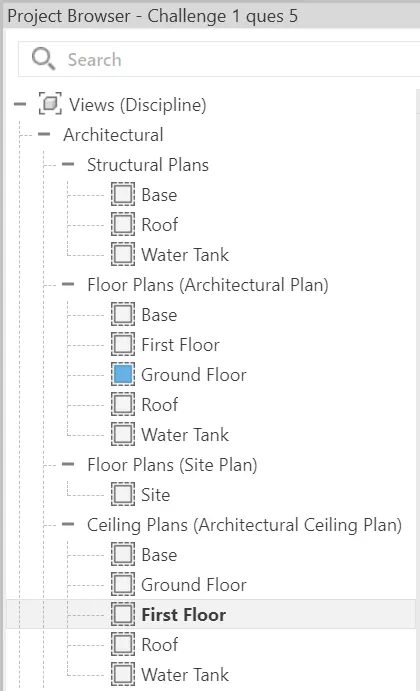
- Now we select the first floor ceiling plan from the project browser
- Select individual rooms to automatically sketch the ceiling. The ceiling is hence created as below.
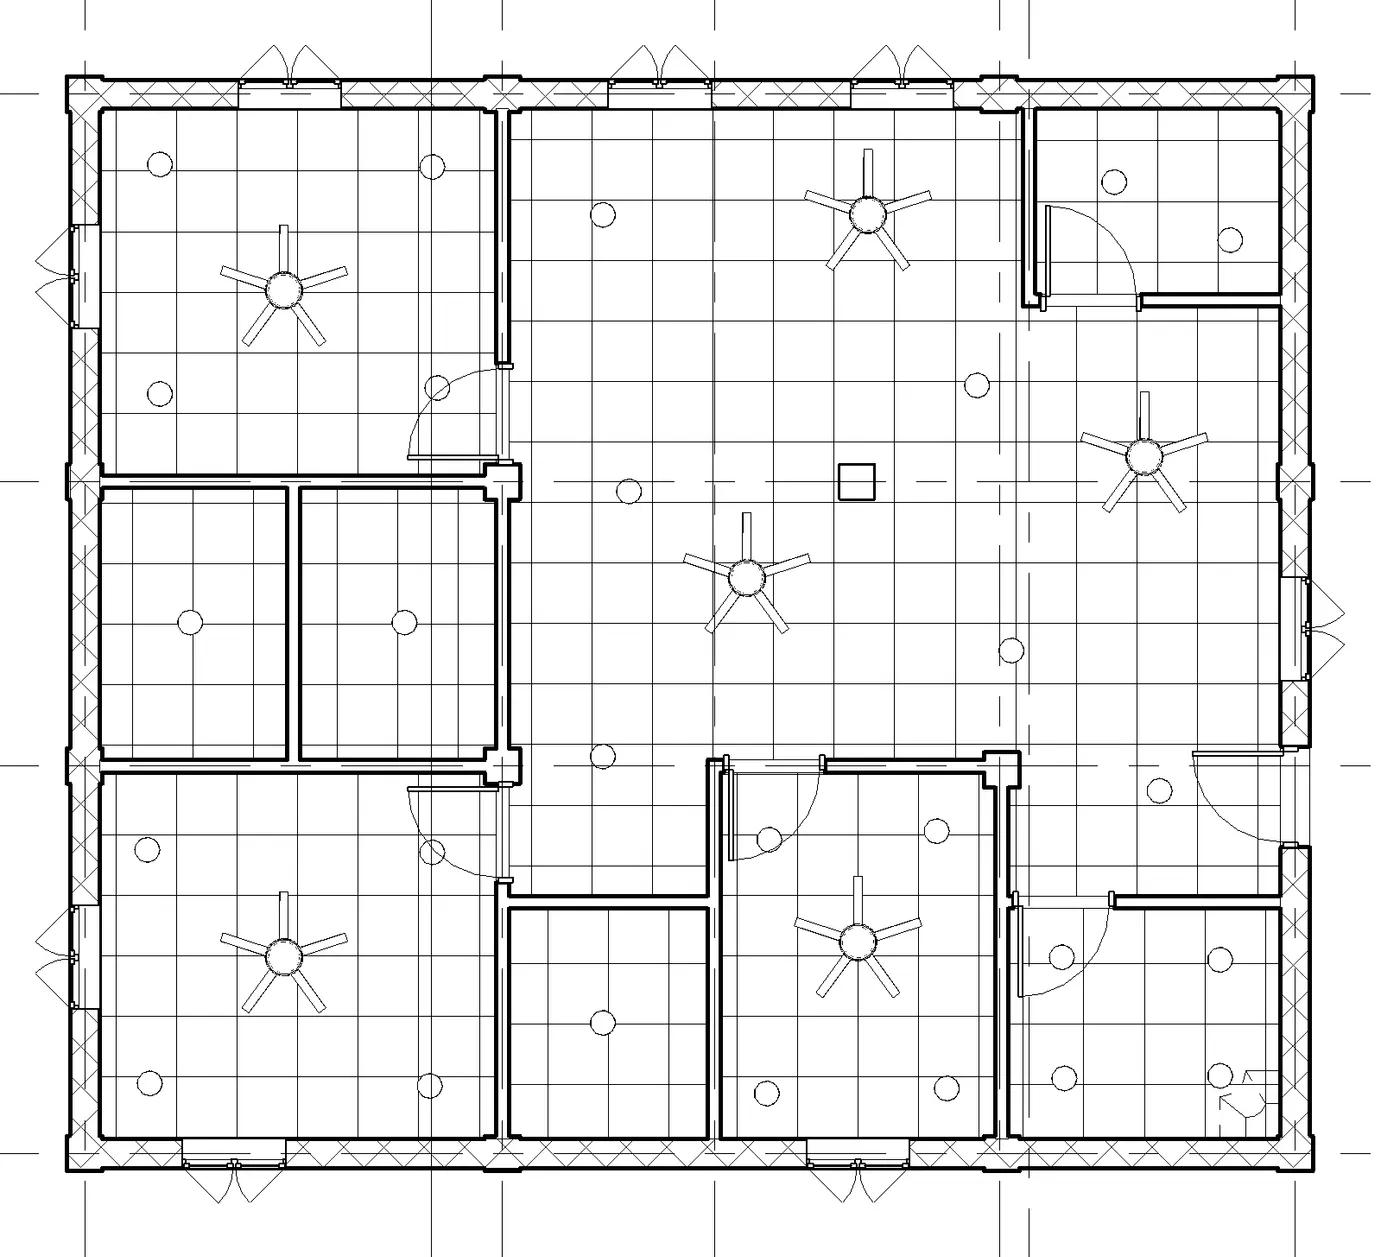
RESULT:
The ceiling has been modelled successfully from the architecture tab above the walls at the first floor level.
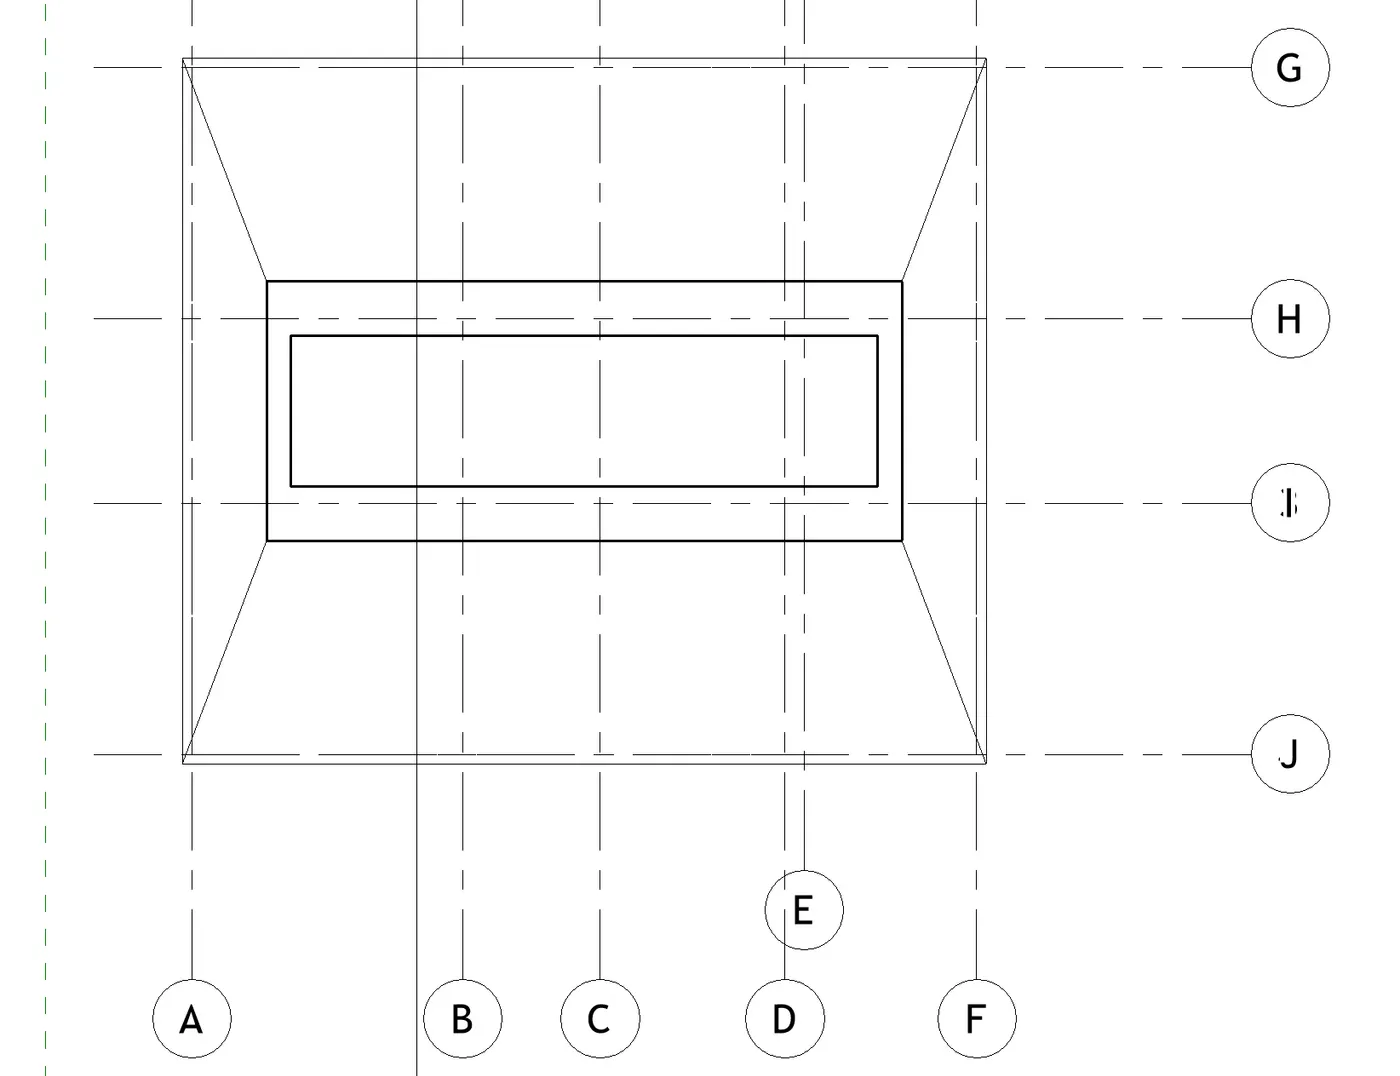
2) Model a roof above the ceiling by selecting the footprints of the ceiling. Using the adjustment toolbars appearing on-screen adjust the roof slope to 10 degrees
Ans-
AIM- To model a roof above the ceiling by selecting the footprints of the ceiling.
PROCEDURE:
- Open the architecture toolbar, and select the Roof by Footprint option as shown in the below figure
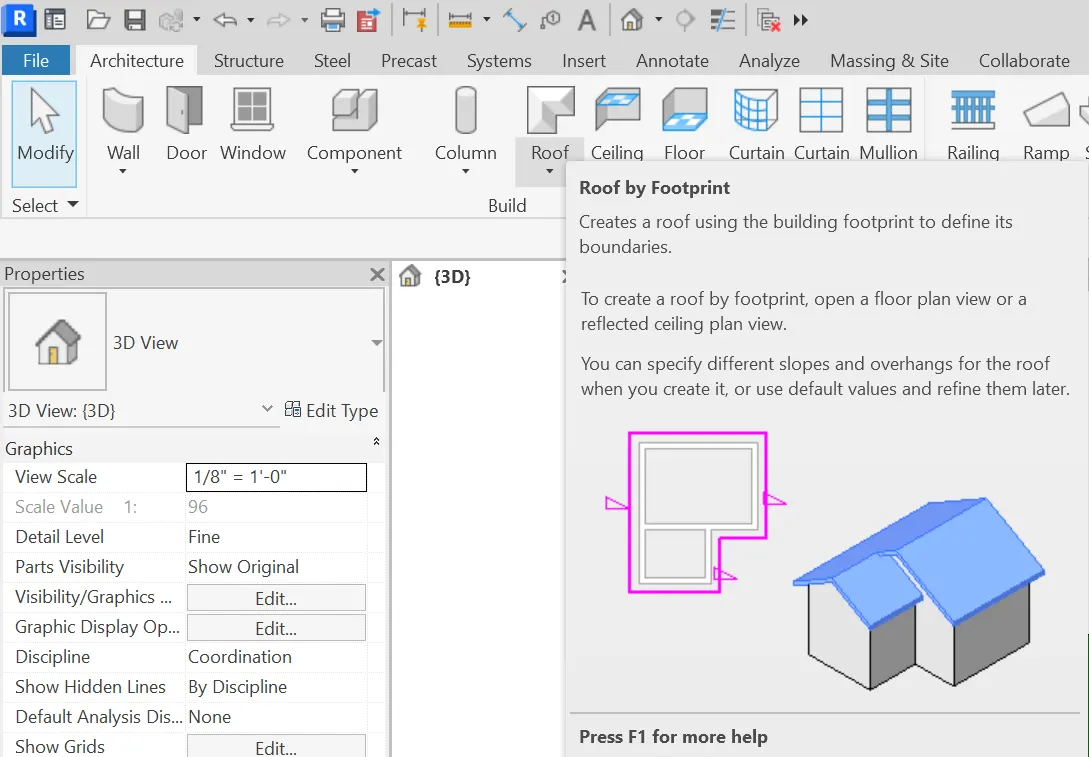
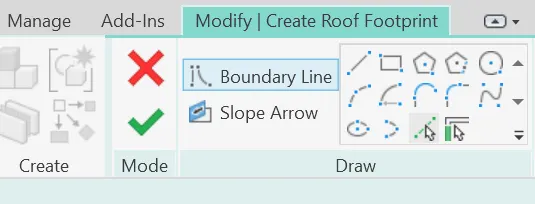
- After clicking roof by footprint, in modify tab, enable boundary line and select pick lines under draw section as shown.
- Now in properties, select the base level. Here we take the base level as Roof. As we need to provide the roof in roof level. Select basic roof 9" as shown below.
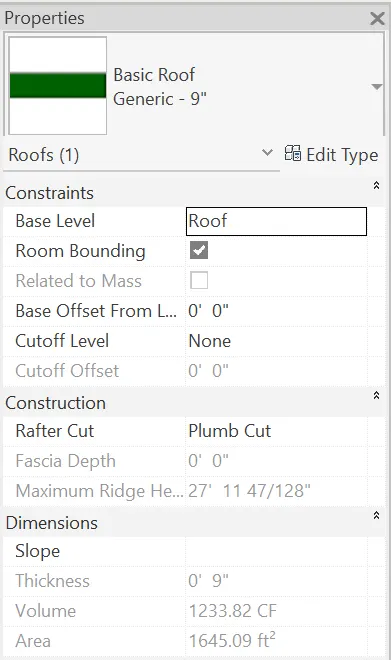
RESULT- The roof has been created.
3D VIEW
< src alt="">
2D view
3) Using the file saved from weeks 2 to 4, create plan views for ground floor level and first-floor level including all the walls, floors, and components. Separate them to
architecture and structural plans
a. Architecture plan must have walls, floors, and all the components placed within the building
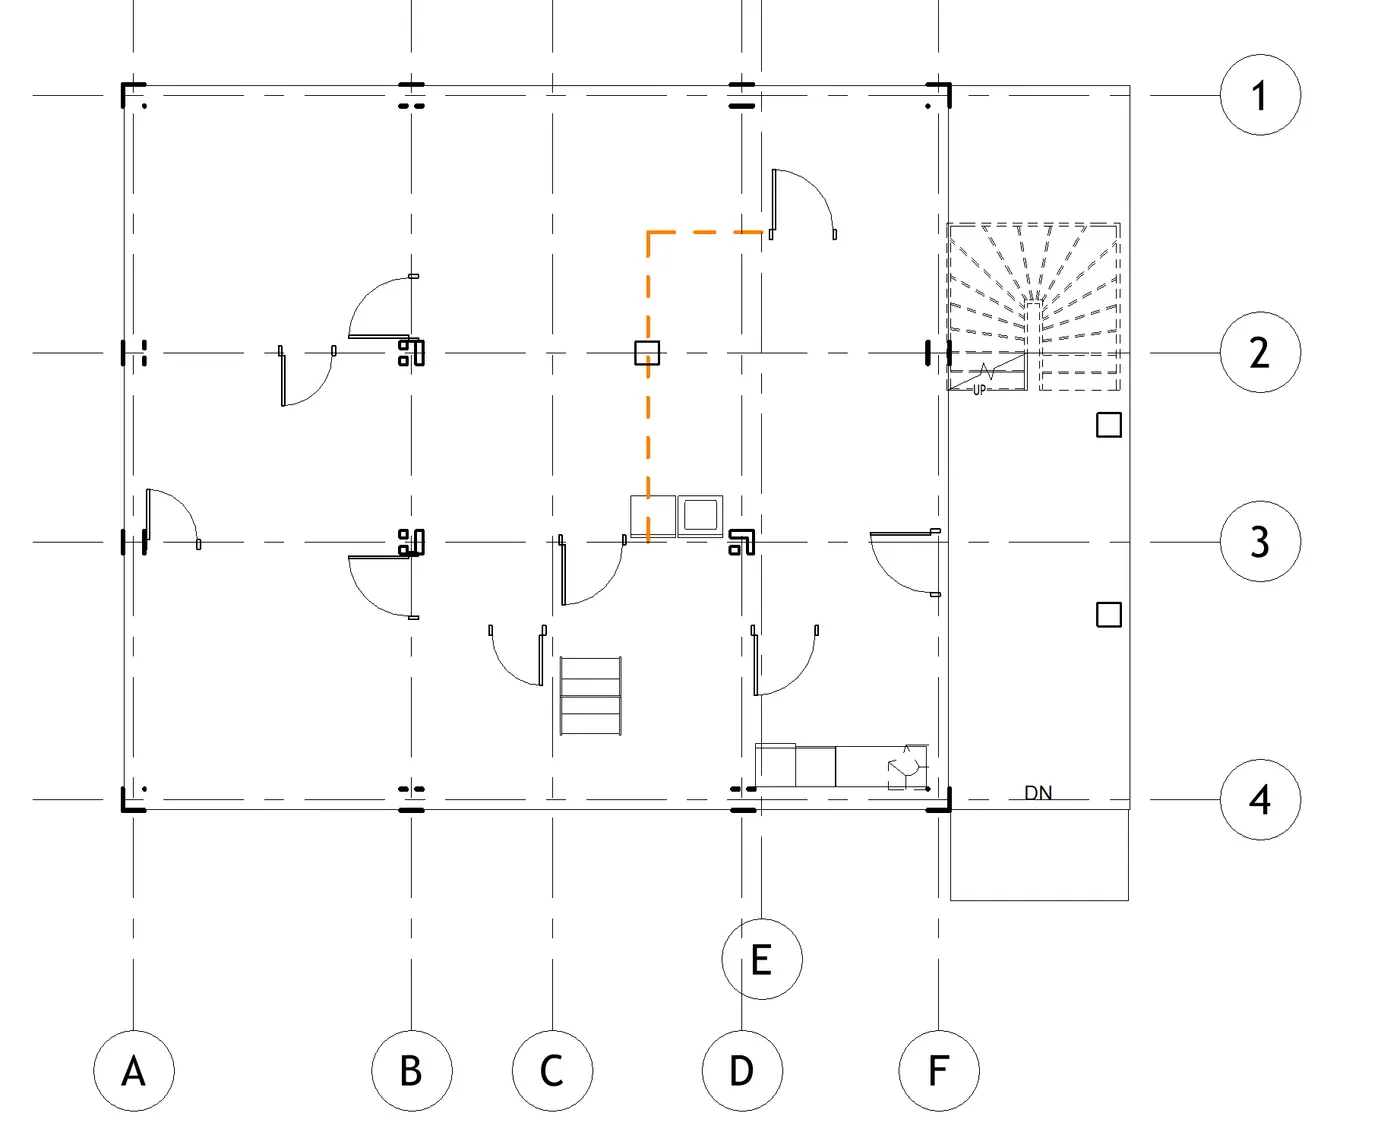
b. Structure plan must have details of only walls, floors, and columns
Ans-
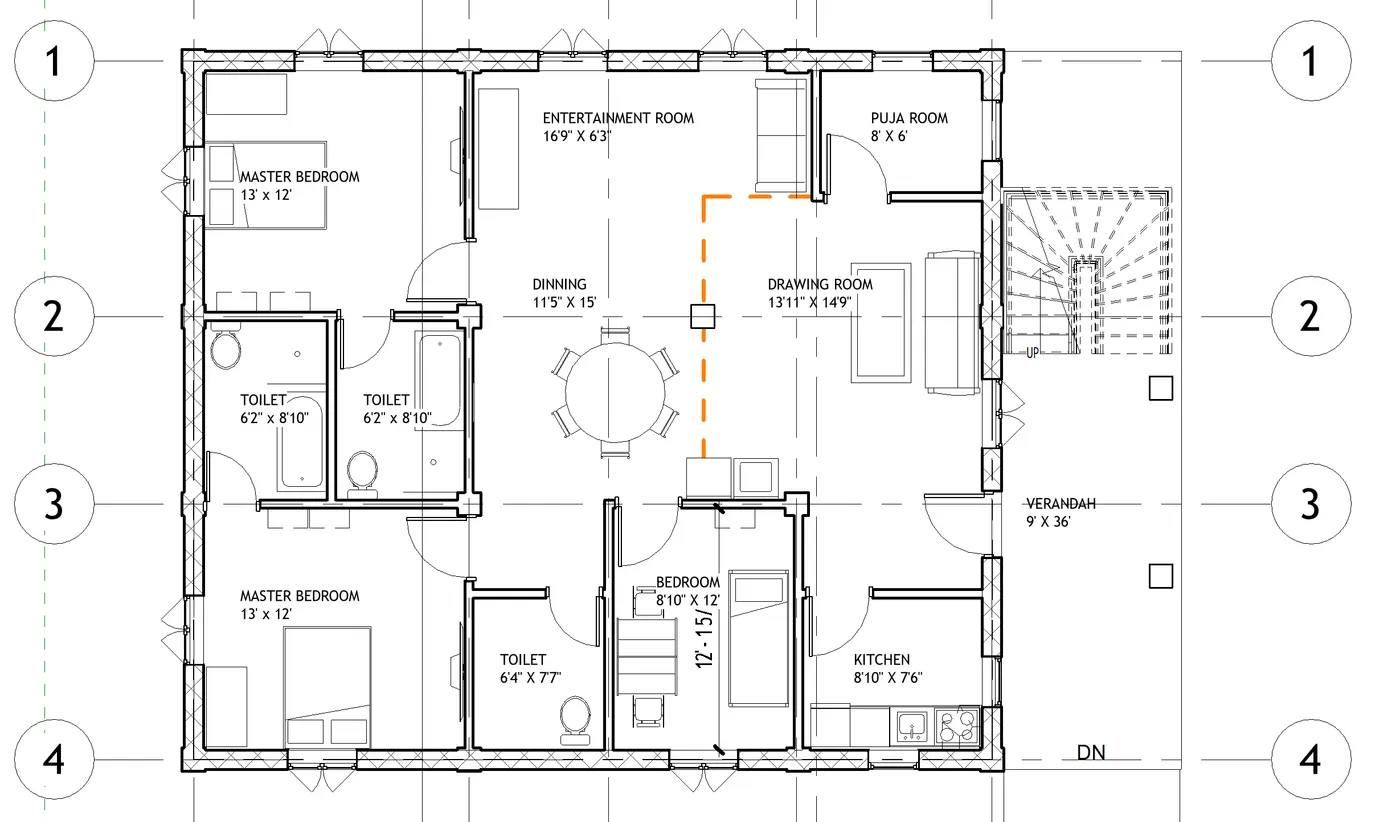
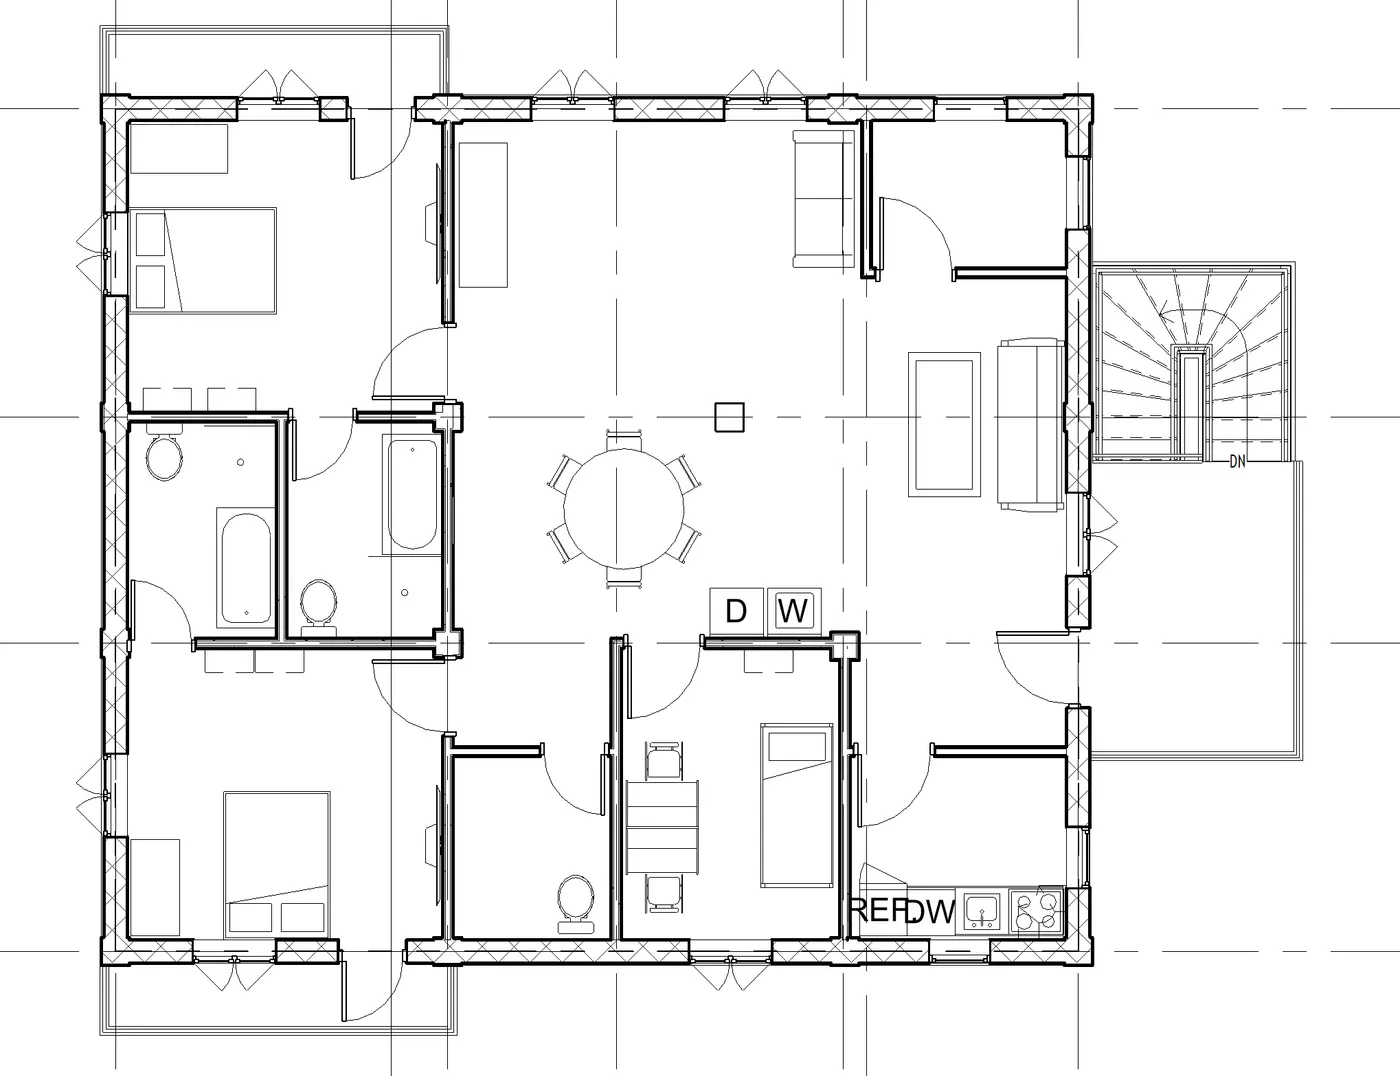
AIM- To create plan views for ground floor level and first-floor level including all the walls, floors, and components And to Separate them to architecture and structural plans
PROCEDURE-
- First we draw the architectural plans of ground floor and first floor as shown below.
Ground Floor
First Floor
- Next draw the structural plans of the ground floor and the first floor as shown below.
RESULT:
- the plan views for ground floor and first floor has been created.
- both the architectural and structural view is created.
4) Using annotate toolbar add dimensions to all the walls and floors with reference to the longitudinal and transverse grids created in the project file
a. The architecture plan dimensions include details on where the components are placed within the buildings with relation to grids. Overall dimensions are sufficient for architecture plans
b. The Structure plan dimensions must include details on the position of all the walls and interior walls with reference to grids. Locate all the framing components of the building with reference to a fixed point using Structural plans
Ans-
AIM- To add dimensions to all the walls and floors with reference to the longitudinal and transverse grids created in the project file
PROCEDURE-
- We draw the longitudinal and transverse grids to the architectural floor plans as shown below.
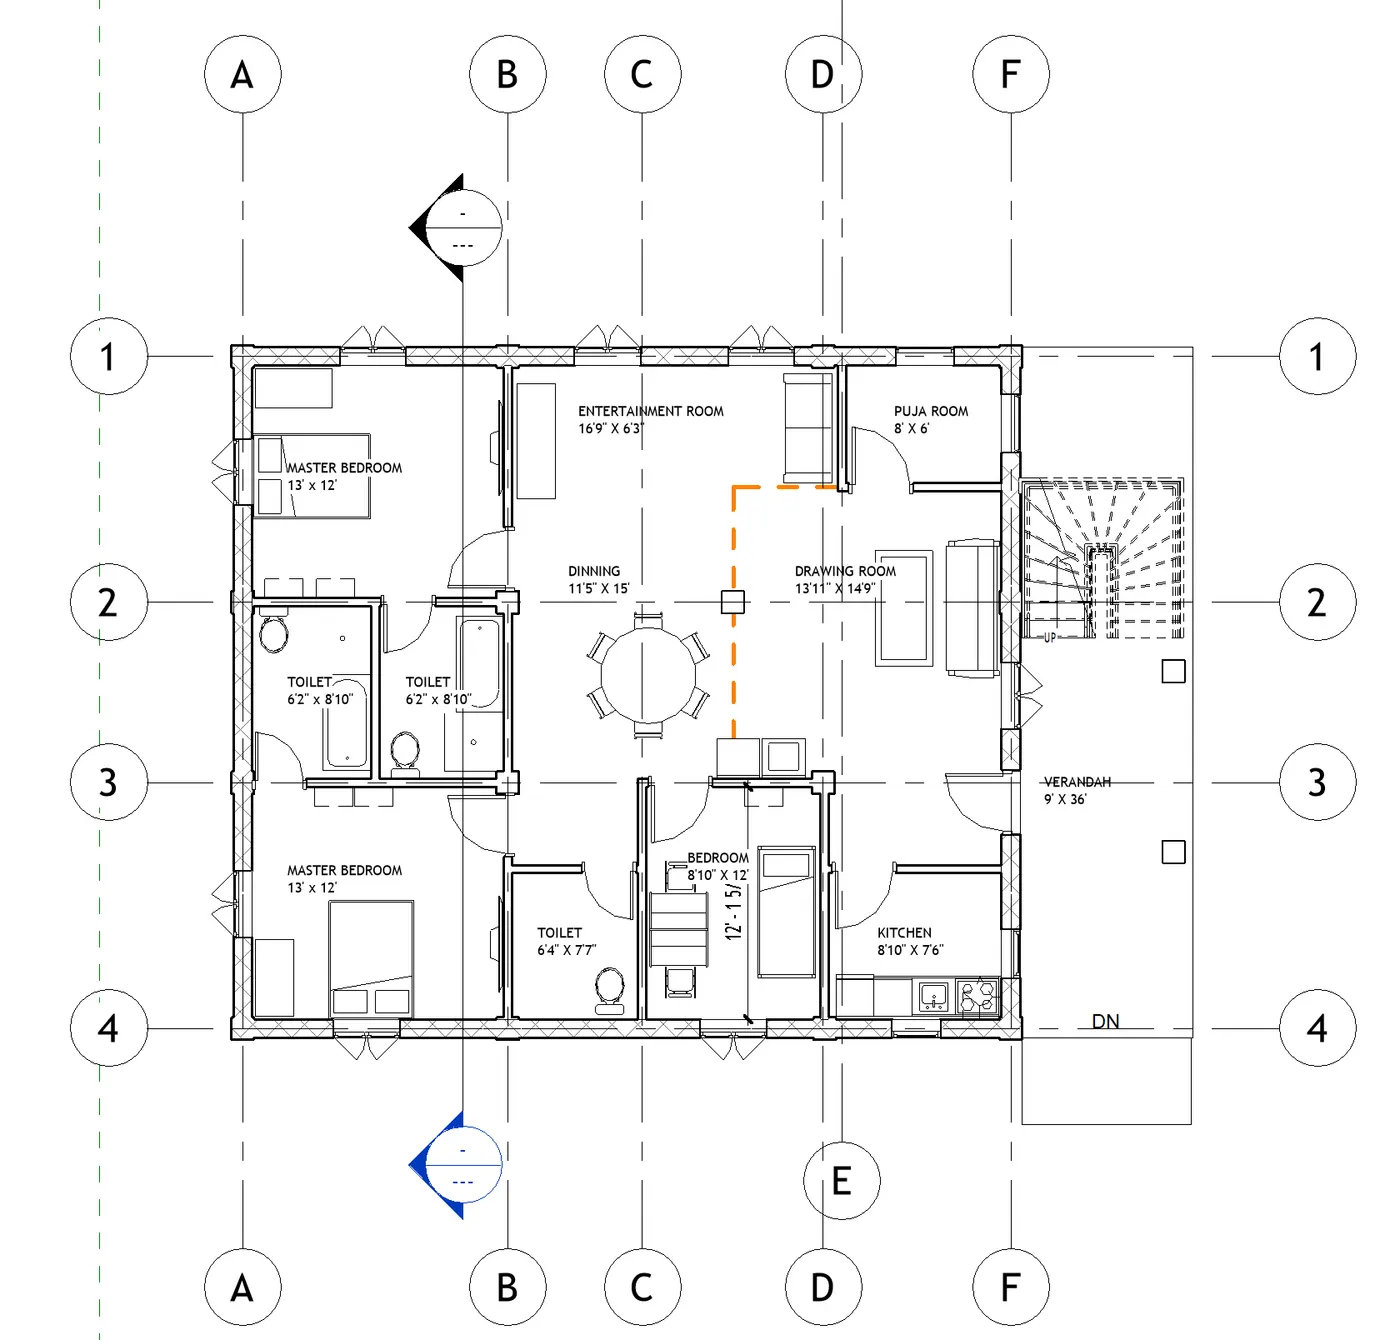
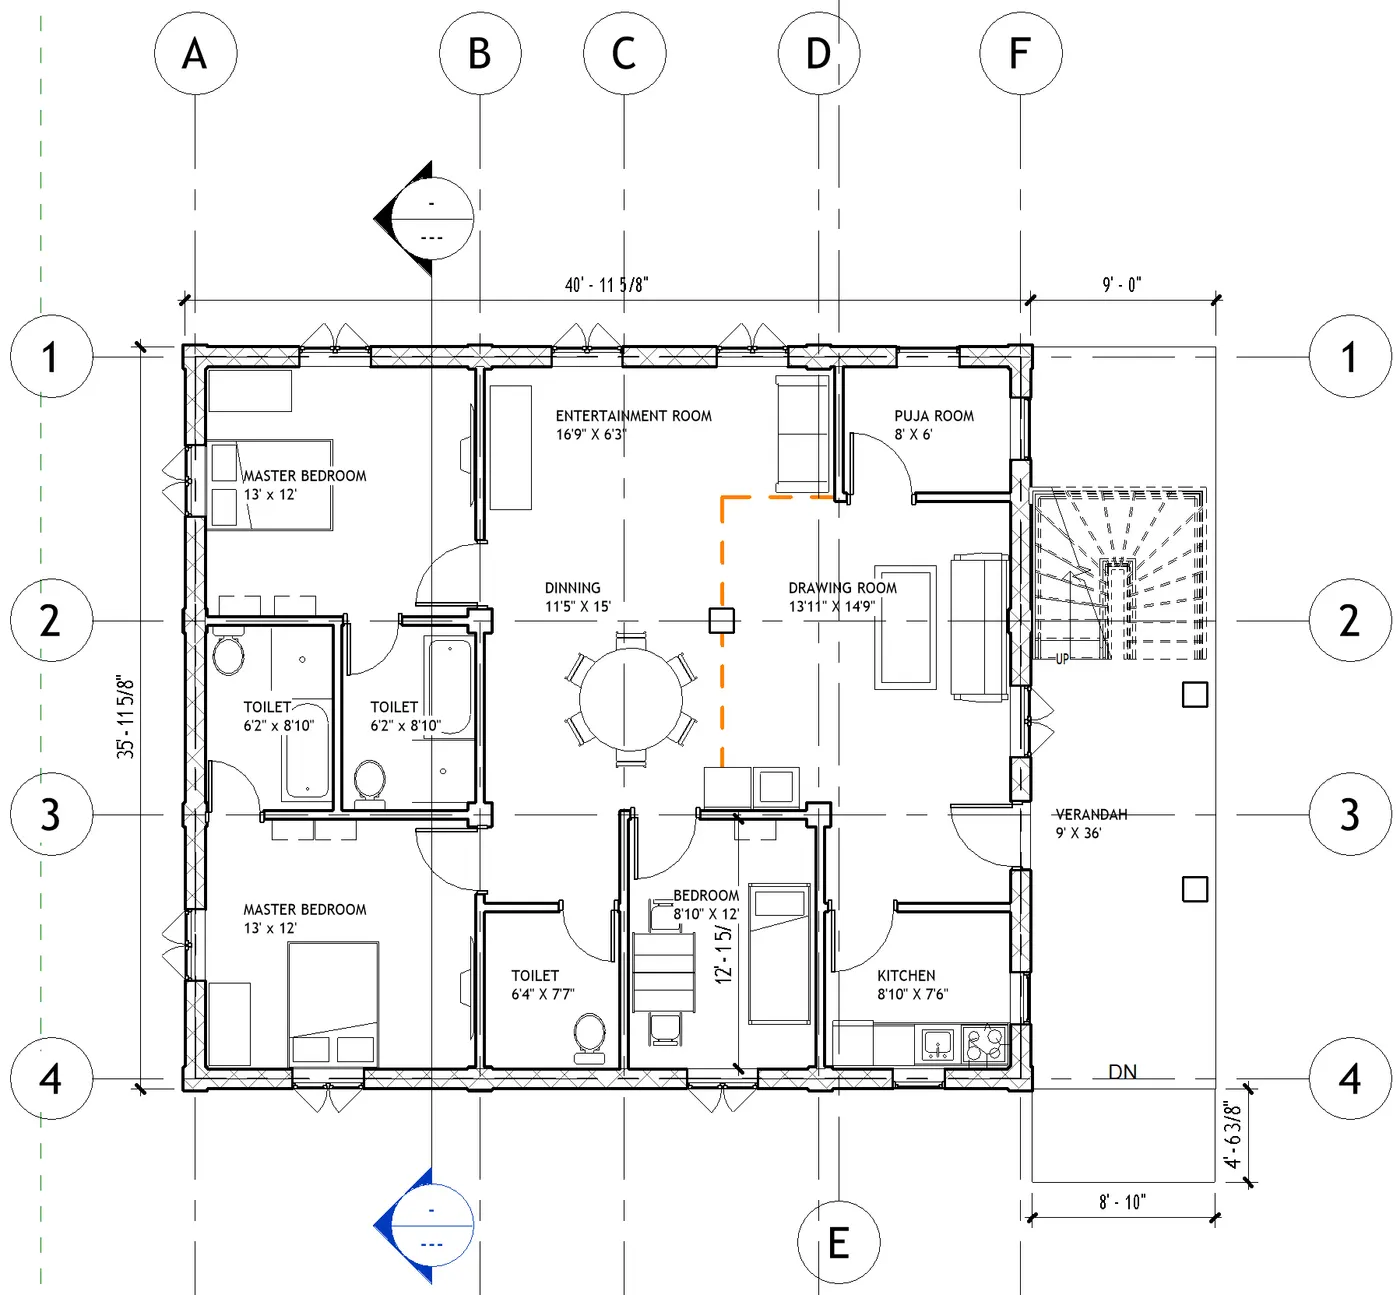
- And add the dimensions to the architectural plans as shown below.
- In structural plan draw the grids and mark the dimensions
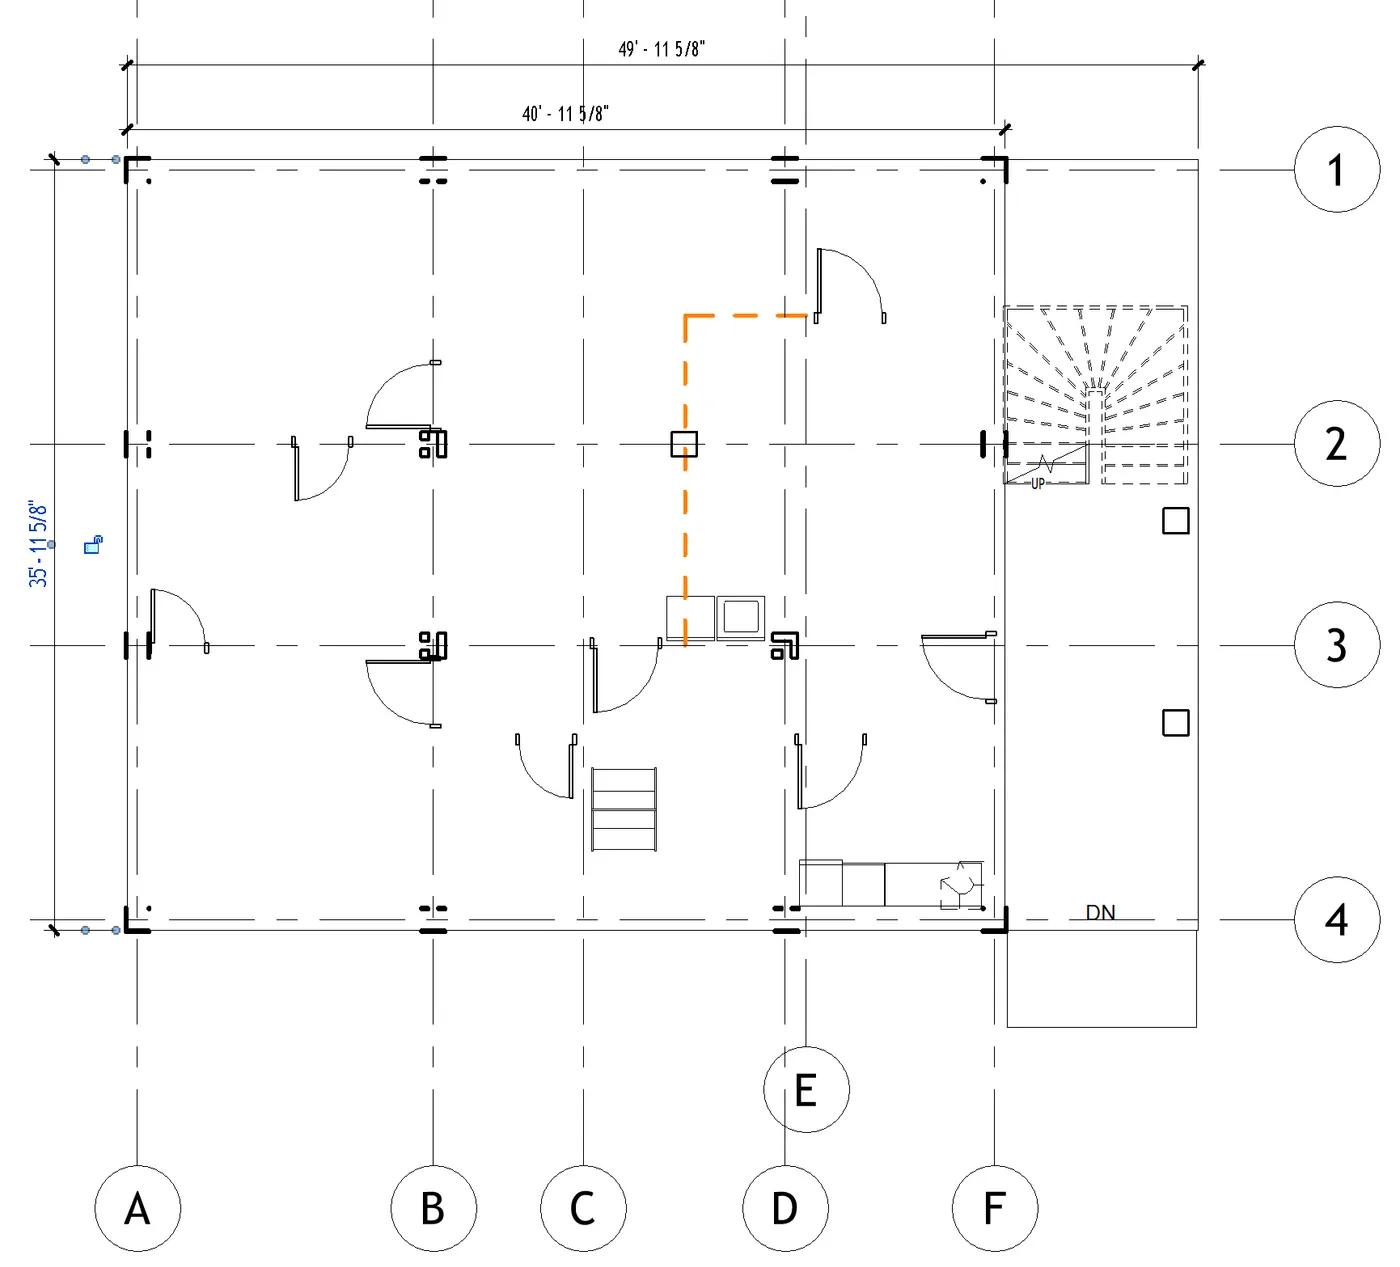
- repeat it for both the levels.
RESULT: The dimensions are added to both the structural and architectural plans.
5) Create a sheet template from the view tab and adjust the parameters on the sheet to add appropriate views
Ans-
AIM- To create a sheet template from the view tab and adjust the parameters on the sheet to add appropriate views.
PROCEDURE-
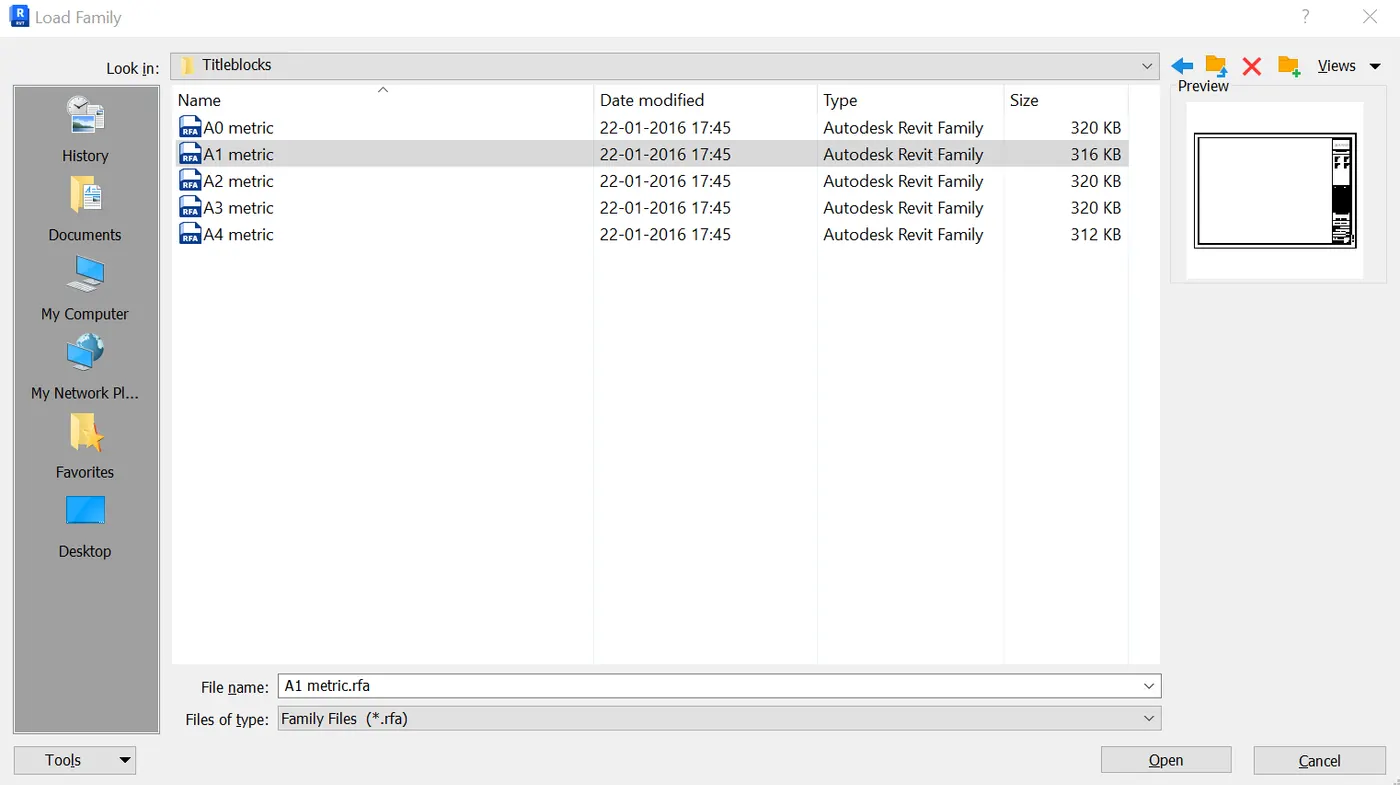
- First we click on the sheet option from the view toolbar, as shown below.

- After clicking the sheet. The new tab will be visible on the screen.
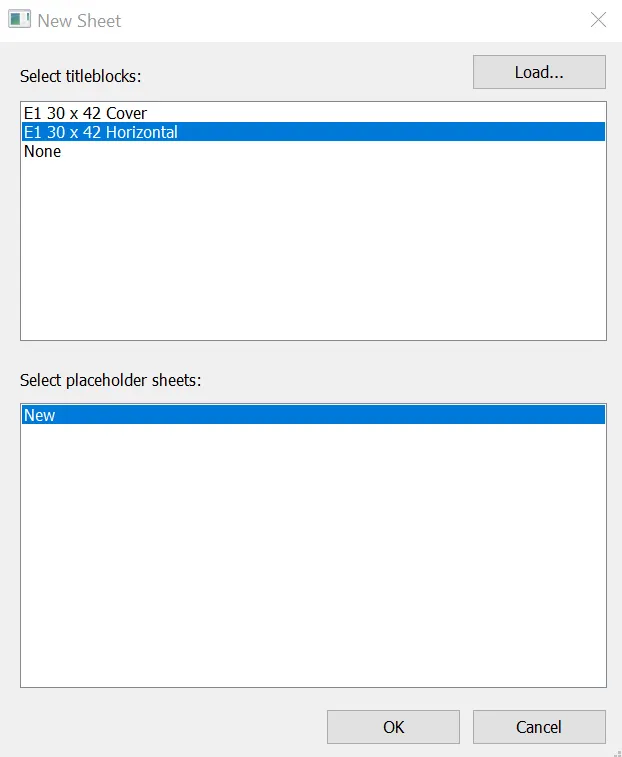
- in that new tab we click on load and select the A0 metric, then the sheet template will be displayed.
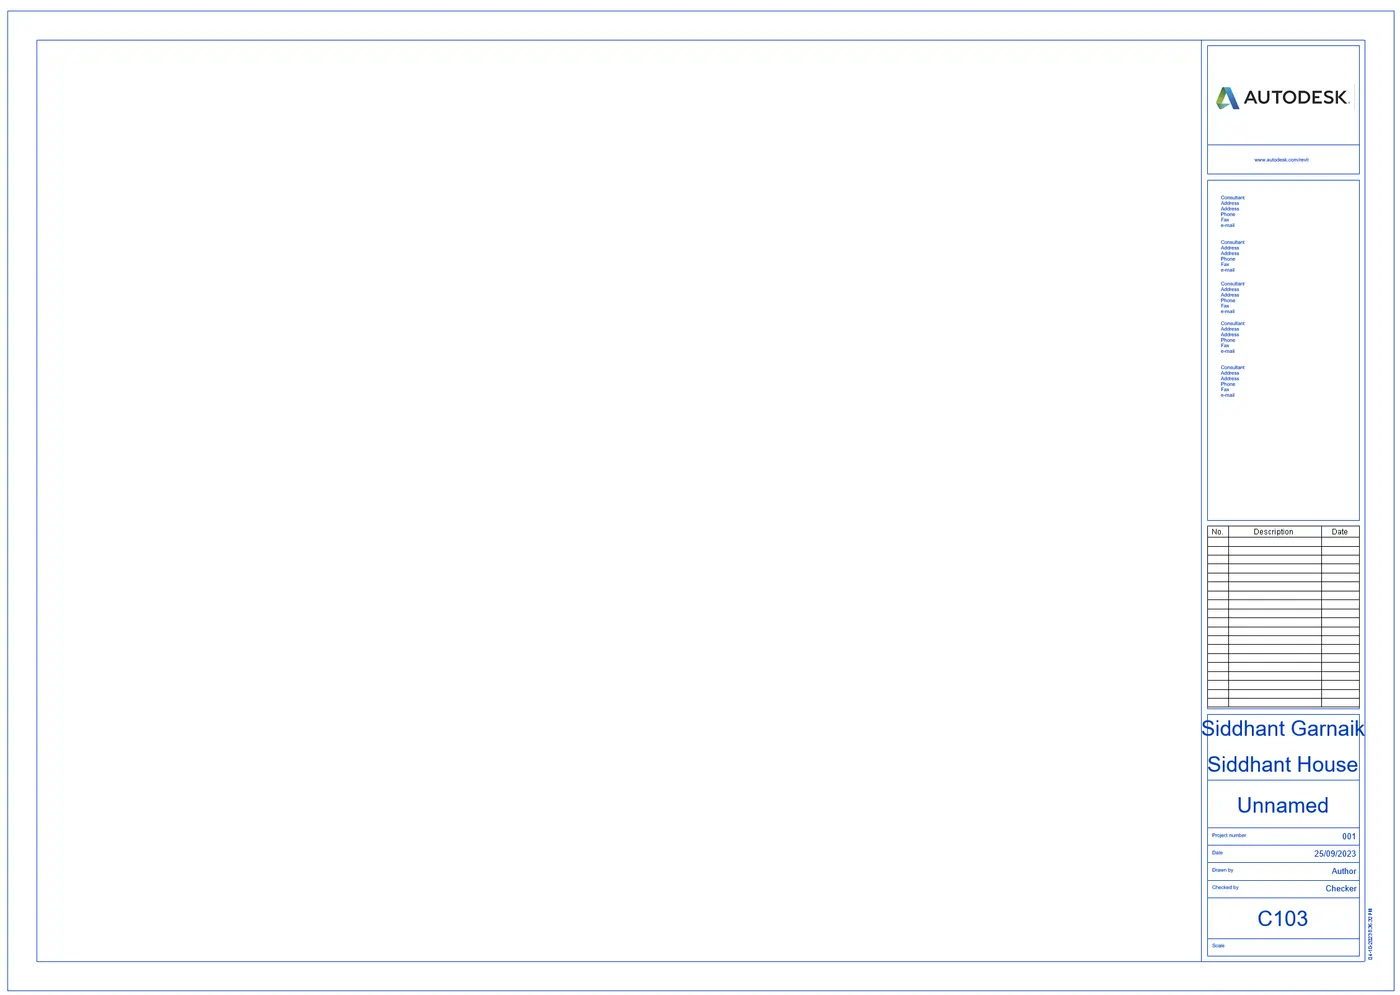
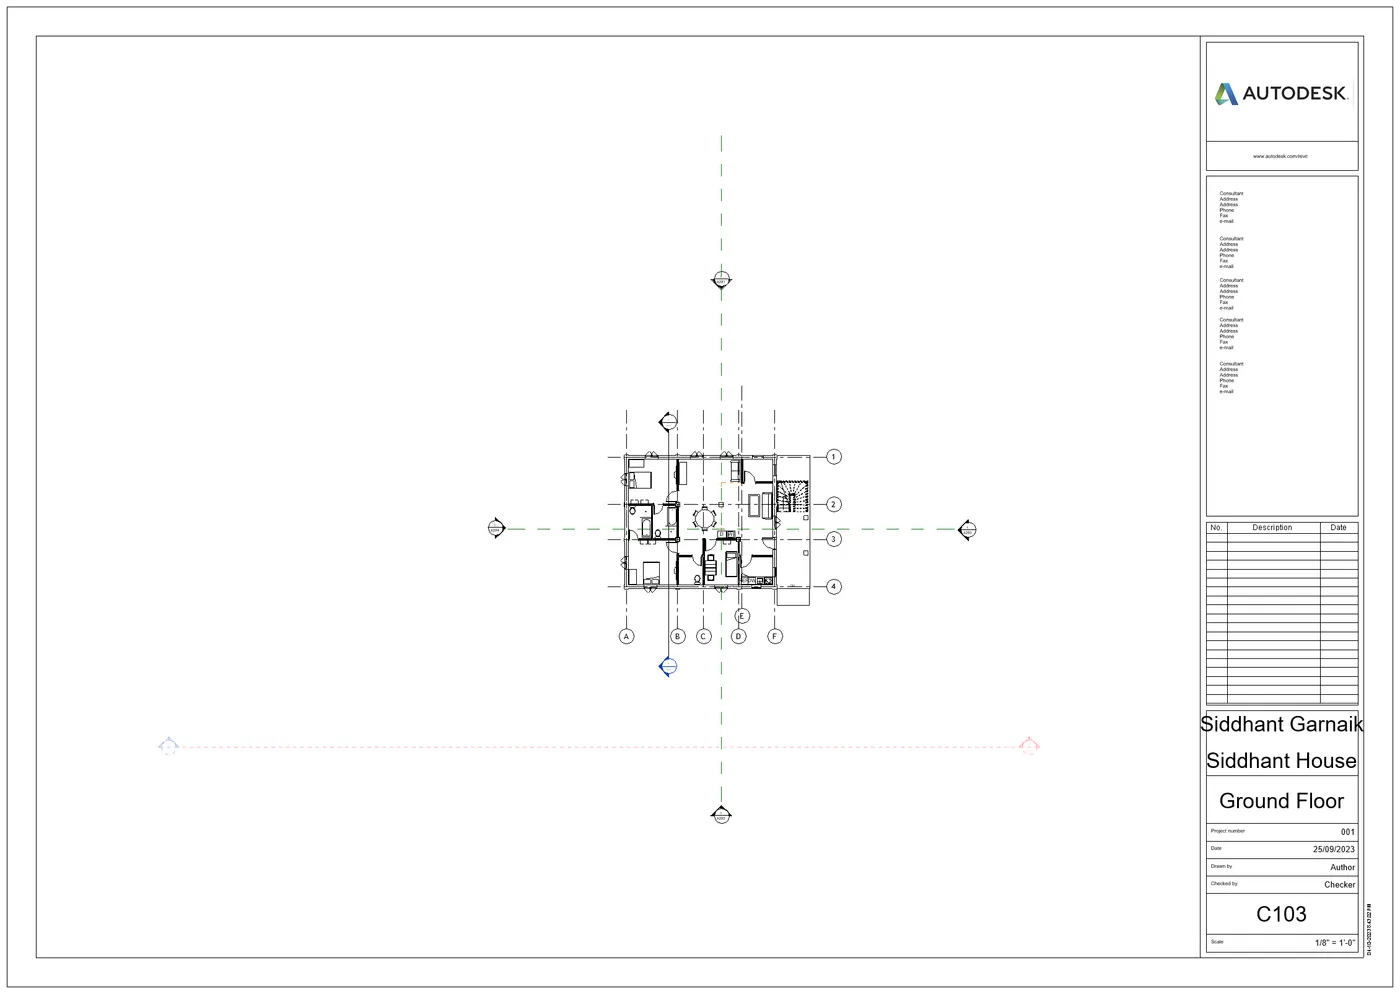
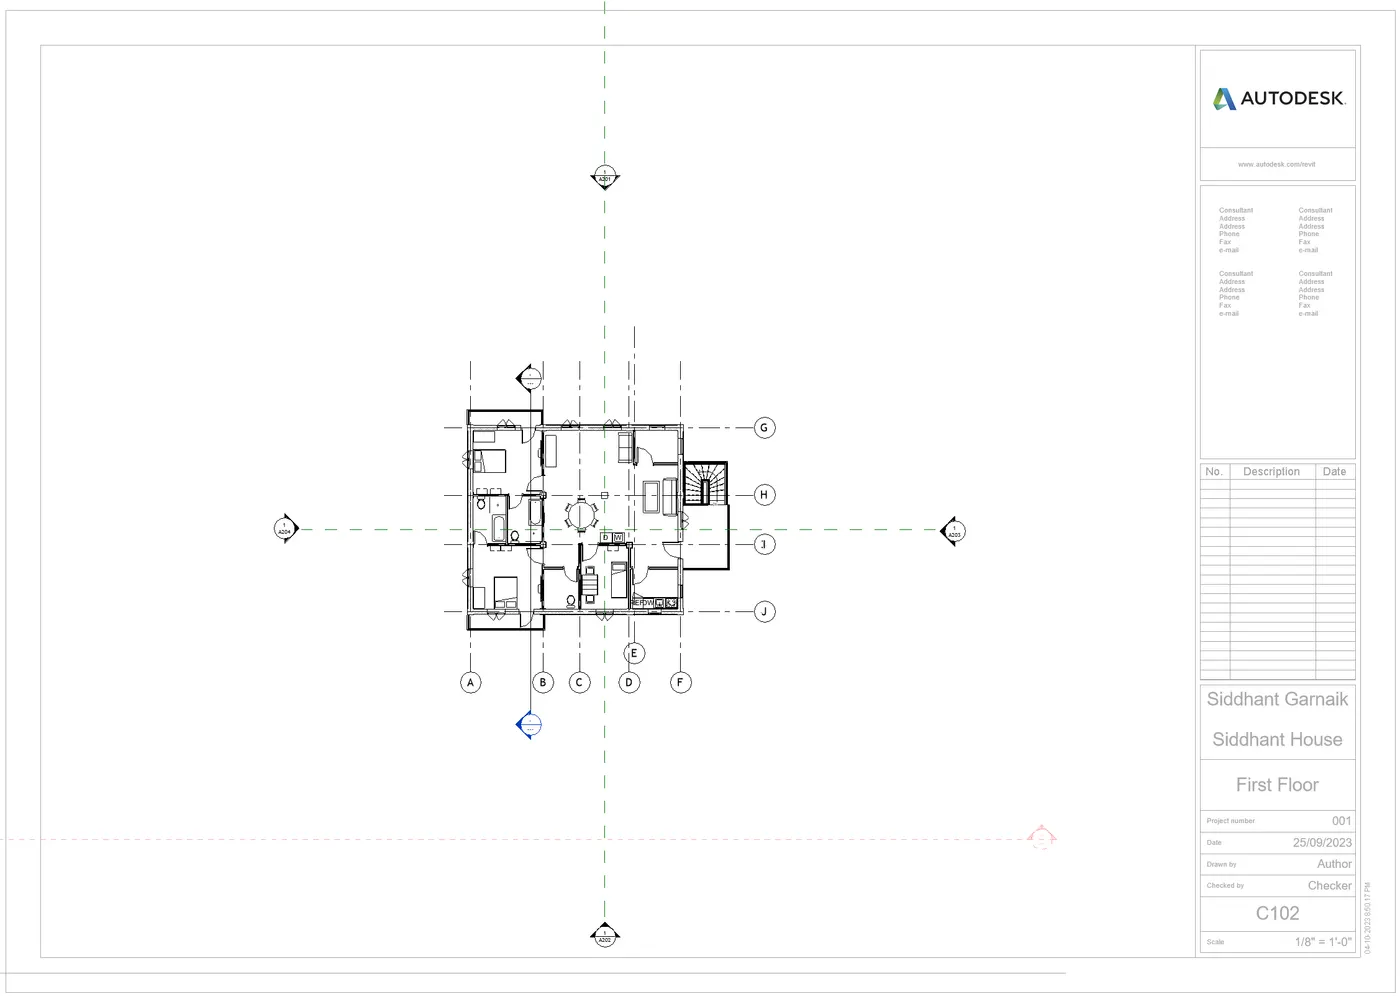
- In the sheet template we insert the ground floor plan and first floor plan seperately.
- And edit the project name and the sheet number as shown below.
Ground Floor Plan
First Floor Plan
RESULT: The sheet template is creaated from the view tab and adjusted the parameters on the sheet for adding appropriate views.
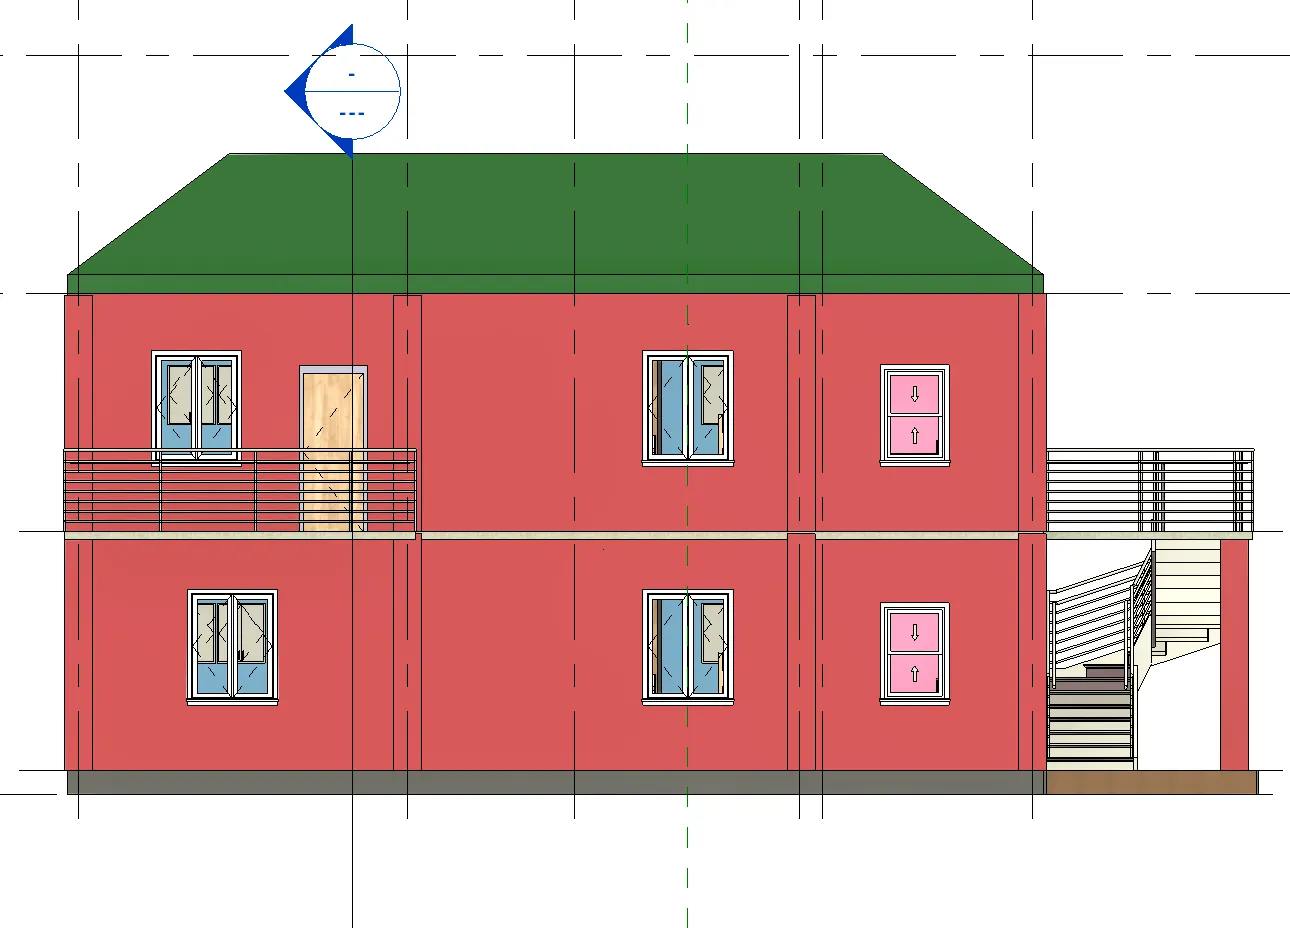
6) Using the elevation tab create the elevation views, looking at your building from East, North, South, and West
Ans-
AIM- To create the elevation views, looking at your building from East, North, South, and West using the elevation tab
PROCEDURE
- First we click on the elevation option from the view toolbar, as shown below.
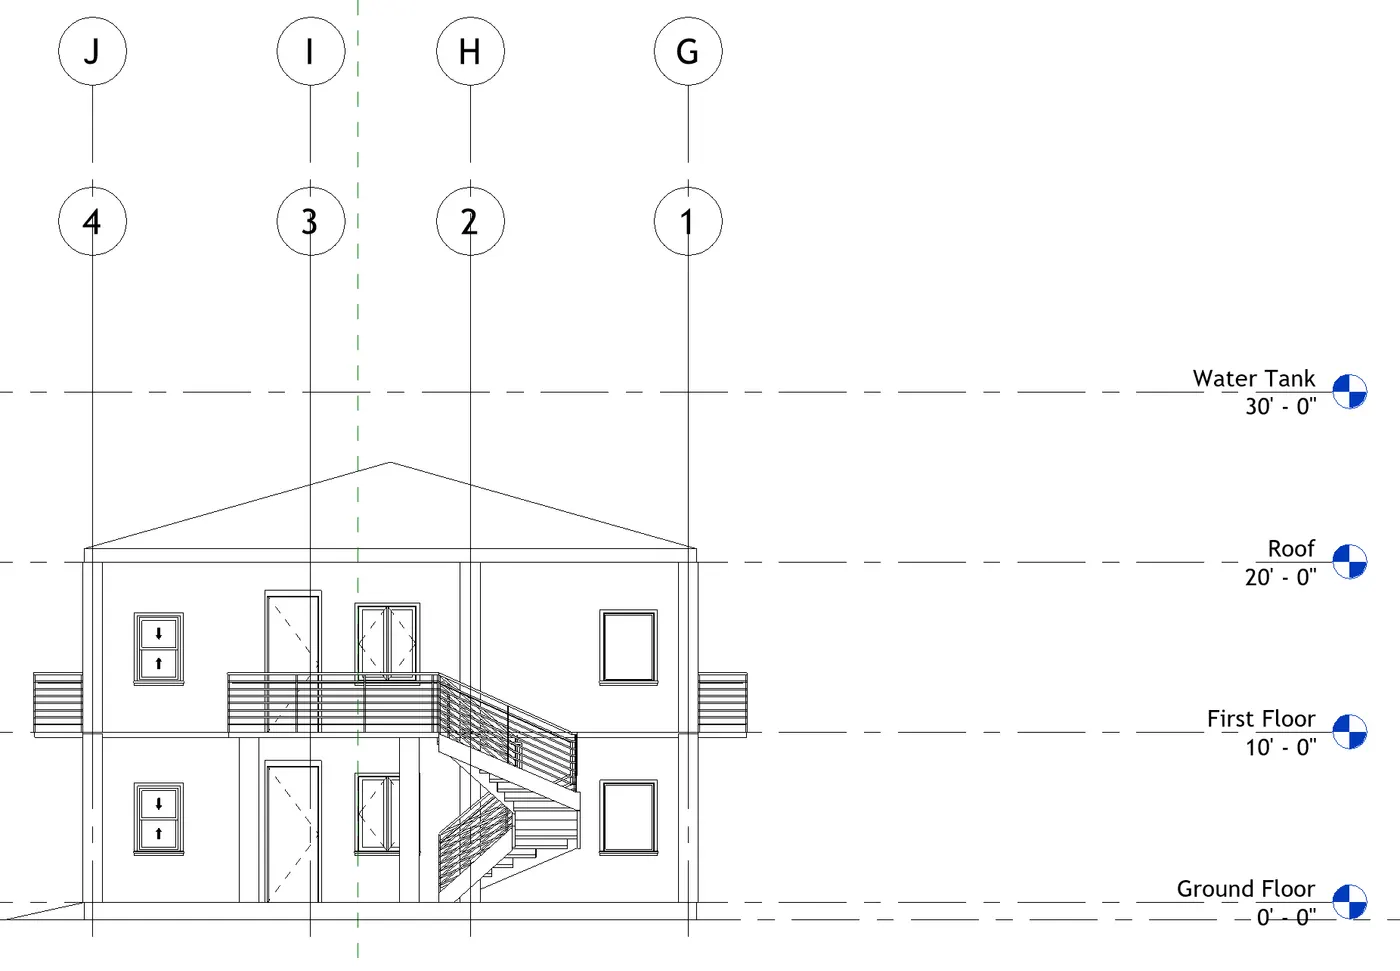
- Elevation from east is shown below.
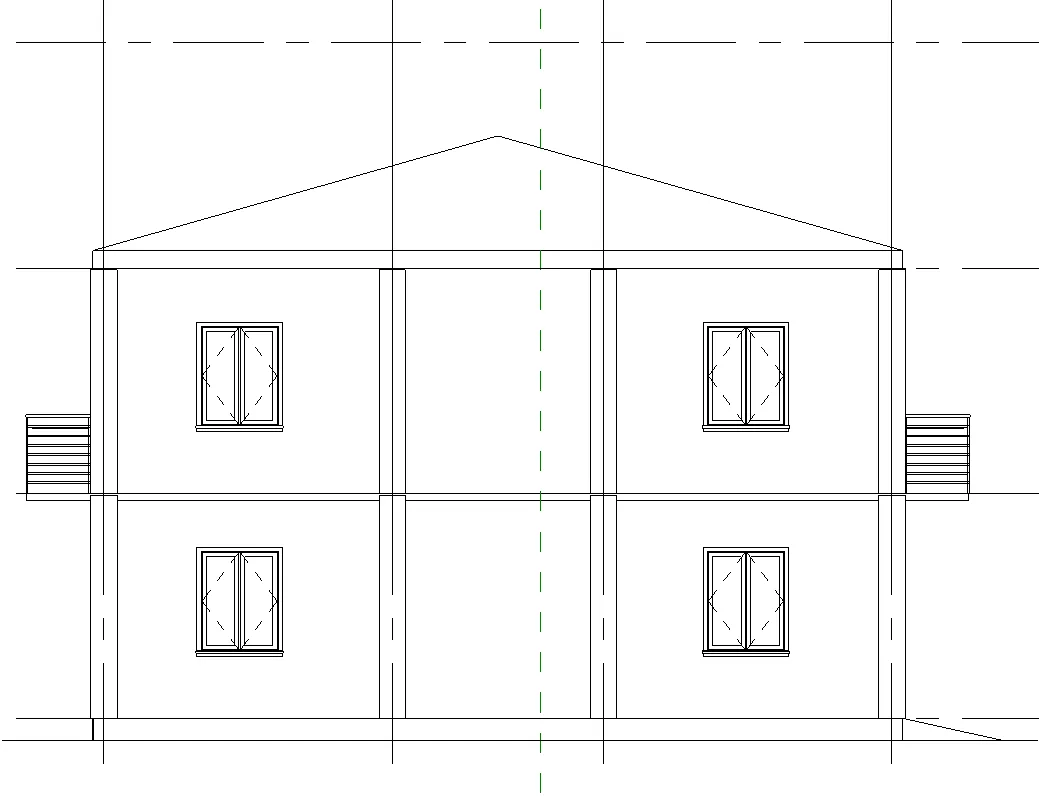
- Elevation view from west is shown below.
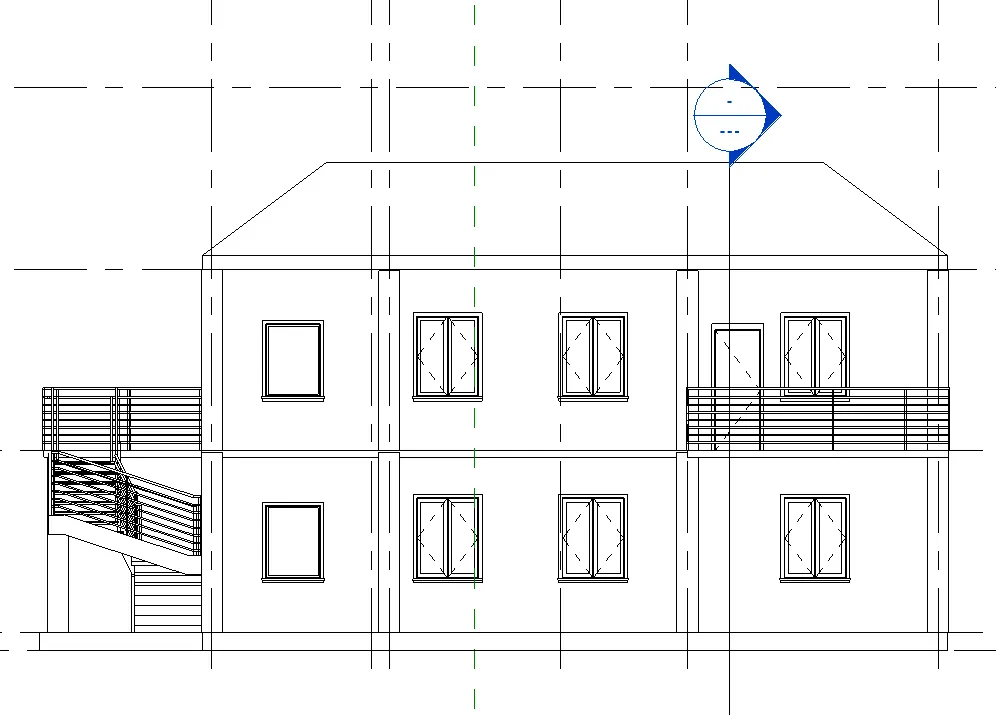
- Elevation view from North is shown below.
- Elevation view from south is shown below.
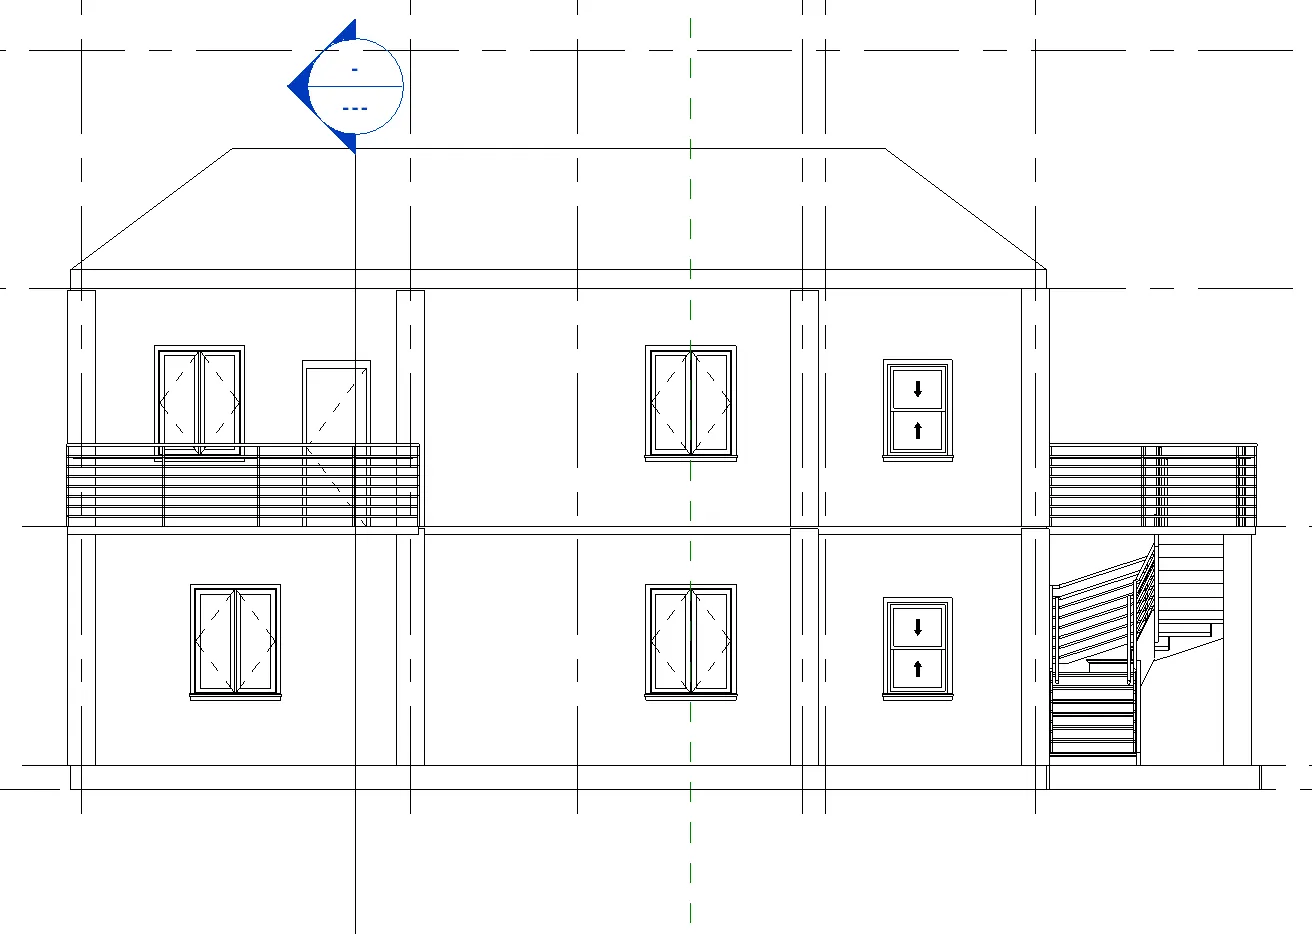
RESULT: All the elevation views from each direction is shown.
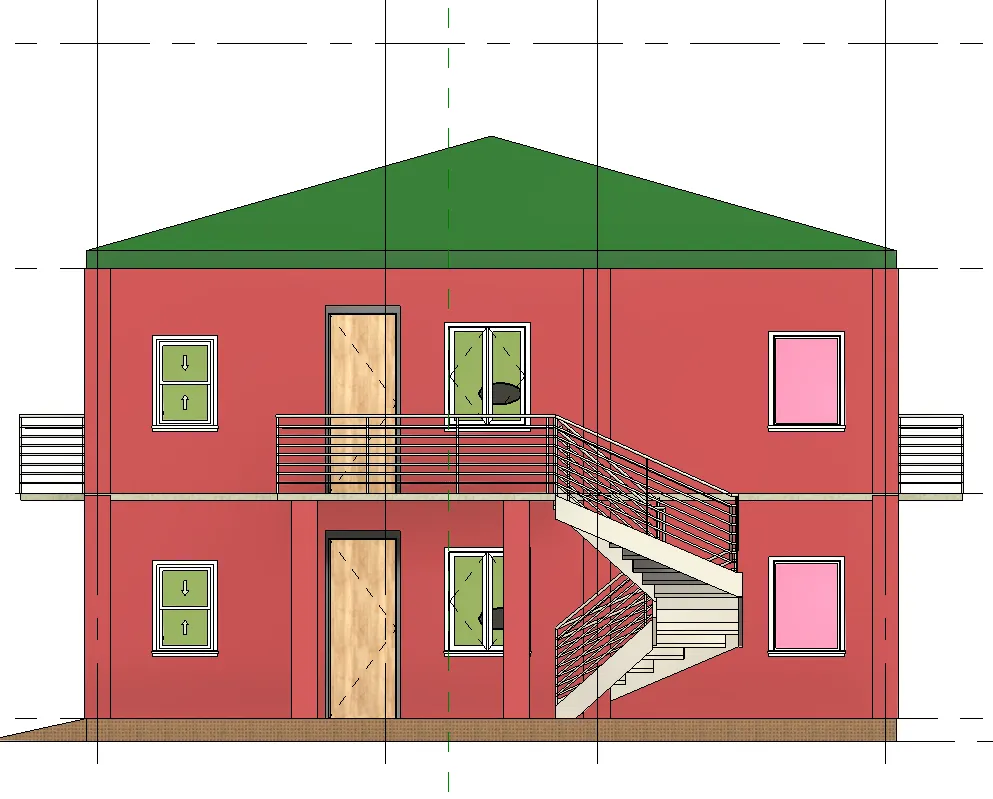
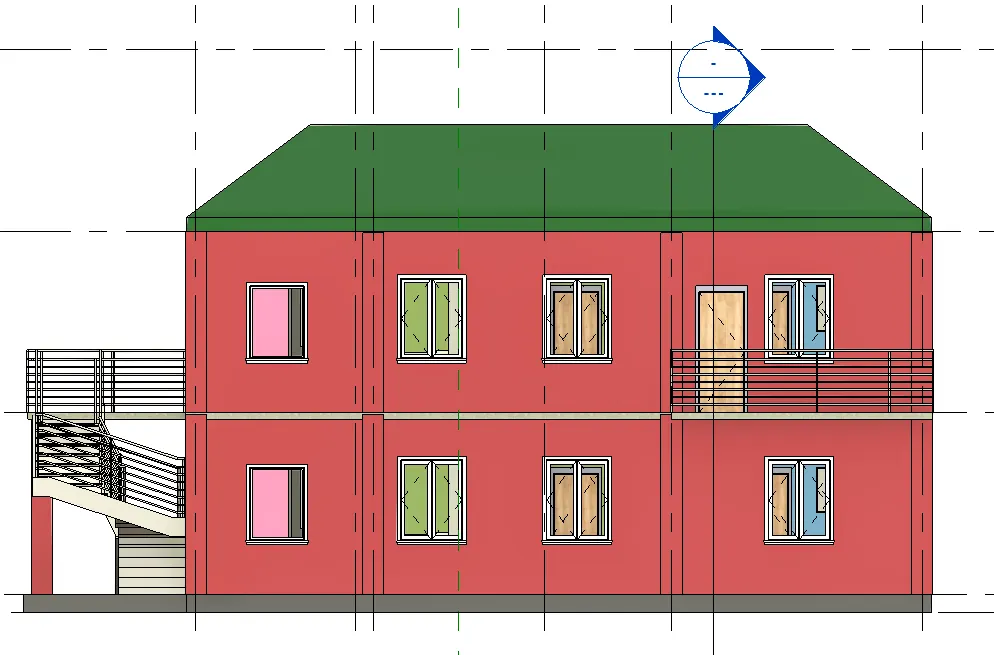
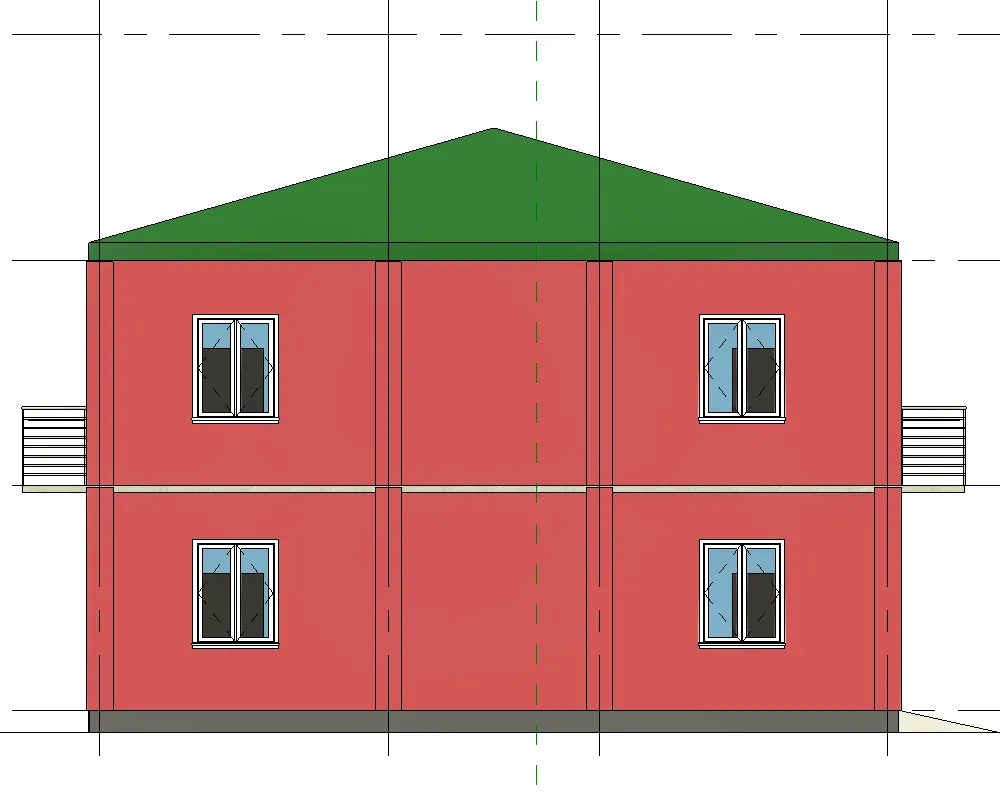
7) Produce section cut through each room either cutting across longitudinally or in a transverse direction
Ans-
AIM- To produce section cut through each room either cutting across longitudinally or in a transverse direction.
PROCEDURE-
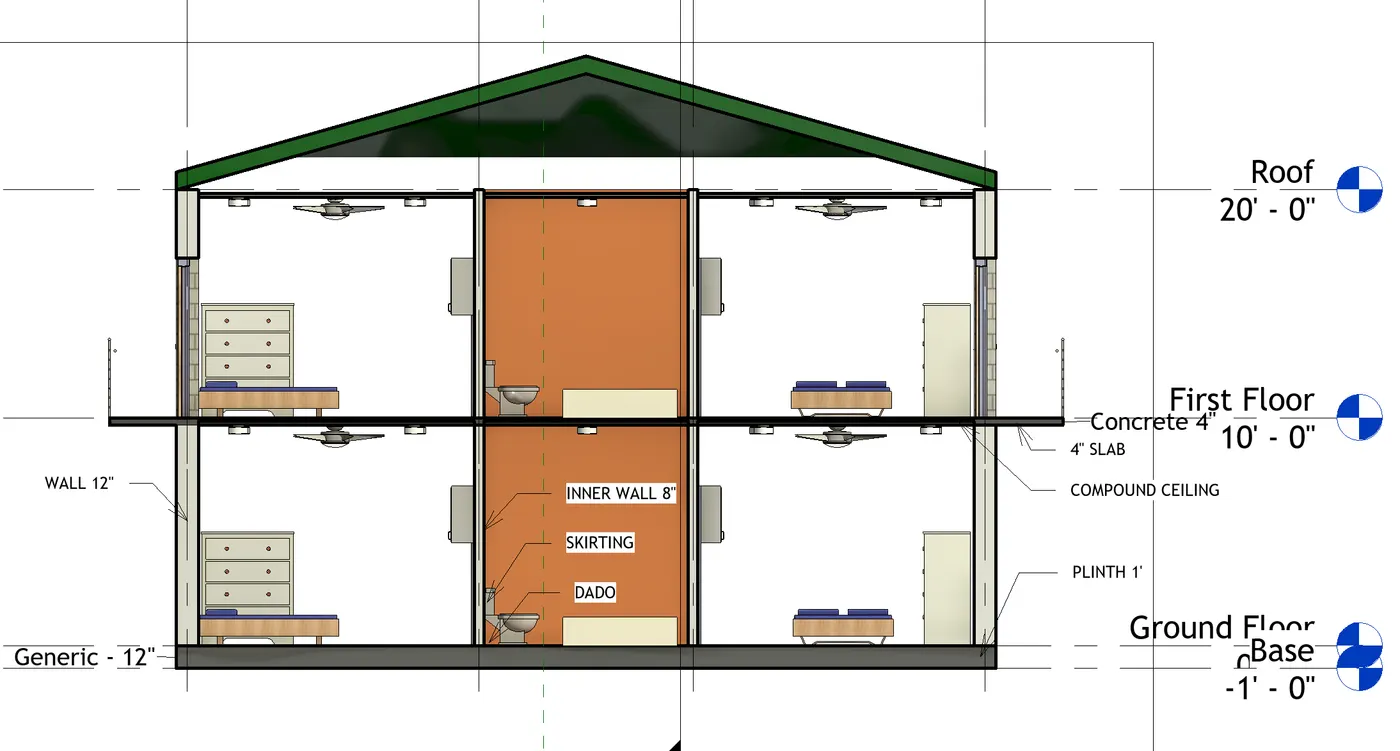
- First we click on the section option from the view toolbar, as shown below.
- Next we produce the section view of the bed room as shown in the below figure.
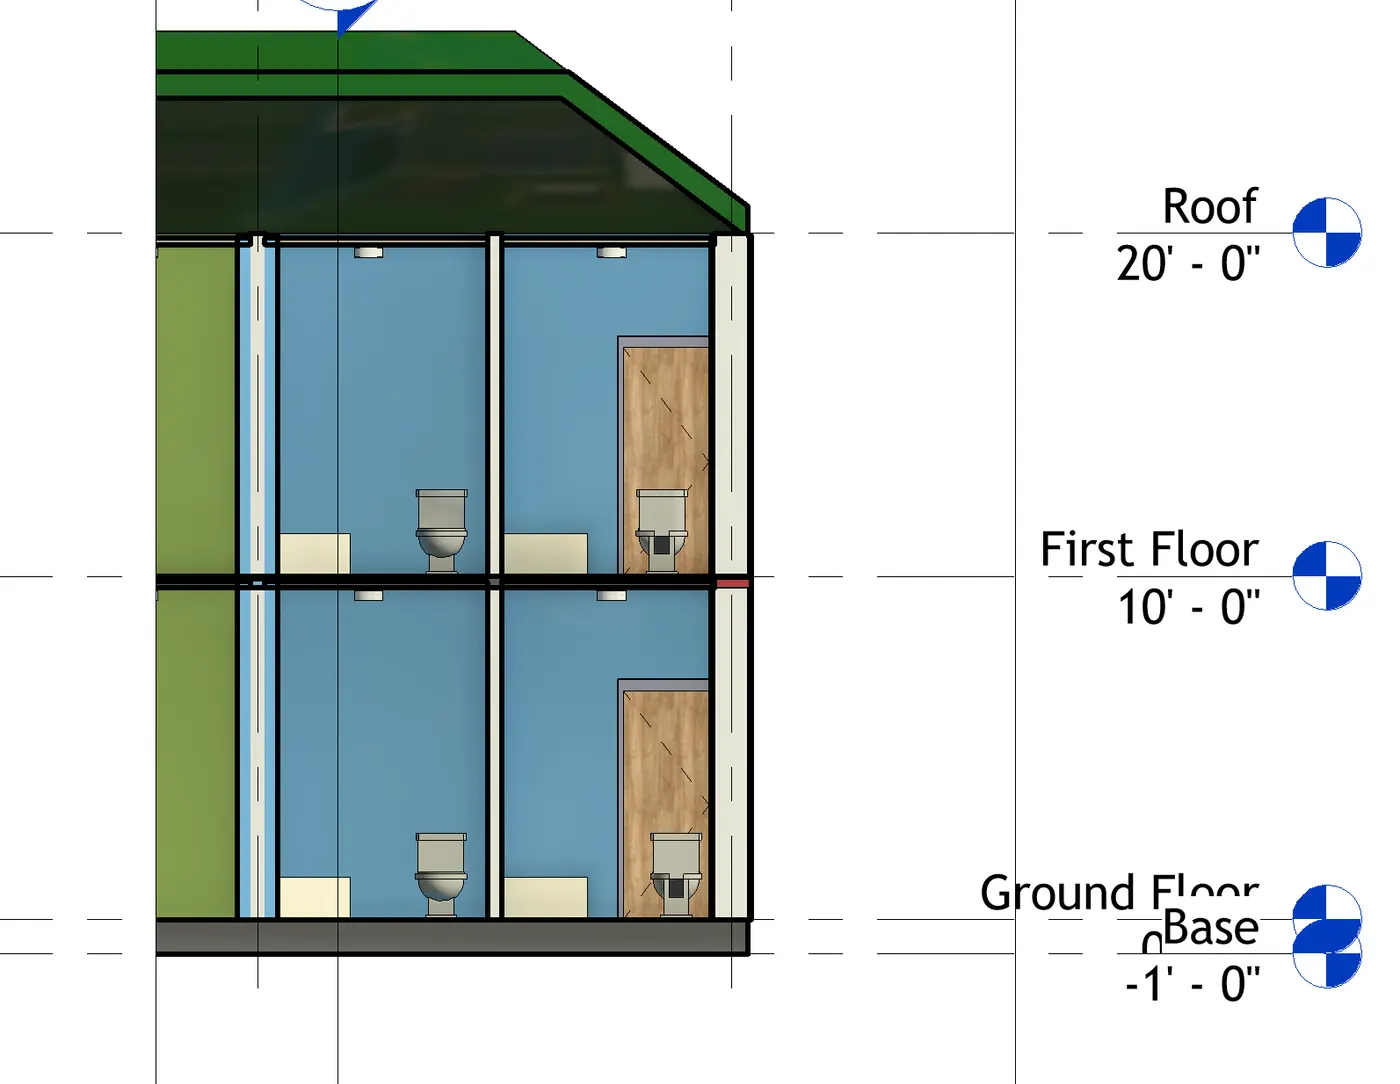
- The section view of toilet is given.
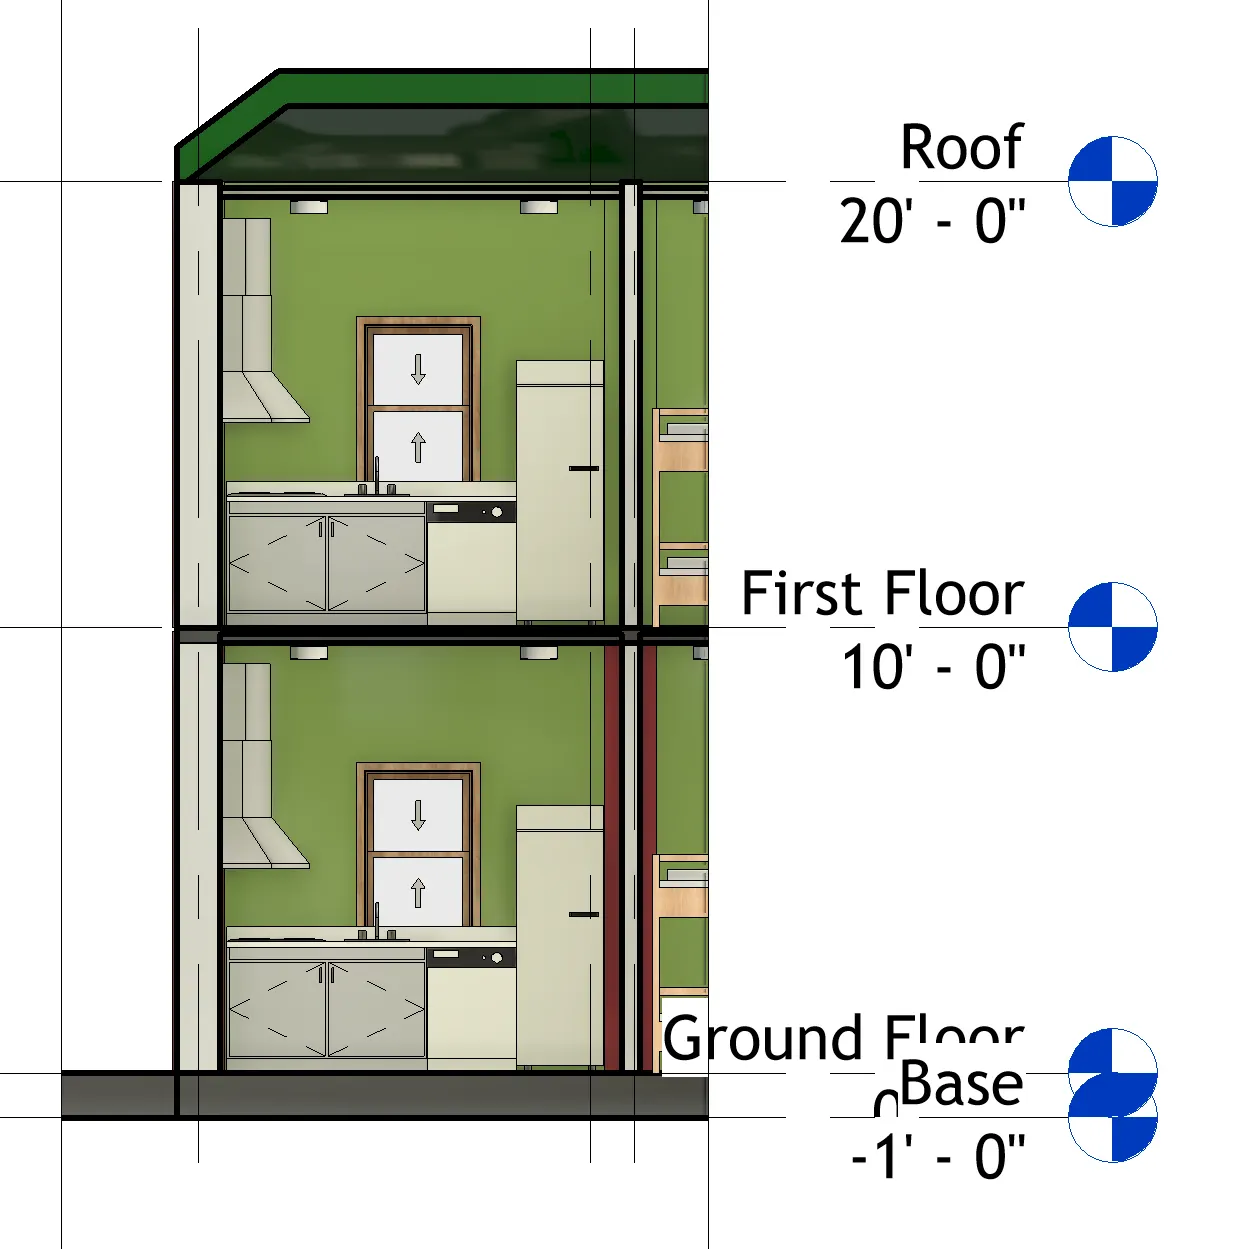
- The section view of kitchen is given.
- The section view of living room is created and given.
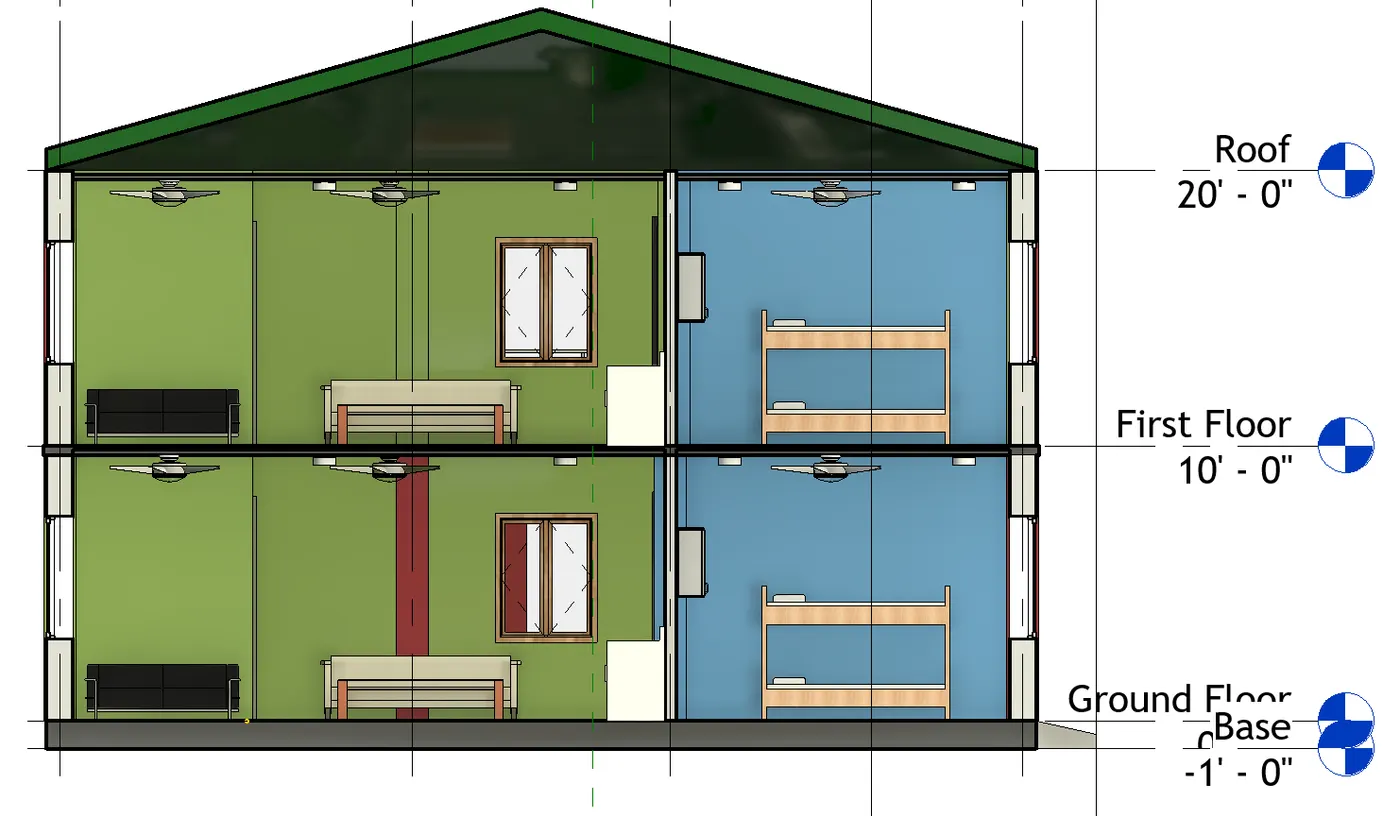
RESULT- All the section views of each room is created.
8) Classify the views, Plan Views, Section Views, and Elevation views to either Design or Documentation category using Properties browser
Ans-
AIM- To classify the views, Plan Views, Section Views and Elevation views to either Design or Documentation category using Properties browser
PROCEDURE-
- First we open the project browser, the views, Plan Views, Section Views, and Elevation views are visible in that project browser as shown below.
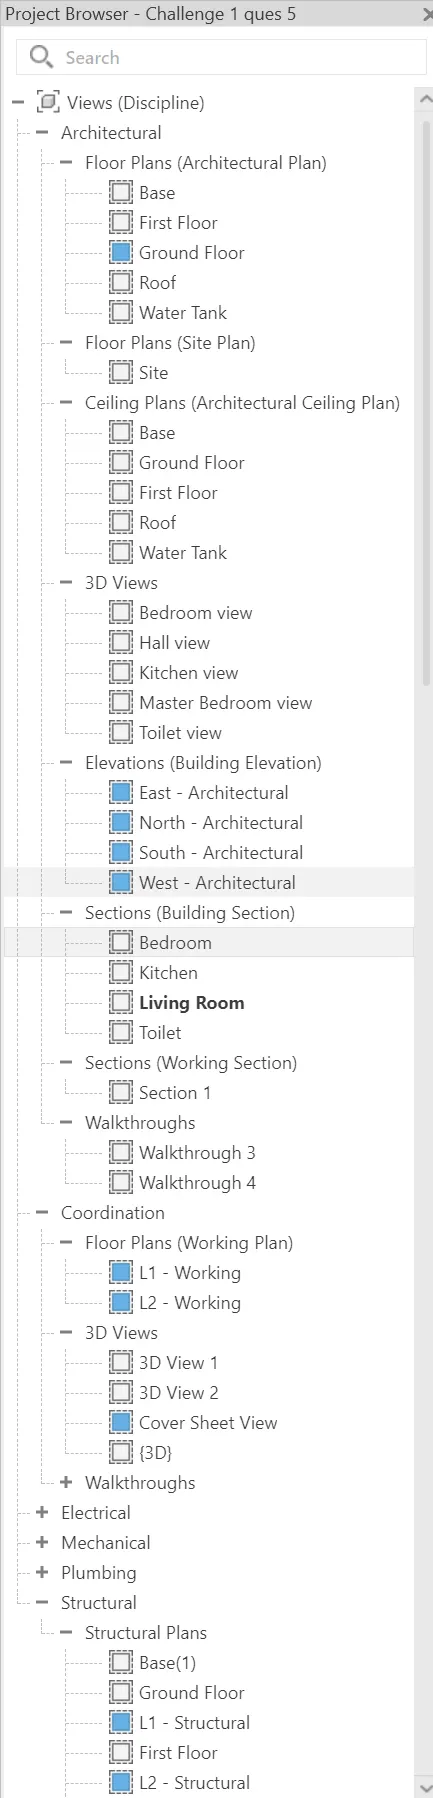
- Next we insert these plans one by one in the sheets separately.
- Insert the front elevation in the sheet template
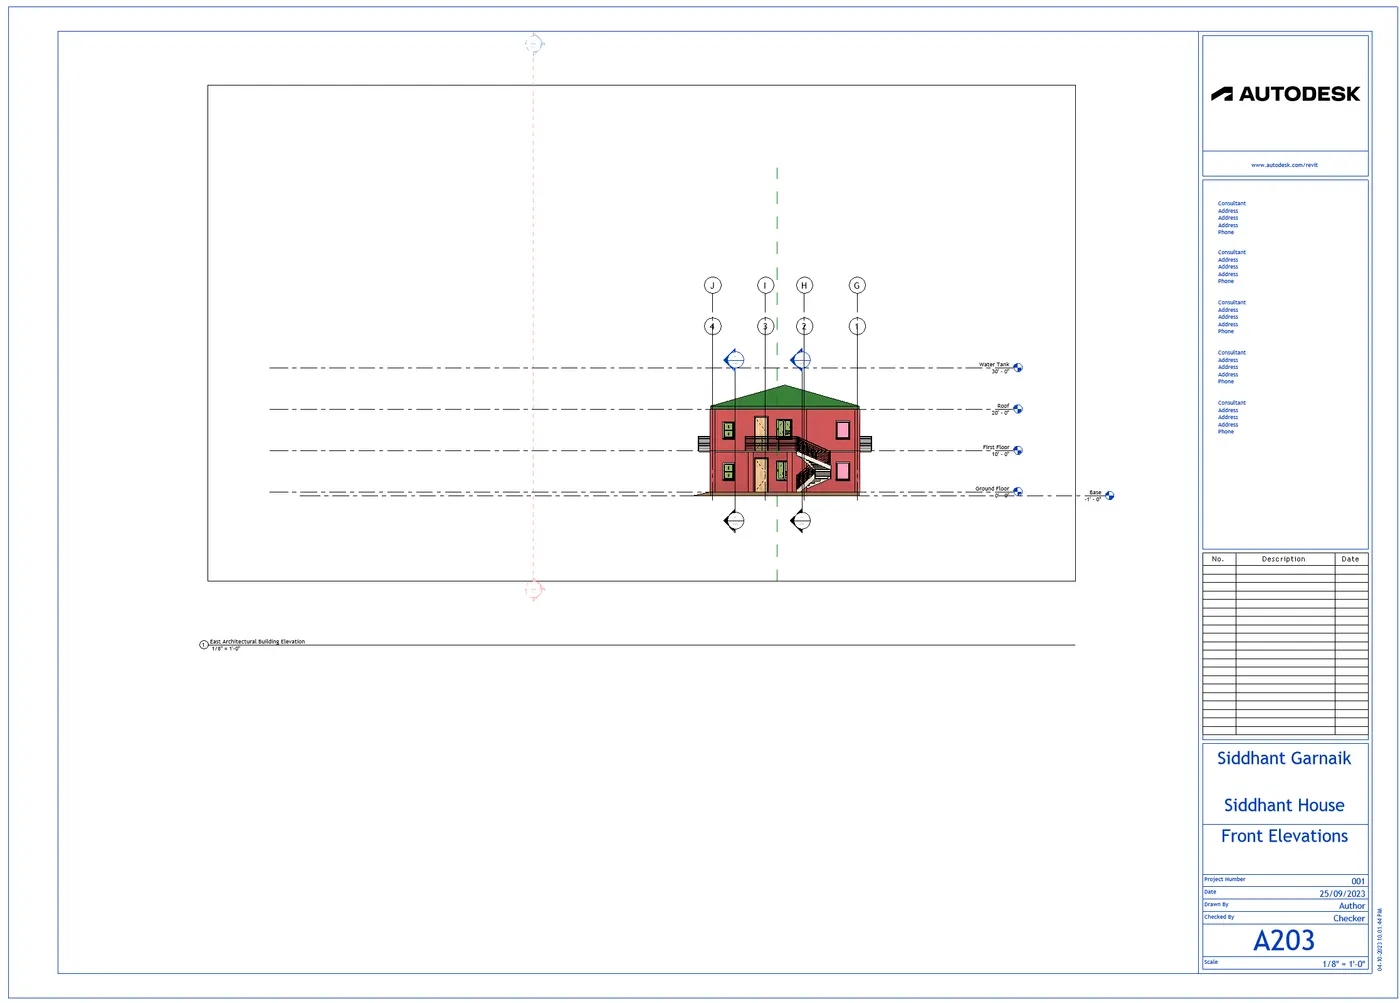
- Insert the right side elevation of the building.
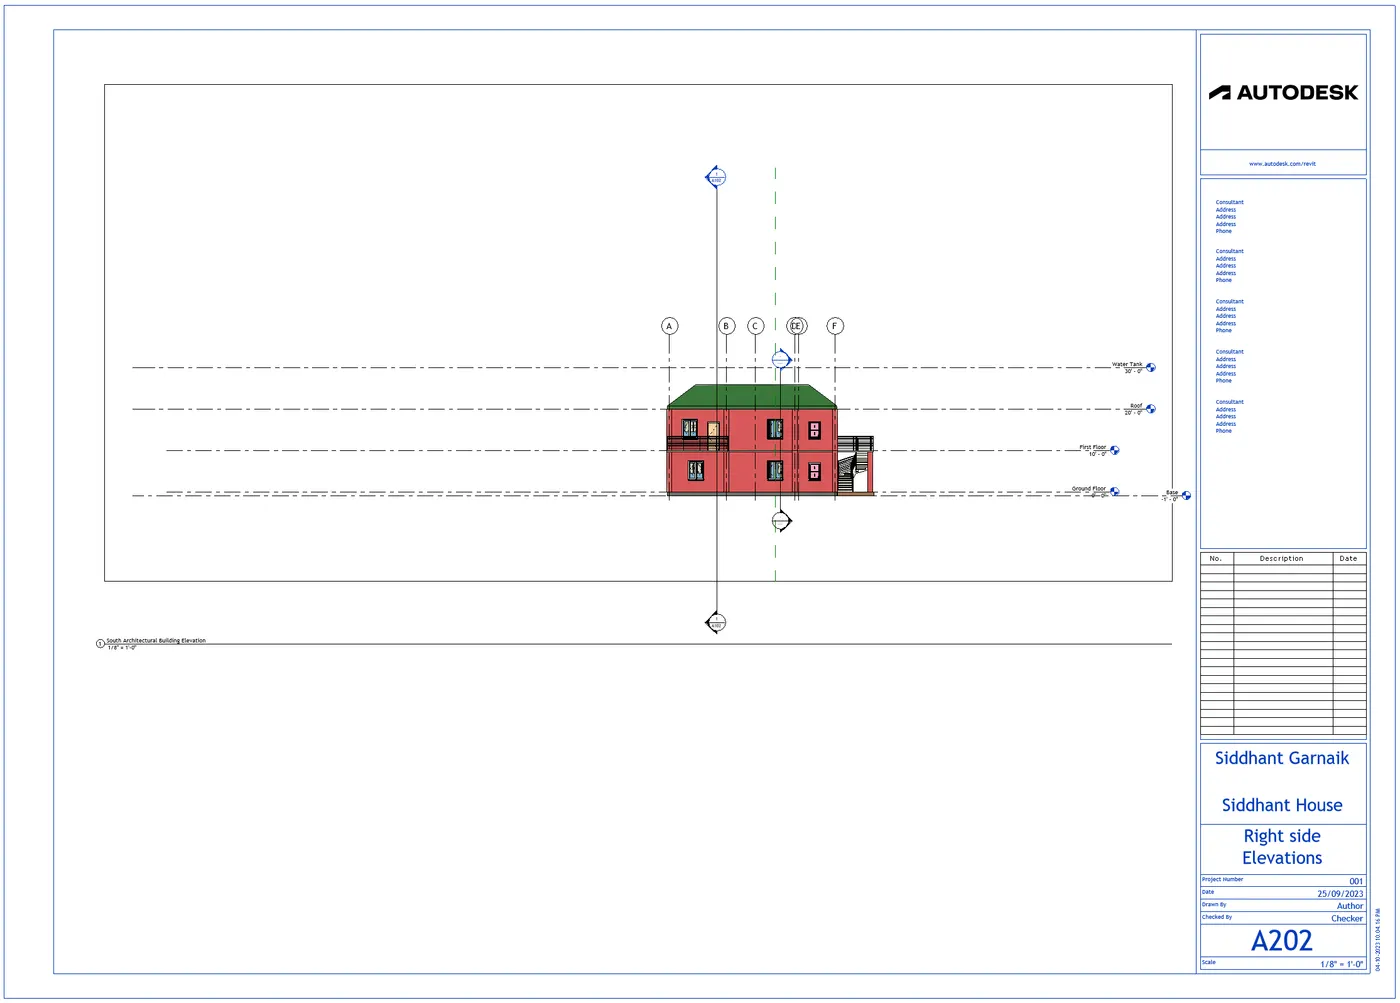
- Insert the left side elevation of the building.
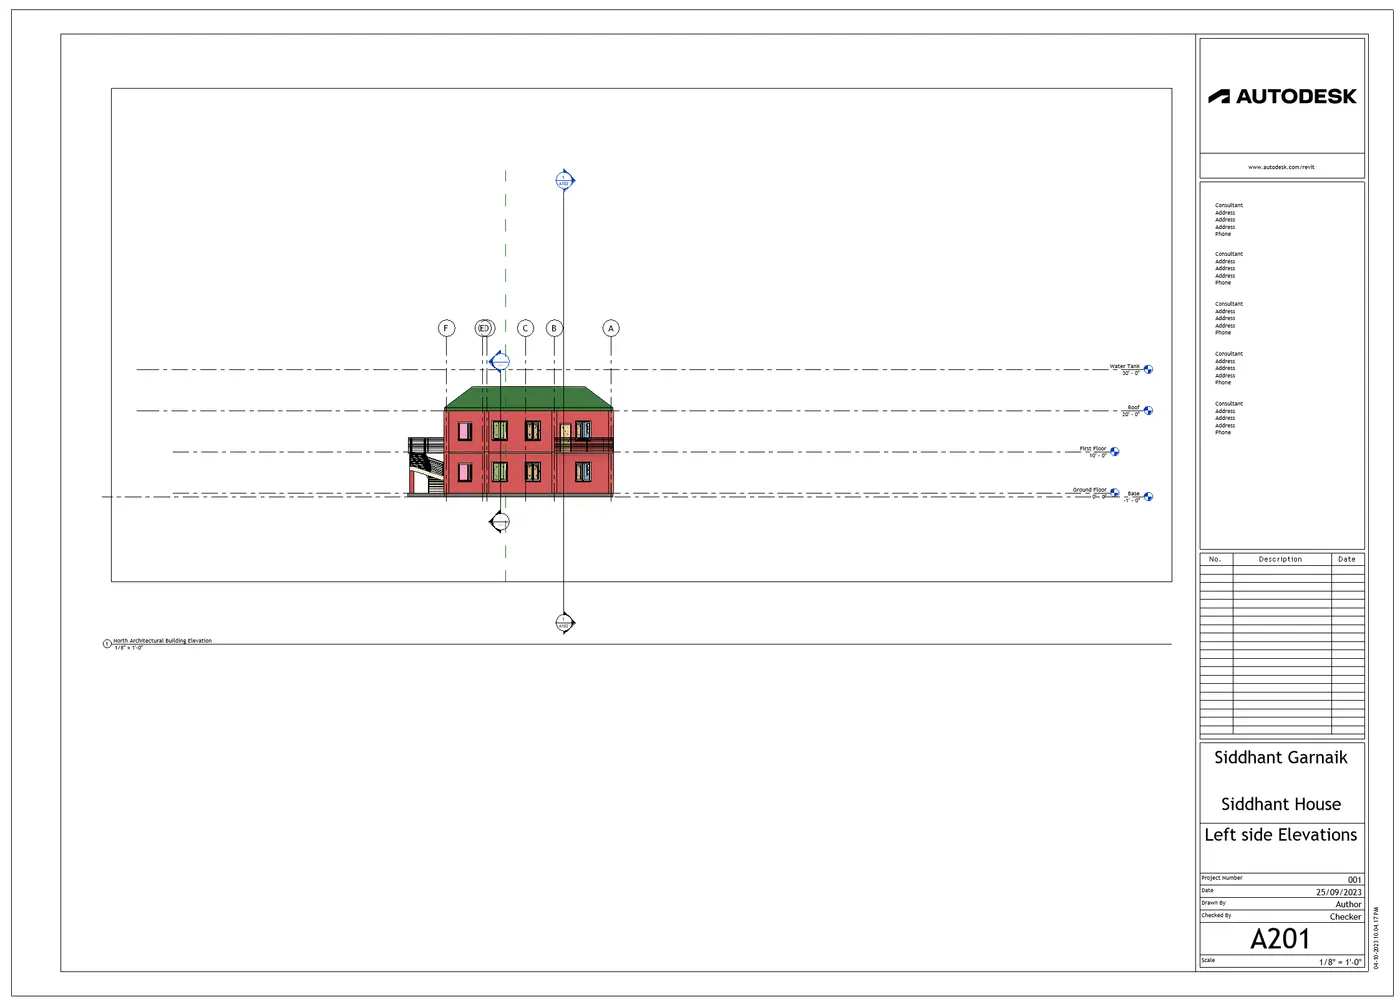
- Insert the back elevation of the building.
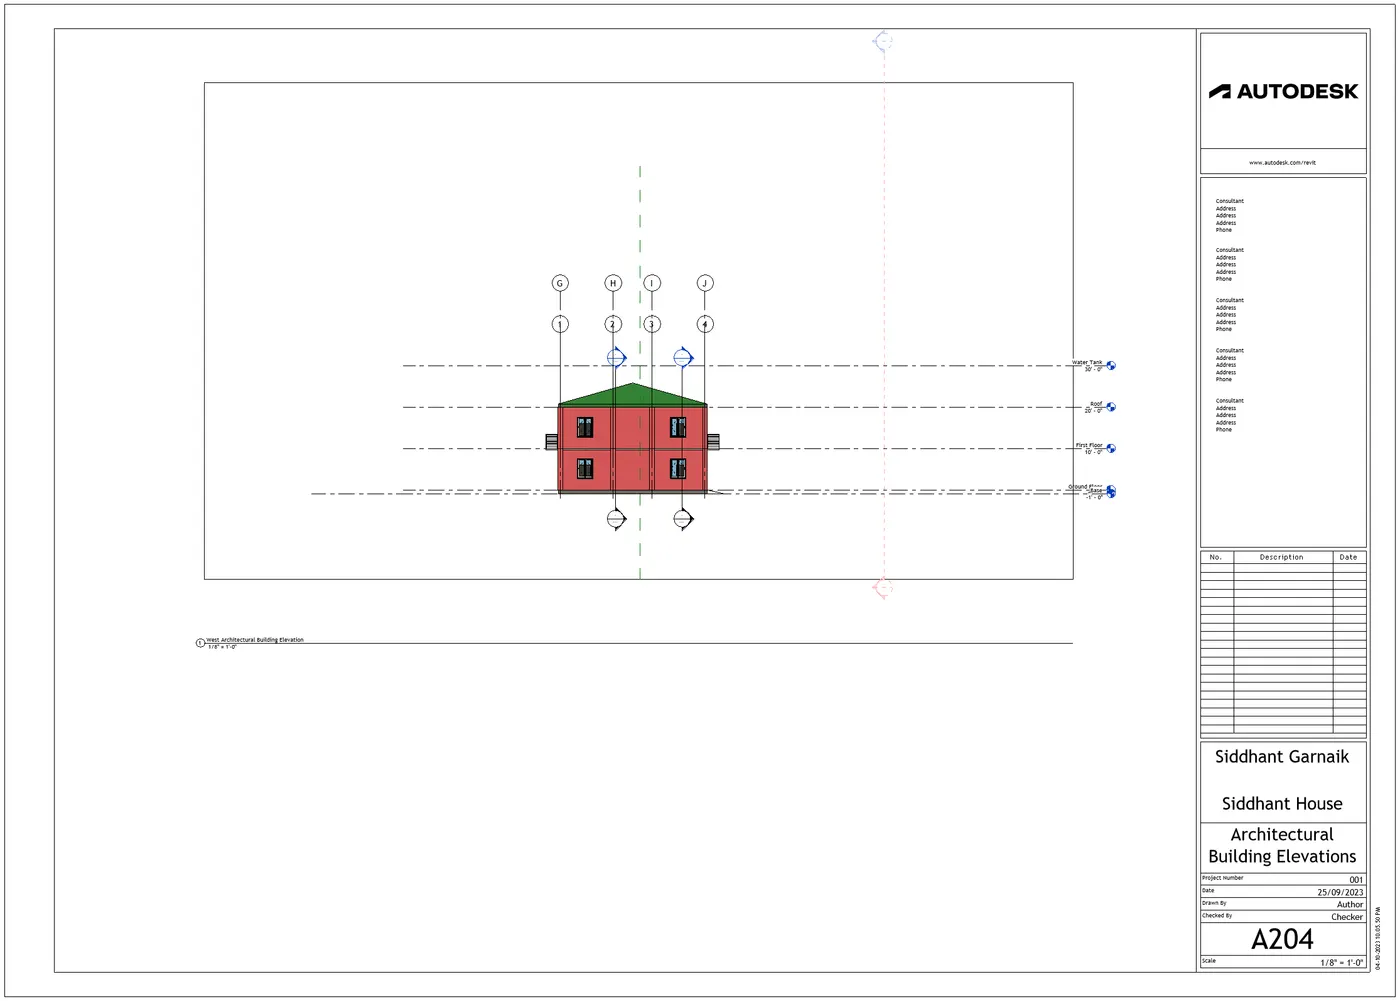
- Insert the plan of both ground floor and first floor plan in the template
- Insert the sectional views of the building in the title blocks.
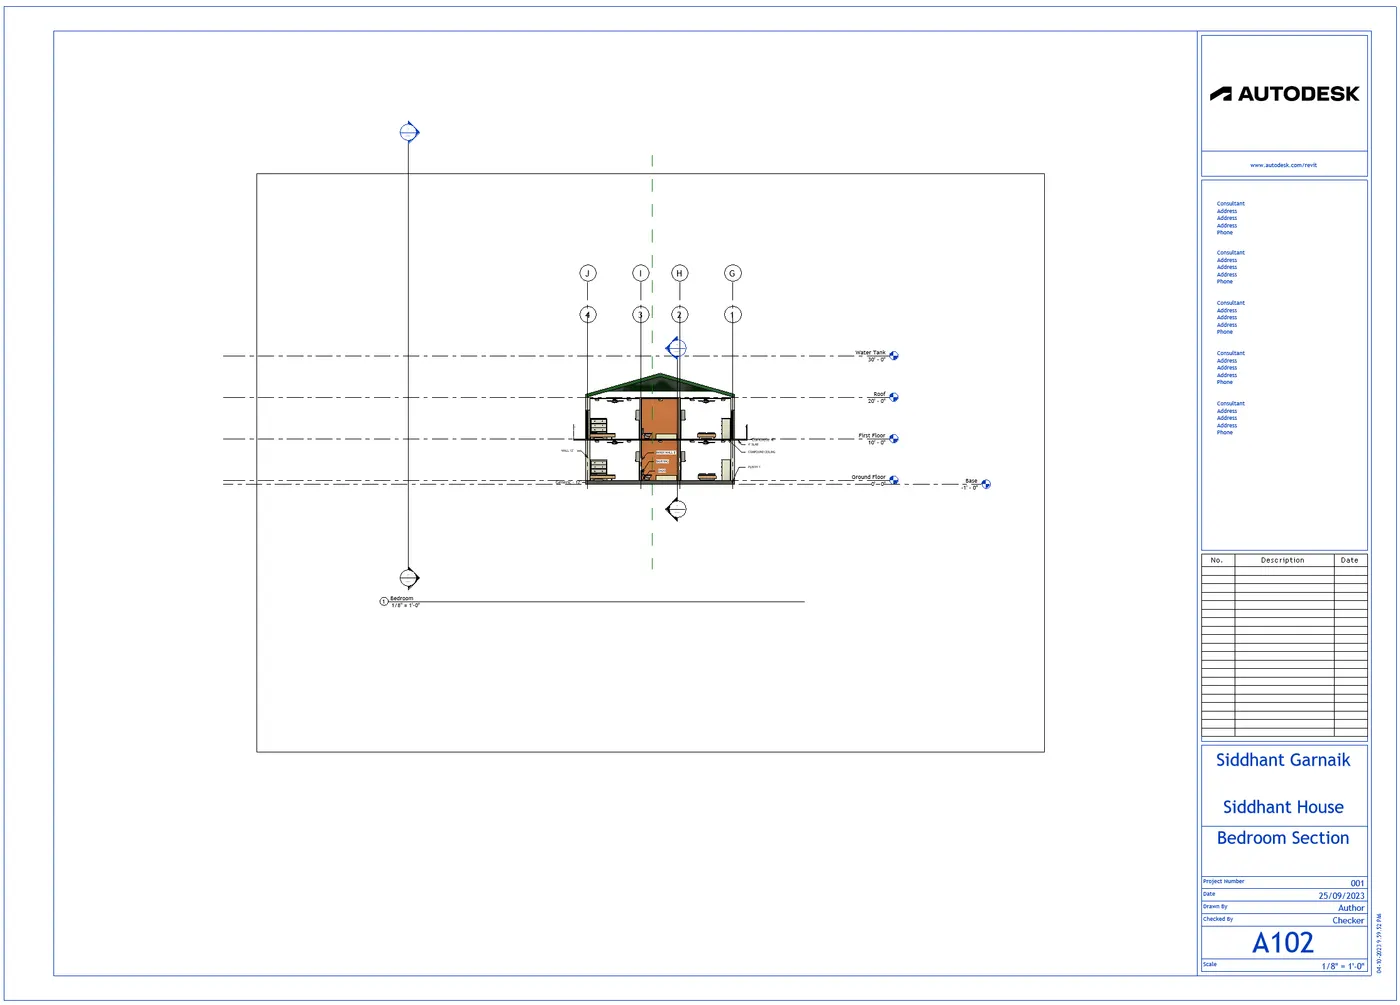
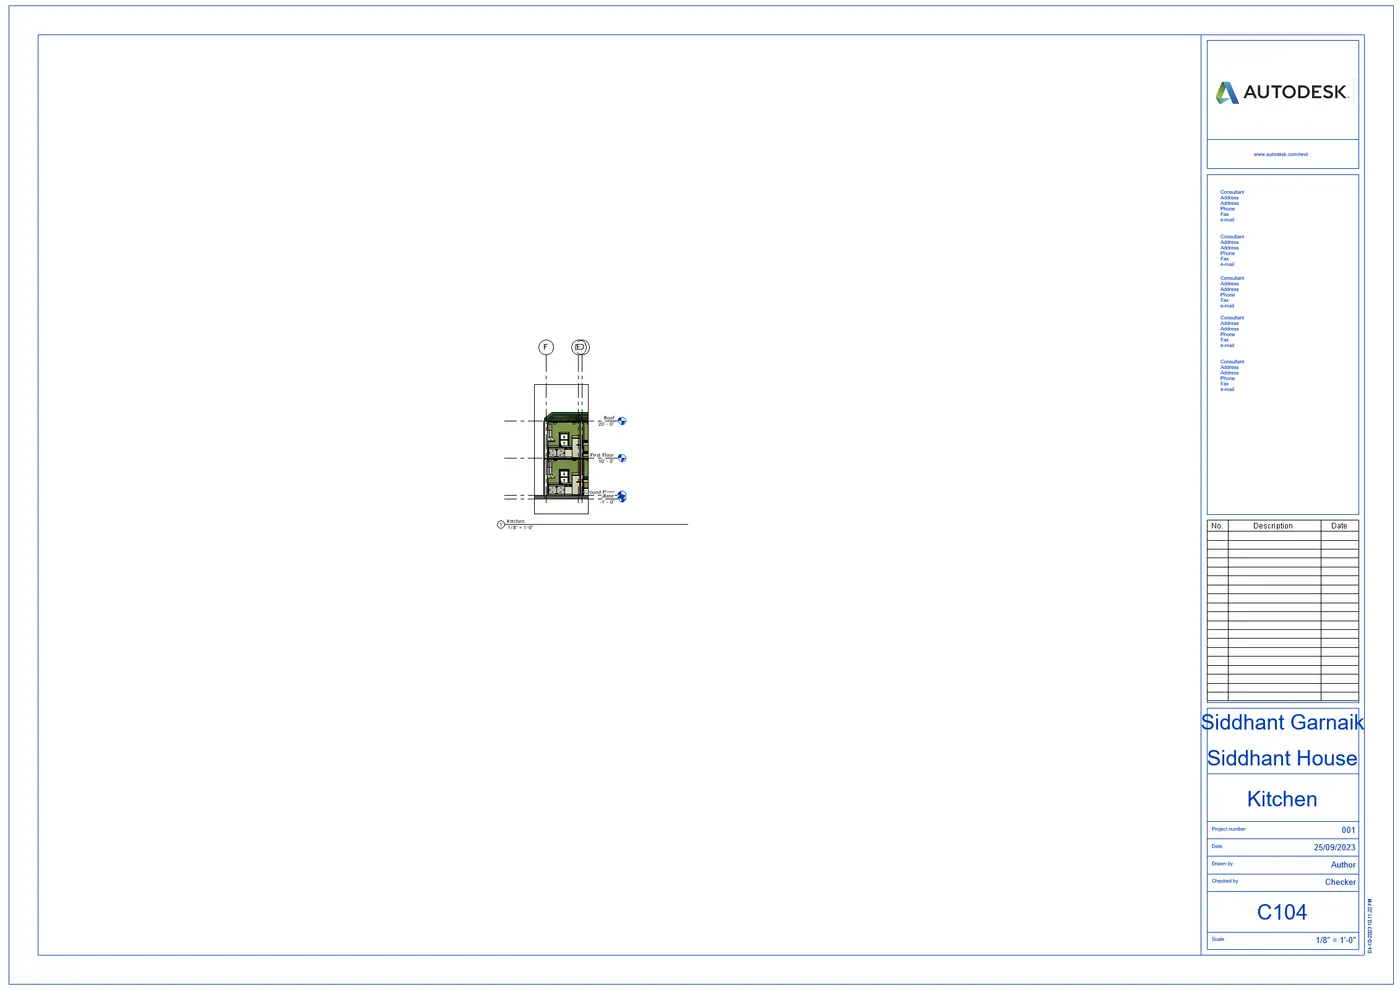
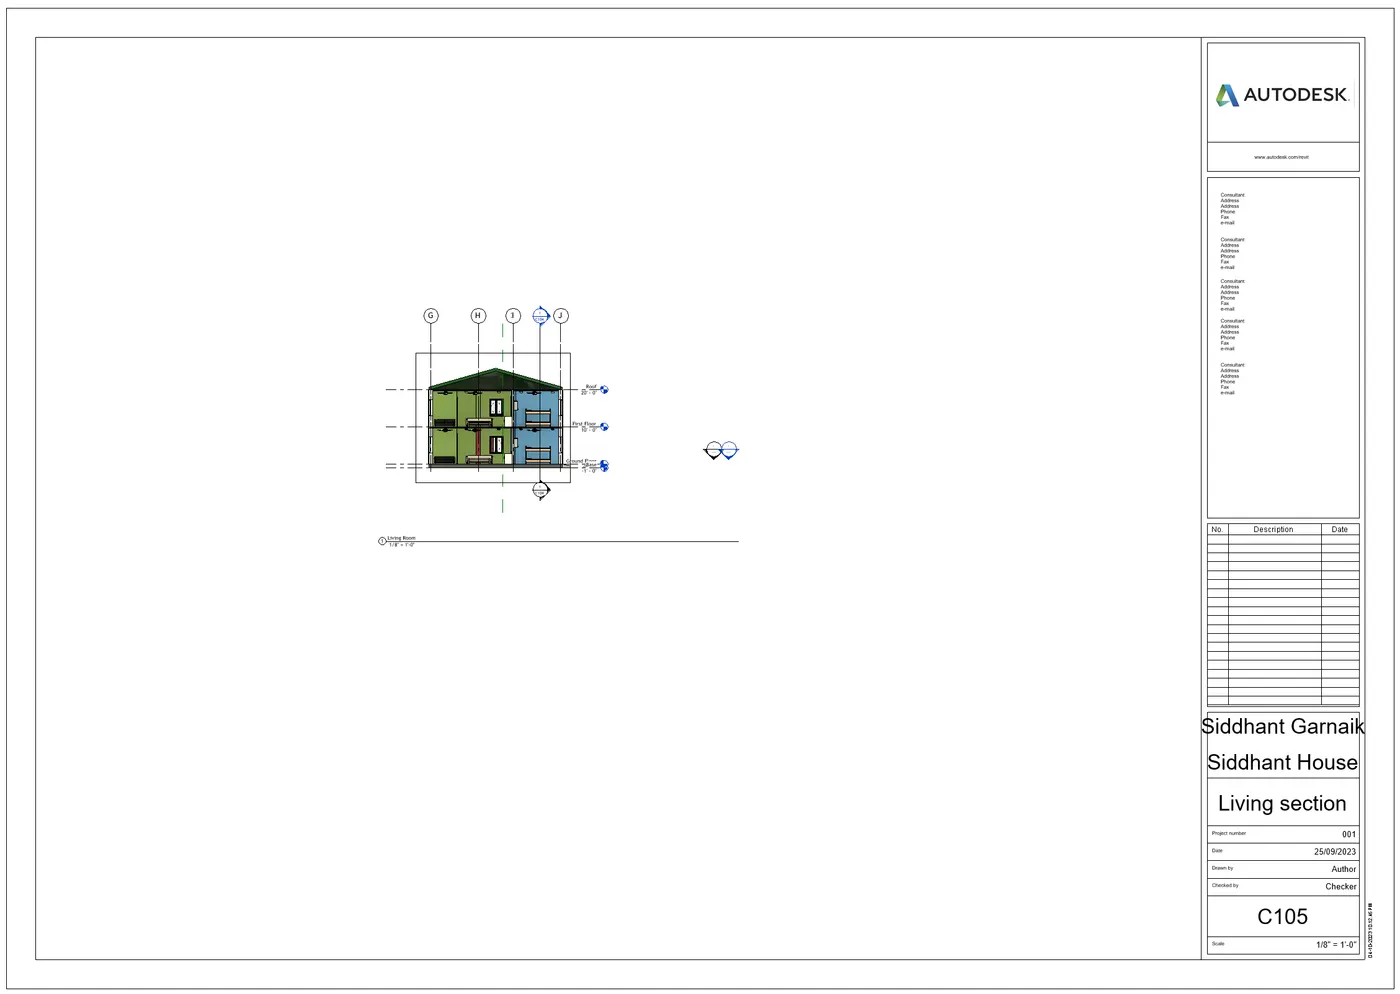
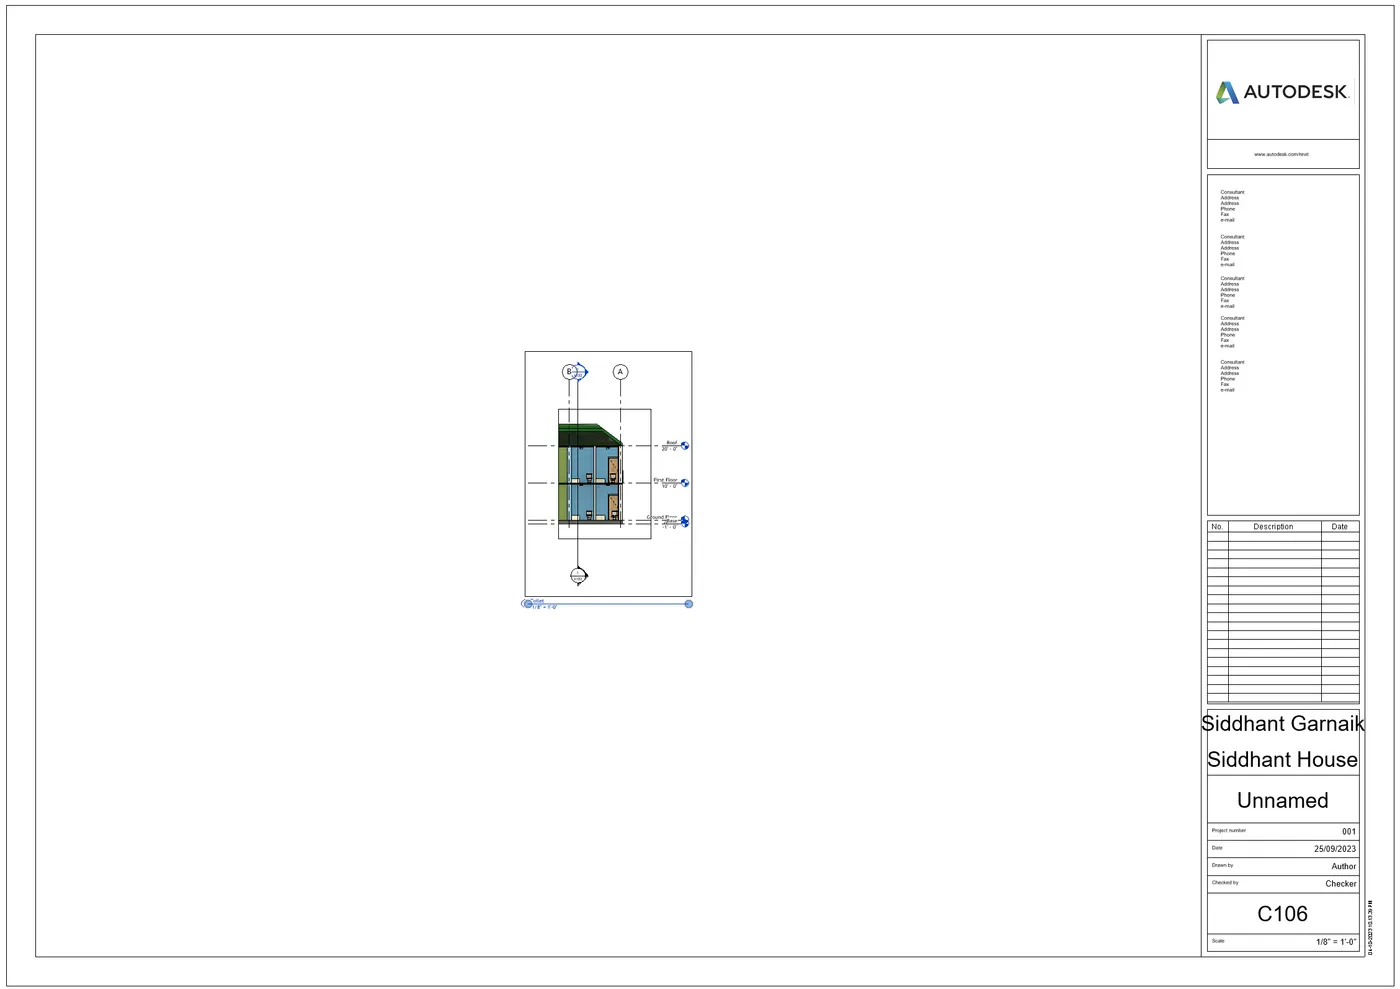
RESULT- All the views, plan views, elevation views and sectional views are inserted and classified to Design category using property browser.
9) Using the sheet template produced create multiple sheets as follows
a. A 101- Ground Floor Architecture Plan
b. A 102- First Floor Architecture Plan
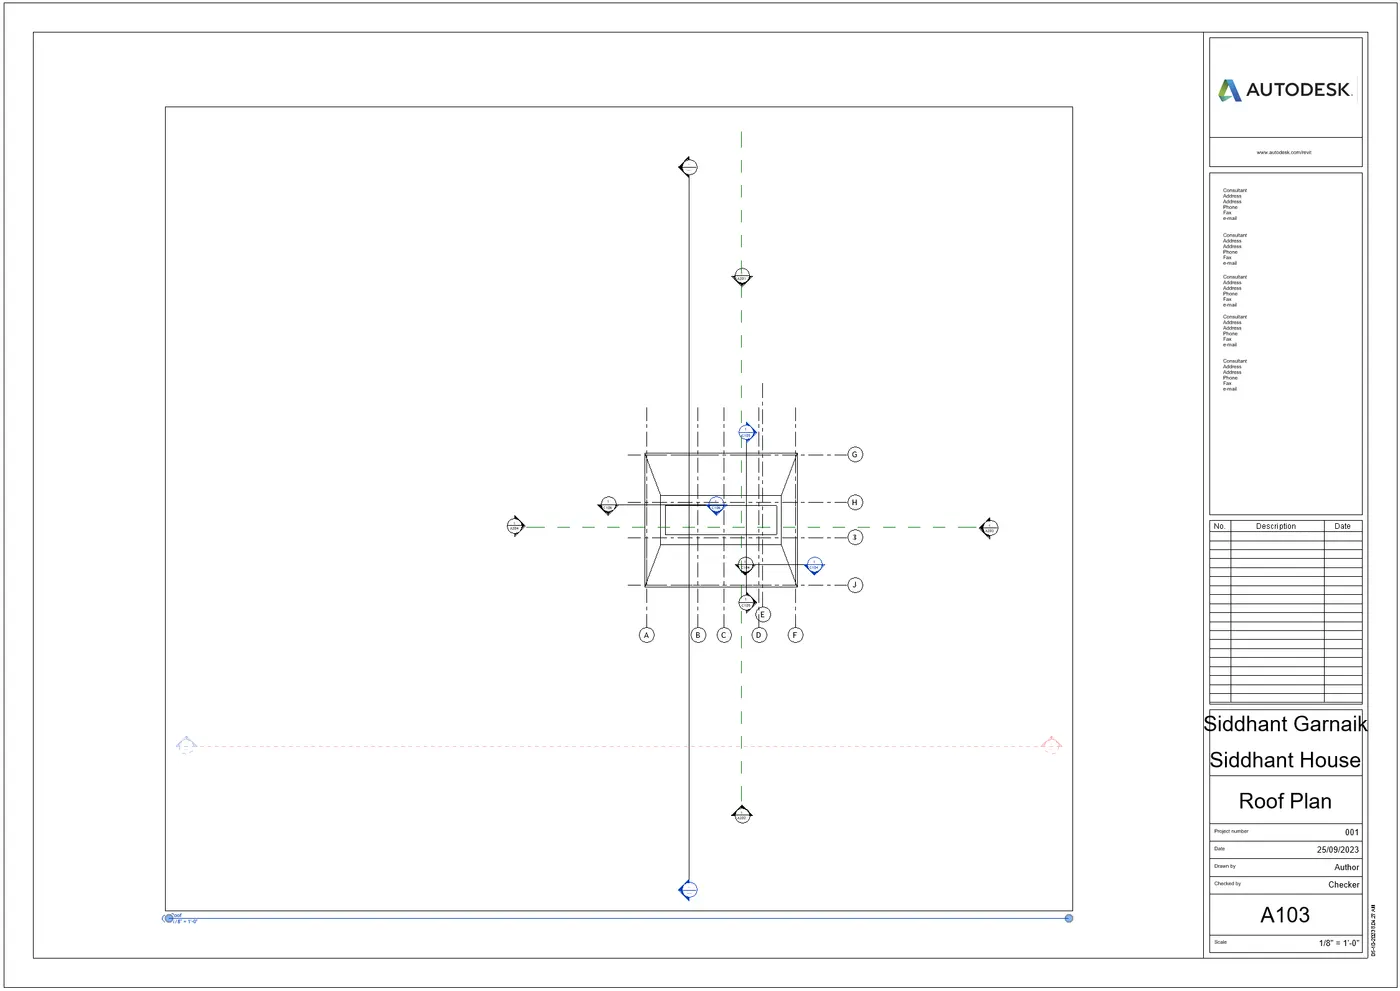
c. A 103- Roof Plan
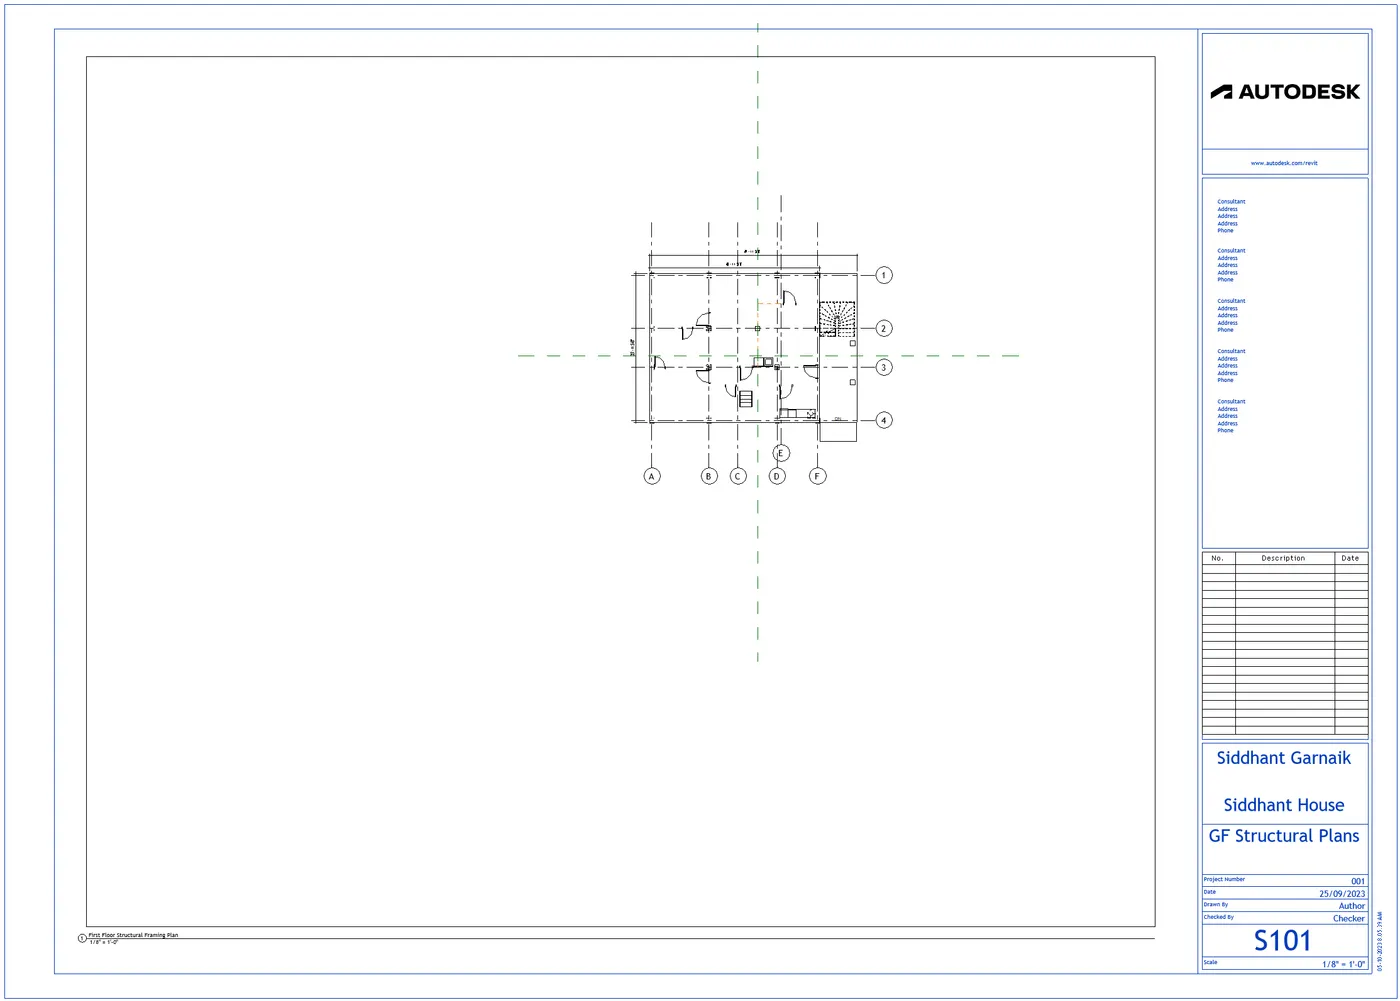
d. S 101- Ground Floor Structural Plan
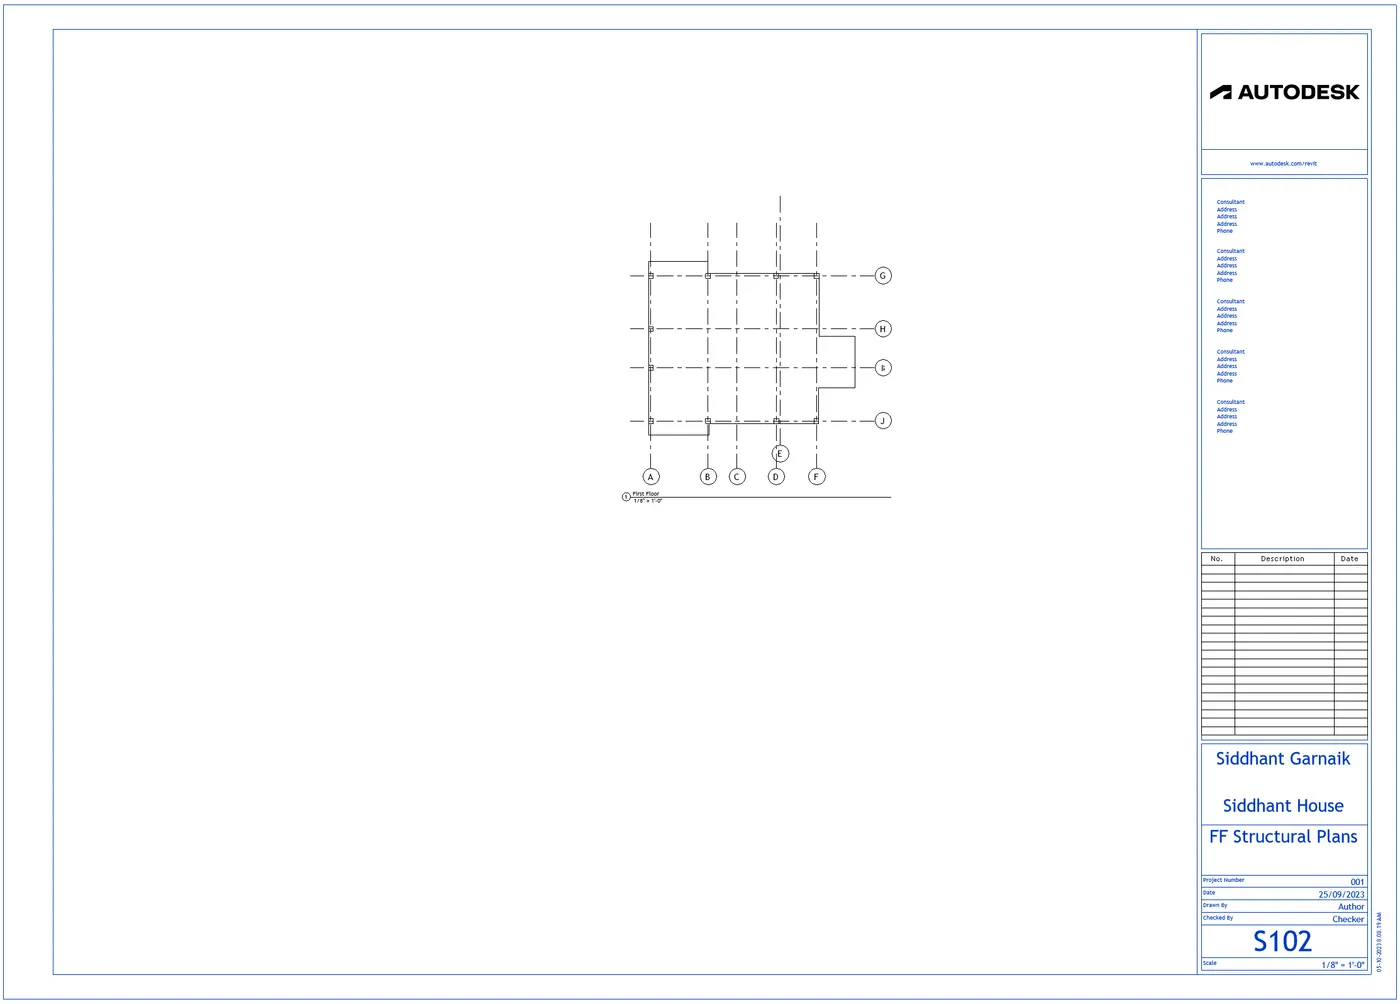
e. S 102- First Floor Structural Plan
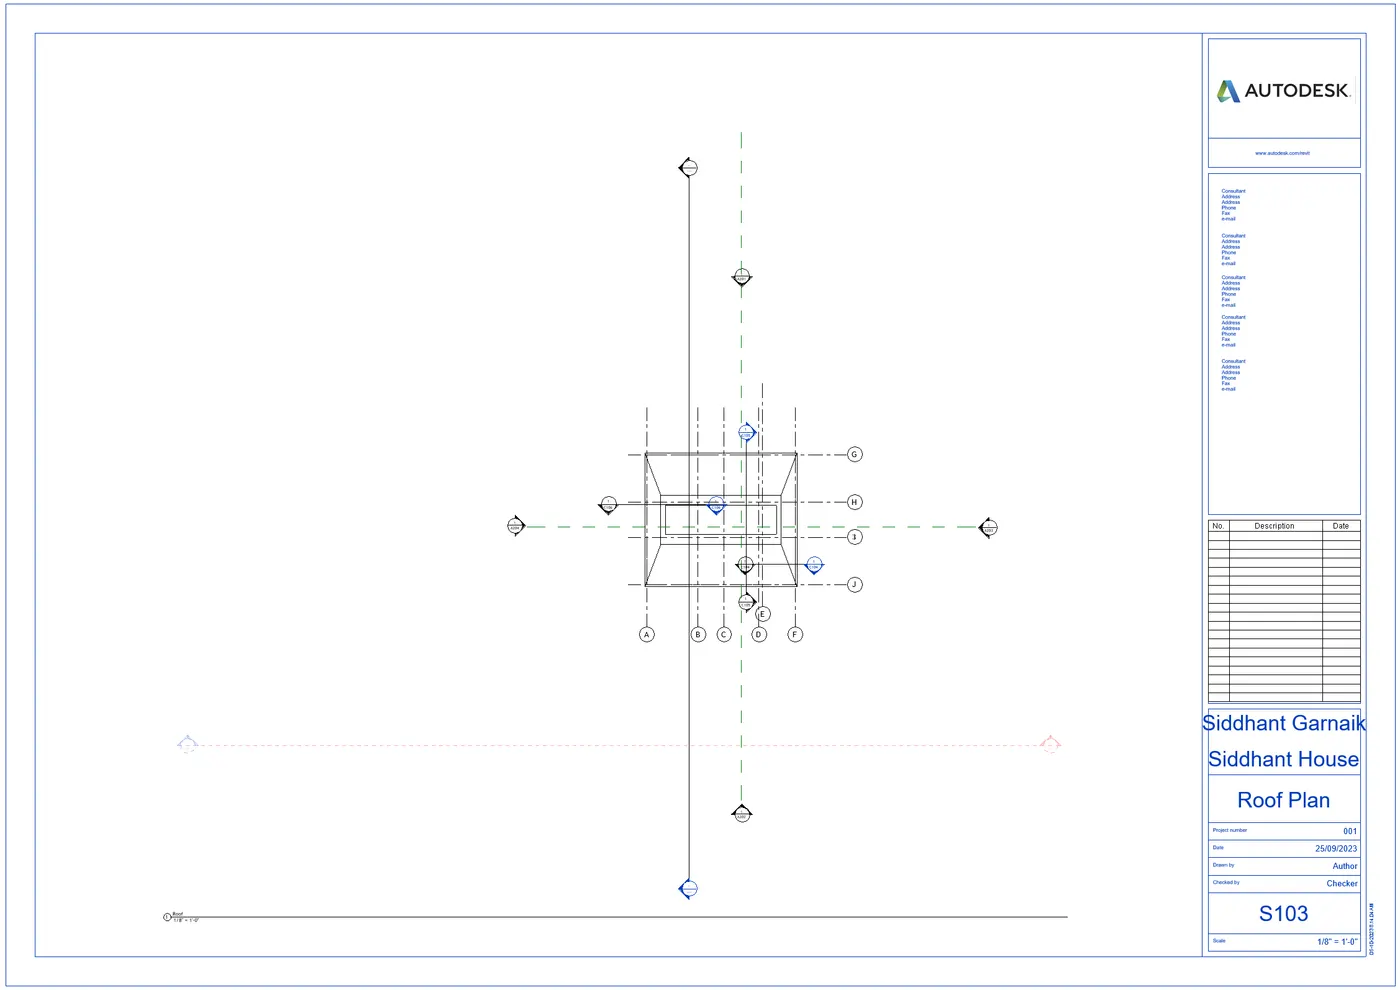
f. S 103- Roof Framing Plan
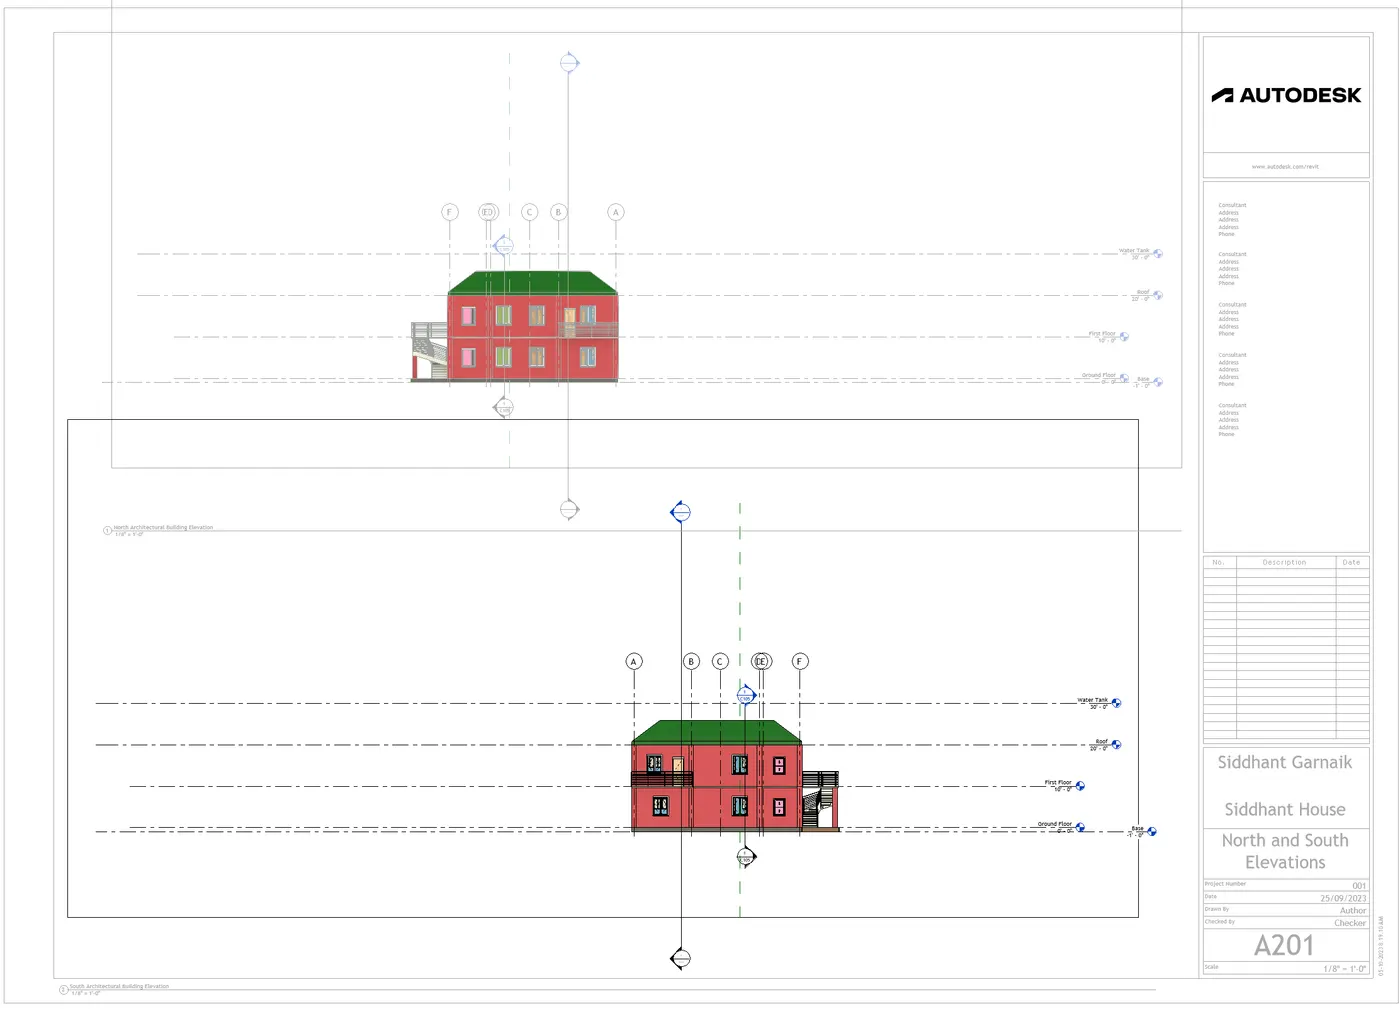
g. A-201- North-South Elevations
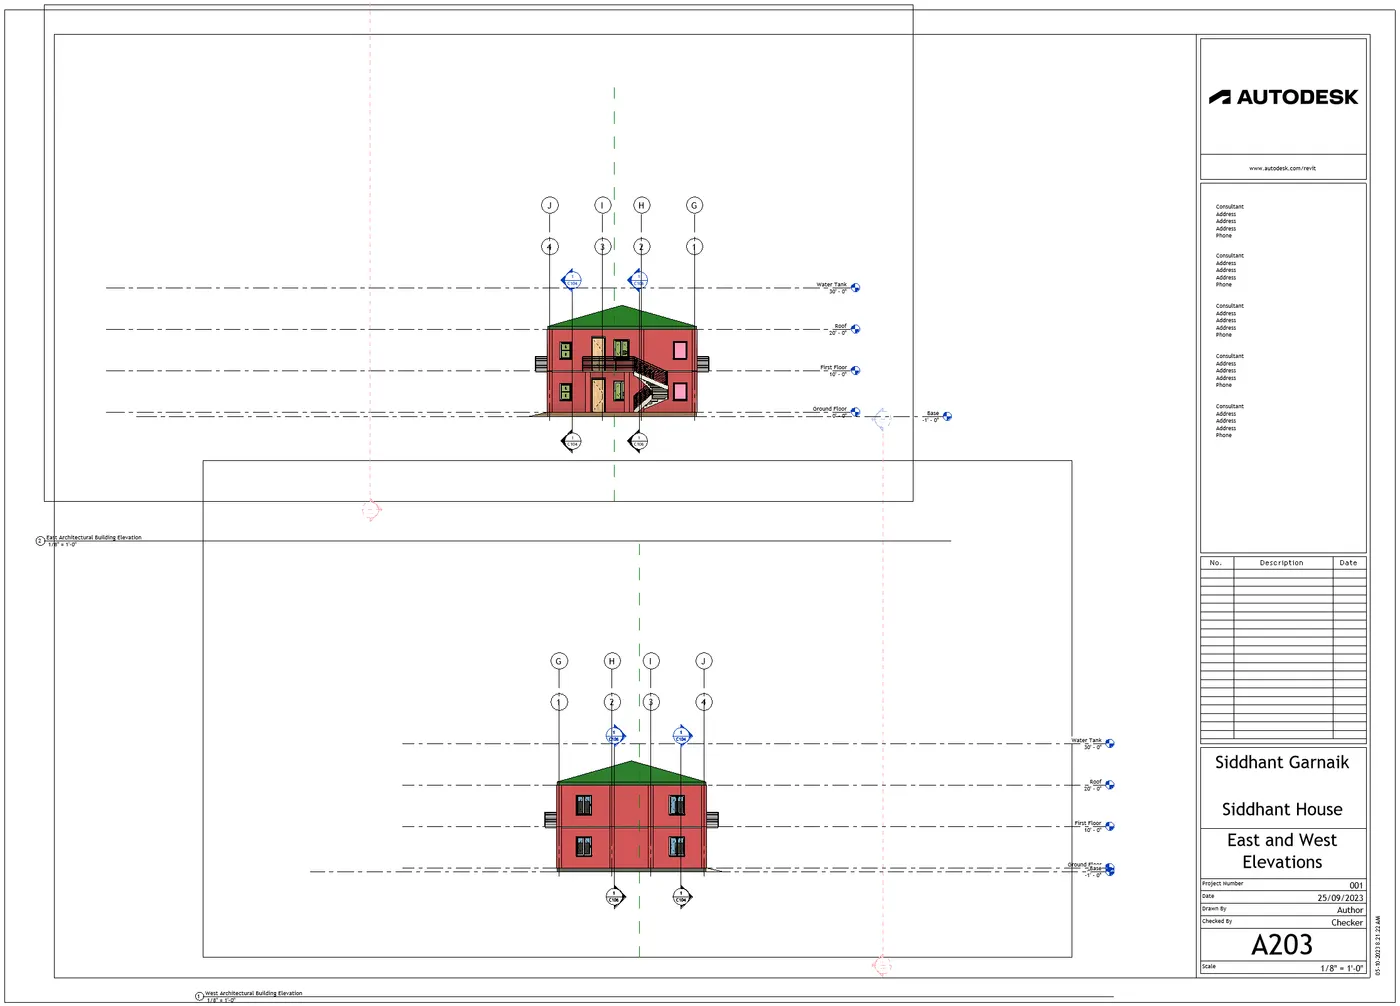
h. A-202- East-West Elevations
Add additional sheets based on the sections created in your Revit file
Ans-
AIM- To create the multiple sheets and produce the drawings in the sheets, from the given drawing list.
PROCEDURE-
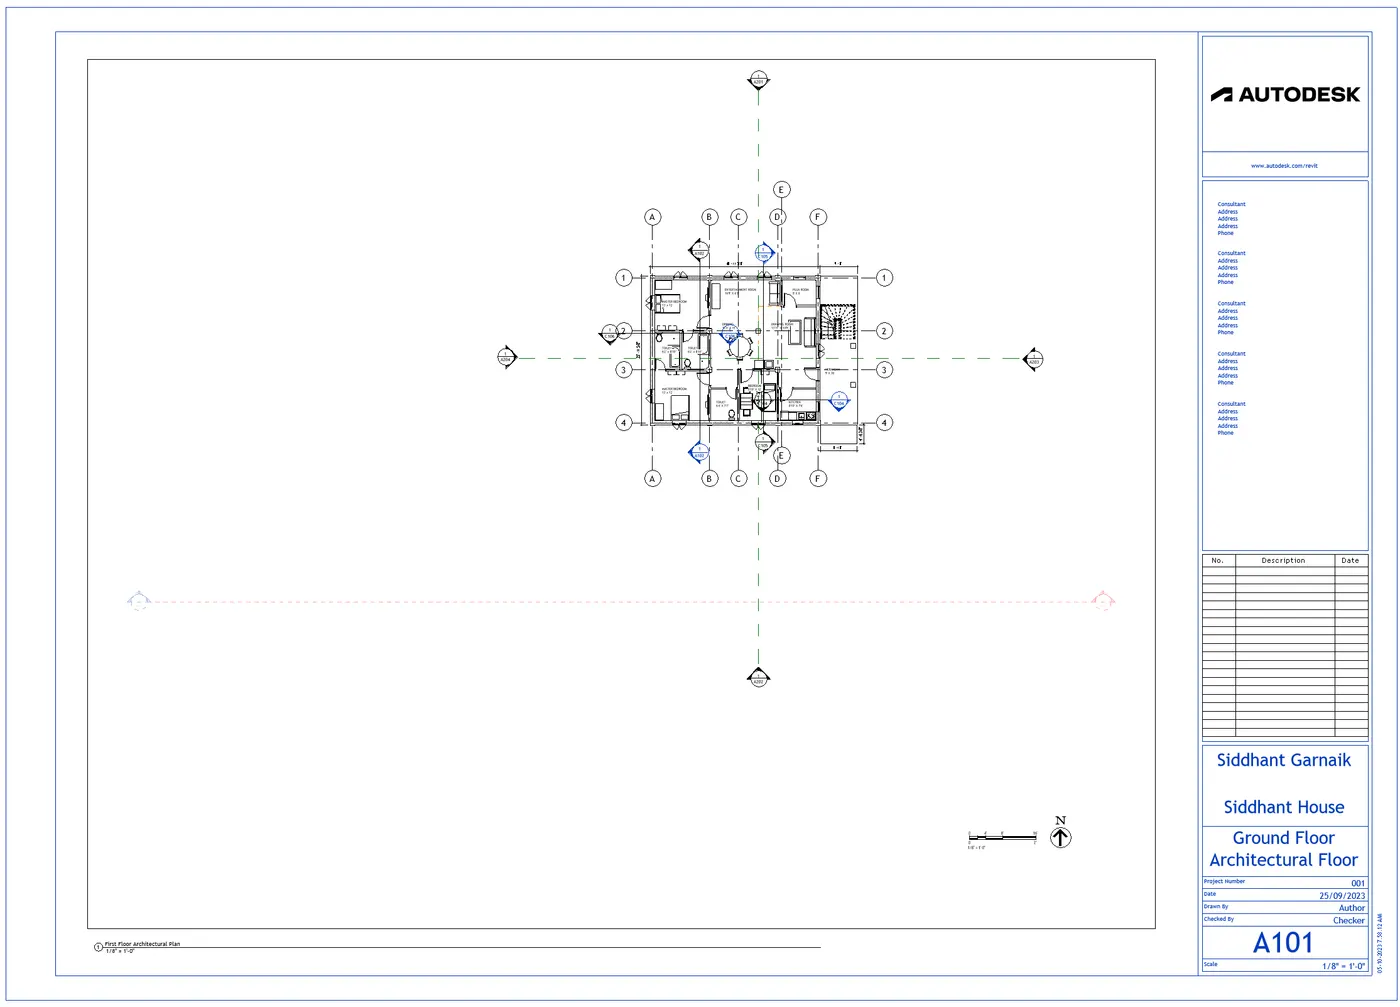
- First we produce the Ground floor architectural plan in the sheet template A-101, as shown in the below figure.
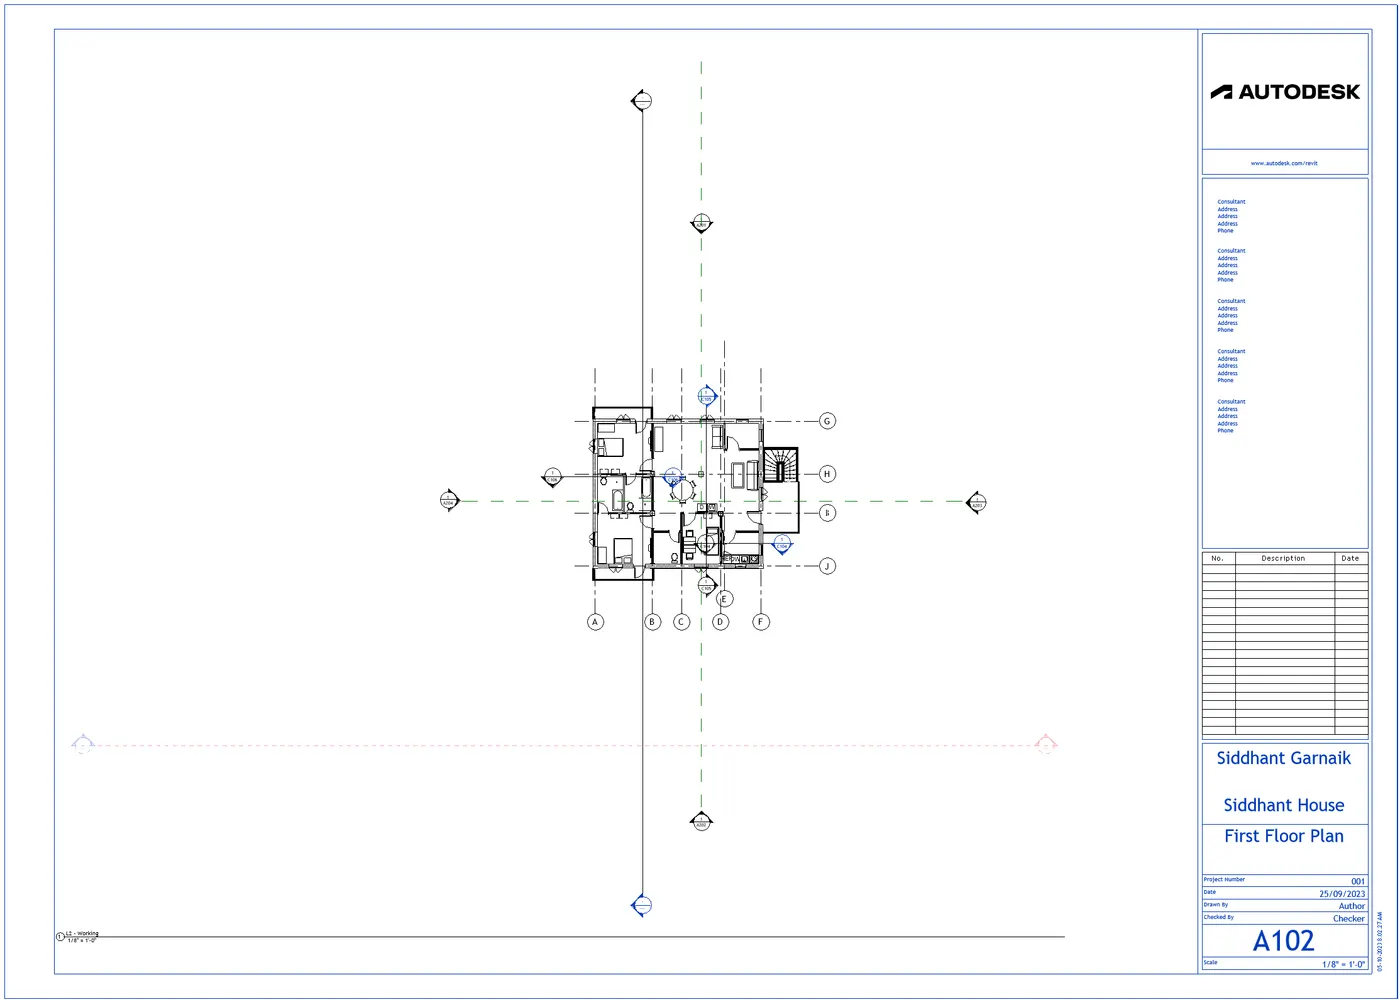
- Next we produce the First floor architectural plan in the sheet template A-102, as shown in the below figure.
- Next we produce the Roof plan in the sheet template A-103, as shown in the below figure
- Next we produce the Ground floor structural plan in the sheet template S-101, as shown in the below figure
- Next we produce the First floor structural plan in the sheet template S-102, as shown in the below figure
- Next we produce the Roof framing plan in the sheet template S-103, as shown in the below figure
- Next we produce the North and south elevation views in the sheet template A-201, as shown in the below figure
- Next we produce the East and West elevation views in the sheet template A-202, as shown in the below figure
RESULT- Created the multiple sheets and produced the drawings in the sheets, from the given drawing list.
10) Create a camera-specific view or a 3D view in each room ( living, dining, bedroom). Based on the views create a new set of sheets starting A-501 (you can add as many sheets after, 502, 503.. n)to place the 3D view images. Produce the sheets as a part of project drafting.
Ans-
AIM- To create a camera-specific view or a 3D view in living room, dining room and bedroom in the sheets separately.
PROCEDURE-
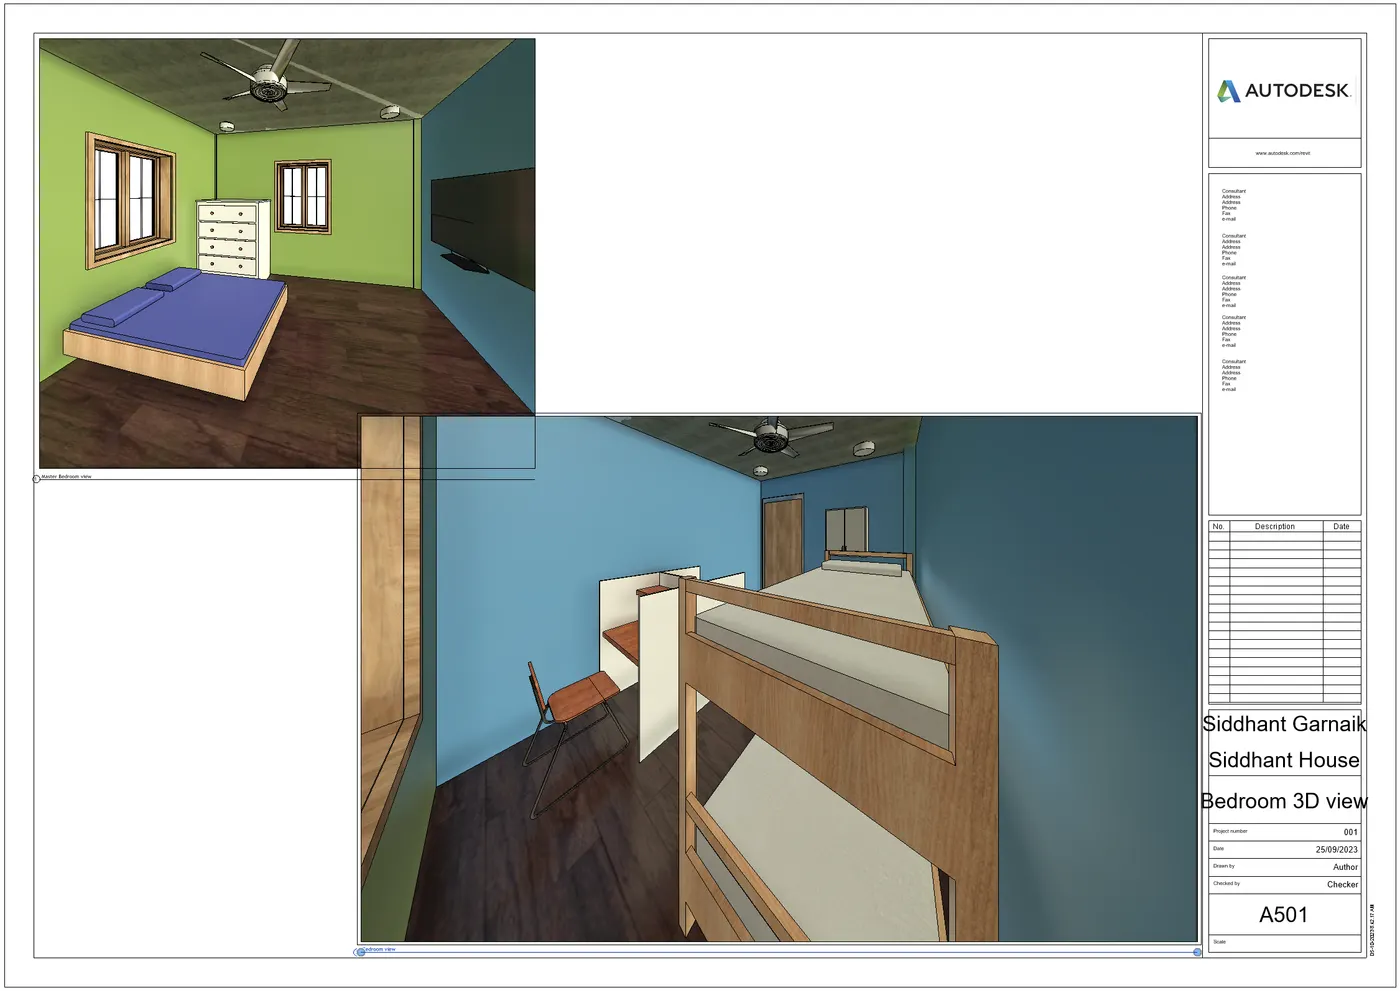
- First we take the sheet and name it as A-501.
- Next go to the floor plan and place the camera in the bed room, and the camera view of bed room will be shown below.
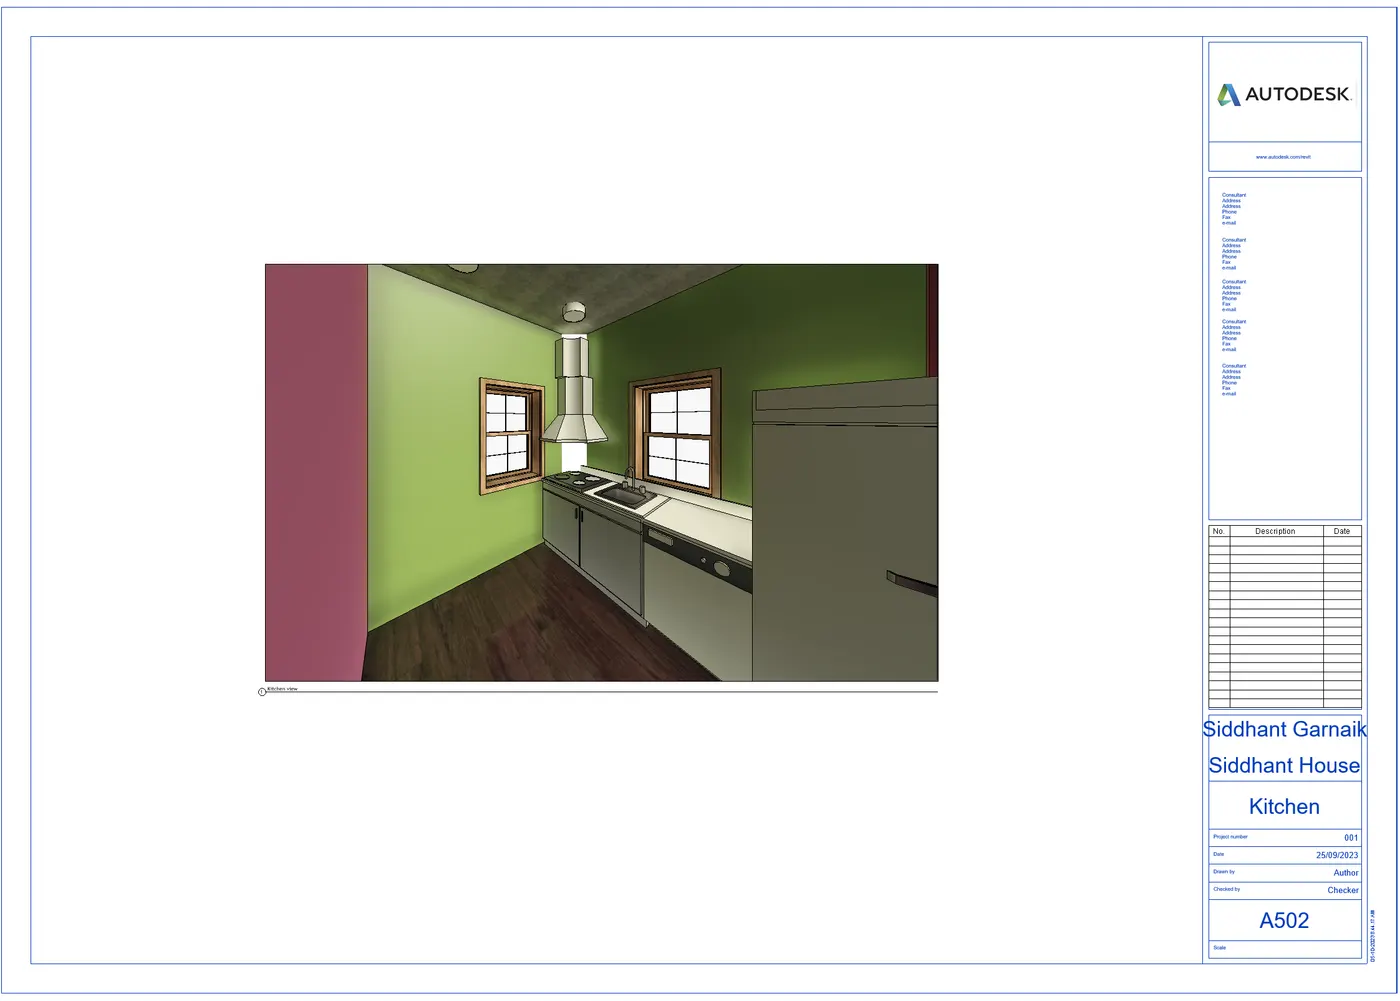
- Next we take the sheet and name it as A-502.
- Next go to the floor plan and place the camara in the Kitchen room, and the camera view of kitchen room will be shown below.
- Next we take the sheet and name it as A-503.
- Next go to the floor plan and place the camara in the Living room, and the camera view of Living room will be shown below.
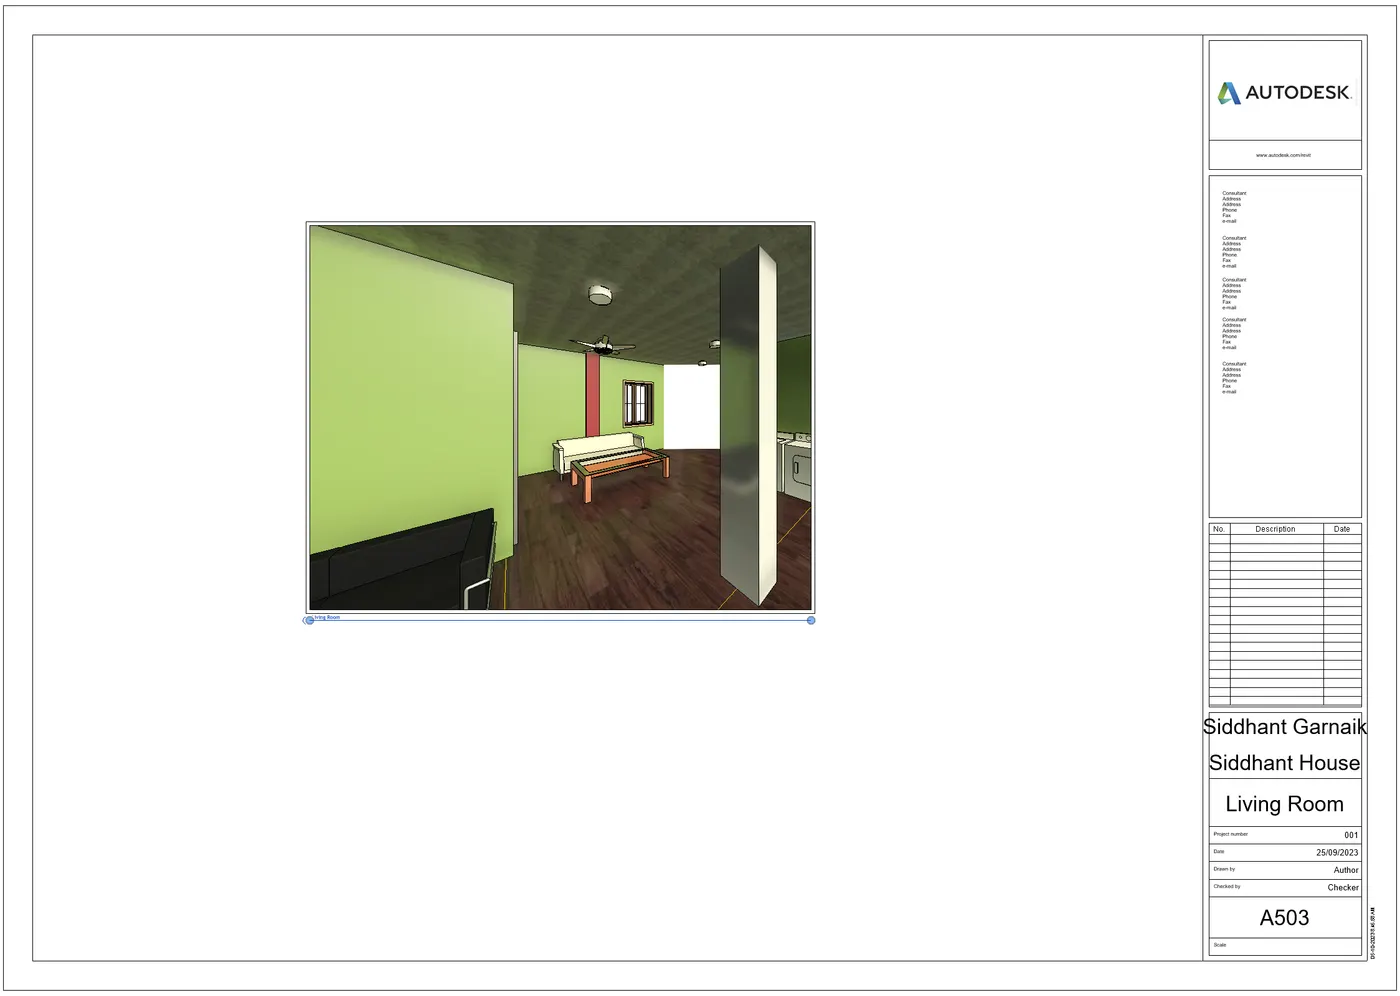
- Next we take the sheet and name it as A-504.
- Next go to the floor plan and place the camera in the Hall room, and the camera view of Hall room will be shown below.
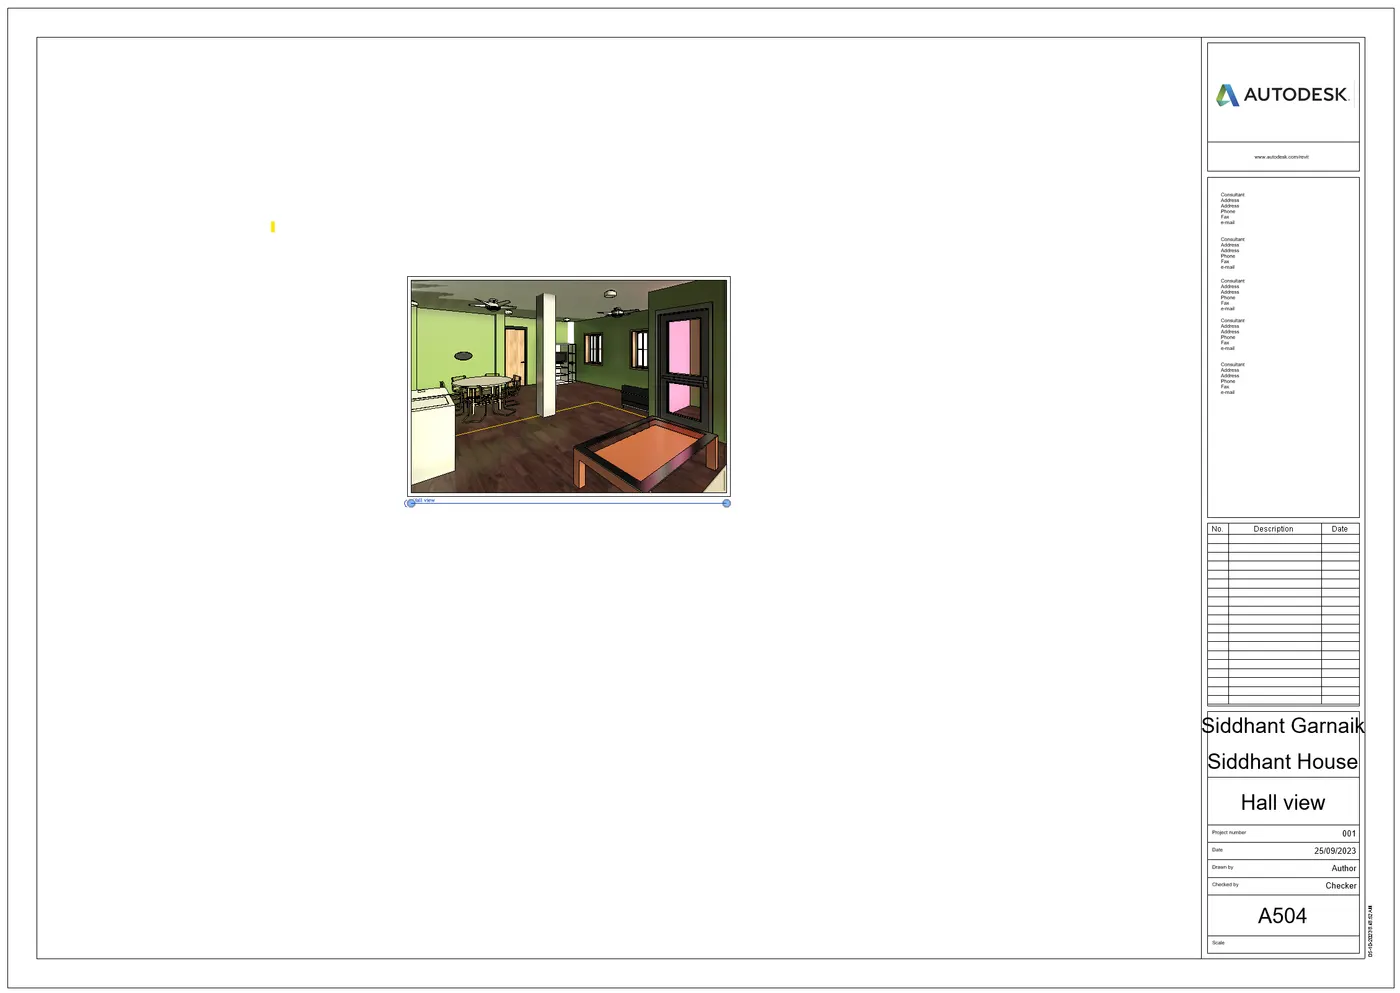
RESULT- Created a camera-specific view or a 3D view in living room, dining room and bedroom in the sheets separately.

Hence not able to upload. Hence attaching the final 3D model.