3D Creation of Ceiling, Roof, Architectural plan, Structural plan, Sectional view, Elevation view and Camera specific view for a house plan using REVIT
1)
- First we open the revit sofware, and select the ceiling option from the architecture toolbar.
- After selecting the ceiling option, then select the each room one by one.
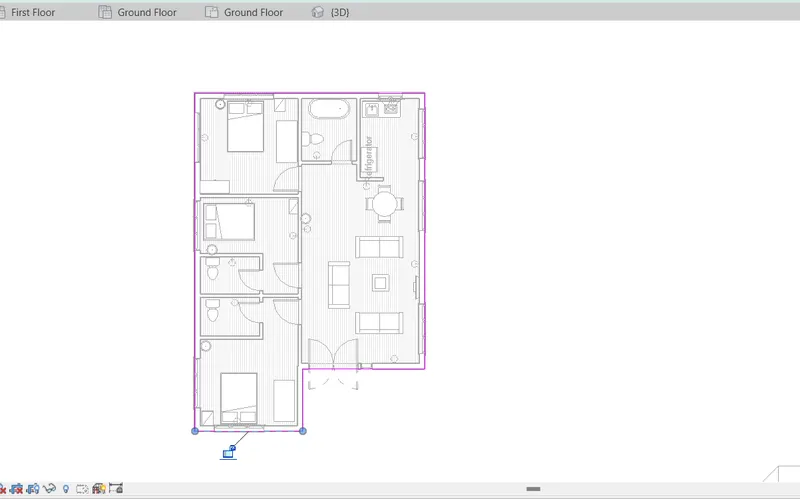
- Then the ceiling will be created, as shown in the below figure.
- Here we can the ceiling in the three dimensional view as shown in the below figure.
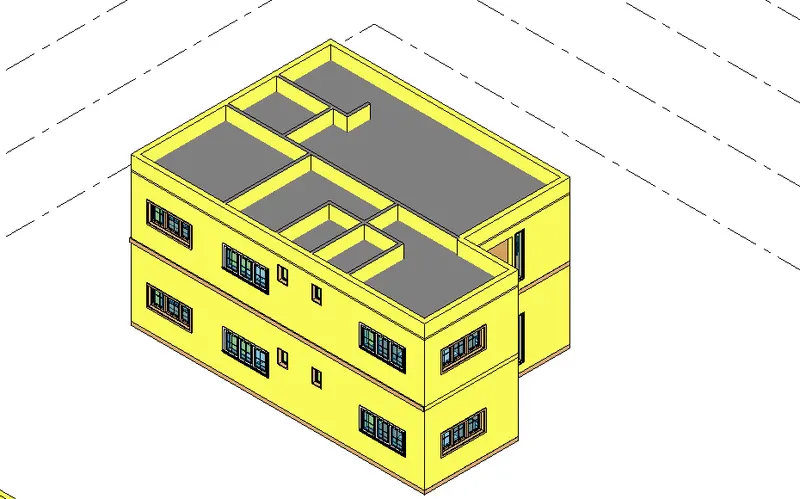
- The ceiling has been modeled successfully from the architecture tab above the walls at the first-floor level.
2)
- Open the architecture toolbar, and select the Roof by Footprint option.
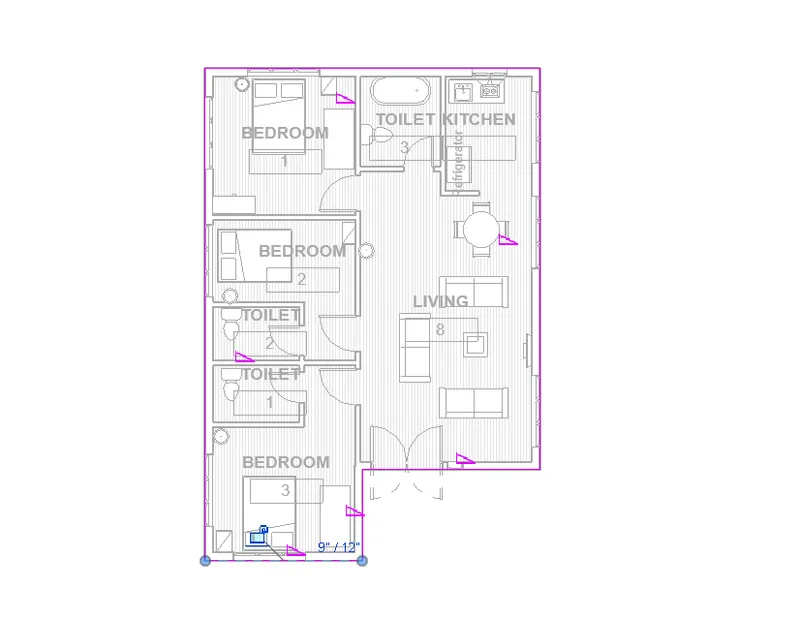
- The roof has been created, as shown below.
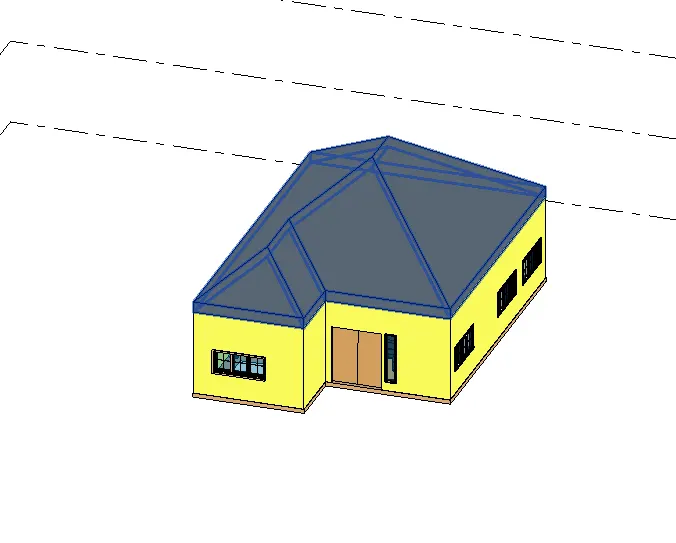
- Next we select the roof and adjust the roof to 10 degrees by selecting it, as shown in the figure.
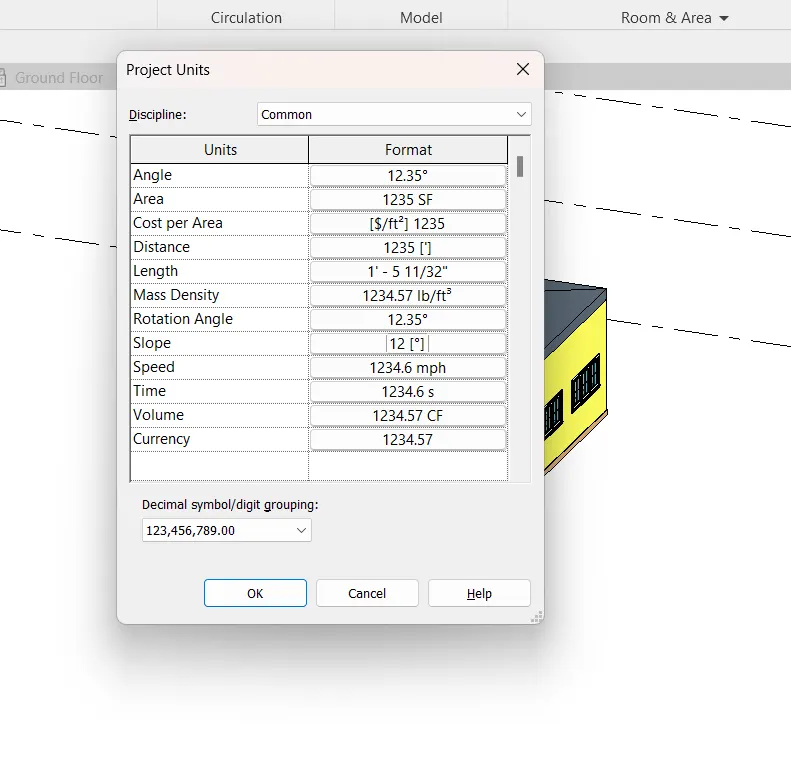
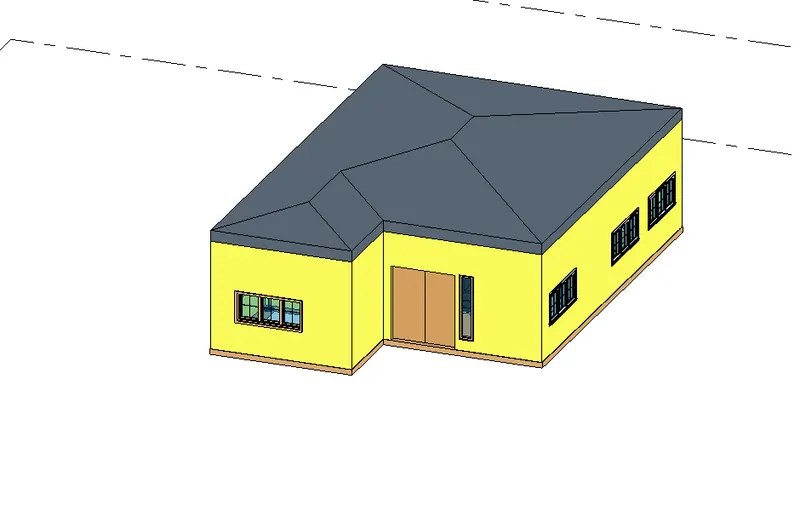
The roof has been created successfully to the model in the revit in detailed manner.
3)
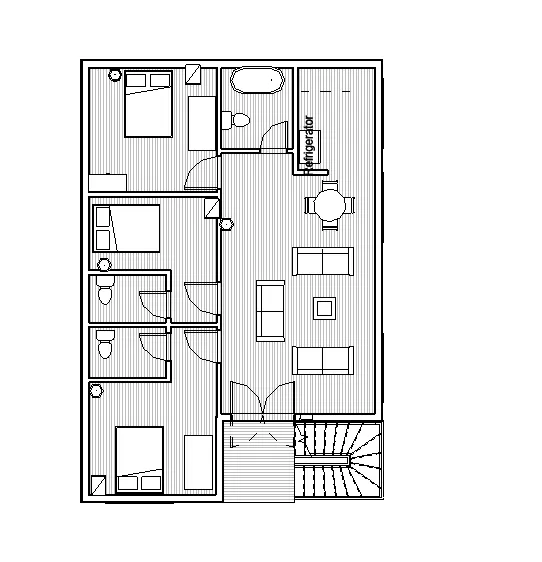
- First we draw the architectural palns of first floor and second floor as shown below.
- Next we draw the structural palns of the first floor and second floor as shown below.
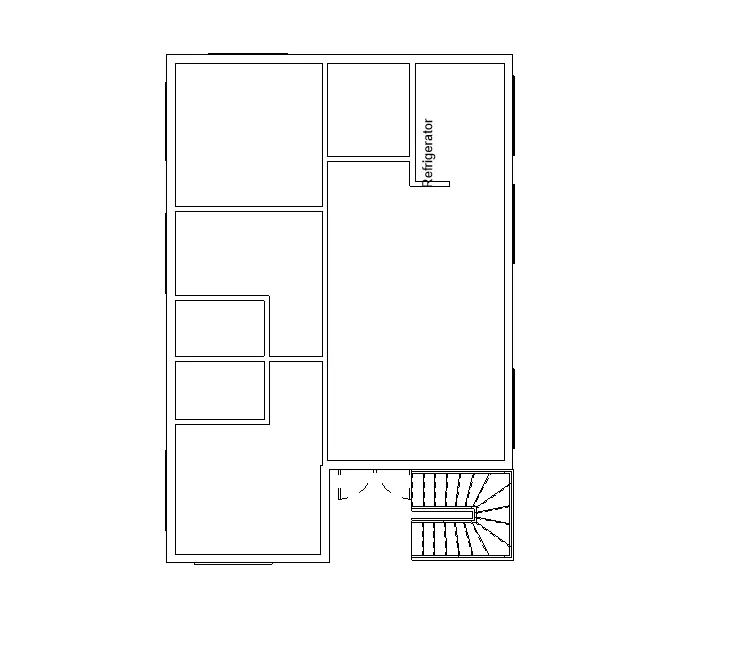
- Created plan views for ground floor level and first-floor level including all the walls, floors, and components.
- And separated them to architecture and structural plans.
4)
- Here we drawn the longitudinal and transverse grids to the architectural floor plans as shown below.
- And add the dimensions to the architectural plans as shown below.
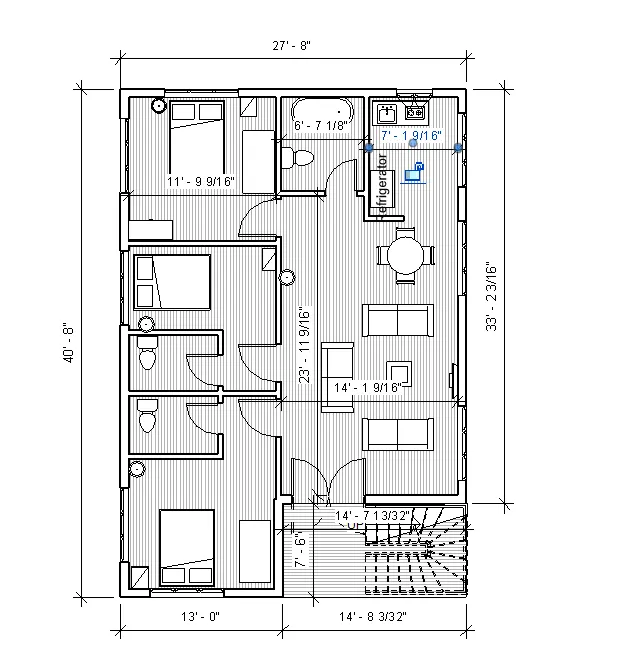
- Next we draw the longitudinal and transverse grids to the Structural floor plans as shown below.
- And add the dimensions to the Structural plans as shown below.
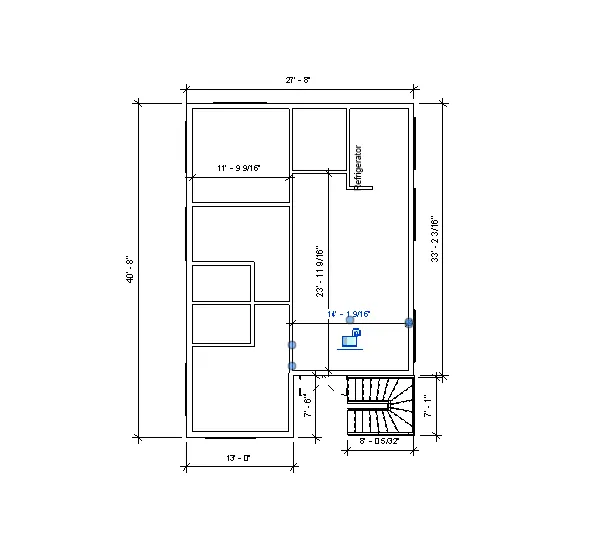
- The dimensions are added to the structural floor plans and the architectural floor plans.
5)
- First we click on the sheet option from the view toolbar, as shown below.
- After clicking the sheet, Thhe new tab will be visible on the screen.
- In that new tab we select the A1 metric, then the sheet template will be displayed.
- In the sheet template we insert the first floor plan and second floor plan separately as shown below.
- Next edit the Project name and the sheet number as shown in the below figures.
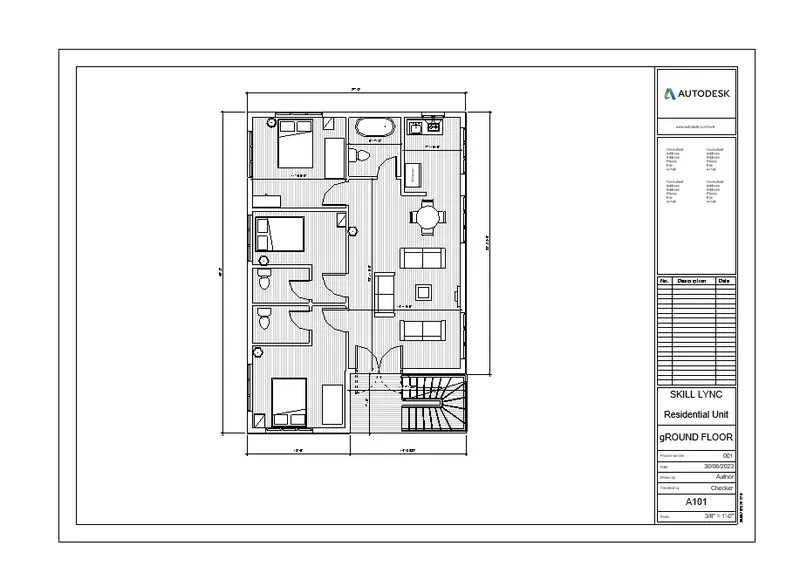
- Created a sheet template from the view tab and adjusted the parameters on the sheet for adding appropriate views.
6)
- First we click on the elevation option from the view toolbar.
- Next the elevation from the east will be visible, as shown below.
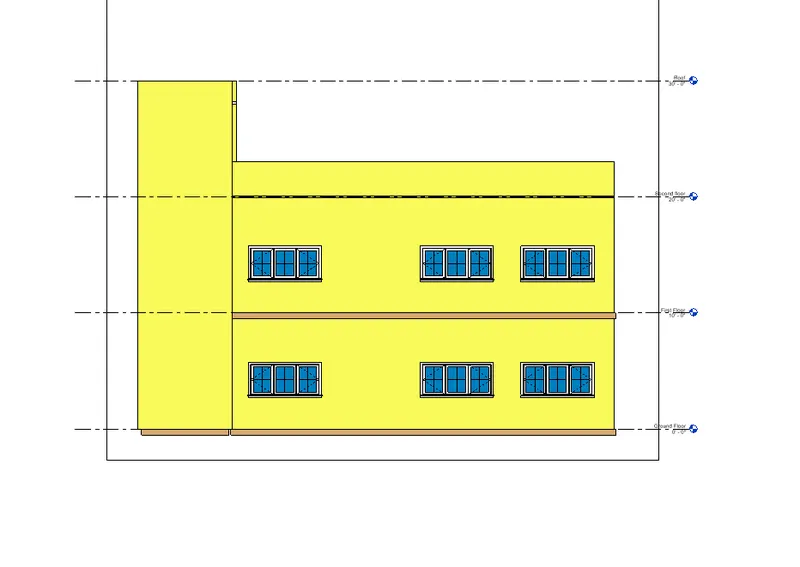
- Next the elevation from the south will be visible on the screen, as shown below.
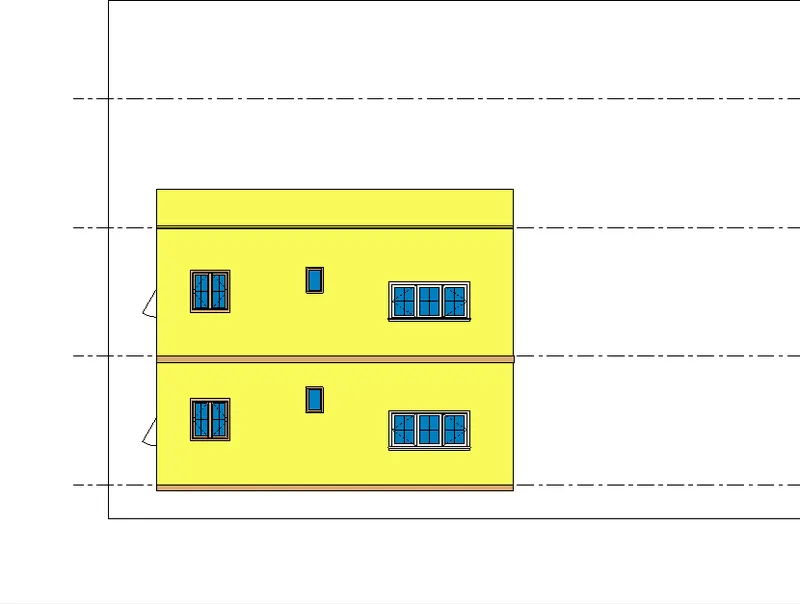
- Next the elevation from the North will be visible on the screen, as shown below.
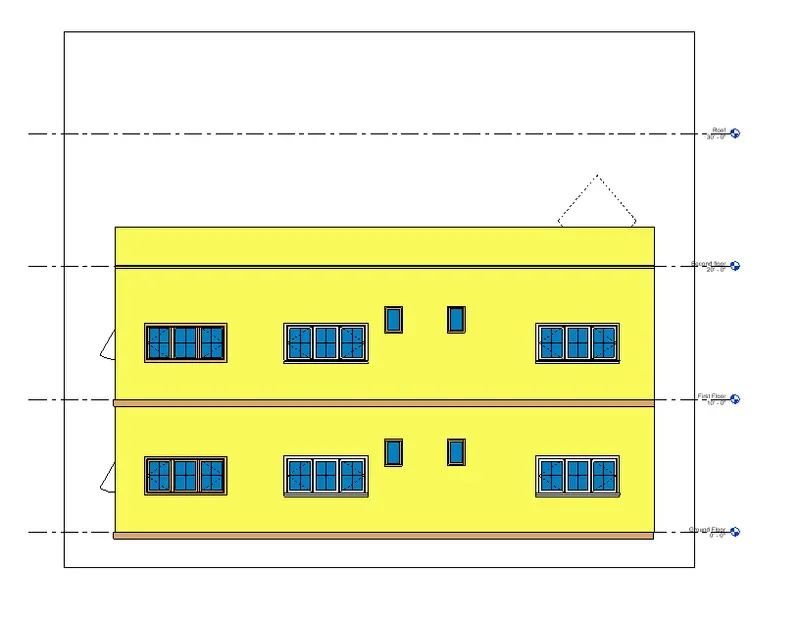
- Next the elevation from the West will be visible on the screen, as shown below.
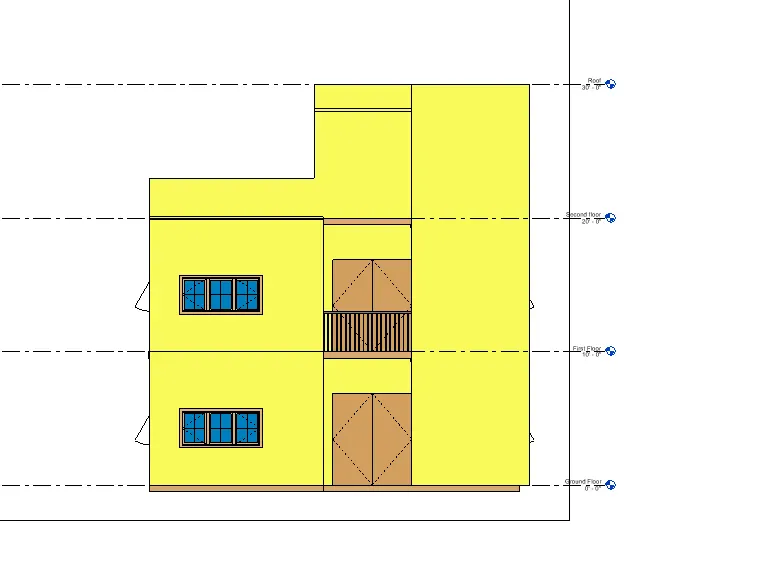
7)
- First we click on the section option from the view toolbar, as shown below.
- Next we produce the section view as shown in the below figure.
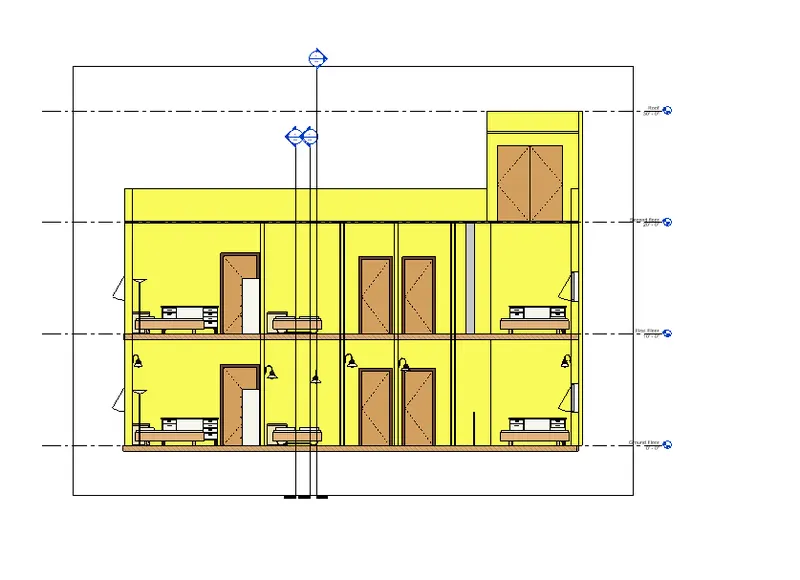
- Next we produce the section view as shown in the below figure.
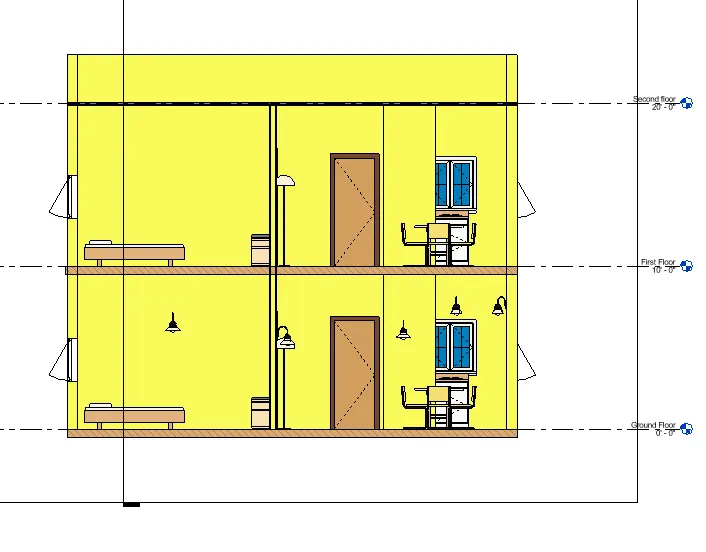
- Next we produce the section view as shown in the below figure.
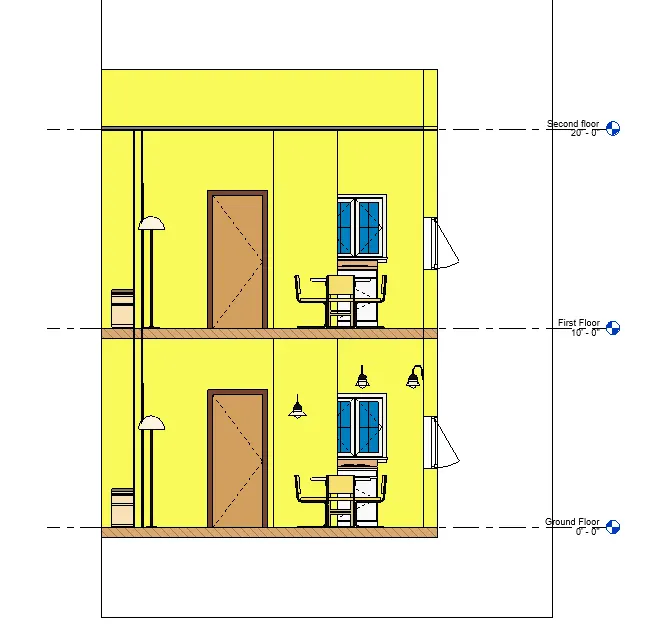
- Next we produce the section view as shown in the below figure.
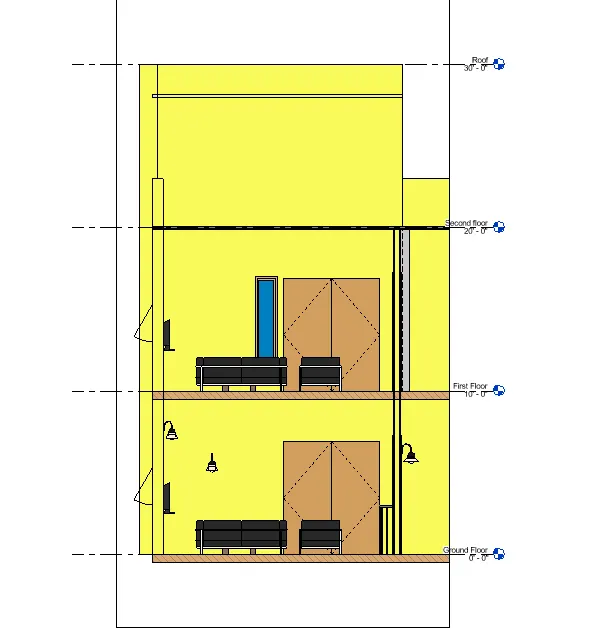
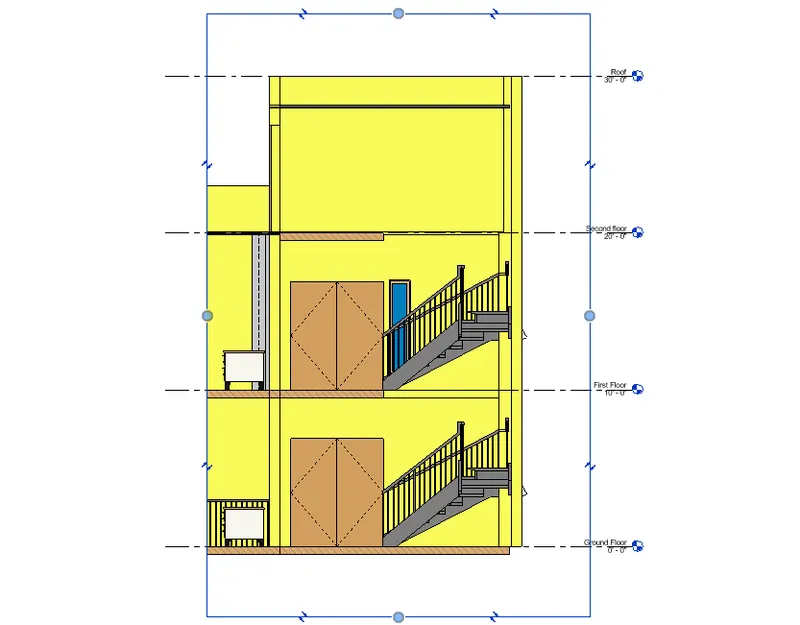
- Created the section views of a model in the revit in detailed manner.
8)
- First we open the project browser, the views, Plan Views, Section Views, and Elevation views are visible in that project browser as shown below.
- Next we insert these plans one by one in the sheets separately.
- Views, Plan Views, Section Views, and Elevation views are classified to Design category using Properties browser.
9)
- First we produce the Ground floor architectural plan in the sheet template A-101, as shown in the below figure.
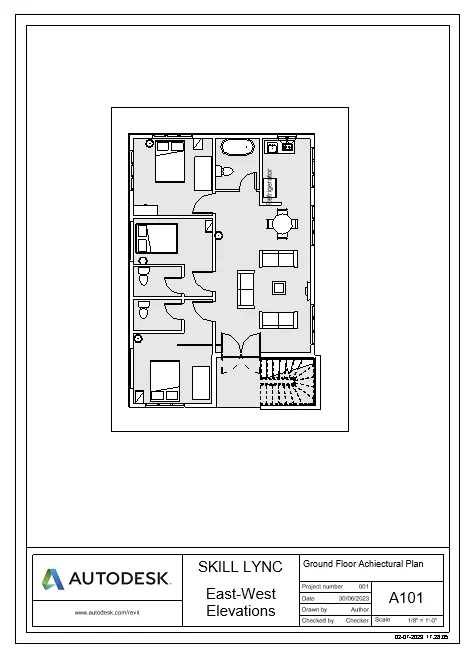
- Next we produce the First floor architectural plan in the sheet template A-102, as shown in the below figure.
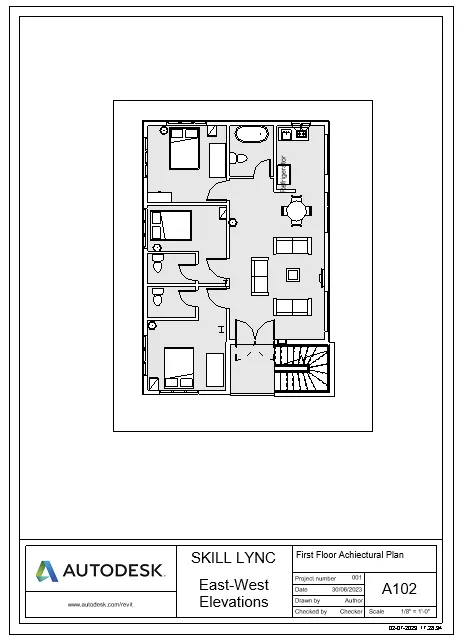
- Next we produce the Roof plan in the sheet template A-103, as shown in the below figure
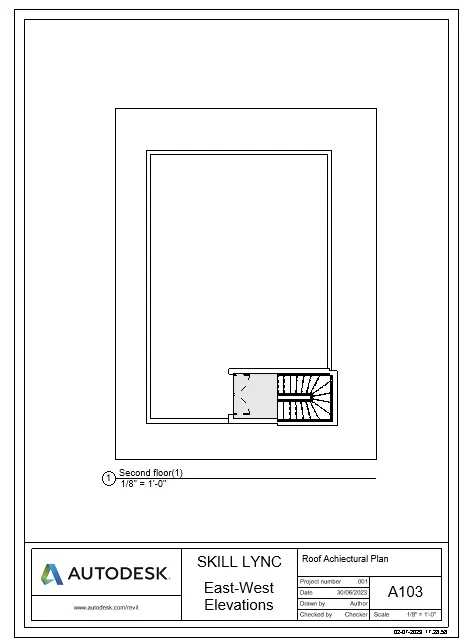
- Next we produce the Ground floor structural plan in the sheet template S-101, as shown in the below figure
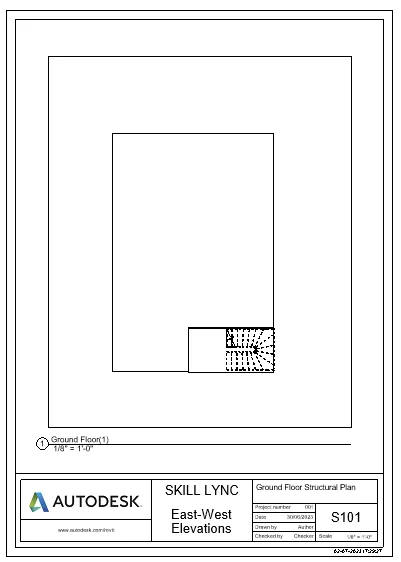
- Next we produce the First floor structural plan in the sheet template S-102, as shown in the below figure
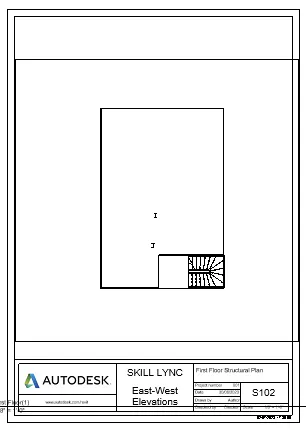
- Next we produce the Roof framing plan in the sheet template S-103, as shown in the below figure
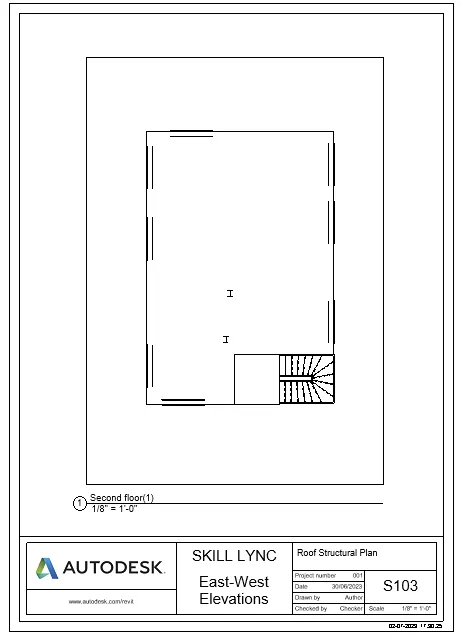
- Next we produce the North and south elevation views in the sheet template A-201, as shown in the below figure
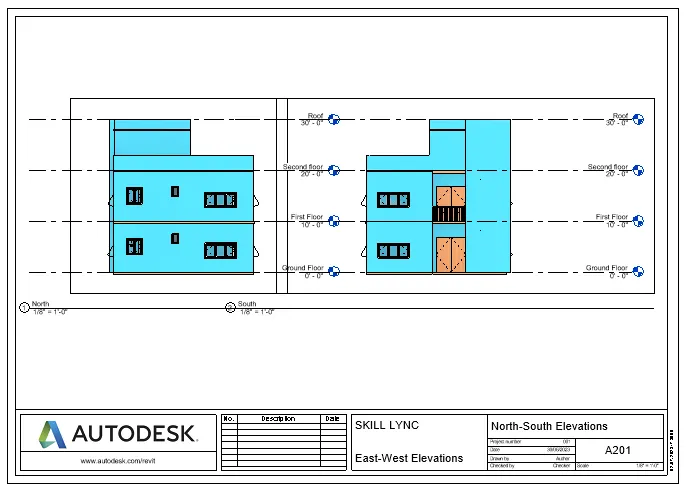
- Next we produce the East and West elevation views in the sheet template A-202, as shown in the below figure
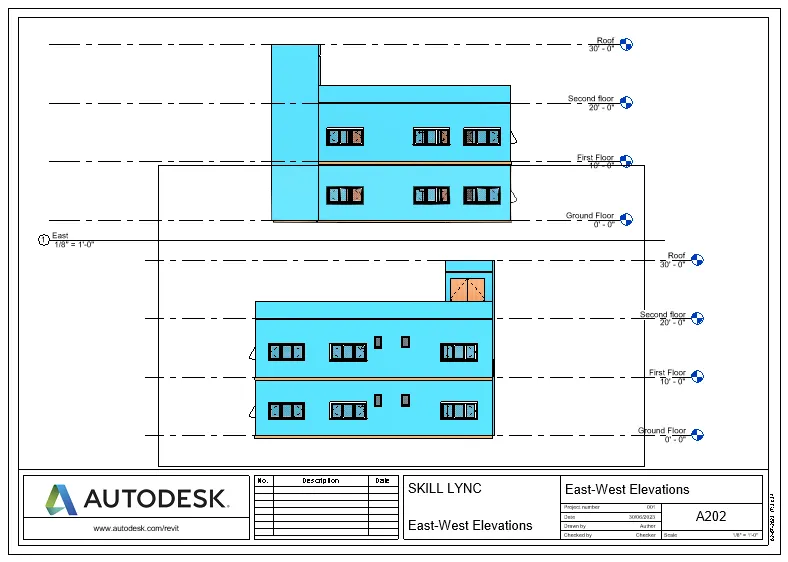
- Created the multiple sheets and produced the drawings in the sheets, from the given drawing list.
10)
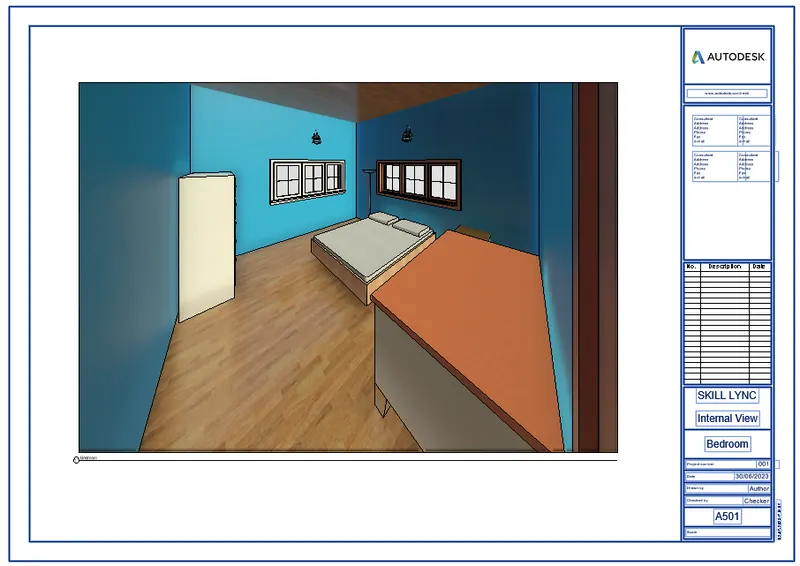
- First we take the sheet and name it as A-501.
- Next go to the floor plan and place the camara in the bed room, and the camera view of bed room will be shown below.
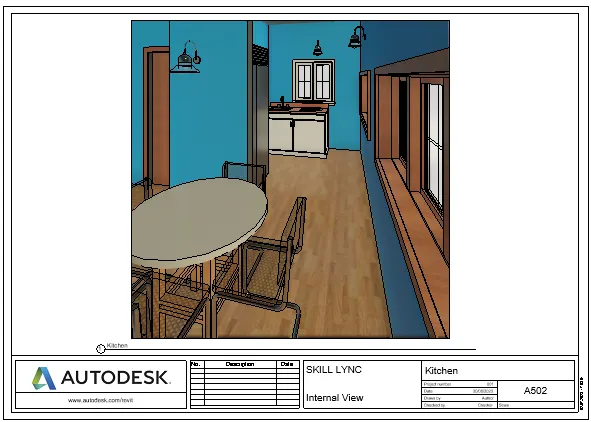
- Next we take the sheet and name it as A-502.
- Next go to the floor plan and place the camara in the Kitchen room, and the camera view of kitchen room will be shown below.
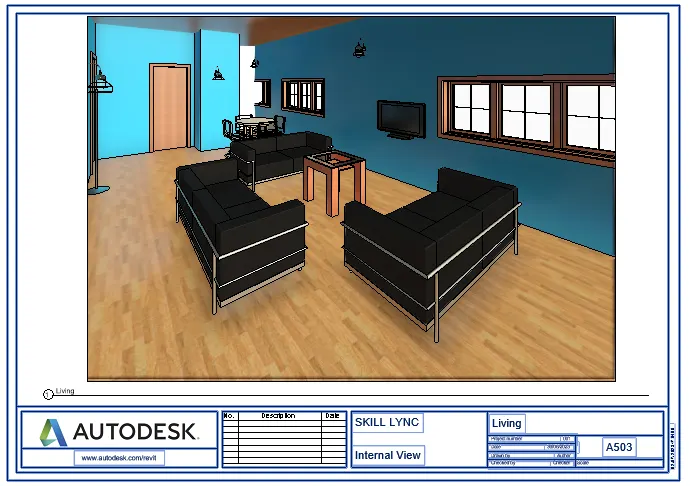
- Next we take the sheet and name it as A-503.
- Next go to the floor plan and place the camara in the Living room, and the camera view of Living room will be shown below.
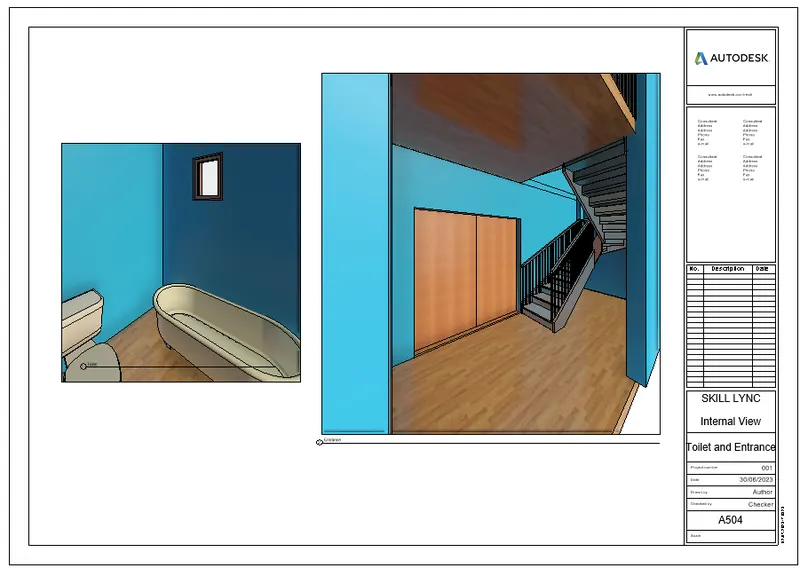
- Created a camera-specific view or a 3D view in living room, dining room and bedroom in the sheets separately.