Wiring harness routing & packaging Rules Week 3 Challenge
P-CLAMP
Download the P-Clamp CAD file from the source. Create an entry and exit point and plane. Also create a base plane.
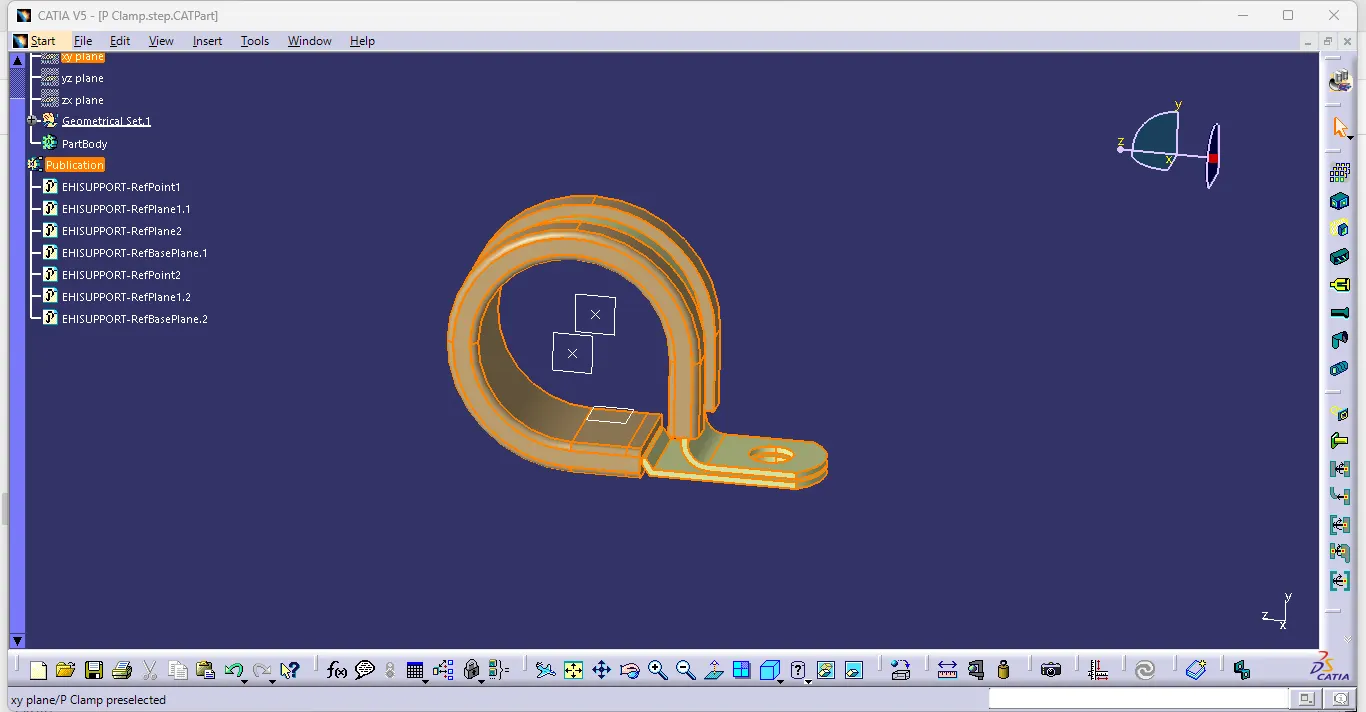
After that switch to electrical part design. Select Support Definition Option Provide the required information, Select the first point and its plane in first plane definition and select the second plane in second plane definition at last select the base plane. Now again select Support Definition Option and click on part now on the first plane definition select second plane and point. (Note: In some case we can’t select point while defining second time so right click on point and select reset). Second plane is default (can’t be changed). Select base plane. Thus, Support is Defined. Hence P-Clamp is defined as an Electric Support.
BACK SHELL
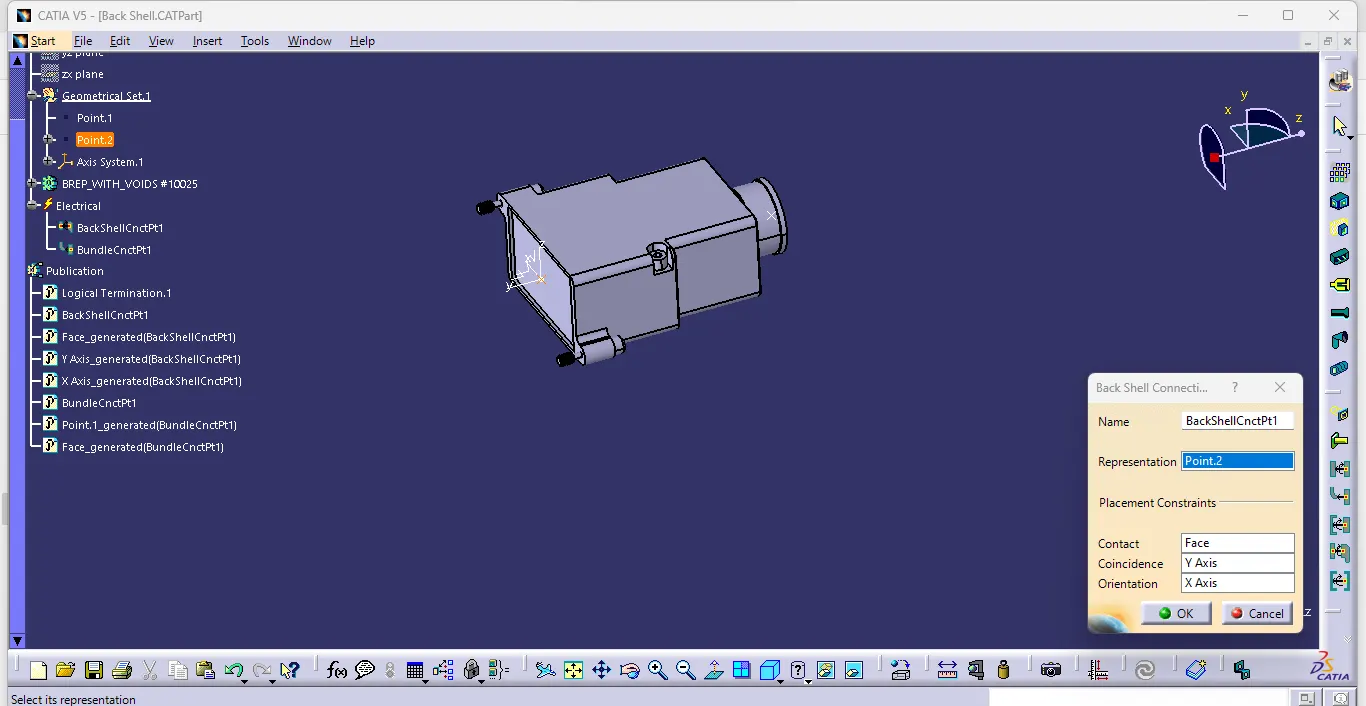
Download the Back shell CAD file and switch to part design. Now create a back shell entry point. After creating the point create an axis system on it. Now on the bundle connection face create a bundle connection point. Now switch to electric part design and select Define back shell connection point option and select part body on representation select the point. On contact select the surface on which it made reference during creation of point. Coincidence select Y-axis and Orientation Select X-Axis.
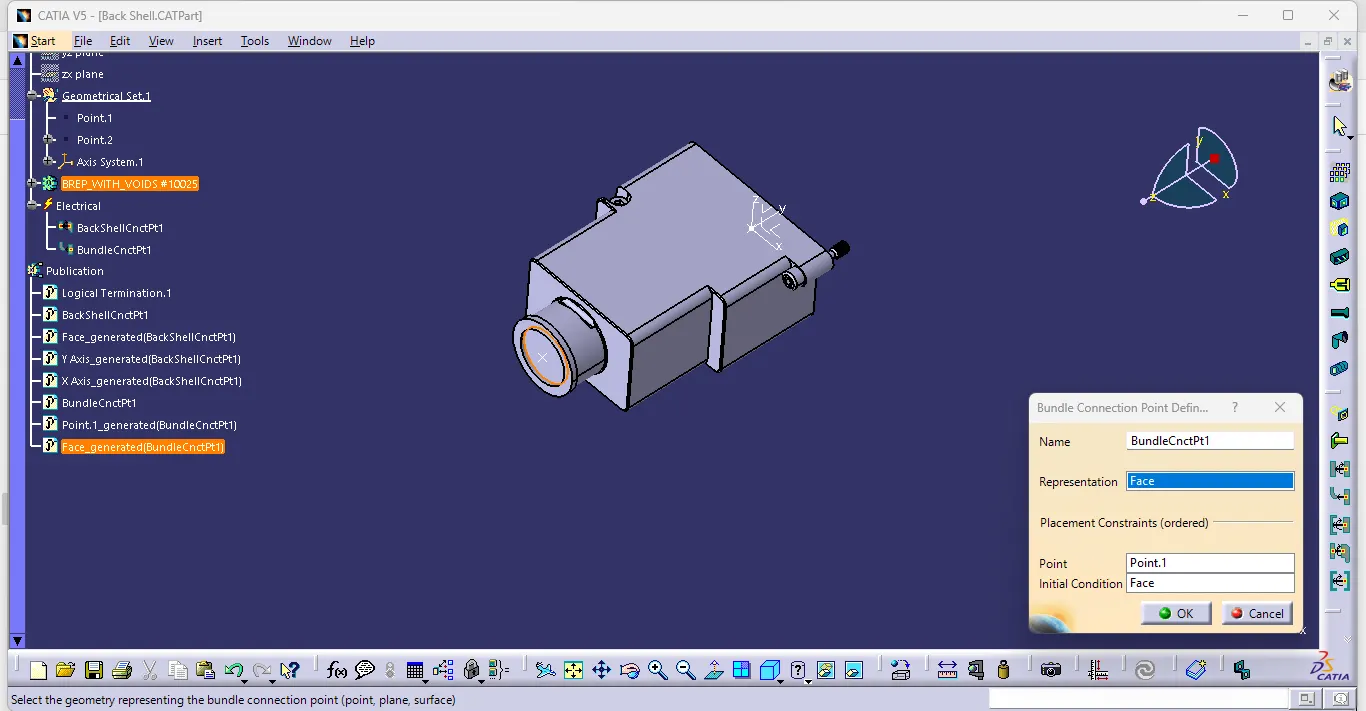
After that select bundle connection point option and on representation select the face and on point select the created bundle entry point, on initial condition select the face.
CORRUGATED TUBE CATALOGUE
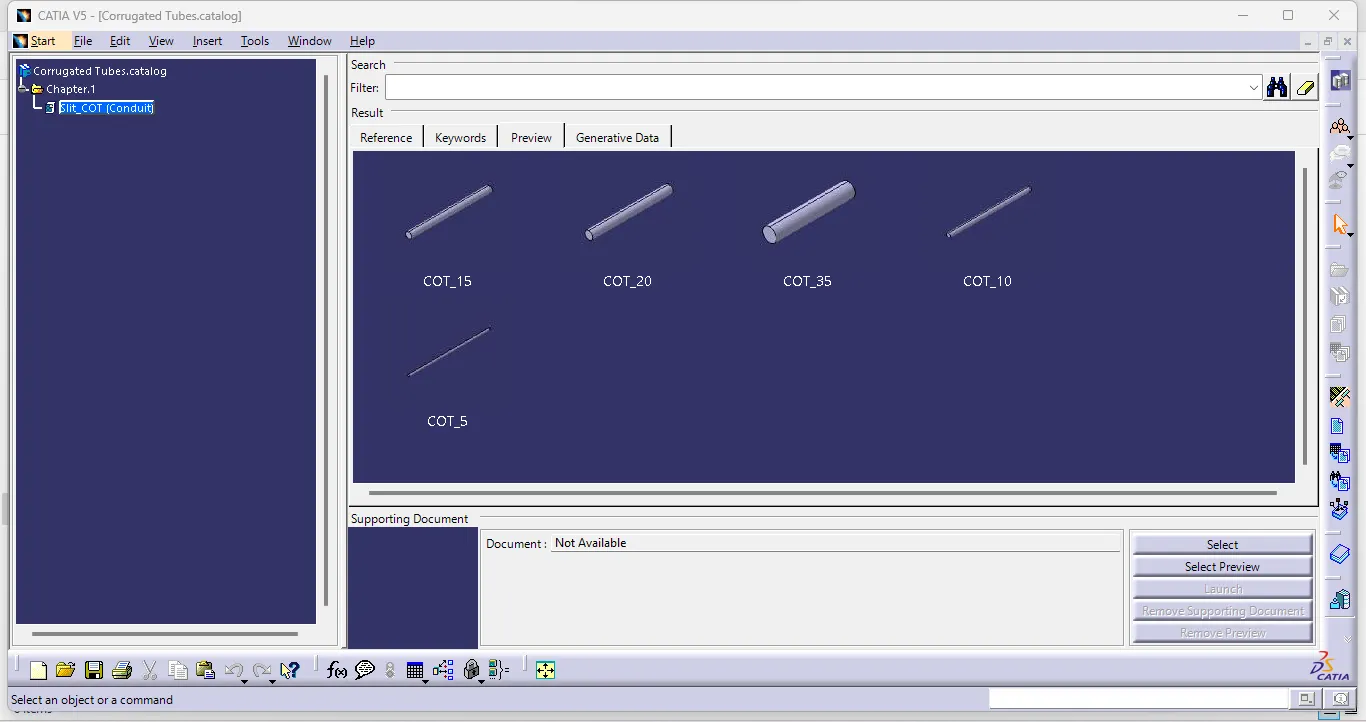
click on File->new->Catalogue Document. Click on add family option from toolbar. Enter name as Slit COT and select type as Conduit and save it.
Select file->new->part
Part name COT_[Diameter]. Now click on define part option and select the part body. In the newly opened window provide inner diameter, Thickness and bend radius (bend radius should be 1.5 time the inner diameter). Then save the file.
Same steps are followed for the creation of required diameter coverings.
Now after creation of covering select the option Store Device and select the location of catalogue document and type select Slit Cot (it will be Default). Repeat the same steps for all covering and thus Slit COT catalogue is been created.