Wiring harness routing & packaging Rules Week 3 Challenge
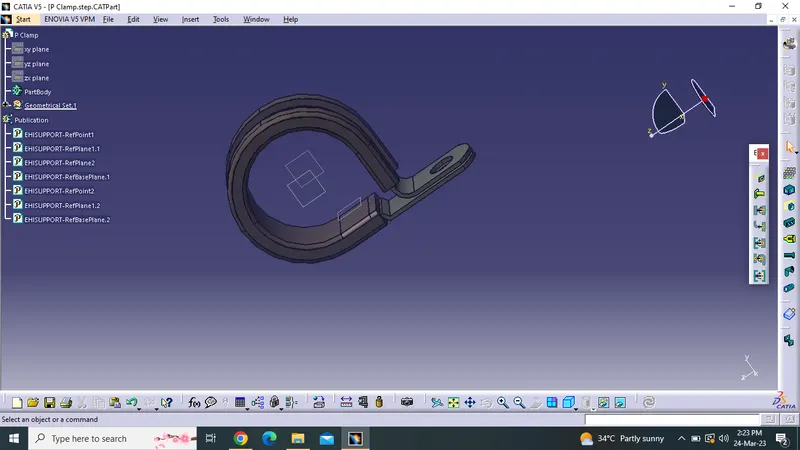
Q1. Download following cad data & define it as Electrical support using Electrical Part design Workbench. Define all the necessary properties
step 1 : now we are going to get the 3D clip art where we have to extract the .igs CAD file
step 2 :now we have to give the geometric parameters such as points and base plane in the PART DESIGN
step 3 : we have to assaign it as ELECTRICAL PART by using the ELECTRICAL PART DESIGN option and define as a SUPPORT
step 4 : now define the entry point exit point andbase plane on it
step 5 : save the file and use it forr further dsign usage
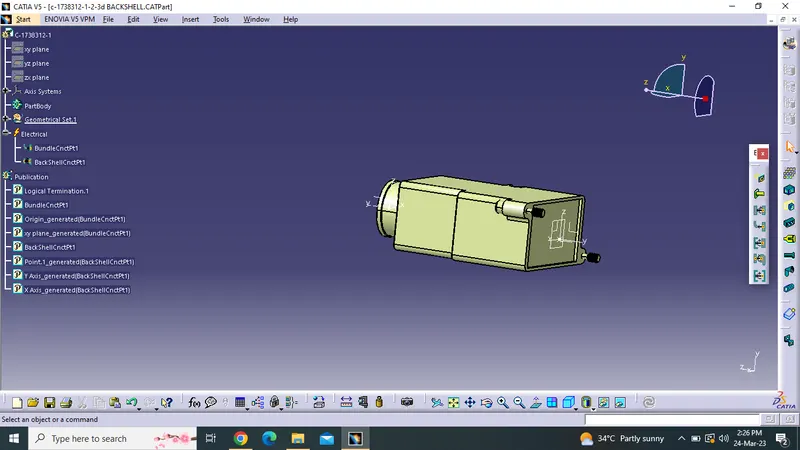
q2.Q2. Download following Back shell cad data & define it as Electrical back shell using Electrical Part design Workbench. Define all the necessary properties
step 1 : now we are going to get the 3D clip art where we have to extract the .igs CAD file
step 2 :now we have to give the geometric parameters such as points and base plane in the PART DESIGN
step 3 : we have to assaign it as ELECTRICAL PART by using the ELECTRICAL PART DESIGN option and define as a SUPPORT
step 4 : now define the entry point exit point andbase plane on it
step 5 : save the file and use it forr further dsign usage
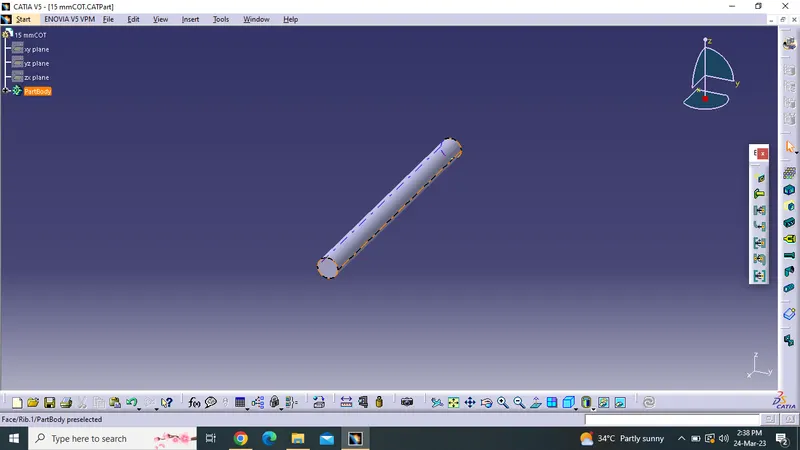
Q3. Create Following Corrugated tubes & Add them in Catalogue under “Slit COT” family.
step 1 : file -new-part-ok so we could able to get the dialogue box where we have to give the part name and the dimension value
step 2 : go to electrical part design and use the command DEFINE PROTECTION PART .click on that command and then select the part or part body inorder to create the tube
step 3 : A new dialoguebox will open where we have the inner diameter,name ,thickness where we have to give the tube values according to the specifications
step 4: save the file and put in the catalogue in order to use for the further design usage.