Wiring harness design in CATIA V5 - 3D modeling Week 5 & 6 Challenge
Q1. Route the following harness layout in Electrical workbench. Make assumption for harness bundle diameters. Use the connectors provided. After completion of routing,
- Check the bundle Continuity. Add snap of result in submission
- Add annotation to all connectors. Make an assumptions for annotations like connect 1 , 2 etc
- Check for the bundle warning. Add snap.
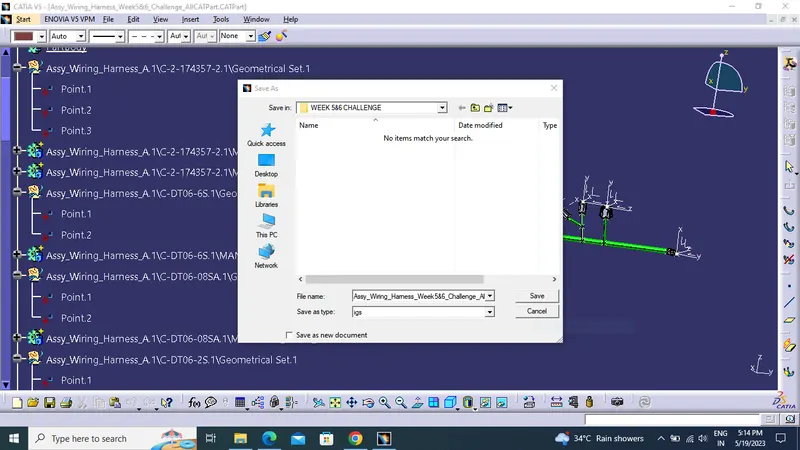
- Generate CAT.part of harness assembly and convert is in. igs format.
Click here for CAD data and routing mapping data
DEFINE CONNECTORS :
We must ensure the all connector used for this assembly are define electrically as shoen in below figure.
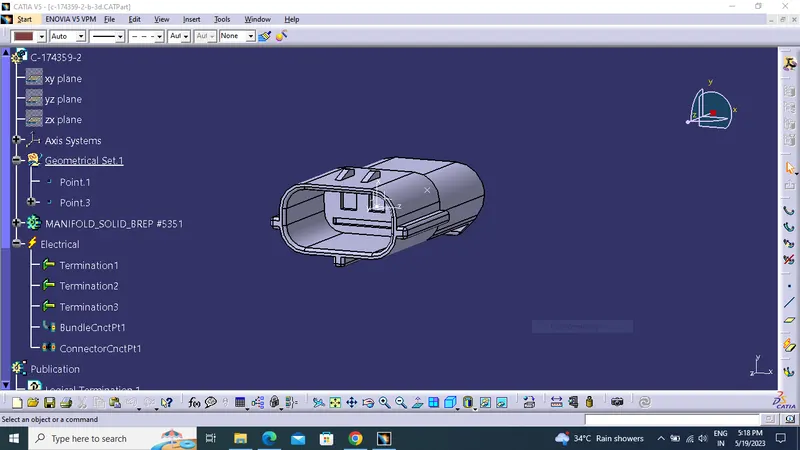
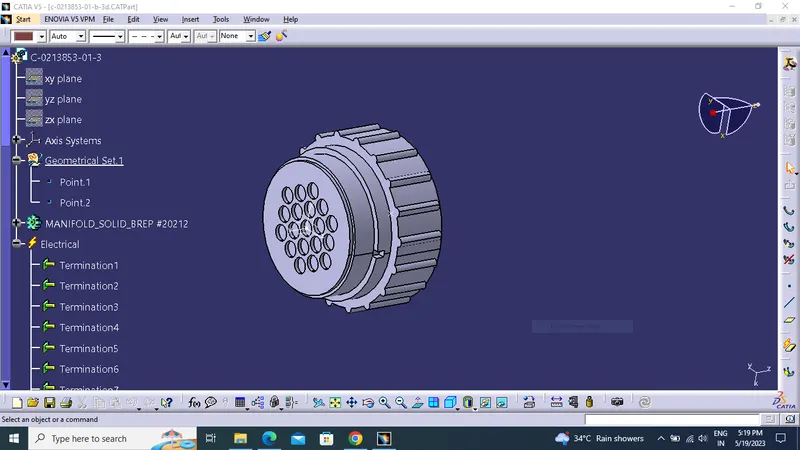
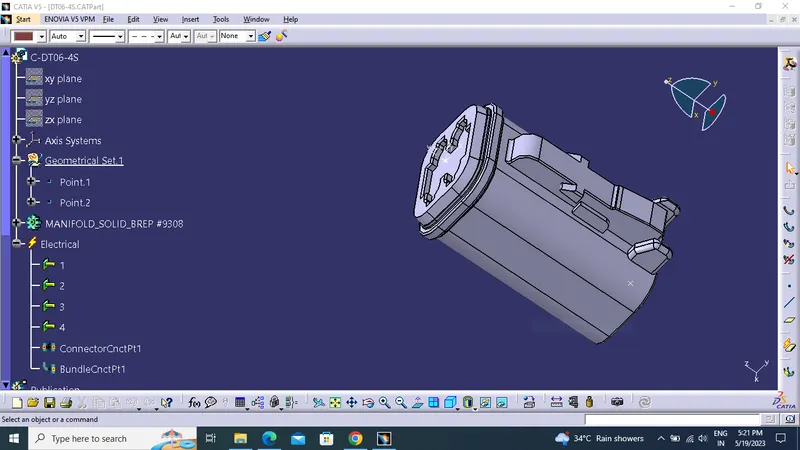
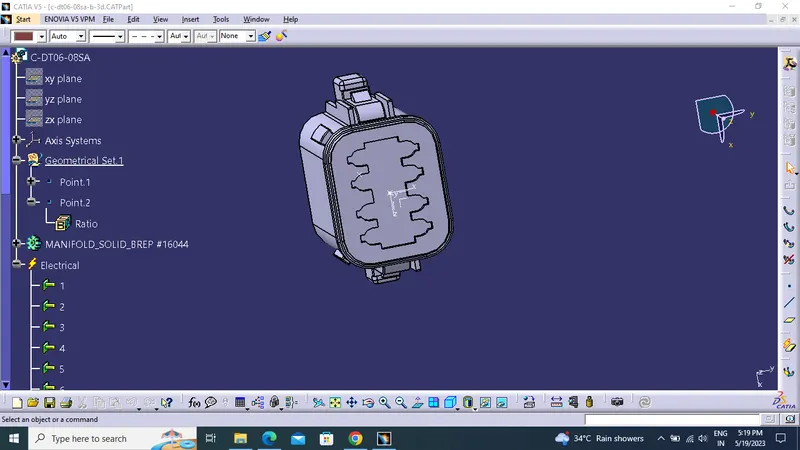
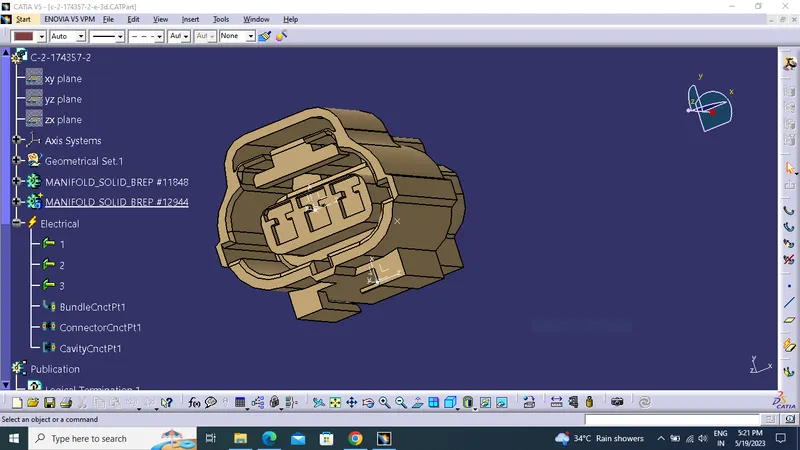
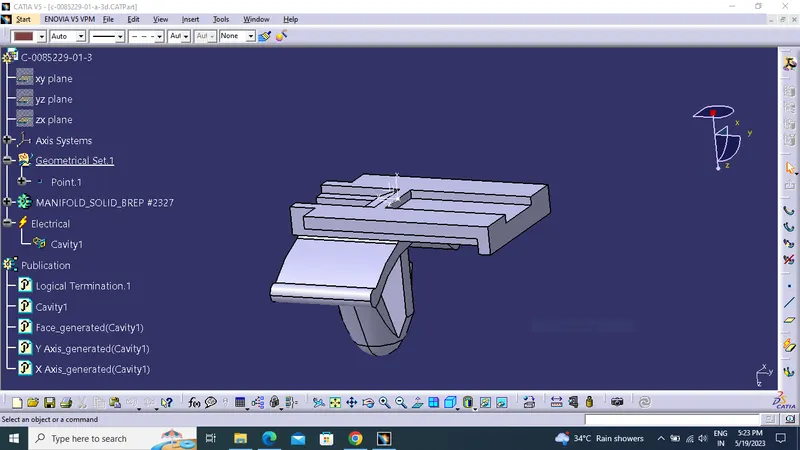
ASSEMBLY CREATION:
- First, we will locate all the connectors at their desired position, add branch points required and create bundle segment according to the diameters.
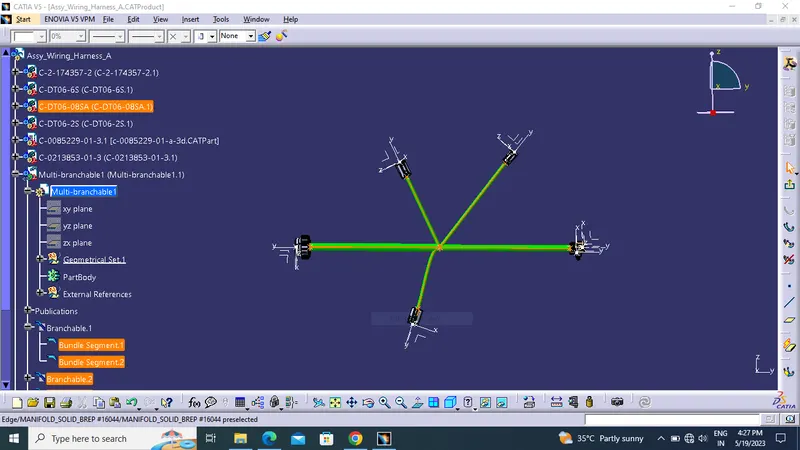
Connector postioning as deired location as given question.
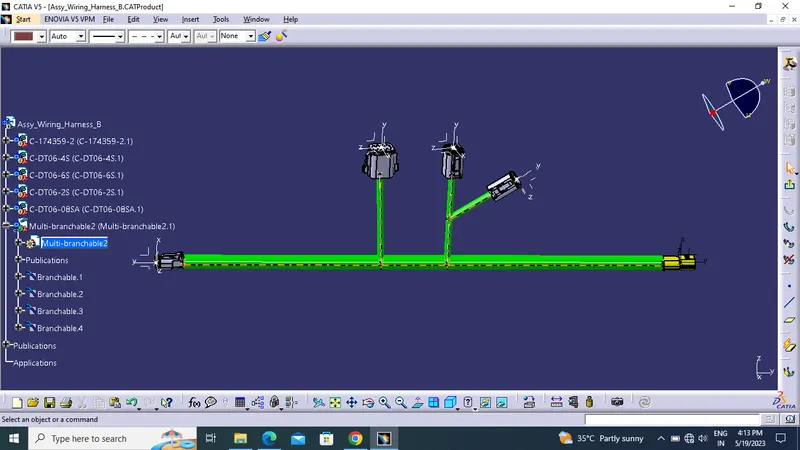
- Switch electrical harness assembly ,define the product file into electical using geometrical bundle icon.
- Then create bundle and sub bundle as a break point.
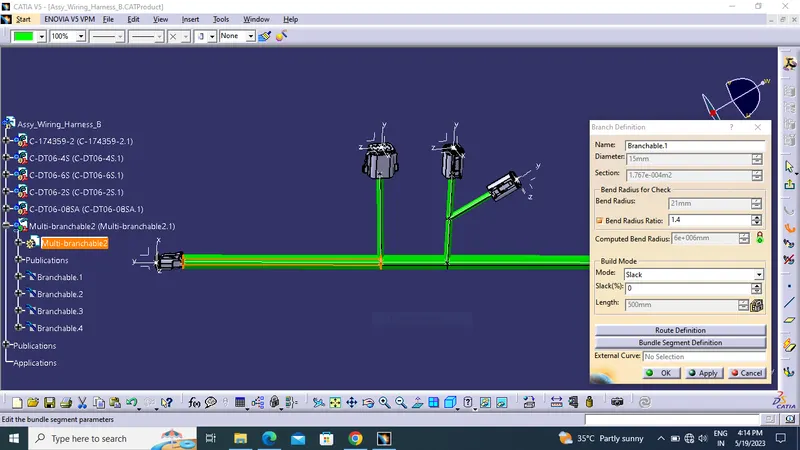
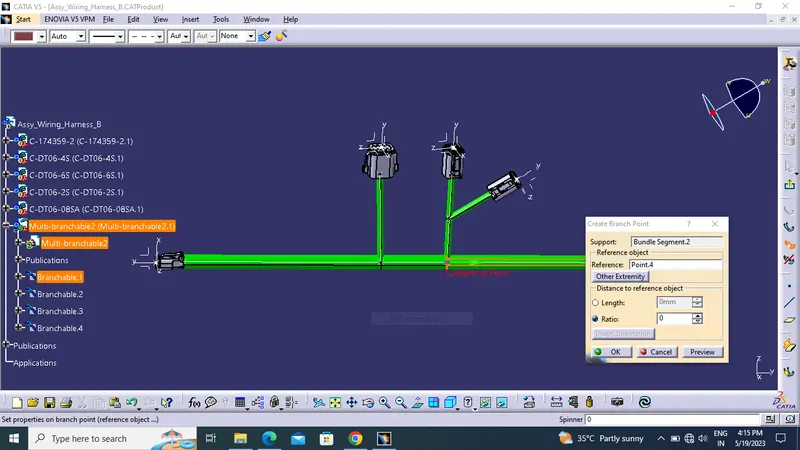
CHECK BUNDLE CONTINUNITY:
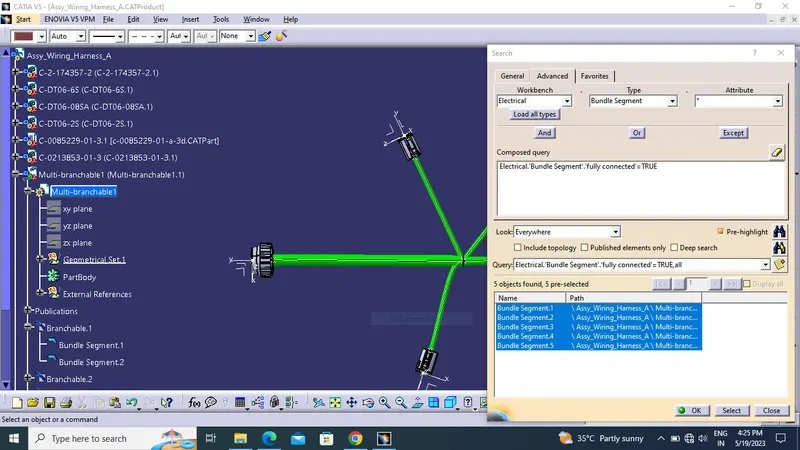
- Check bundle continuity in both Harness A and Harness B.
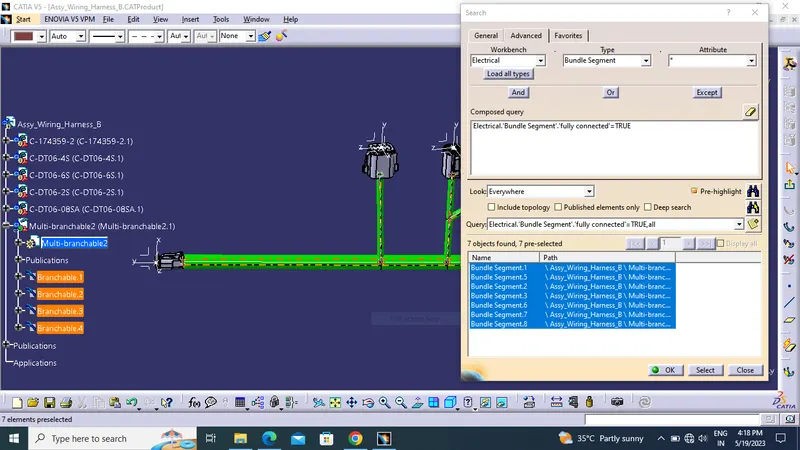
- Edit>Search>Workbench-Electrical>Type-Bundle segment>Attribute-fully connected.
- In case window appera, that selecting True option will show all the connected bundle segments
- While selecting False option will show all the non-connected bundle segments.
- Now, we will check for True condition and search for result.
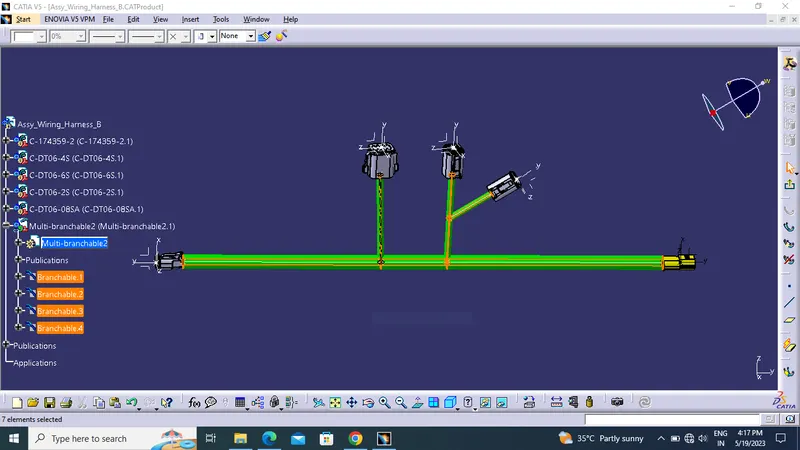
- All the bundle segments are showing connected. So there is bundle continuity in both Harness A & Harness B as shown in below images.
WIRING HARNESS A:
Checking condition as True.
WIRING HARNESS B:
Checking condition as True.
ASSEMBLY :
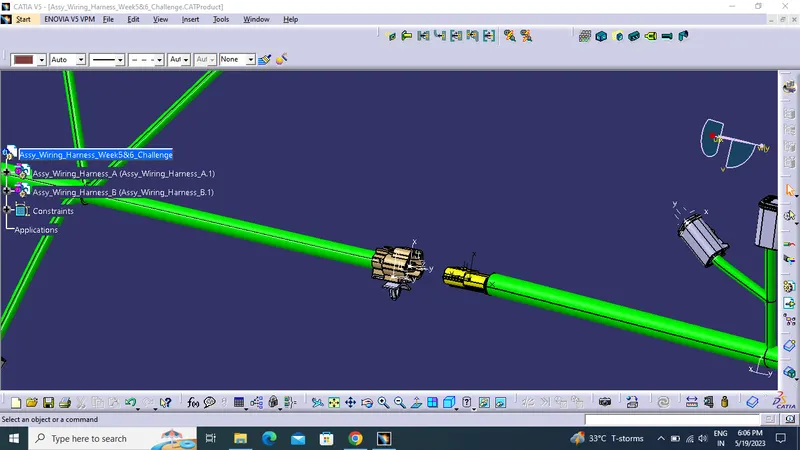
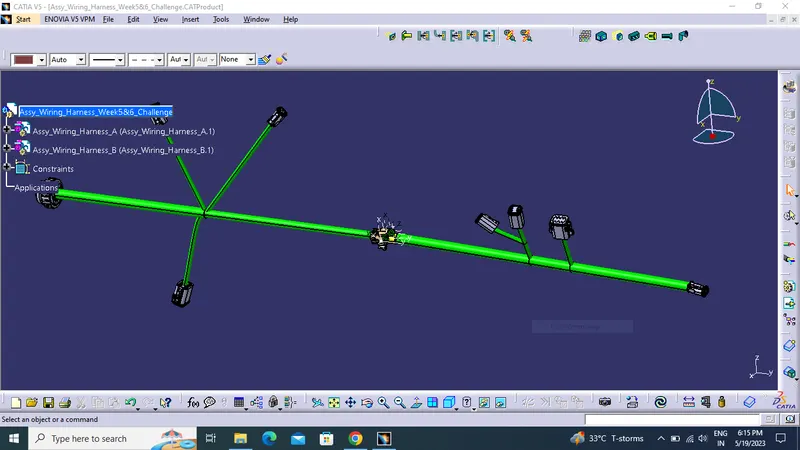
- Switch to electrical assembly design.
- We have to interconnect both Harness A & Harness B.
- We have to create new product file .
- Copy both harnesses and paste it in newly created product file.
BUNDLE WARNING:
- We will be checking the bundle warning in Harness A & B.
- Geometrical bundle warnings are shown for bend radius, bundle diameter and vector position.
- If there is any incorrect value or input regarding these factors then yellow colored flash wiil be appear in the model tree structure next to the branchable with problems.
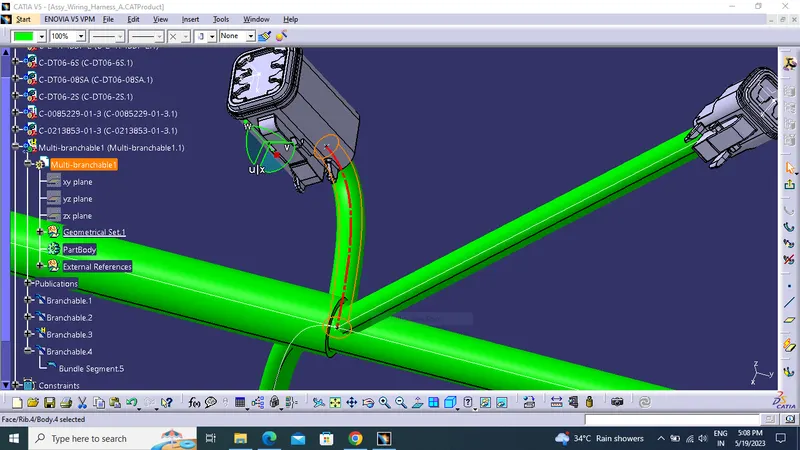
Reverse tangent to the point to create the bundle.
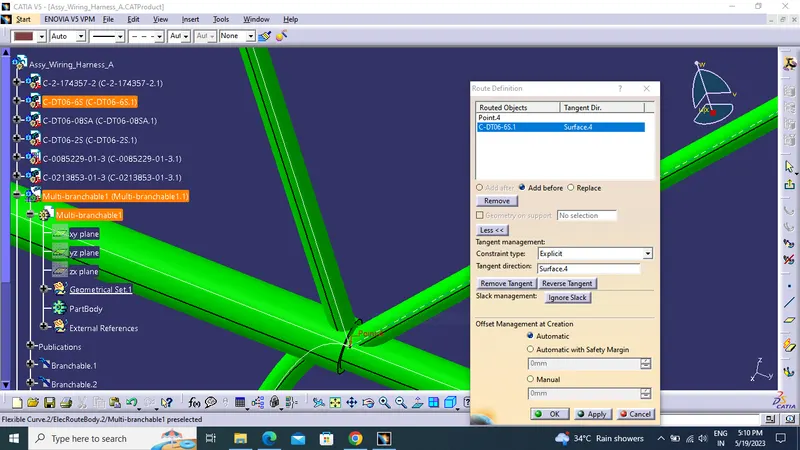
ANNOTATION:
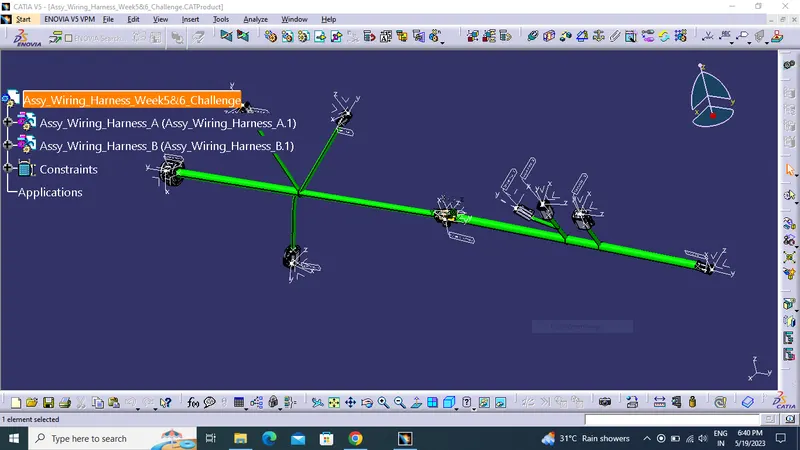
- Add annotations for all the connectors in mechanical assembly design workbench.
- Annotations are used for giving connector name, functions etc.
- select plane where annotation will be placed. In below image, we have selected front plane.
GENERATE CAT. PART:
Mechanical Assembly Design workbench>Tools>Generate CAT Part from product.
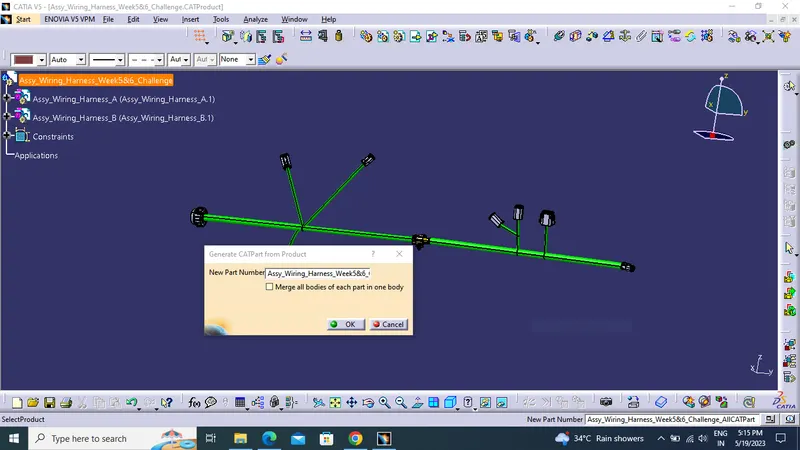
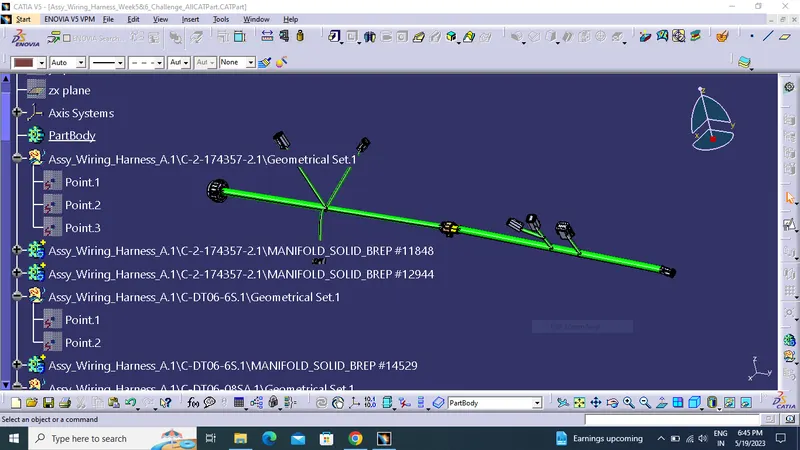
Save igs or step file as shown in below image .