Week 9 - Project - Master Section Development
AIM: Design B-Pillar through master section Development.
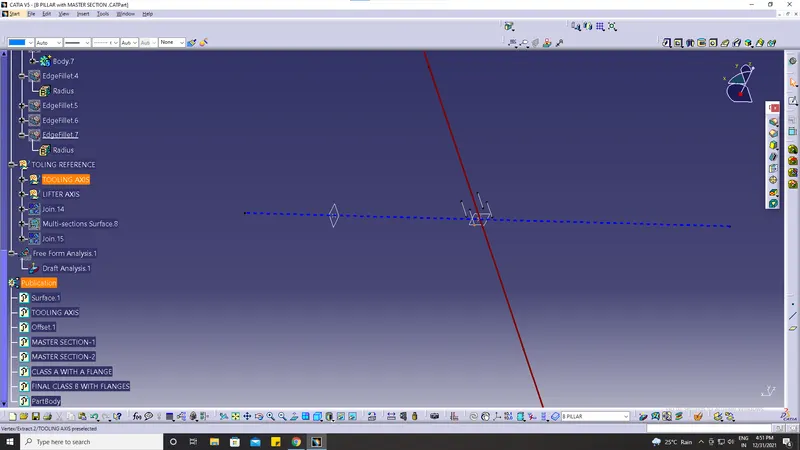
Step 1: Create a tooling axis.
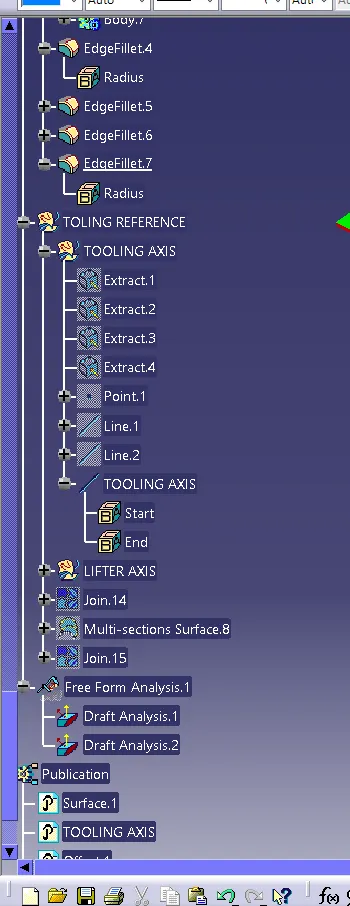
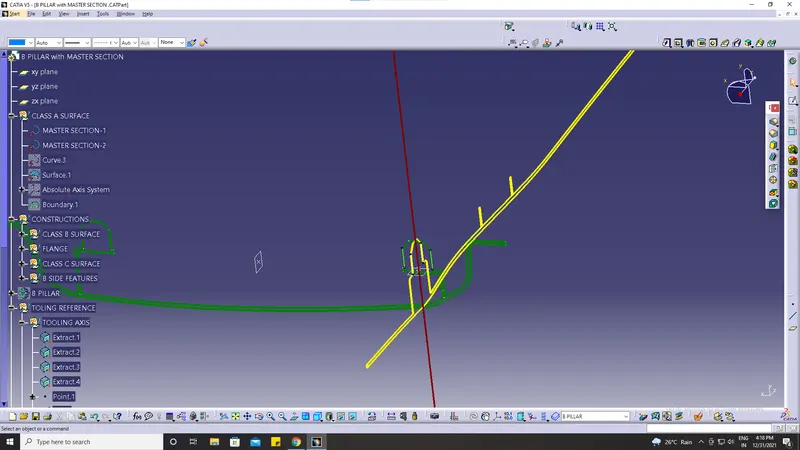
For creating the tooling axis first we extract these 4 boundaries.
Took a point between these 2 lines.
then draw a bisecting line between these two-line by using point.
again bisect the remaining two lines.
and finally, bisect the resultant lines.
We got our tooling axis.
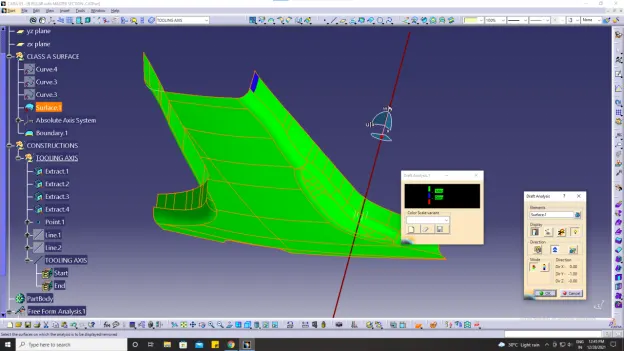
Step 2: Draft analysis on Class A surface.
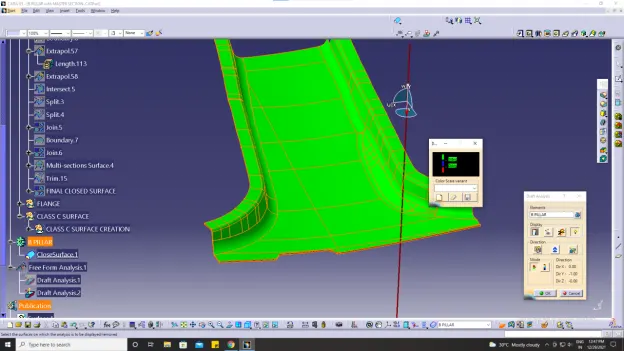
Step 3: Creation of Class B & C Surface.
According to the Master section, our component has 2 mm thickness so we offset the class A surface by 2mm.
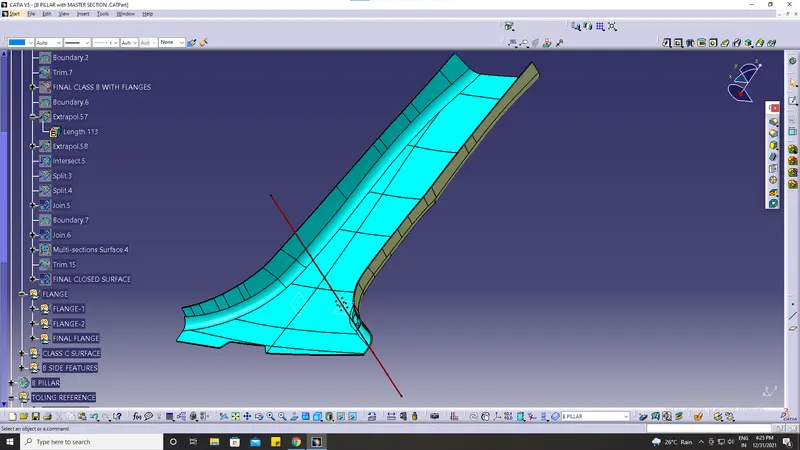
After that, we noticed that there is a flange so that we have to work on the flange by using the Class A surface.
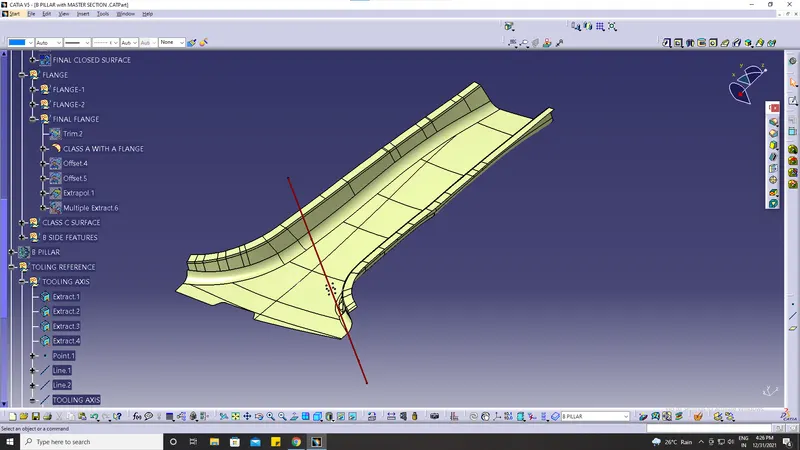
CLASS A WITH A FLANGE.
Creation of Class C Surface:
Extract all Boundaries
Sweep all the boundaries with 3-degree draft direction by using the tooling axis
Trim this sweep Faces together.
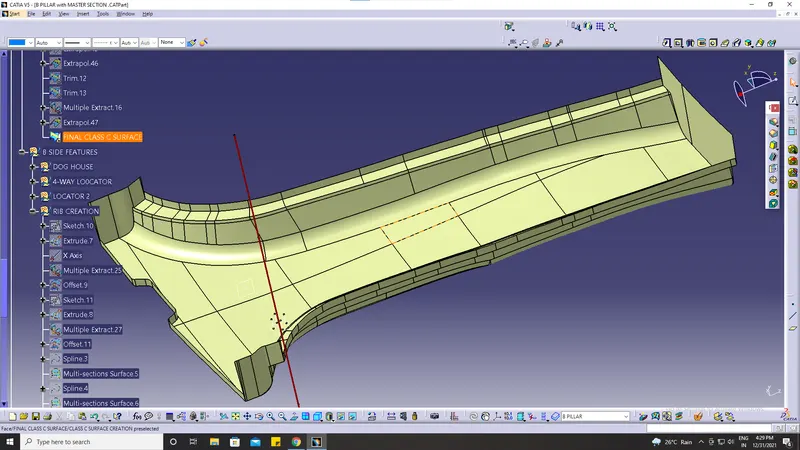
Trim the B surface with Class A & Class C.
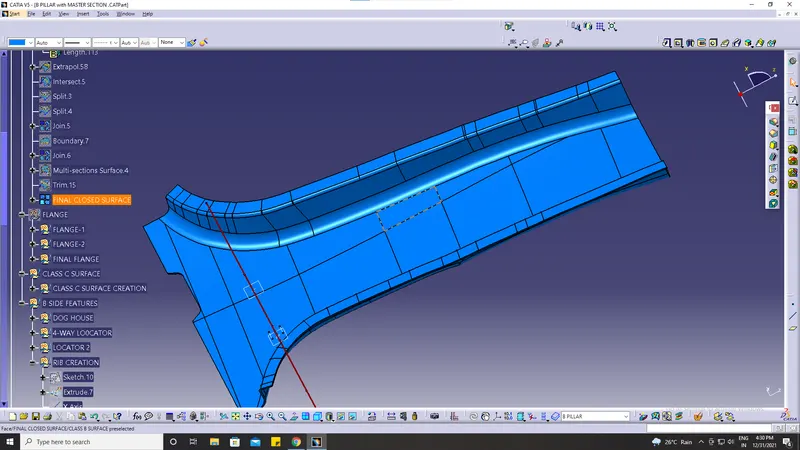
This is our final surface
Now, Make a closed body.
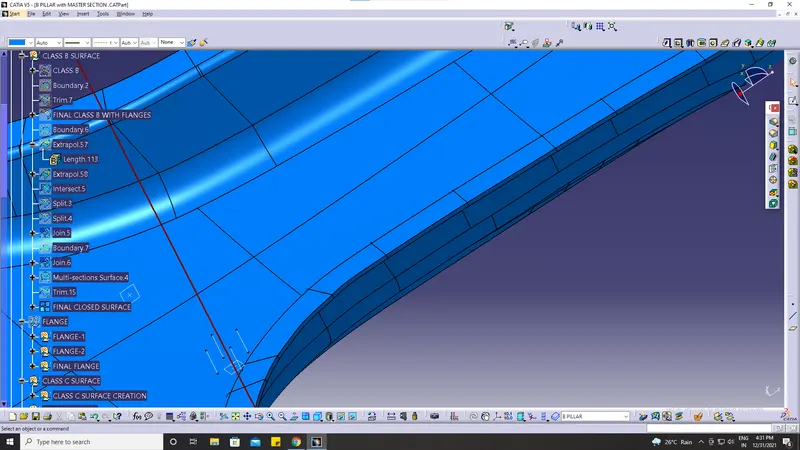
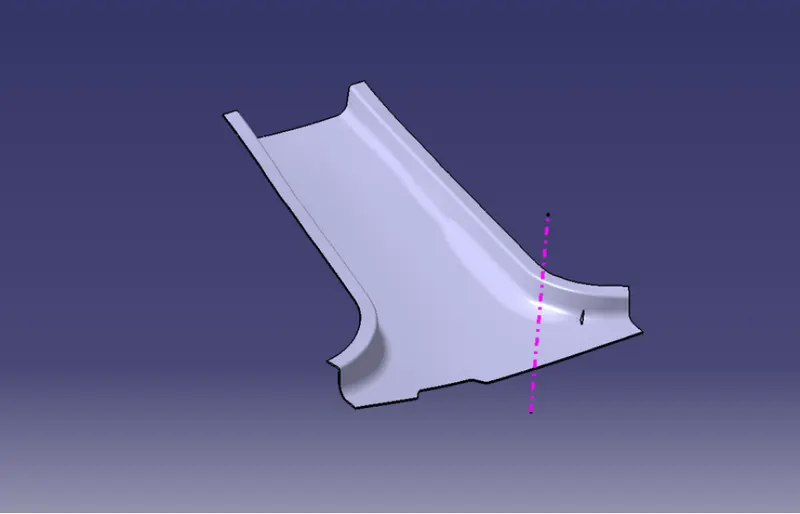
Creation Of Dog House & 4 Way Locator:
Here, is the master scetion for Dog house & 4-way locator
So, we extract the walls of the dog house & then draw the sketch for that.
Extrude this sketch
Give thicken command of 2 mm in part workbench
Then draw a sketch for 4 way locator
Pad that sketch &give the draft to that.
Then apply chamfer & fillet to 4 way locator
Now we have to work again on the dog house for clearance so that we offset the below surface by 1.2 mm.
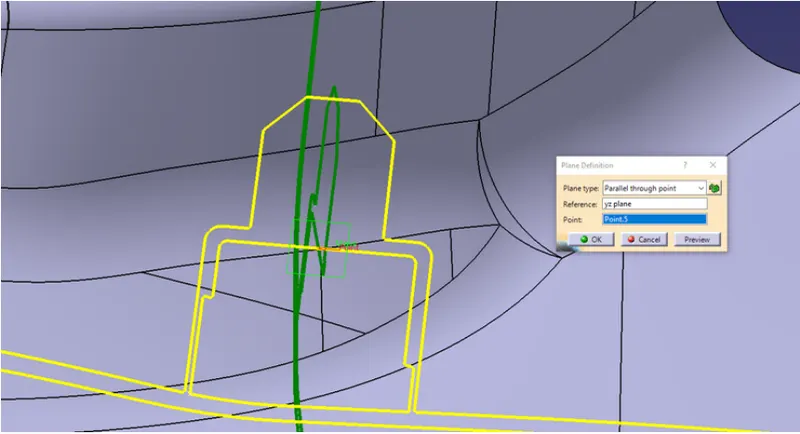
Extract the class B surface & offset by 5 mm
Trim the surfaces then we got this surface
Split this surface with dog House
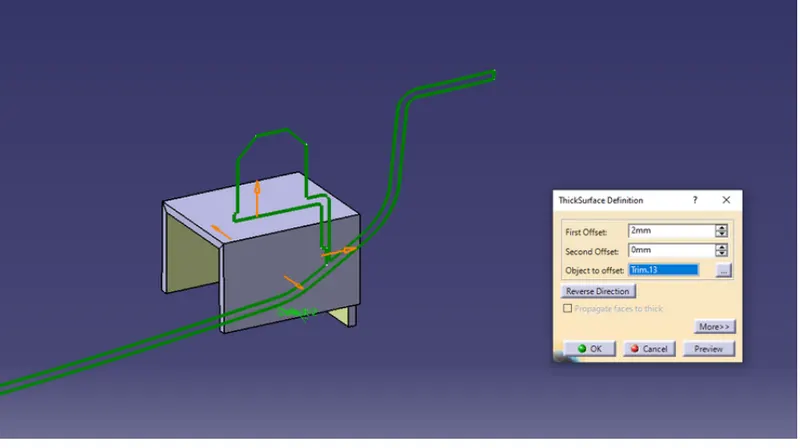
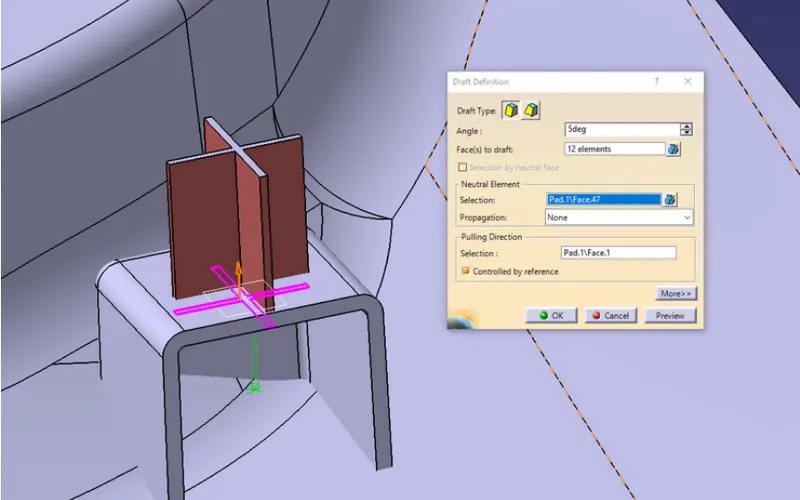
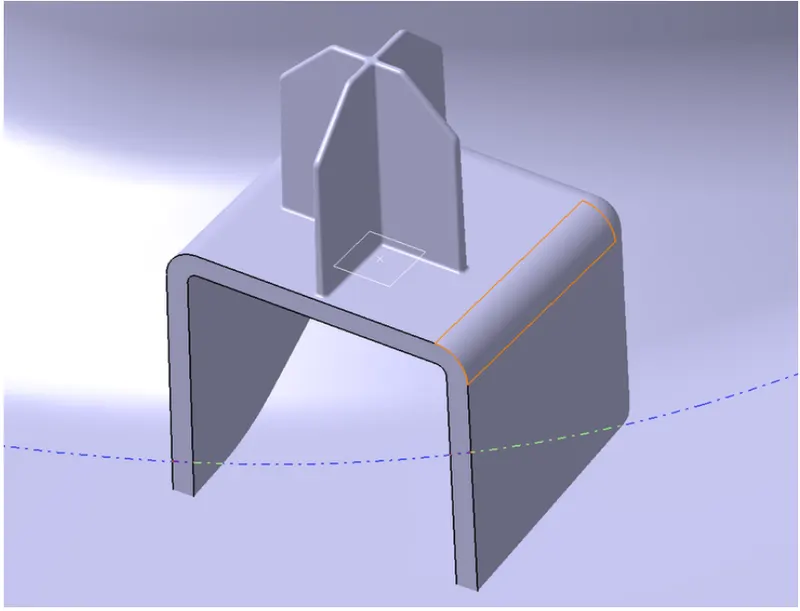
Draft analysis on Dog House:
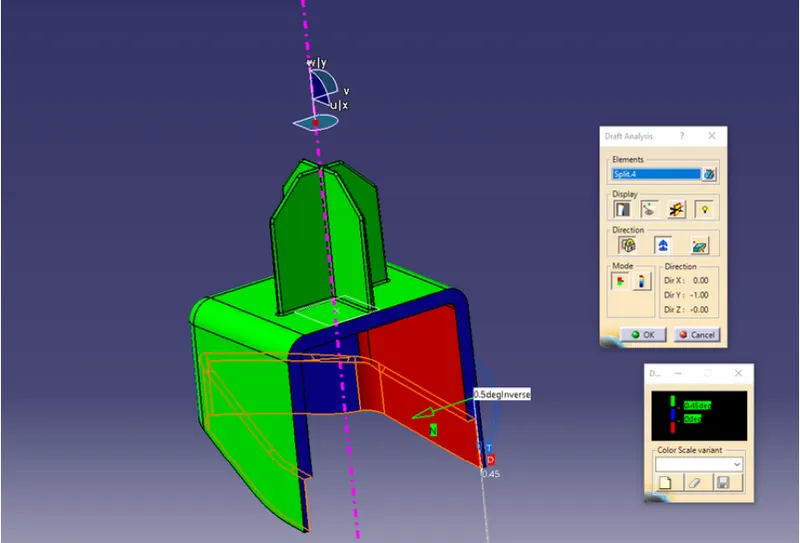
Create a locator axis For inner faces then draft analysis:
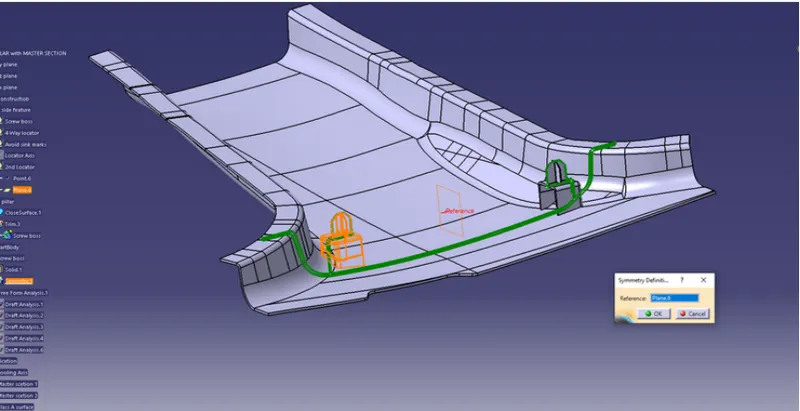
We have to translate that dog house on another side also
We create a midpoint & then mirror it.
now, we create ribs on both sides so we create a rib, draft it & translate it on both sides.
Draft analysis On final Component:
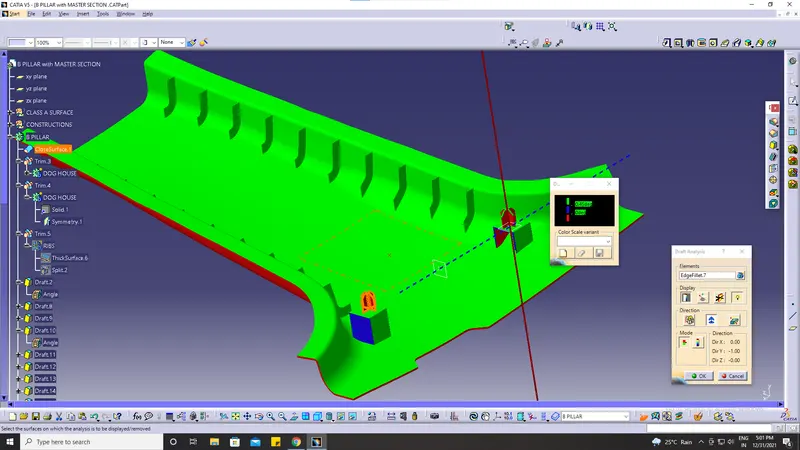
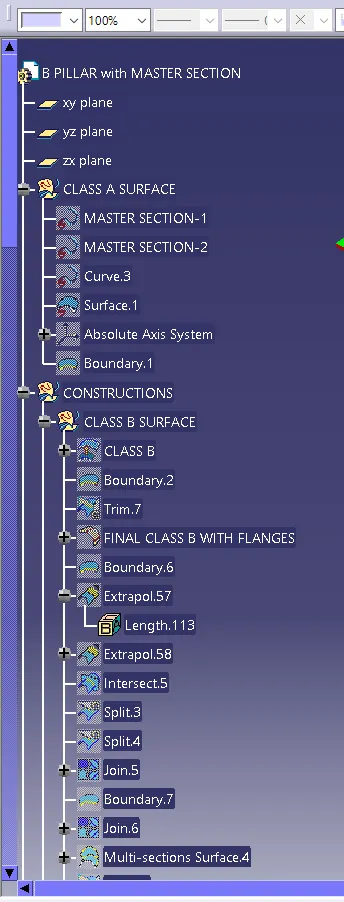
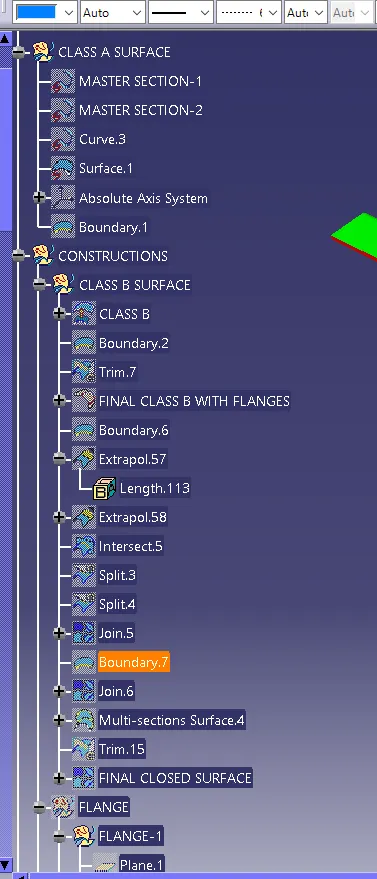
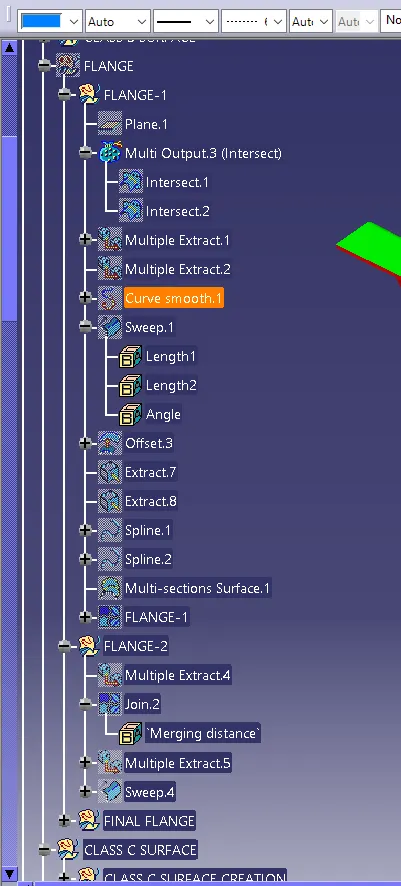
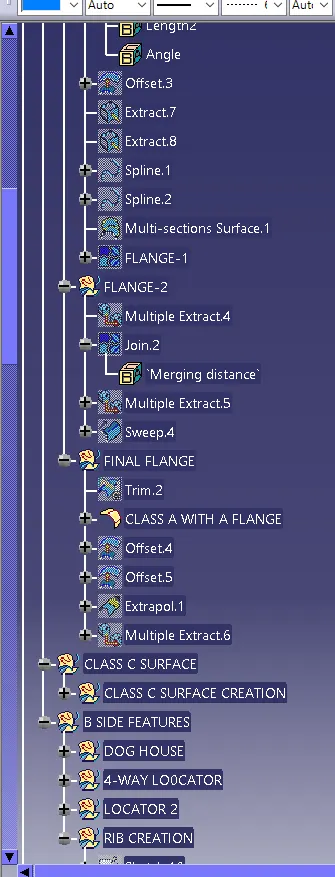
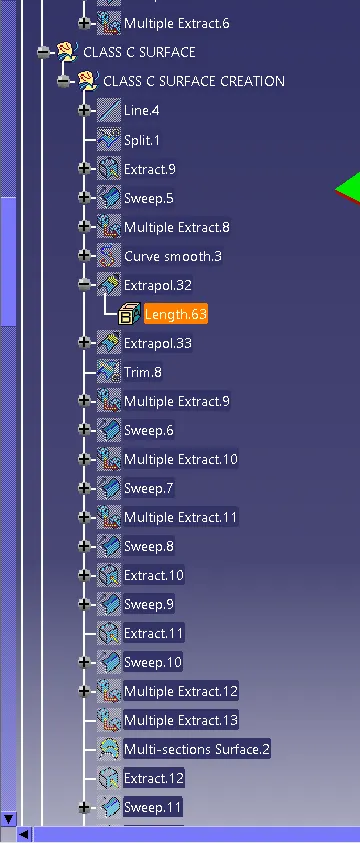
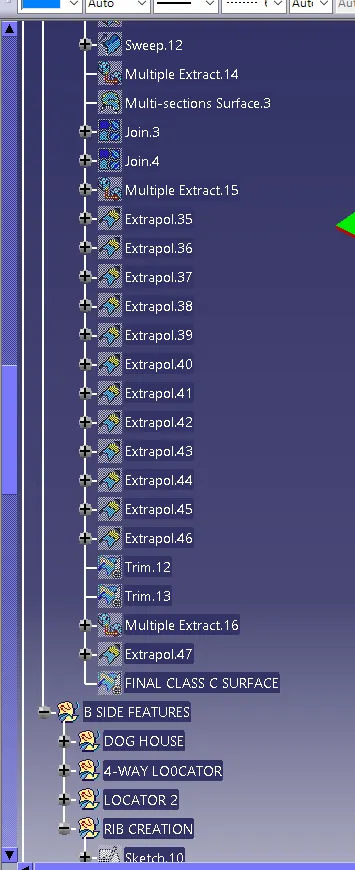
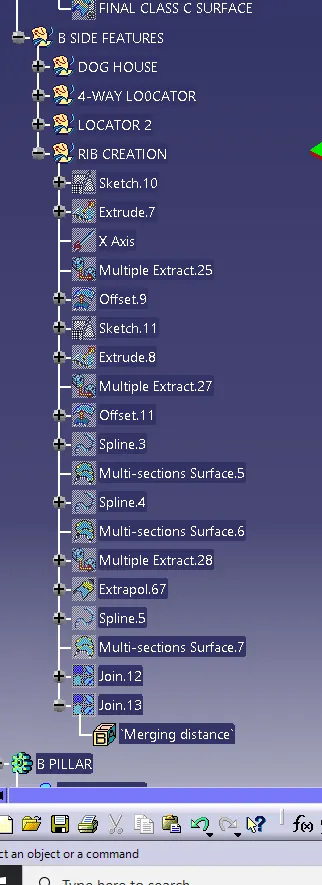
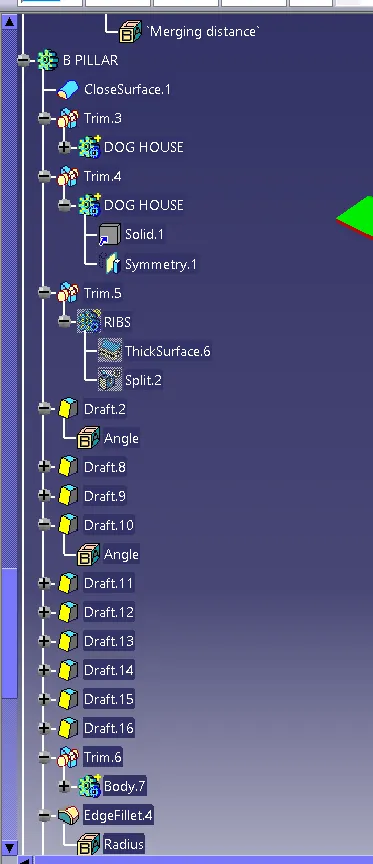
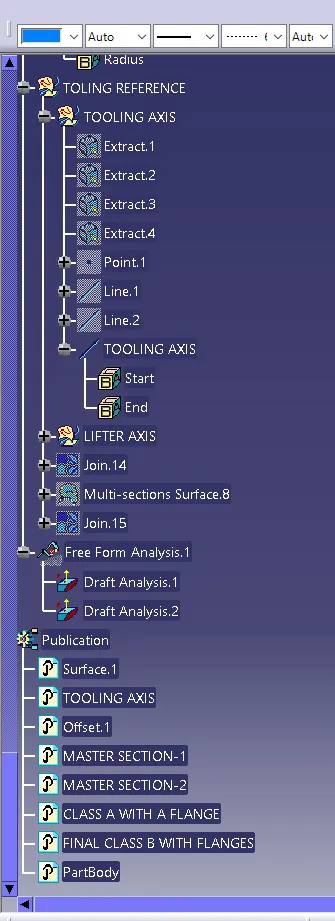
Tree structure: