Week 9 - Project - A pillar Design with Master Section
OBJECTIVE: The main objective of this challenge is to understand the give master section to create a solid body and B-side features for a given class A surface, by considering all the design parameters.
MASTER SECTION: Master section are the guides for design requirements which decide the component packaging after technical (styling, concept or class -A) surfaces.
OVERVIEW: Here in this challenge, I created the solid part body from the class A surface and B-side features (DOG HOUSE) for the class A surface. The master section measurements are considered to make the solid part body and Dog house. created a tooling axis by using the bisecting line method amd created a side core axis for clearing the B- side features of the dog house. The draft angle is provided to the dog house outer face concerning the Tooling axis, and the draft angle to insides face are provided concerning the side core axis. The draft angle for a solid part body is 3 deg, the draft angle for the dog houses outer surface is 1.5deg, and the draft angle for the internal surface of the dog house is 0.5deg.
TOOLING AXIS CREATION:
To create the tooling axis, I used the 'bisection' line mathod. Initially, I created two lines on the master section by using ' pointline' and the I created a bisection line at the centre of those two lines by using bisection line option in the line command.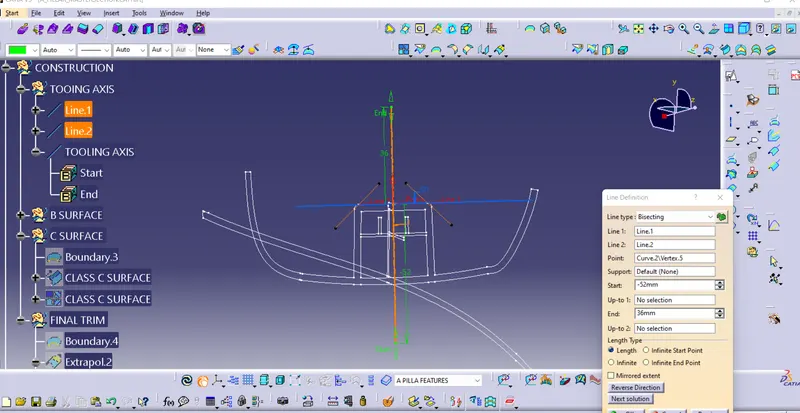
TOOLING AXIS:
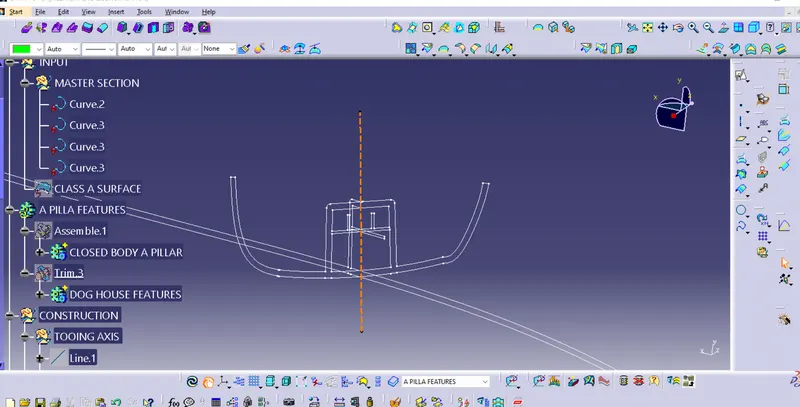
Draft analysis for class A surface:
The draft analysis check is performed on the class A surface before we create the solid part from that class A surface, to check whether the given class A surface is drafted properly or not. The draft angle for a plastic component is 0.5deg to 3deg.
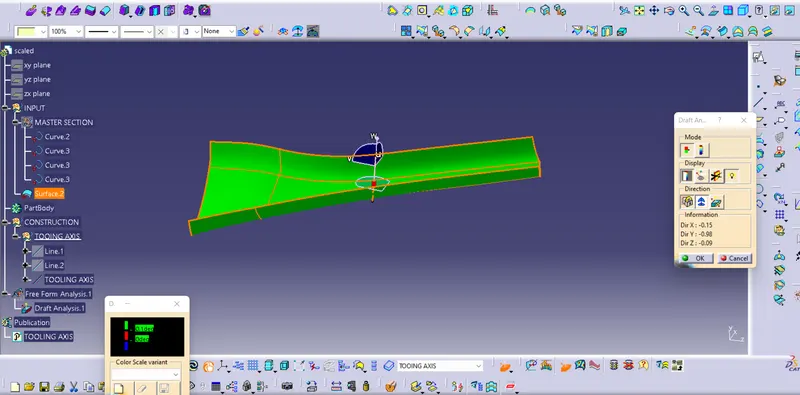
Class B surface creation:
To create the class B surface initially, I measured the thickness of the master section (2.5mm). I offseted the class A surface 2.5mm to the inside direction. the styling fillets on the class A surface are not offseted properly, it create the patch on the offset surface. I used the sweep command to close the patch on the offset surface.
Offset patch:
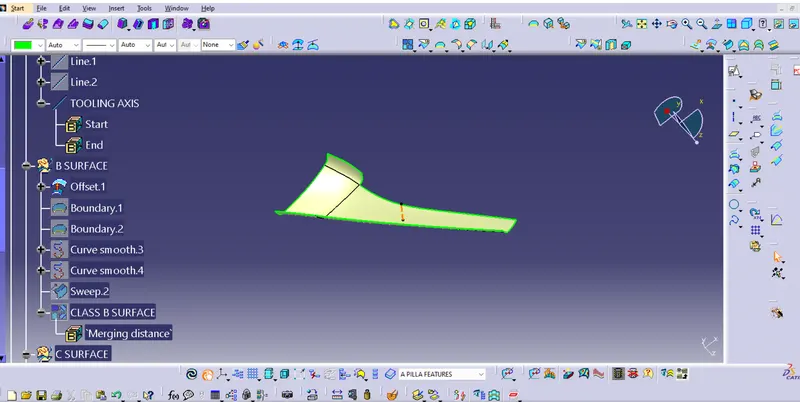
I extracted the edges of the patches, to give as a sweep commands guide curves to close the patch
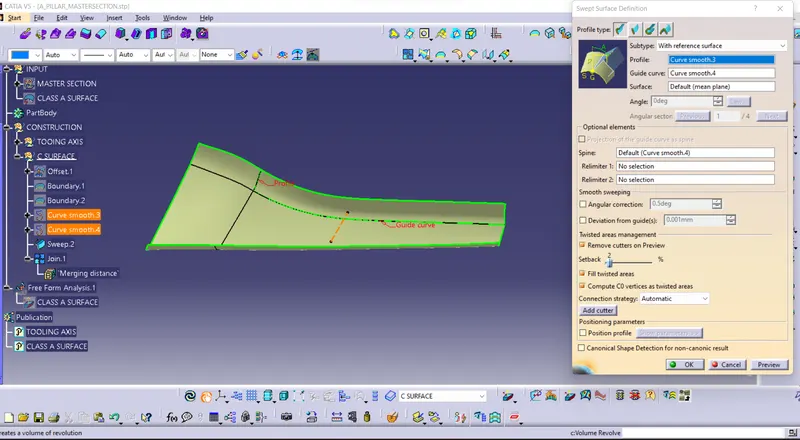
CLASS B SURFACE:
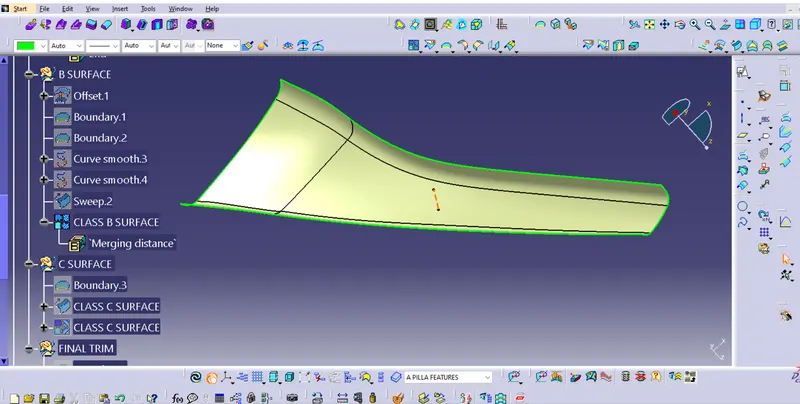
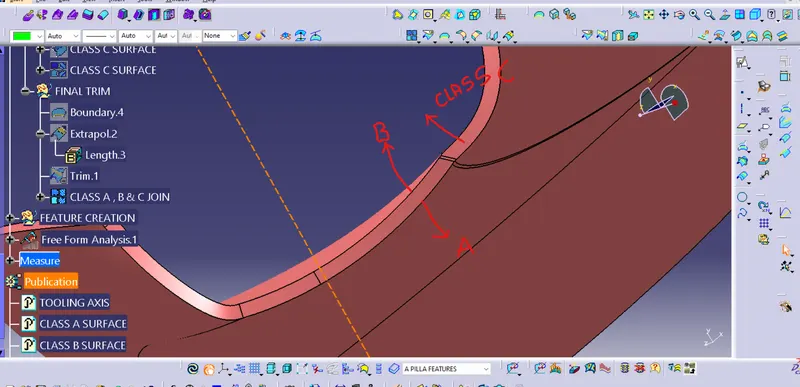
CLASS C SURFACE:
To order to create the class C surface, I used the sweep command. I sweep the class A surface edges along with referencing the surface for 4mm insides with 90deg. after the creation of class C surface, the surface edges are needed to extrapolated to intersect properly from all 4 sides. I trim the surface which extrapolated, to get the closed class C surface. I joined the class A surface and C surface to get a single surface of class A+C surface. I trim the class B surface with class A+C surface join, to get the closed surface to create the solid body
Class C surface:
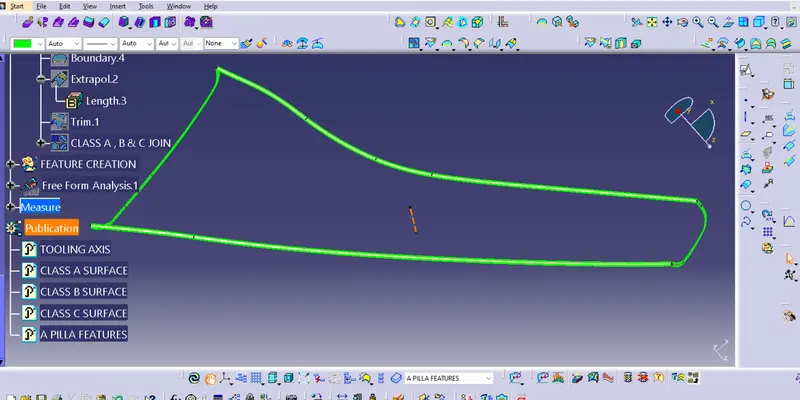
class A + C + B join:
SOLID PART BODY CREATION:
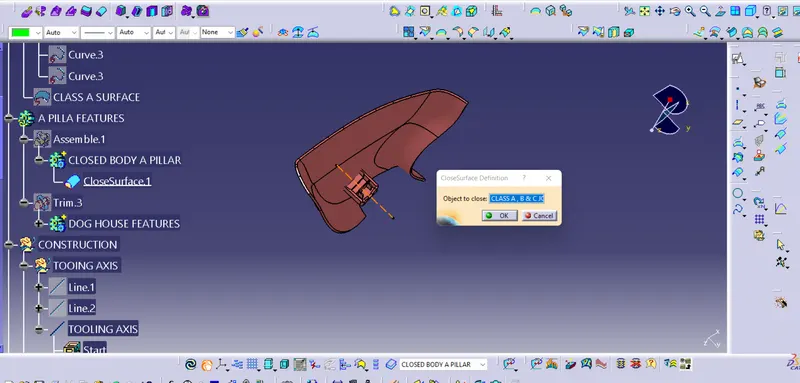
To create the solid part body , I used closed surface command in the part-workbench. I gave the closed surface as an input in the closed surface command.
solid body:
DOG HOUSE CREATION:
- To create the dog house on the B-side, I extracted the lines on the master section and I create a plane to extract the lines concerning the master section.
- I extracted the face which are required to create the shell for the dog house, and I trim the surfaces with each other as per the master section dimensions.
DOG HOUSE OUTER SHELL:
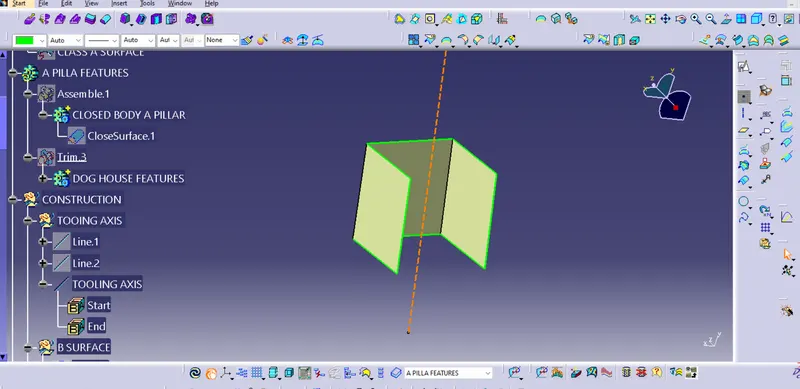
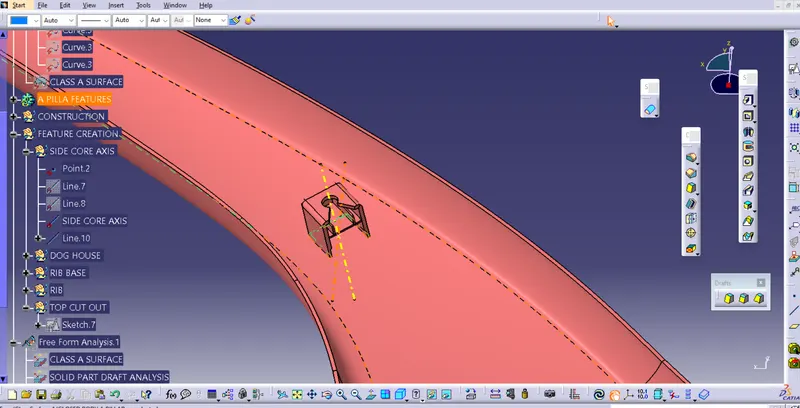
- I create the side core access, by creating a line at the centre of the back surface by creating the point.
- I thicken the shell for 2.5mm to inside. after thickening the surface, I gave 0.5deg draft to inner surface of the dog house.
- Now we need to give the bottom cut out for the dog house. To give the bottom cutout, I extracted the surface and offset it to 1mm outerside (the bottom cutout should be 40% of the thickness of the dog house). I extract the upper surface of the dog house and offset it to 17mm bottom direction. to trim with the offset of the inner surface.
- After trimming the bottom cutout surface, I split the surface from the solid shell of the dog house. I gave a0.5deg draft angle to the bottom area concerning to the side core axis.
- I created the rib base and rib concerning the master section dimensions, and I gave a 0.5deg draft angle to the rib base and rib. After drafting the rib base. I added the rib base and rib to the dog house shell to make a single body.
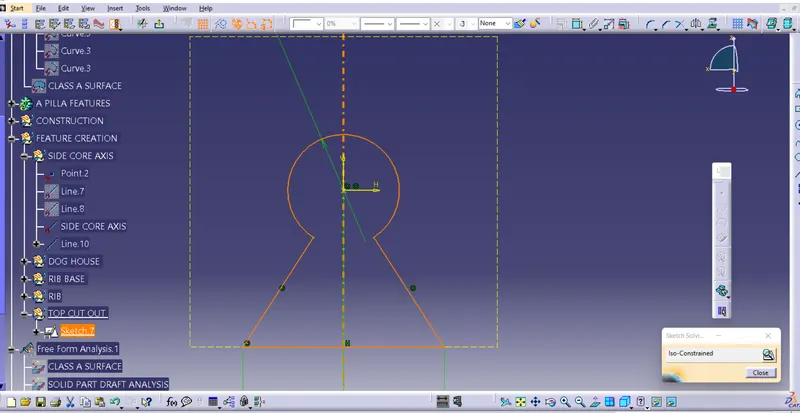
- I created a sketch for the top cutout on the dog house, and I pad the sketch to the downside and removed it from the dog house part body.
DOG HOUSE TOP CUTOUT SKETCH:
DOG HOUSE:
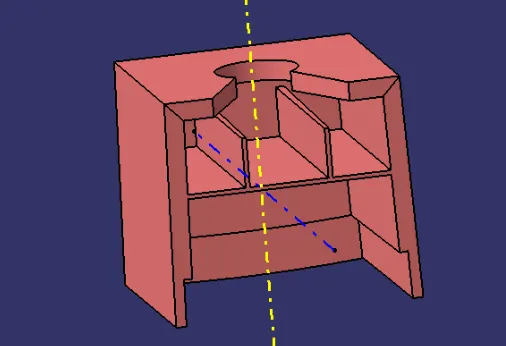
- I added the dog house to the main part body of A pillar solid.
solid part body of A pillar with dog house:
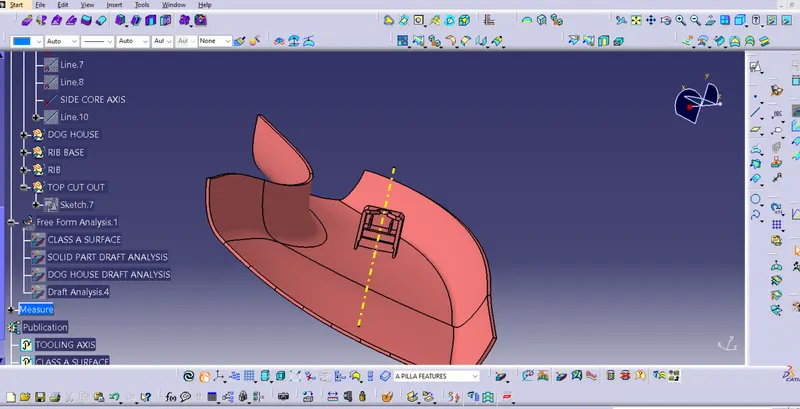
DRAFT ANALYSIS FOR THE SOLID PART BODY:
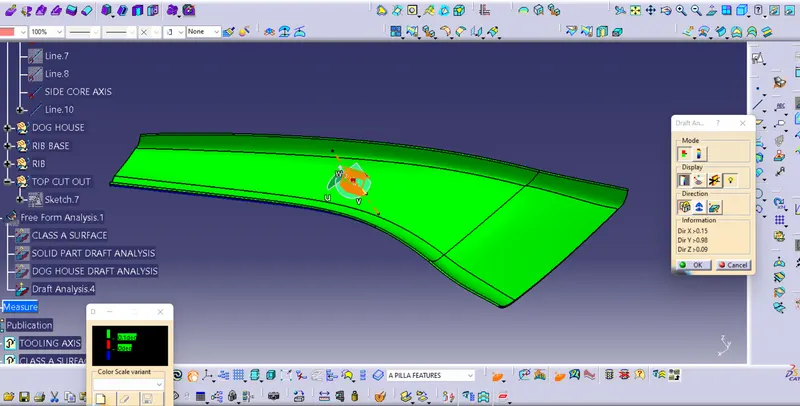
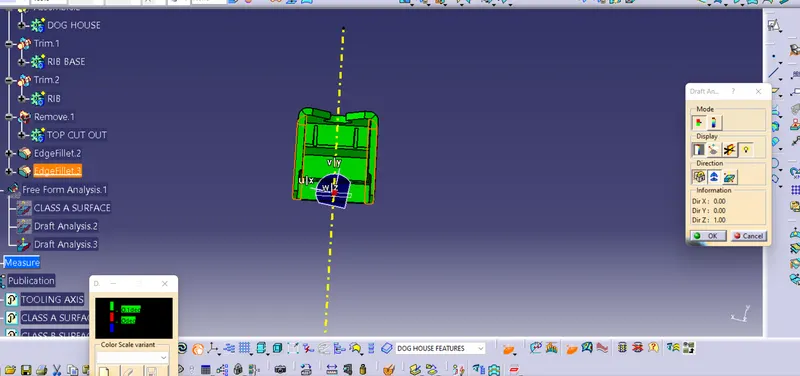
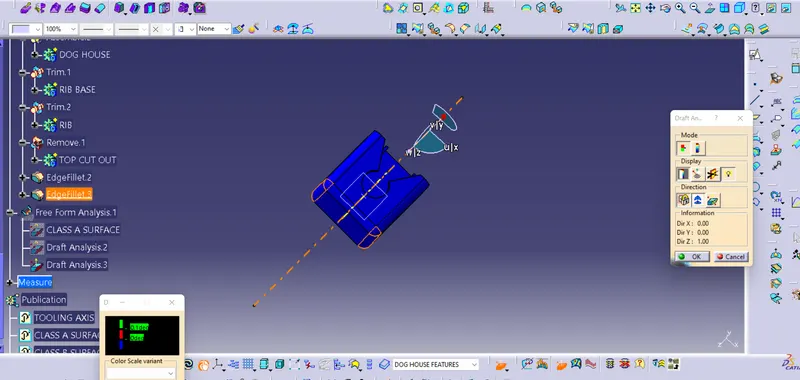
The draft analysis is used to check the surface draft angle and to know whether all the surface are drafted properly or not.
- The draft angle for the solid body of A pillar is 3deg, some surface are not cleared properly with a 3deg draft angle. previously I mentioned in the class A draft analysis report with a 1.9deg draft angle all the surface are cleared properly.
- The draft angle for the outer surface of the dog house is 1.5deg.
- The draft angle for the inner surface of the dog house is 0.5deg.
DRAFT ANALYSIS FOR A PILLAR:
DRAFT ANALYSIS FOR DOG HOUSE:
DIFFERENT VIEWS:
ISOMETRIC VIEW:
FRONT VIEW:
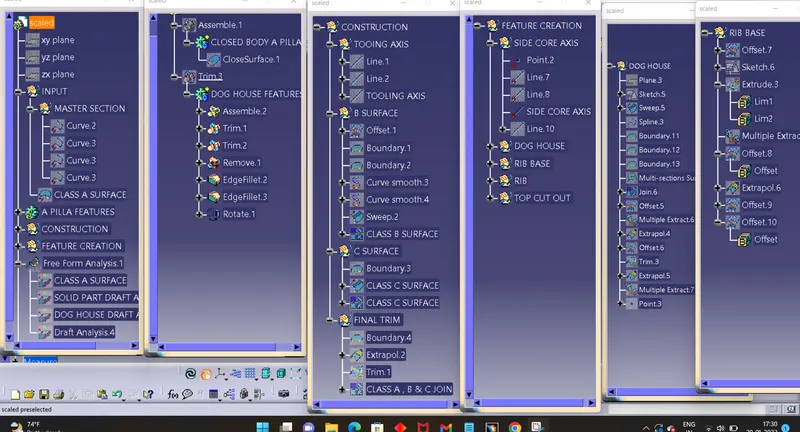
TREE STRUCTURE: