Week 9-Creation of 1D Connectors Challenge
AIM:- To Create 1D Connectors in the given component in Hypermesh.
Connectors:-
They are geometric entities (not FE) primarily used to create spot and seam welds but also used to create adhesives, bolts, and masses.
They are simply a database of information defining specific requests for connections at specific locations.
They are a medium to create both solvers independent and/or solver dependent connections between geometric and/or FE entities.
|
S.N |
Quality Criteria |
Value |
|
1 |
Aspect Ratio |
5 |
|
2 |
Skewness |
45 |
|
3 |
Warping |
15 |
|
4 |
Taper |
0.5 |
|
5 |
Min. Length |
2 Units |
|
6 |
Max. Length |
8 Units |
|
7 |
Min angle Quad |
45 |
|
8 |
Max angle Quad |
135 |
|
9 |
Min angle Tria |
30 |
|
10 |
Max angle Tria |
110 |
|
10 |
Tria % |
15 |
Procedure:-
- Import the Model in Hypermesh.
- Visualize the components.
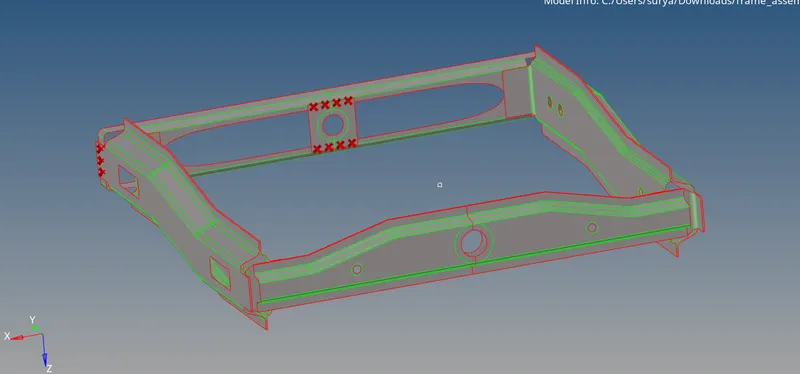
- Create the Criteria Parameter file as per the given Quality Criteria.
- Mesh all the components using the automesh option from the 2D panel, keeping the element size to be 5 unit
- After meshing check for the 2D mesh quality and repair the failed elements.
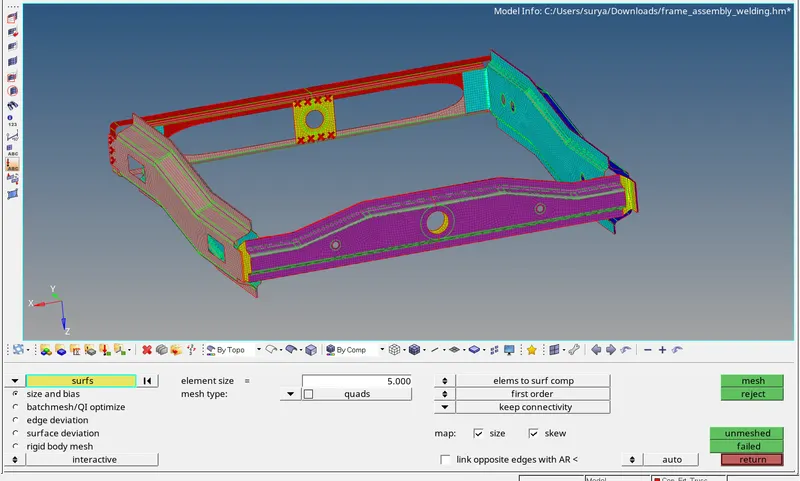
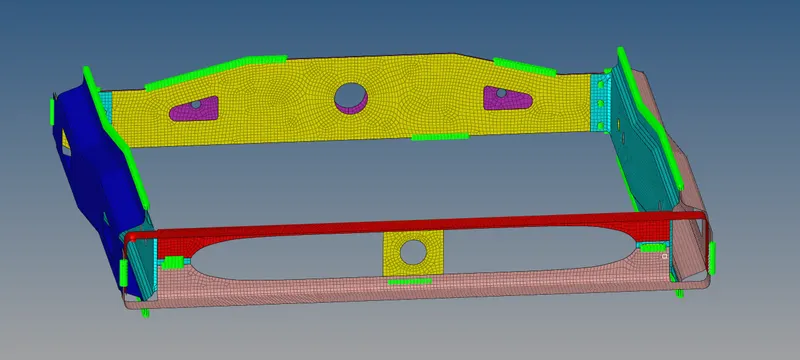
- Now as per the requirement, creating connectors on different components.
1. Right_Rail_2 & Front_truss_1:- Seam-Quad(angled+capped+L)
- To create these connectors, we will go to the Connectors tab in the 1-D panel, then select the seam tab
- Here from location select Nodes, spacing to be 5, tolerance can give 10, to avoid the failure of connectors.
- Now select the 2 components(Right_Rail_2 & Front_truss_1) between which the connector is to create and select the Type - Seam-Quad(angled+capped+L).
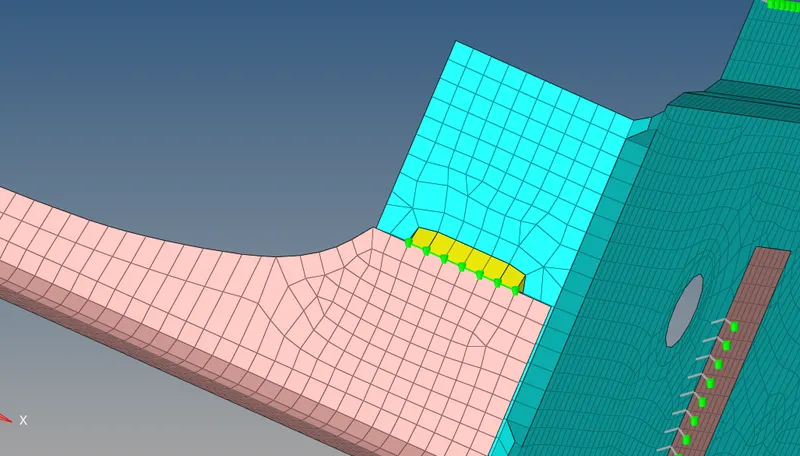
2. Left_Rail_2 & Front_truss_1:- Quad elements
- For this connection follow the same procedure for components (Left_Rail_2 & Front_truss_1) and select the Type to be Quad in Seam welding option, then hit create.
3. Front_truss_2, Front_truss_1 & Right_Rail_1:- Spot weld with 3 Layers and 5 mm Diameter
- To create a Spot weld, go to the connector in the 1-D panel, then select the spot tab
- Here from location select Nodes, tolerance can give 10, to avoid the failure of connectors, then a select the number of layers to be 3 & Diameter to be 5 as required.
- Now select the 3 components(Front_truss_2, Front_truss_1 & Right_Rail_1) between which the connector is to create and select the Type - weld, and create.
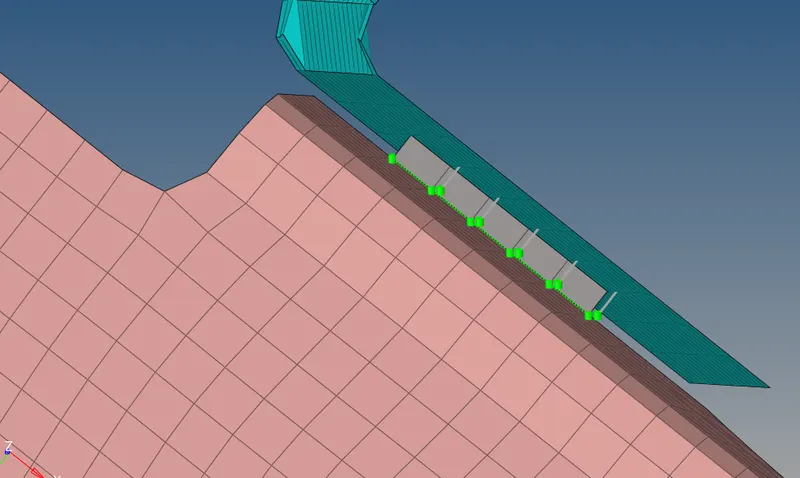
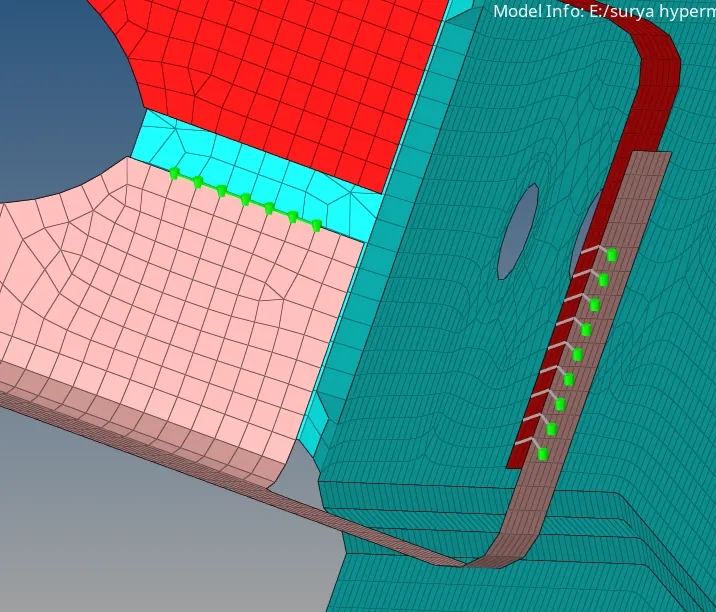
4. Front_truss_2, Front_truss_1 & Left_Rail_1:- Hexa (Adhesive)
- For this connection, we can create it from the area option, in the connectors in 1-D pannel
- In this, we need to select the element where we have to connect with adhesive, then select all the components (Front_truss_2, Front_truss_1 & Left_Rail_1).
- Select the Type as Adhesive and hit create.
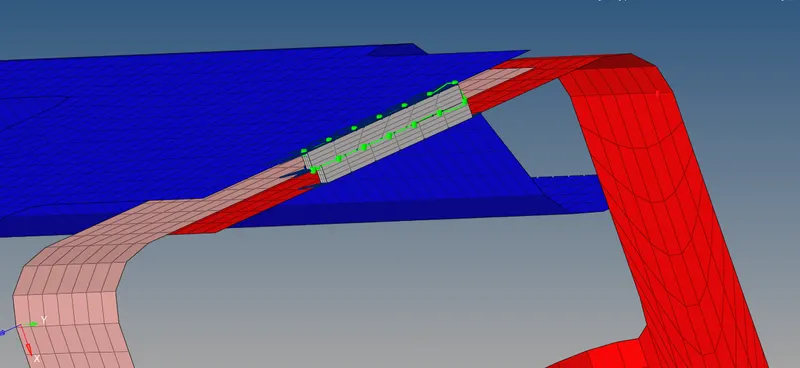
5. Rear_truss_2 & Right_Rail_2:- Bolt Connector
6. Rear_truss_2 & Left_Rail_2:- Bolt Connector
- For the Above 2 bolt connection, we will go to the bolt tab in connectors.
- Here select the Nodes location where the bolt is to be created, then select the components(Rear_truss_2 & Right_Rail_2), tolerance to be 10 to prevent failure of connection, type to be bolt(general).
- Now, here we don,t have an existing hole here in these components, so we should select the create the hole, if none option and hit create.
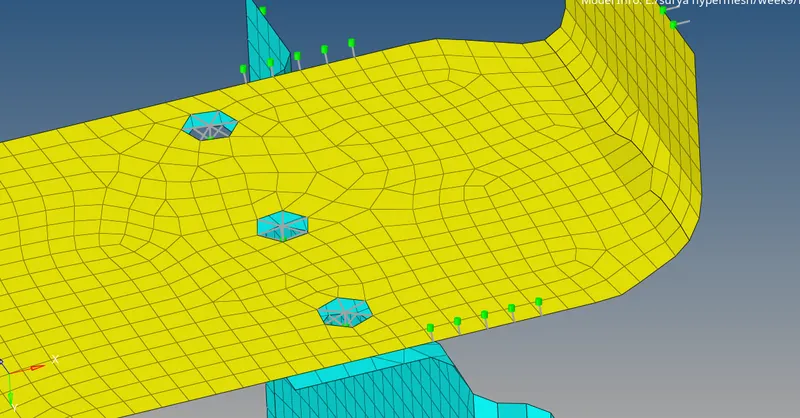
7. Right_Rail_1 & Right_Rail_2:- Spot-weld with Rigid Elements
8. Left_Rail_1 & Left_Rail_2:- Spot-weld with Spring Elements
- For the above 7 and 8 connections, we will follow the same procedure as done before in spot weld, we will select the components accordingly and in the type option, we need to select the rigid/spring elements as required for different components respectively.
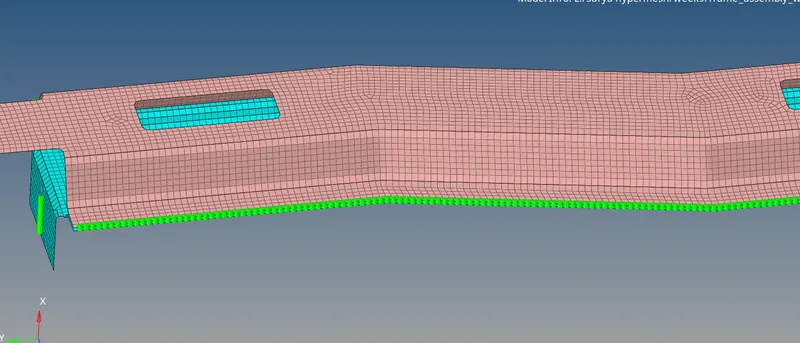
9. Rest all the component left Join them with suitable connectors
- For the rest of all components, connecting them with suitable connectors.
- Reinf_Plate I have connected it with spring elements.
- Rear_Trush_1 & Rear_Trush_1 are connected using spring element.
Learning Outcome:-
- Learn about the 1-D connectors, their use & importance
- Learn how to implement connectors like spot weld, seam welds, adhesives, bolts, and masses.
- Learn the difference between all the connectors.