Week 9-Creation of 1D Connectors Challenge
Objective :-
- Mesh the given model using automesh and go for quality.
- Add the connectors for the model as given below
-
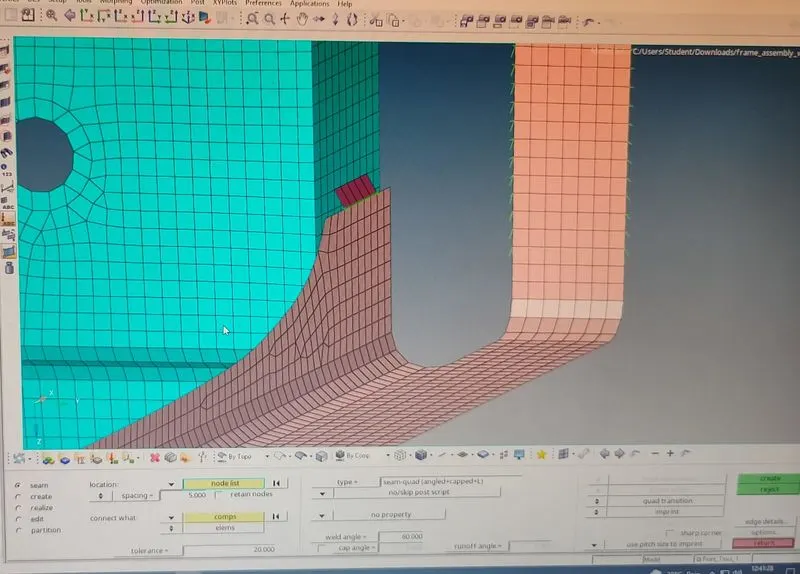
1. Right_Rail_2 & Front_truss_1:- Seam-Quad(angled+capped+L)
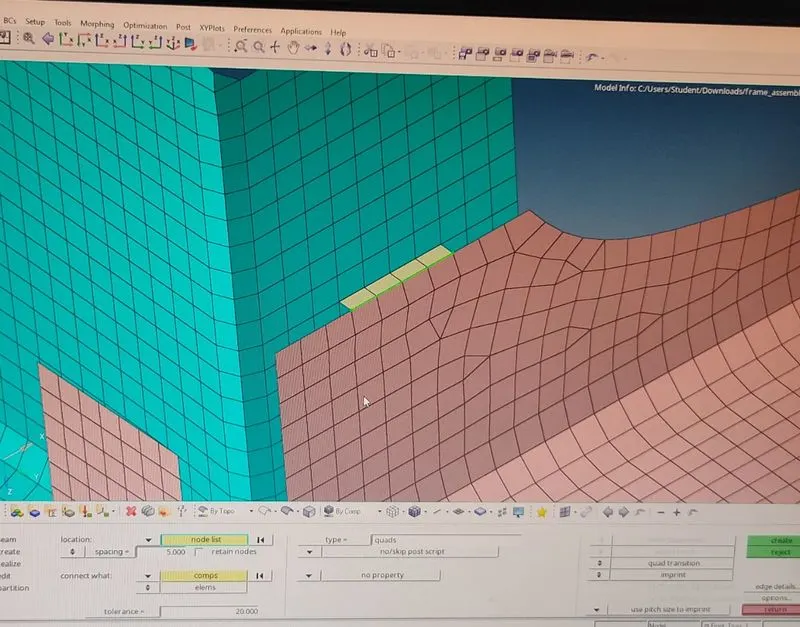
2. Left_Rail_2 & Front_truss_1:- Quad elements
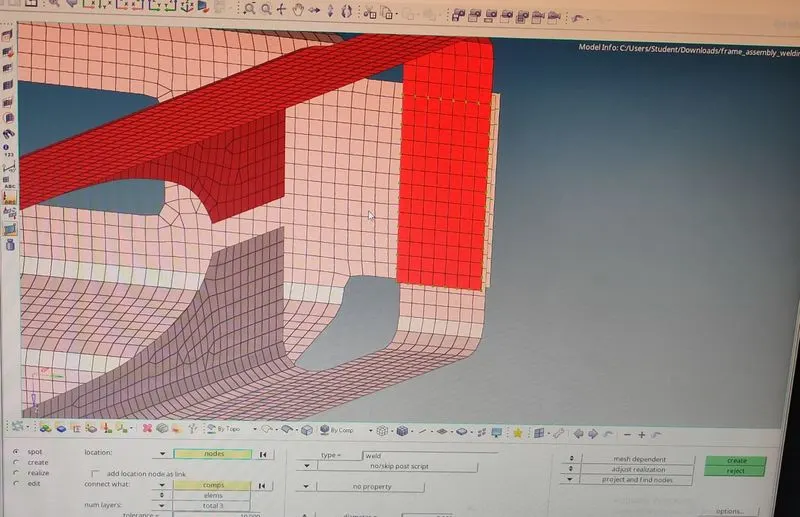
3. Front_truss_2, Front_truss_1 & Right_Rail_1:- Spot weld with 2 Layers and 5 mm Diameter
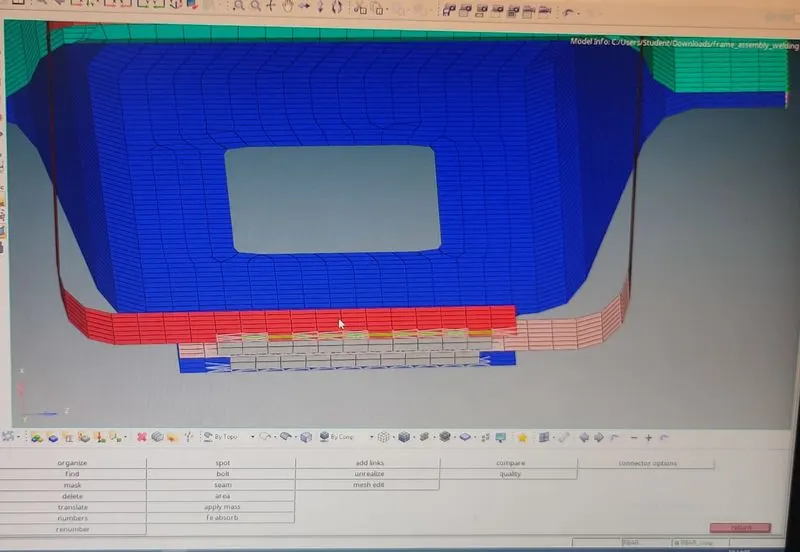
4. Front_truss_2, Front_truss_1 & Left_Rail_1:- Hexa (Adhesive)
5. Rear_truss_2 & Right_Rail_2:- Bolt Connector
6. Rear_truss_2 & Left_Rail_2:- Bolt Connector
7. Right_Rail_1 & Right_Rail_2:- Spot-weld with Rigid Elements
8. Left_Rail_1 & Left_Rail_2:- Spot-weld with Spring Elements
9. Rest all the component left Join them with suitable connectors
Procedure:-
- Import the given model to the hypermesh software and select the optistruct solver.
- Now check the given model thoroughly and go for meshing,because here given model is in mid surface so no need to again for mid surfacing.
- meshing the model quality of mesh is important and i am taking 5mm for the mesh.
- After completing the mesh now go to connectors option in that go to seam and select the seam quad (angled +capped+L) and select the components which you have to connect and make sure that connectors are realised.
- This is for right rail2&Front truss1.for this connectors spacing is given 5mm and tolerance is 25 mm.
- Same for left rail 2&front truss) instead of above connector select the components to connect.
- To do spot weld in frame go to spot option in connectors and select the weld in 3 Layers and 5mm diameter.
- For hexa adhesive connectors to the seam and select hexa and select the component to connect and create the connector.
- for bolt connectors go to bolt option and select the two node and create the bolt connector between the two component this for rear truss 2 & right rail 2 and rear truss 2 & left rail2.
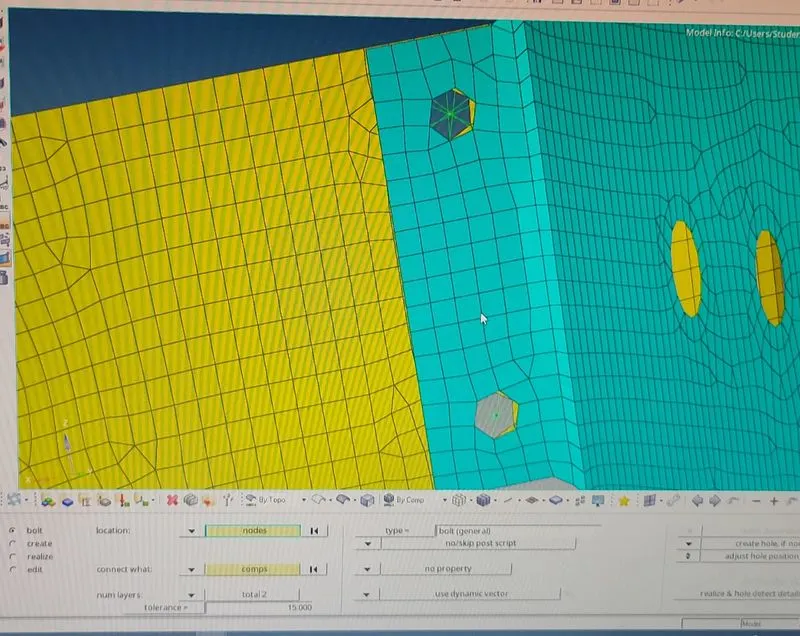
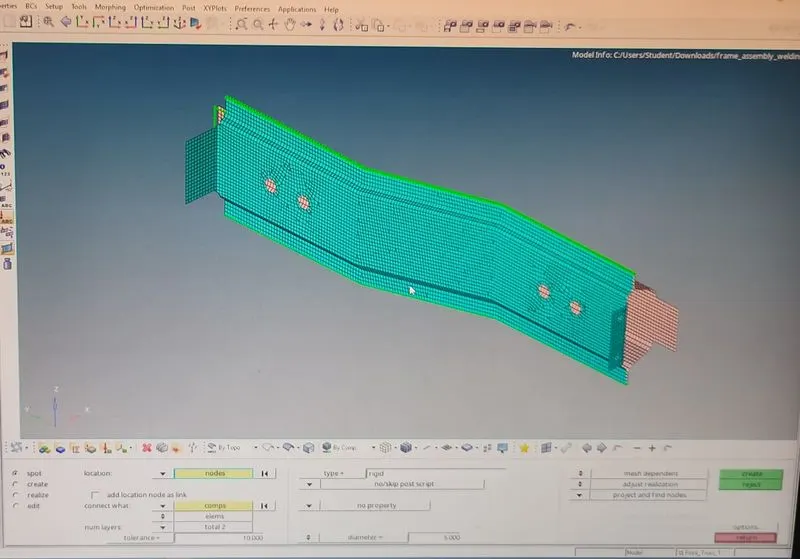
- for the right rail 1 and right rail 2 go to the spot option and select the right elements.
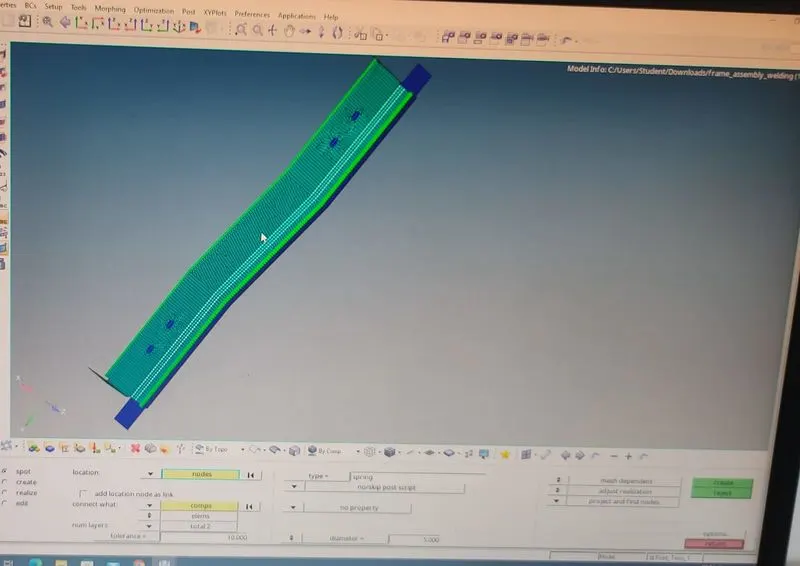
- For the leaf rail1& left rail 2 go to same a option from above point but select the spring element
- For remaining I have selected the rod and bush element to connect remaining parts.
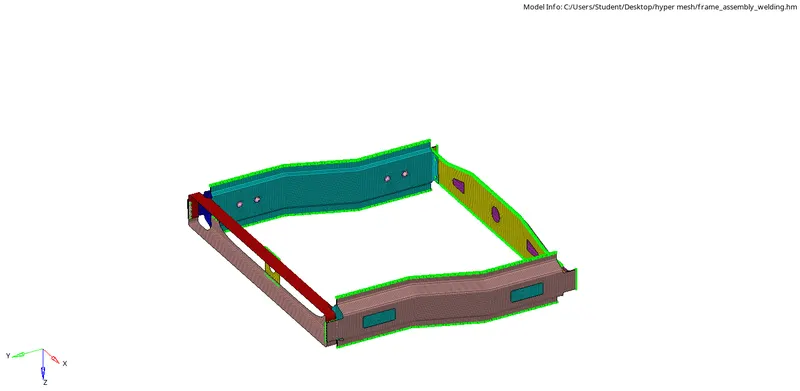
Conclusion:-
- I have learned how to connect the parts with the help of connectors and uses of connectors in hypermesh .