Connections in Hypermesh
Objective: To mesh the given components and create connections as per the specified directions.
Procedure:
There are 2D surfaces given in the model which are to be meshed with 5mm element size.
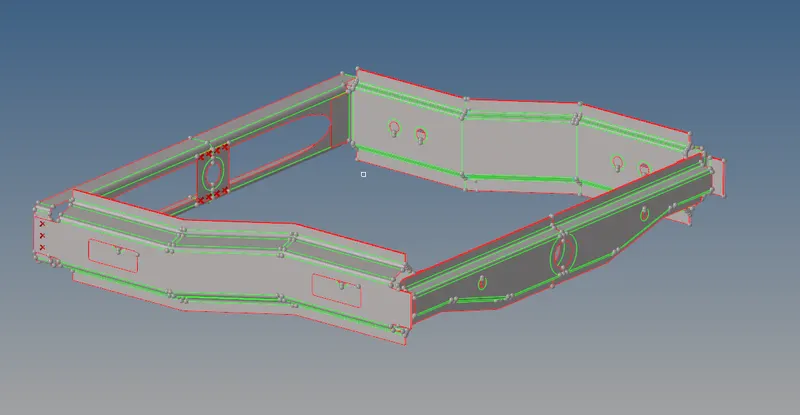
After meshing the given components we have to create the following connections.
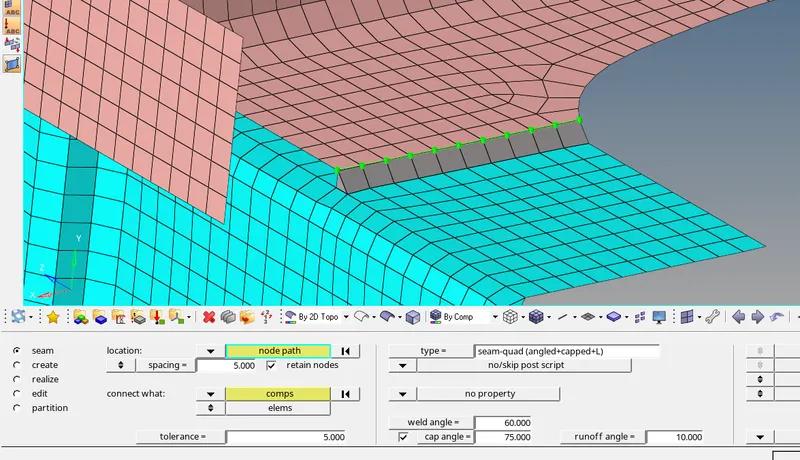
1. Right_Rail_2 & Front_truss_1:- Seam-Quad(angled+capped+L)
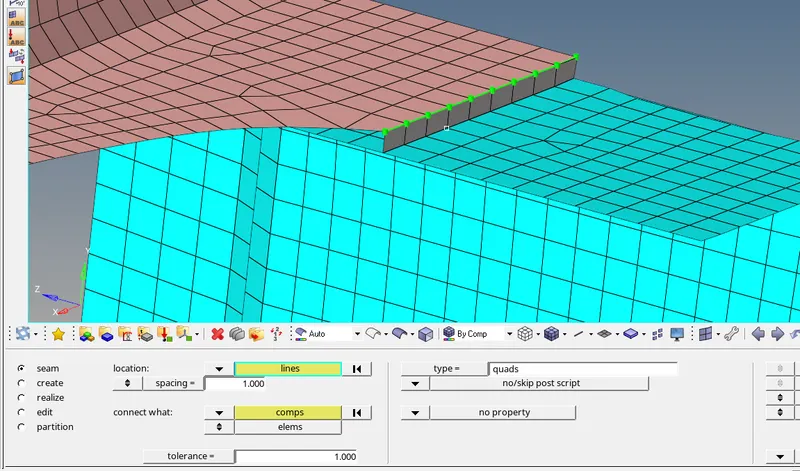
2. Left_Rail_2 & Front_truss_1:- Quad elements
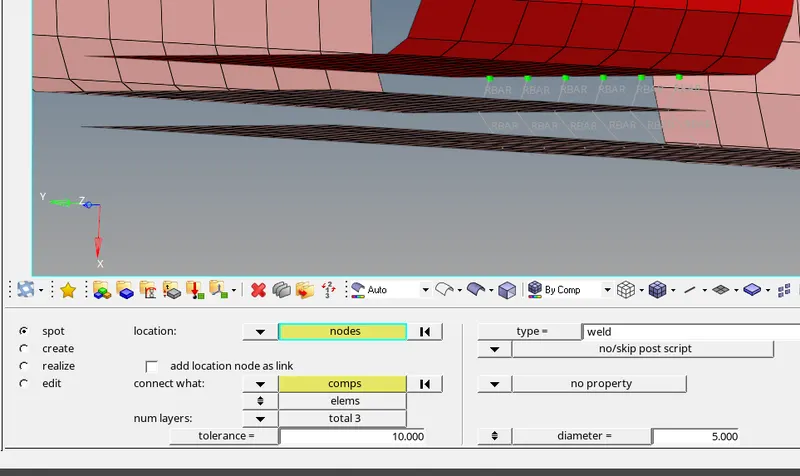
3. Front_truss_2, Front_truss_1 & Right_Rail_1:- Spot weld with 3 Layers and 5 mm Diameter
4. Front_truss_2, Front_truss_1 & Left_Rail_1:- Hexa (Adhesive)
5. Rear_truss_2 & Right_Rail_2:- Bolt Connector
6. Rear_truss_2 & Left_Rail_2:- Bolt Connector
7. Right_Rail_1 & Right_Rail_2:- Spot-weld with Rigid Elements
8. Left_Rail_1 & Left_Rail_2:- Spot-weld with Spring Elements
Seam-Quad(angled+capped+L):
This connection is to be provided between 'Right_Rail_2' and 'Front_truss_1'
1D/2D/3D>connectors>seam, select 'Seam-Quad(angled+capped+L)' under types.
Select the node path and give spacing of 5mm, as it is the element size.
Select the components between which the connection is to be made.
Quad elements:
A quad element connection is applied between 'Left_Rail_2' and 'Front_truss_1'.
1D/2D/3D>connectors>seam, select 'Quad' under types.
Select the nodelist where the quads are to be realized.
Select the components between which the connection is to be made and realize the connection.
Spot weld with 3 Layers and 5 mm Diameter:
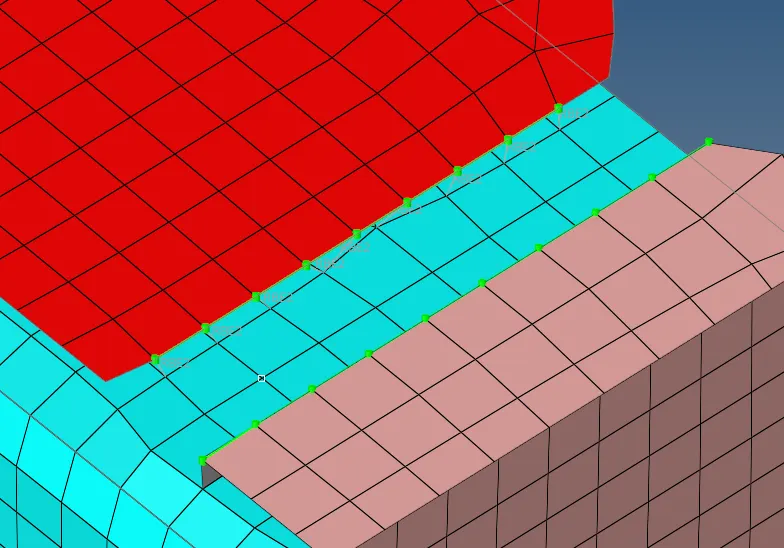
This connection is applied between 'Front_truss_2', 'Front_truss_1' and 'Right_Rail_1'.
1D/2D/3D>connectors>spot under 'type' select weld.
Number of layers signifies the number of components between which the connection is specified.
As per the specifications the connection is realized.
Hexa (Adhesive):
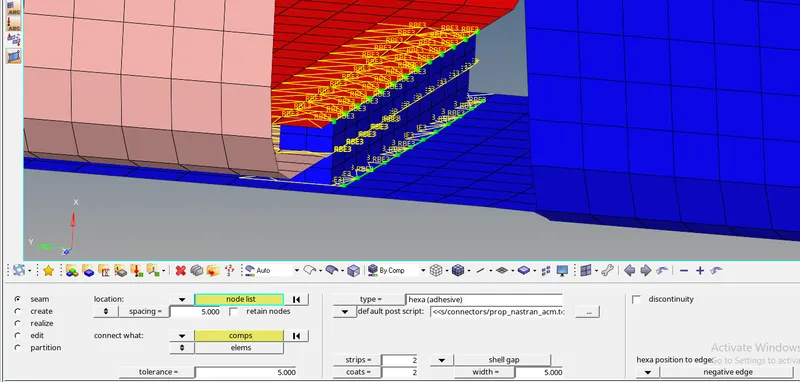
This connection is applied between 'Front_truss_2', 'Front_truss_1' and 'Left_Rail_1'.
1D/2D/3D>connectors>seam, under type select 'hexa(adhesive)'.
By selecting the mode list and the components we can easily realize this connection.
As we see from the image below, there are 2 strips and 2 coats applied to the Hexa connector. The width and the spacing is 5.
Bolt Connector:
The connection is applied between
1. 'Rear_truss_2' and 'Right_Rail_2'
2. 'Rear_truss_2' and 'Left_Rail_2'
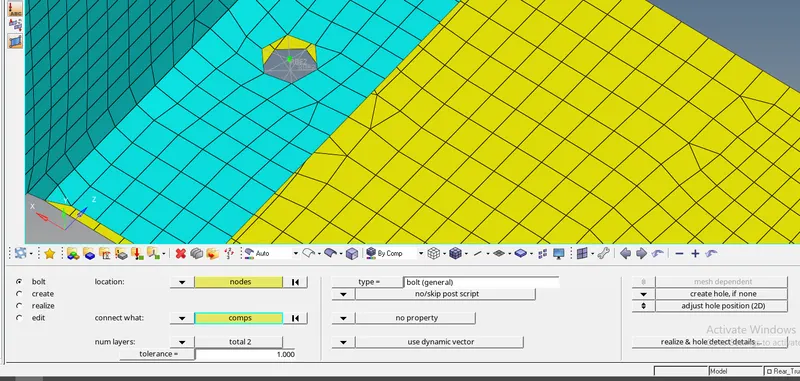
1D/2D/3D>connectors>bolt
select the node where the bolt is to be created and select the components.
Give proper tolerance to realize the connection.
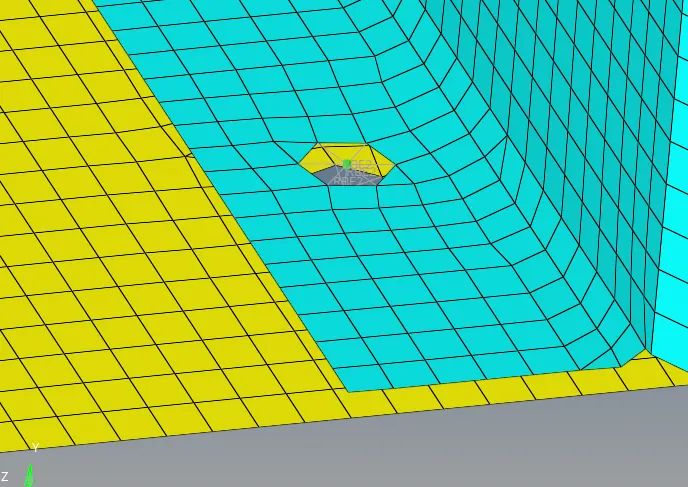
If there is no hole, as in this case, select the option 'create hole, if none'.
This will create a bolt connection as shown below.
Spot-weld with Rigid Elements:
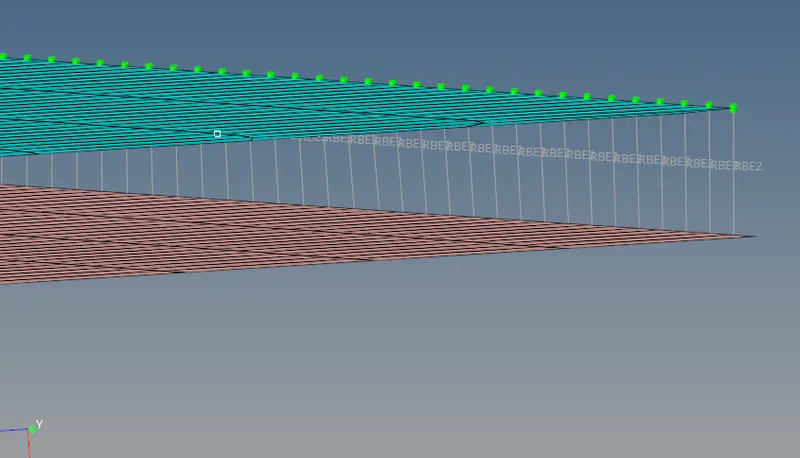
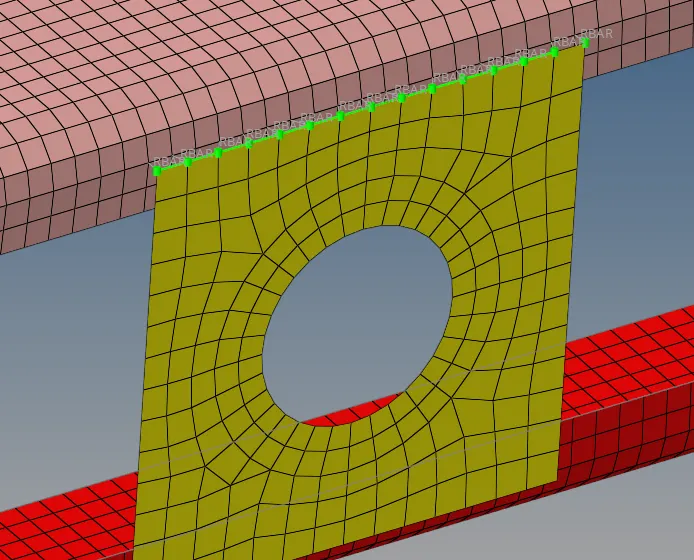
The connection is realized between 'Right_Rail_1' and 'Right_Rail_2'.
For spot weld with rigid elements go to 1D/2D/3D>connectors>spot, ad select 'rigids' under type option.
Rest all procedure is same as followed for any spot weld connection.
After realizing the connection it can be seen as attached below.
Spot-weld with Spring Elements:
The connection is realized between 'Left_Rail_1' and 'Left_Rail_2'.
For spot weld with spring elements go to 1D/2D/3D>connectors>spot, ad select 'springs' under type option.
Rest all procedure is same as followed for any spot weld connection.
After realizing the connection it can be seen as attached below.
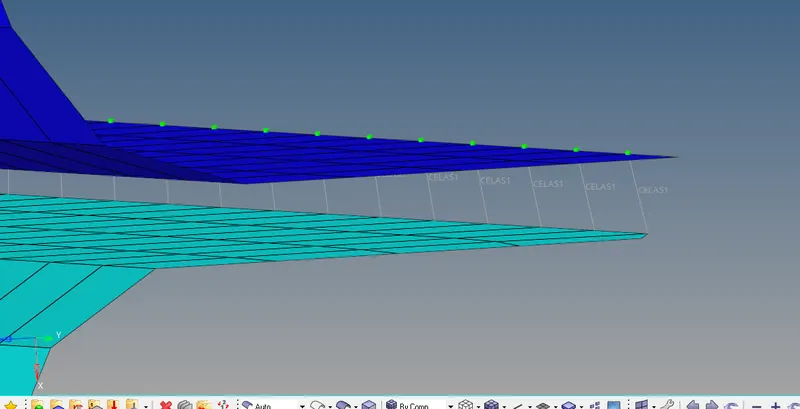
Different connections are employed wherever necessary.
Conclusion:
The use of connections, different types of connections and how to use and where to use is understood.