Week 9-Challenge
Objective:
To Create connector and Attach the various parts of the frame assembly welding model.
- Right_Rail_2 & Front_truss_1:- Seam-Quad(angled+capped+L)
- Left_Rail_2 & Front_truss_1:- Quad elements
- Front_truss_2, Front_truss_1 & Right_Rail_1:- Spot weld with 3 Layers and 5 mm Diameter
- Front_truss_2, Front_truss_1 & Left_Rail_1:- Hexa (Adhesive)
- Rear_truss_2 & Right_Rail_2:- Bolt Connector
- Rear_truss_2 & Left_Rail_2:- Bolt Connector
- Right_Rail_1 & Right_Rail_2:- Spot-weld with Rigid Elements
- Left_Rail_1 & Left_Rail_2:- Spot-weld with Spring Elements
- Rest all the component left Join them with suitable connectors
CAD Image:
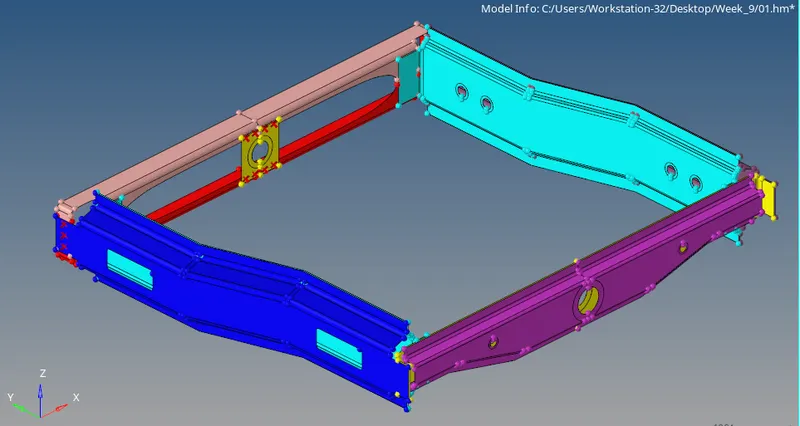
Procedure:
- Initially the Midsurfaced generated Frame Chassis Hypermesh file was loaded.
- And, Step by Step Meshing was performed of 5mm Element Size.
- All the Mesh was Optimized to have less Tria Element.
- After all the Parts were done with meshing, The Connections were define respectively.
Connectors:
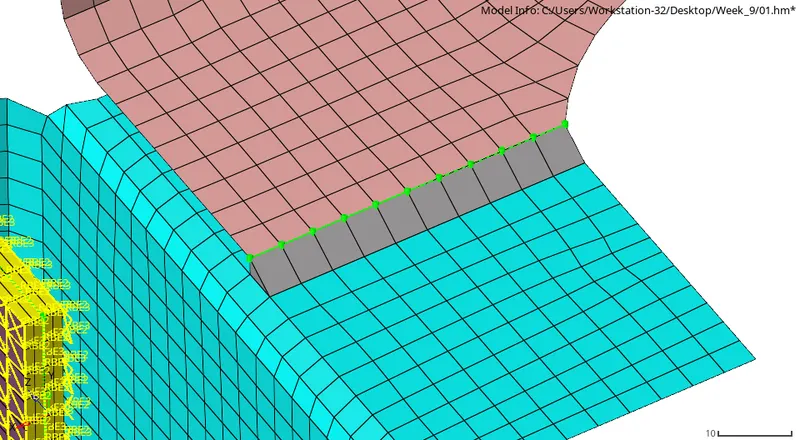
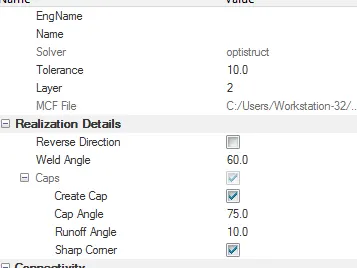
- Right_Rail_2 & Front_truss_1:- Seam-Quad(angled+capped+L) : Under this Two Component mentioned were Connected with Seam Quad Connector, to achieve this the Spacing was kept same as element size i.e 5mm and the tolerance value was kept to 10. At first, the connectors were not realizing but after creating as mesh align with the other comp. mesh the Connector was defined properly.
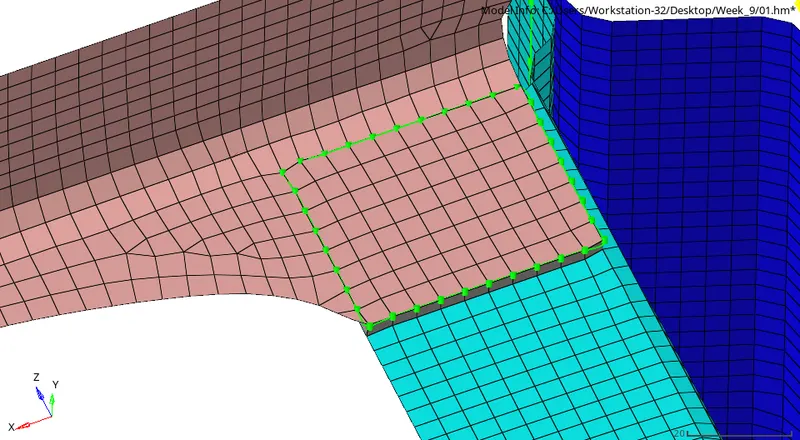
- Left_Rail_2 & Front_truss_1:- Quad elements: For this Connectors the nodes were selected to created a complete Connectors into a box. Here the issue was with transition of connector from one edge to adj. edge. To achieve the connectors here in same manner notes was aligned and and after achieving the proper connector mesh was distorted which was remeshed again.
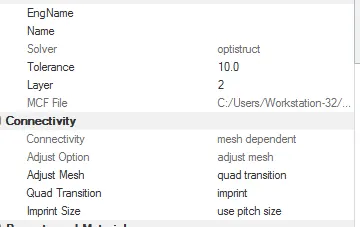
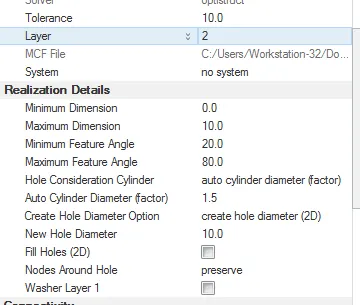
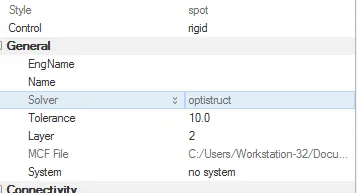
- Front_truss_2, Front_truss_1 & Right_Rail_1:- Spot weldwith 3 Layers and 5 mm Diameter: Creating a Spot weld is fairly easy here only nodes and pitch value is need to define and no. of layers we need. For This model layers were compromised from 3 to 2 as it was not possible. This is due to the Gap Between two of those Component.
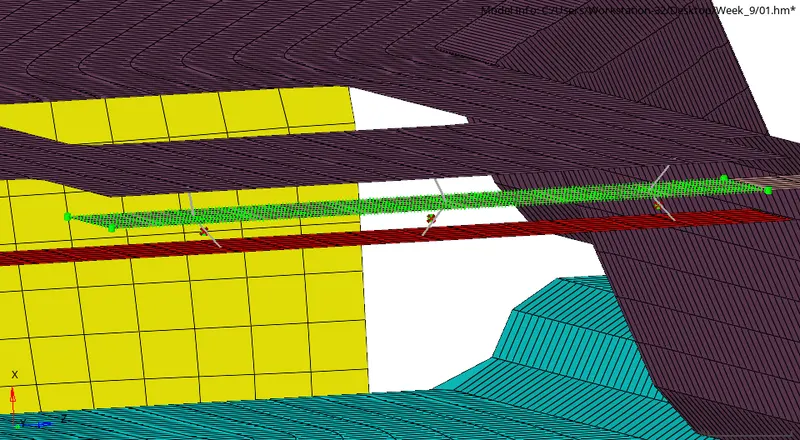
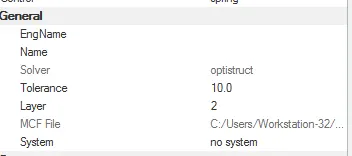
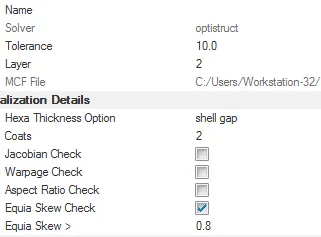
- Front_truss_2, Front_truss_1 & Left_Rail_1:- Hexa (Adhesive): In Adhesive Connector, for selection Elements are selected whereas for other connectors nodes are required to select. Adhesive hexa creates a hexa mesh (Cube) between two element which are needed to be connected. The element are RBE2 and RBE3 types of element and it gets connected to parallel Comp to which the Element is Selected Perpendicularly.
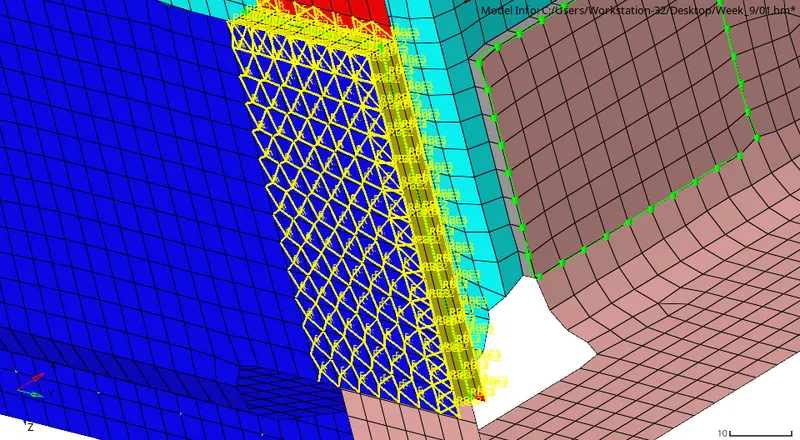
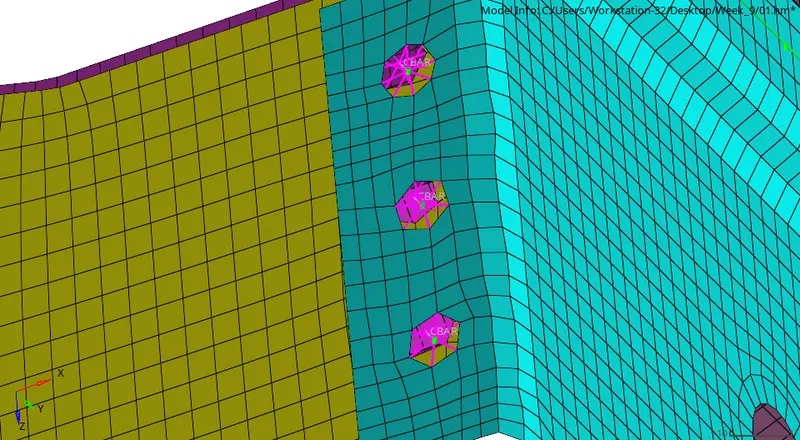
- Rear_truss_2 & Right_Rail_2:- Bolt Connector: Bolt Connector is actually a 1D Connector and the connection it creates is Bolt type RBE2 or RBE3 type of connection. Here in bolt connectors type we can see various types of connectors like Rigid, Spring, with washer and Bolt and bolt nut connection. Here Dia. Needed to diefine and if hole is not created and point is specified by selecting required options, we can create a Hole on the mesh if required with washers as well. And, after creating a satisfied connection it needed to remesh to eliminate the Tria Element.
- Right_Rail_1 & Right_Rail_2:- Spot-weld with Rigid Elements : Similar to previous practice spot weld is created for the mentioned component just the difference is the type of Spot weld is Rigid (RBE2).
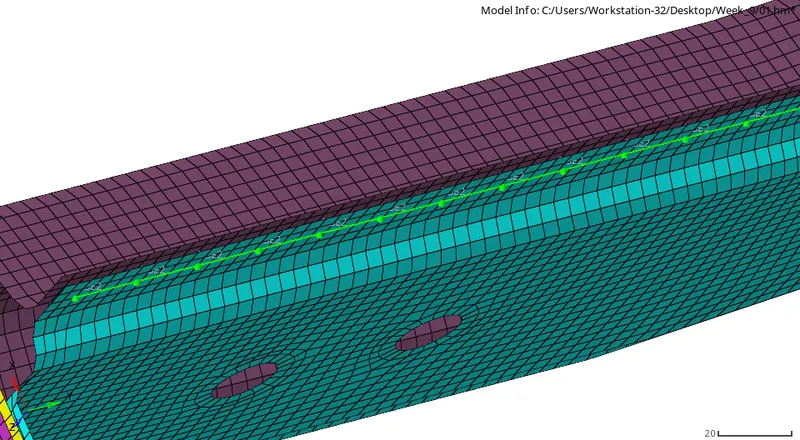
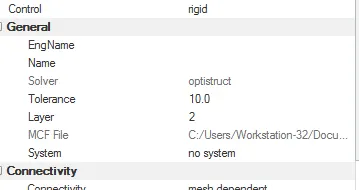
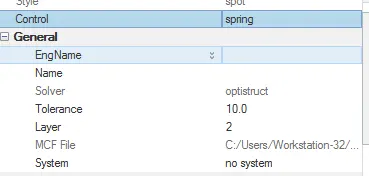
- Left_Rail_1 & Left_Rail_2:- Spot-weld withSpring Elements: Similar to previous practice spot weld is created for the mentioned component just the difference is the type of Spot weld is Spring Type i.e. RBE3.
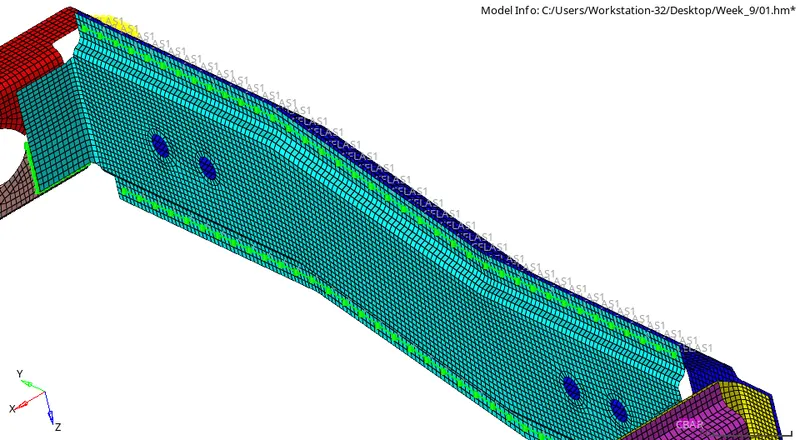
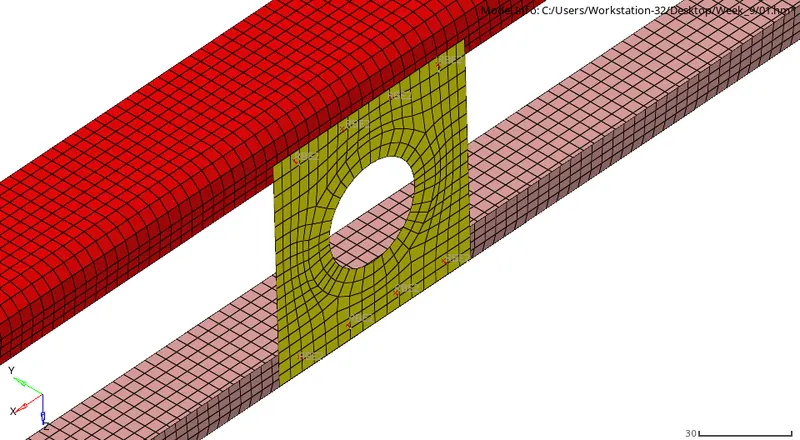
- Apart From this Connection Spot weld was performed between Three Component, Reinforce Plate and Front truss 1 and Front truss 2. It was performed with the same manner as other spot weld connection with rigid RBE2 Connectors.
Conclusion:
In this Challenge we learned about various types of connectors which are required to connect / represent the type of connection between two components. This is also essential FEA Analysis as it defines the accurate results.