Week 9 - Challenge 1 - Base Bracket Design
There are various bracket base designs all in an attempt to optimise the mechanical bond between the bracket and the adhesive. The design of the bracket base adhesive pad has been found to be a significant factor in mean shear bond strength.
AIM :
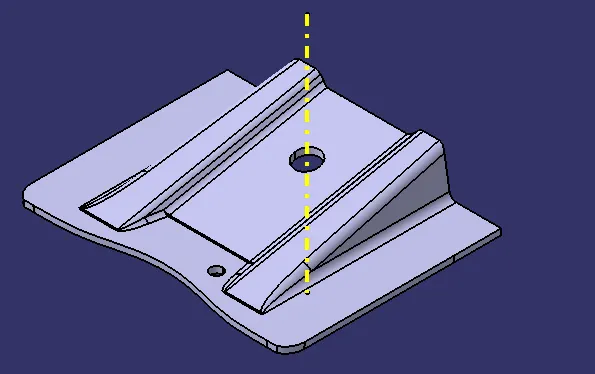
To create the Base Bracket Plastic component through the given Class-A surface.
OBJECTIVE :
- To make sure that the model meets the requirements of the draft angle.
- To create the Tooling axis using bisecting method.
- To perform Draft analysis on the given Class A Surface.
- To create the required Class B and Class C surfaces.
- To obtain a solid body from the surface using Close Surface feature.
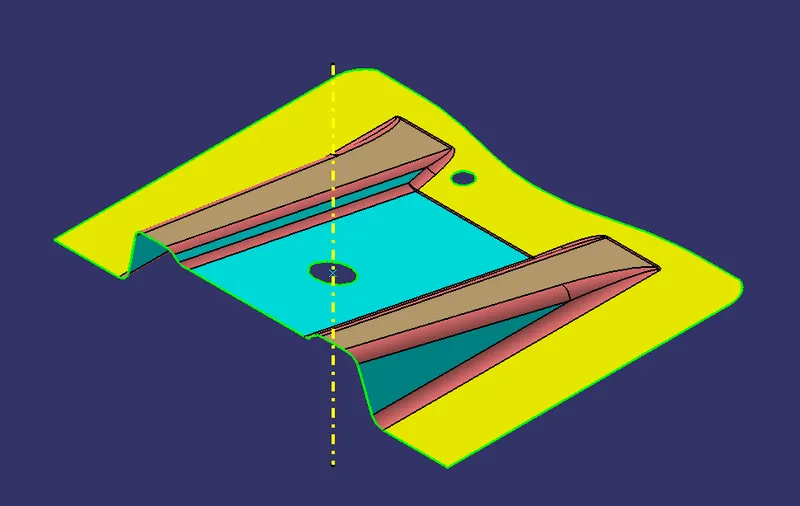
CLASS A SURFACE :
- Class A surfaces are those surfaces which are curvature continuous while providing the simplest mathematical representation needed for the desired shape and does not have any undesirable waviness.
- The Class A surface is the used to begin the design of a product.
- All the further intricacies of the component are created based on the Class A surface.
CLASS B SURFACE :
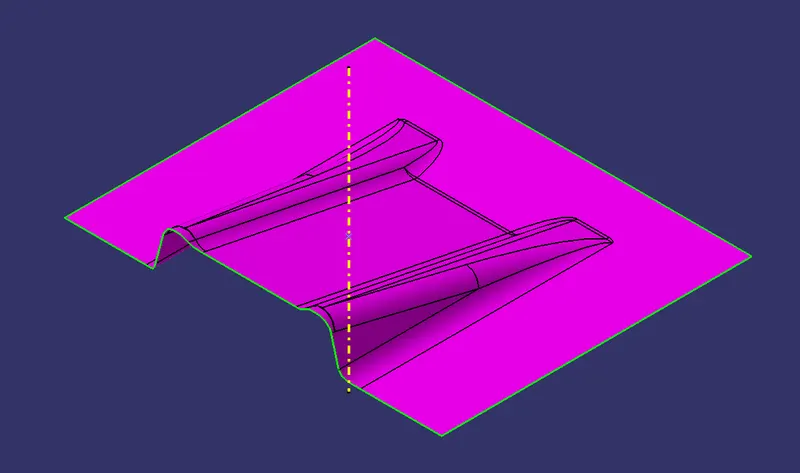
- The Class B surface is created from the Class A surface , keeping the thickness of the component in check.
- The Class B surface resembles an offsetted surface from the Class A.
CLASS C SURFACE :
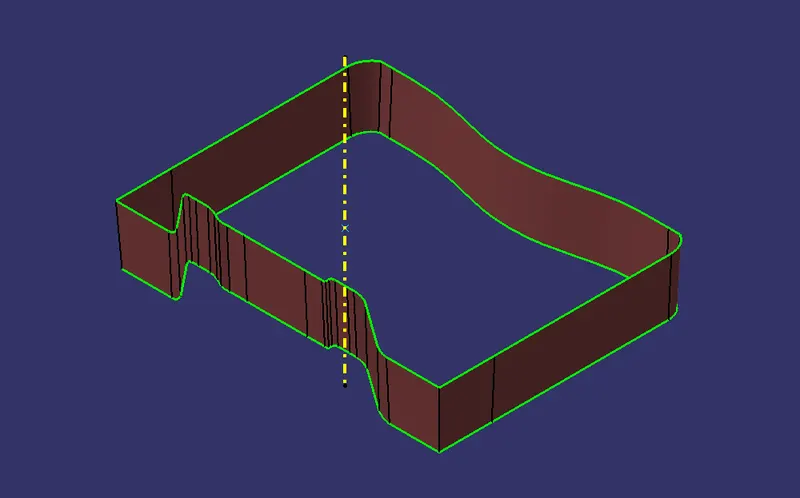
- The Class C surface is used to bind the Class A and Class B surface together inorder to form a closed surface.
PROCEDURE :
Creating Tooling Axis
- Initially the given Class-A surface was imported and checked for any discrepencies in the boundary.
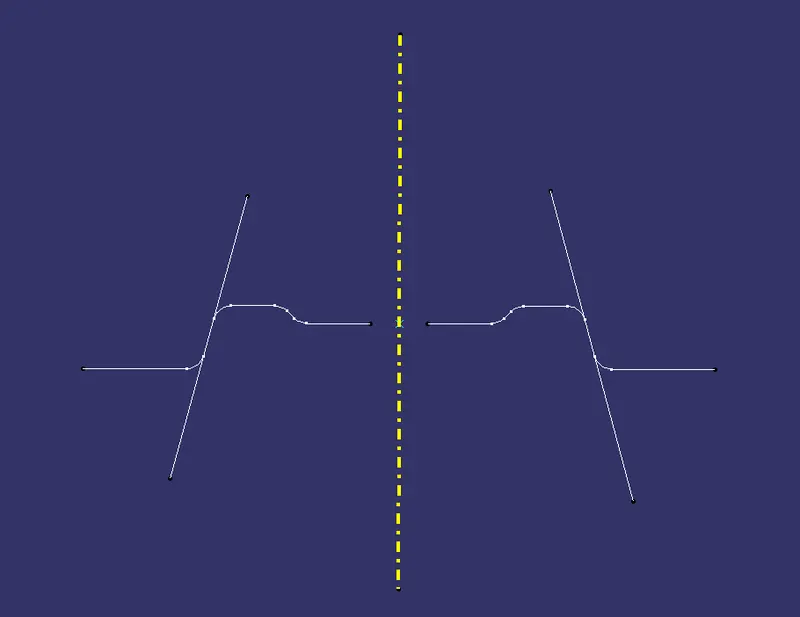
- A dummy Tooling axis was created using a reference point created on a hole of the given surface.
- The lines which might cause trouble during the operation were identified and a reference line was created for each of the identified lines.
- Finally a Tooling axis was created from these two reference lines using Bisecting option.
Draft Analysis
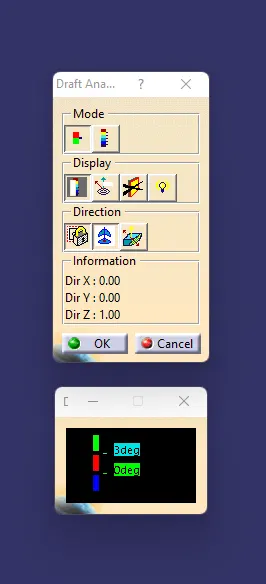
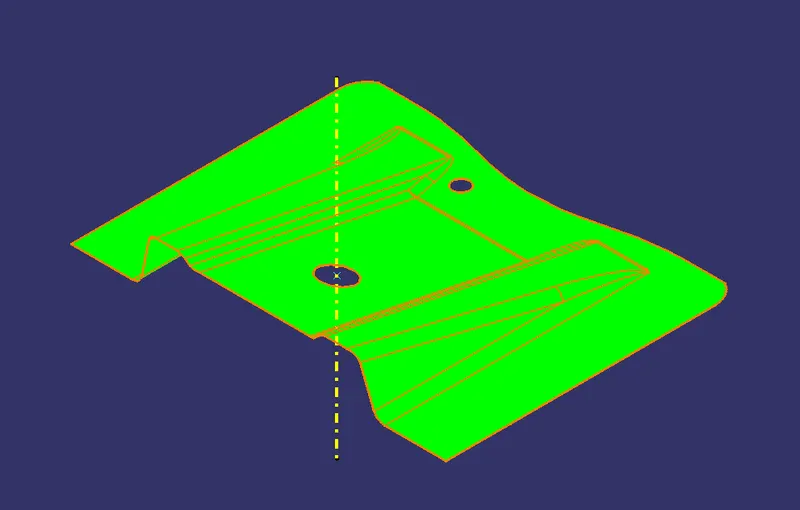
- The Drafting analysis was performed using the Feature Draft Analysis command.
- Using this command the compass was set on the main tooling axis and the Draft angle was changed to 3 degree.
Creating Class B Surface
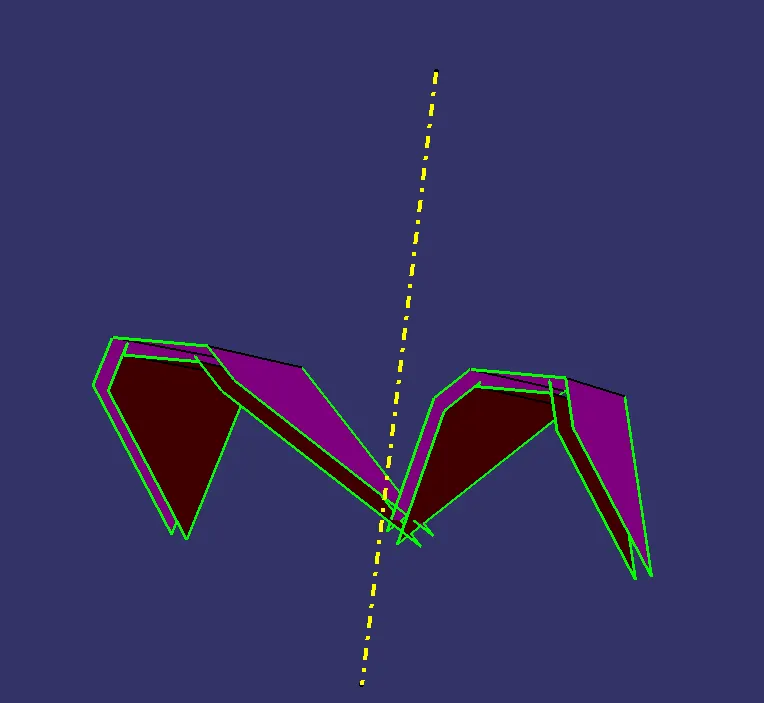
- Initially the ribs were created from the Class A surface.
- The required surfaces were obtained from the Class A surface using Extract command.
- These surfaces were further expanded using Untrim and Extrapolate commands.
- The protuding surfaces were trimmed using the Trim command and a proper continuous surface was obtained.
- The same procedure was followed for the other side aswell.
- These surfaces were offsetted according to the required thickness of the component.
- Further the base and the inclined surface of the component were obtained from Class A in the same manner.
- These surfaces were offsetted accordingly and trimmed with the ribs, forming a proper Class B.
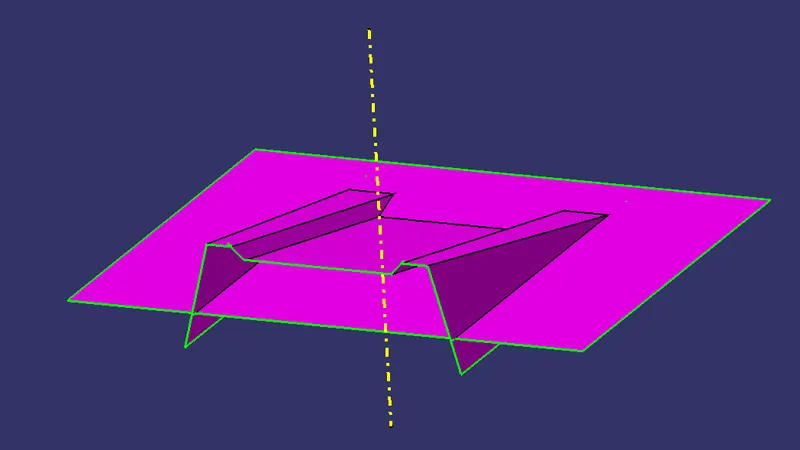
- Finally all the necessary fillets were added to the Class B surface.
Creating Class C Surface
- The Class C surface connects the Class A and Class B surface.
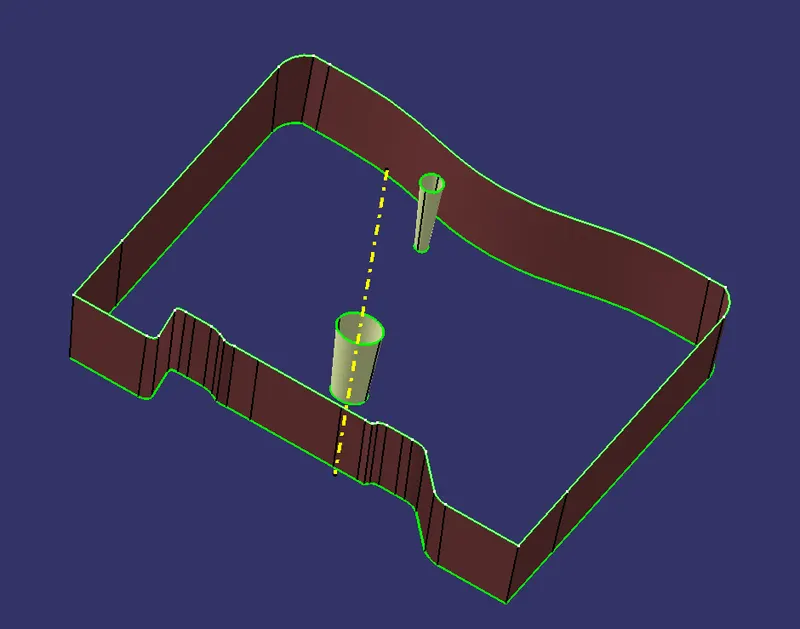
- Initially the outline of the Class A surface was obtained using the Boundary command.
- The the Sweep command was used along With draft direction, with a draft angle of 3 degree.
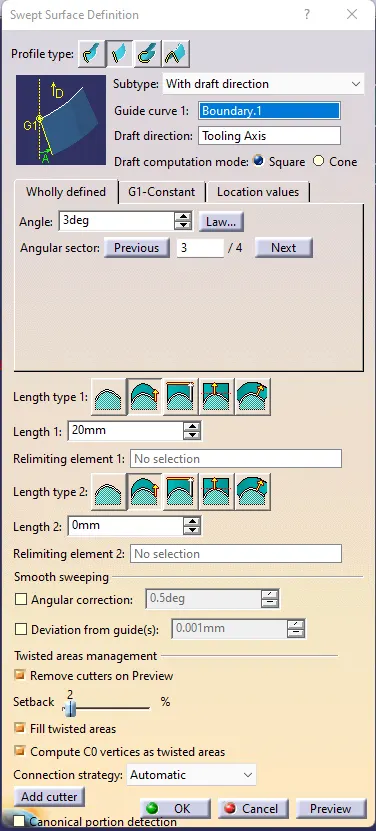
- Further the holes presented in the surface were created in the same manner.
- All the swept surfaces were finally attached to the Class A surface using the Join command.
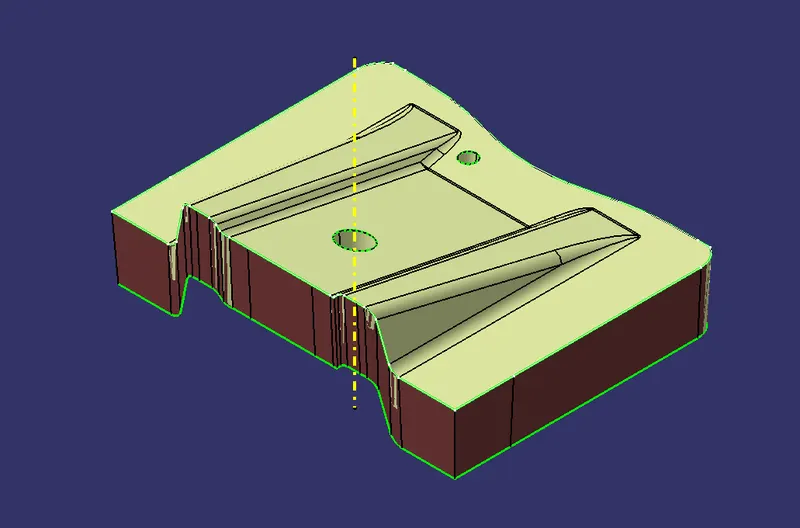
- Finally all the 3 surfaces were trimmed to form a closed surface.
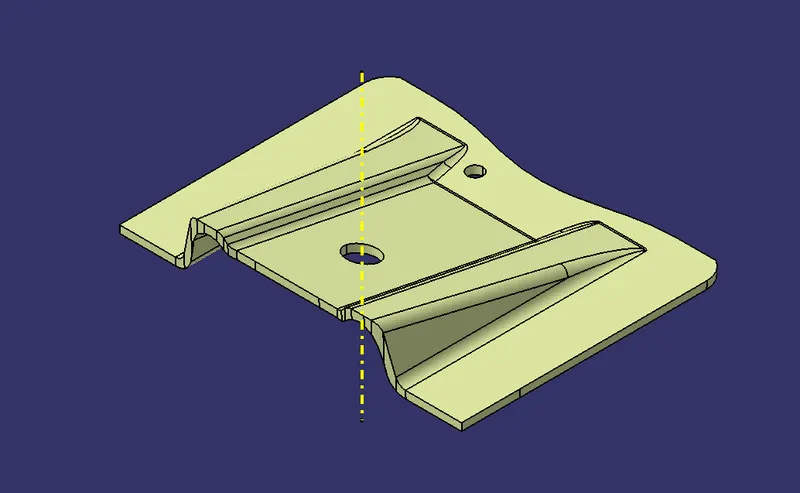
Creating Solid Body
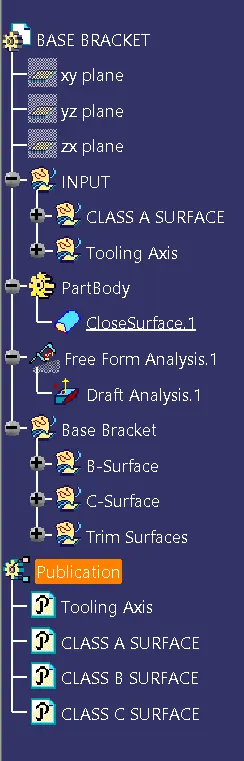
- Using the surface created the solid component was obtained using the Close surface feature present in the part workbench.
- The Tooling axis, Class A, B and C surfaces were published.
MODEL RESULTS :
Feature tree
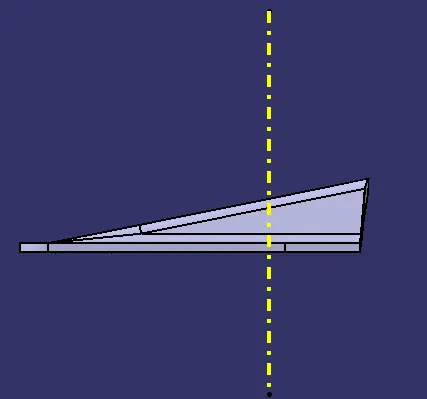
Front view
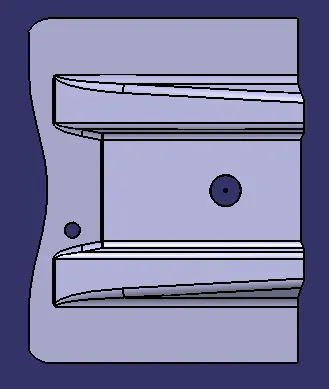
Top view
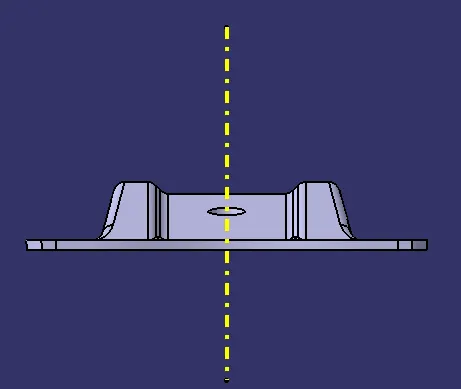
Side view
Isometric view
CONCLUSION :
- The creation of Tooling axis and Draft analysis were performed.
- The solid component was created from the surface geometry.
- The necessary screenshots and files were attached