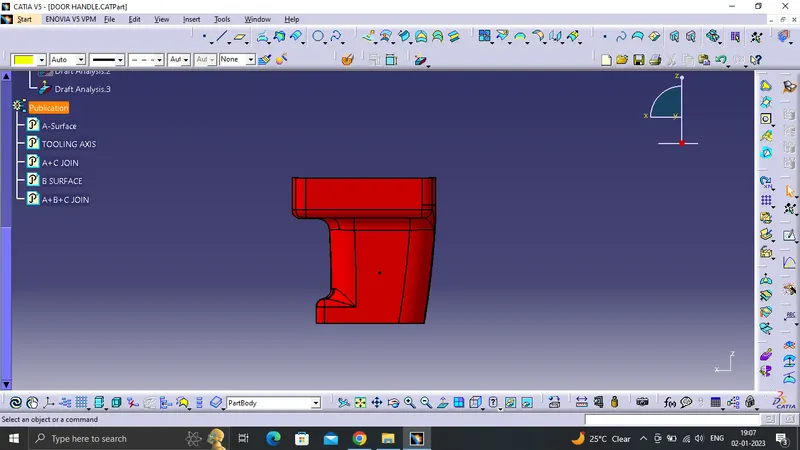
Week 9 - Attachment Feature Creation (Ribs & Screw Boss) - Challenge 1
CLASS A SURFACE
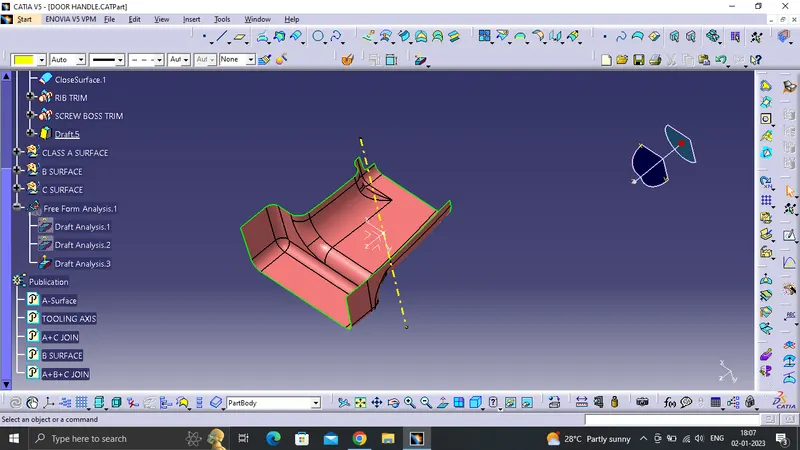
We have been given the Class-A surface and the first thing to do is to make sure that the given surface has no gap in between them. If any gaps found we will use fill command
TOOLING AXIS:-
the best tooling direction for the class-A surface is along y-axis direction. Flat surface on the center part is extracted for creating the tooling axis in y direction, then created a with the point and direction along y axis.
DRAFT ANALYSIS ON CLASS A SURFACE:-
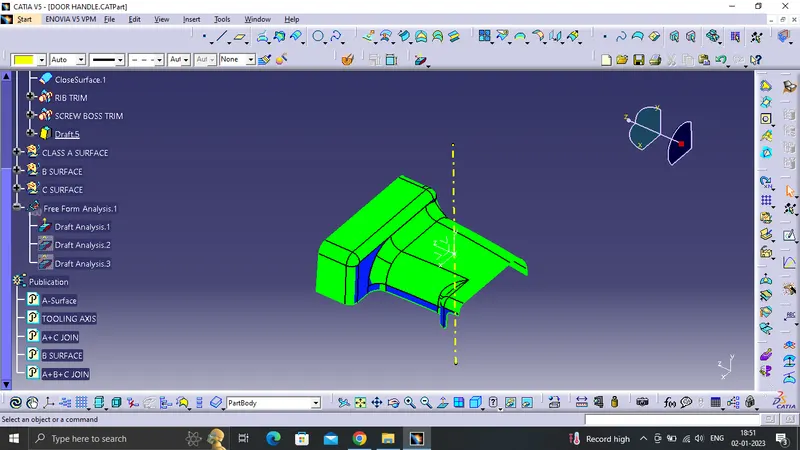
The draft analysis is done successfully on class-A surface with a draft angle of 3 degrees.
CLASS B SURFACE:-
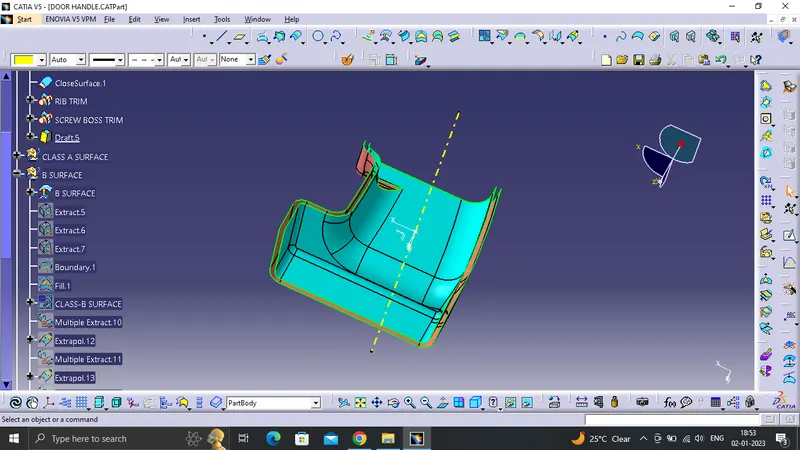
The class A-surface is offseted at 2.5mm downward and we get a class B-Surface with some irregularities.
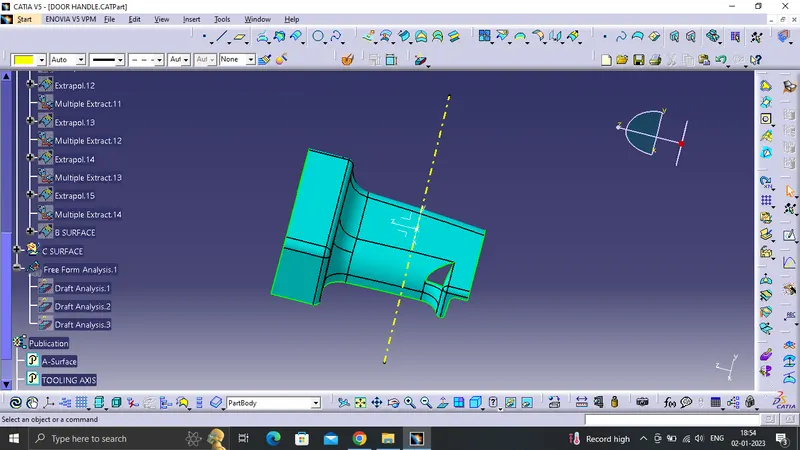
the small missing patch is then fixed using fill command and later joined together.
C SURFACE CREATION
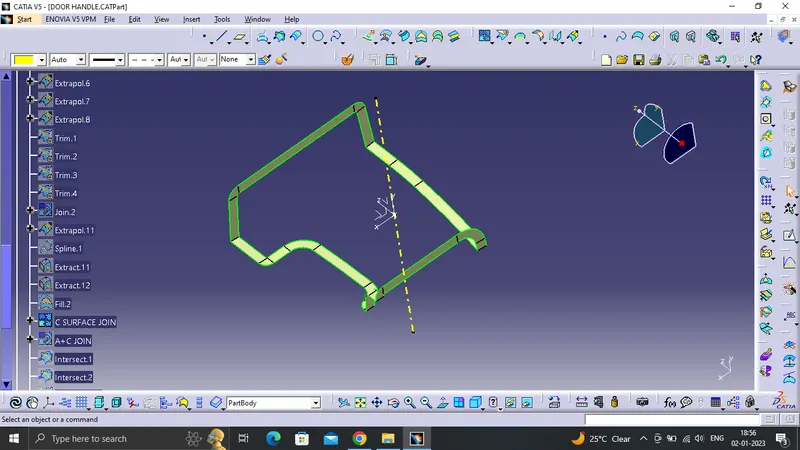
once the c surface is sweeped its joined with class A-surface
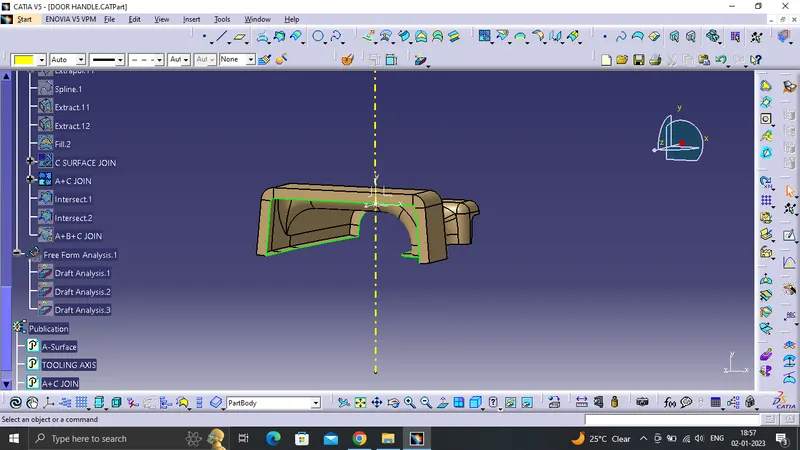
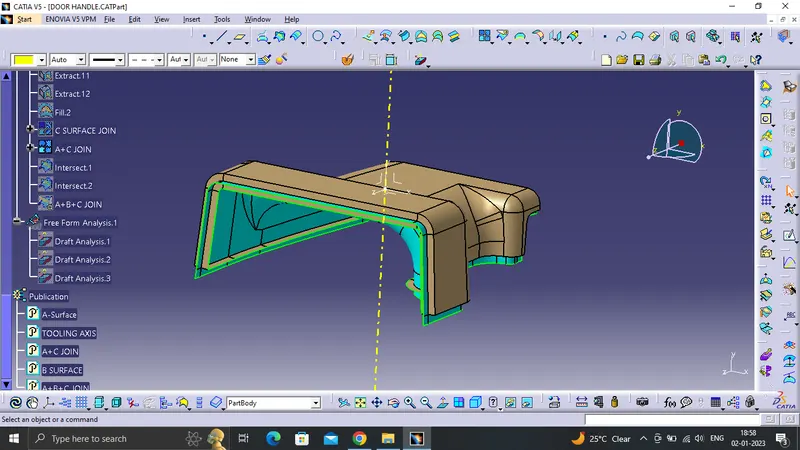
after that the A+C Surface is trimmed with class b surface to obtain a closed body.
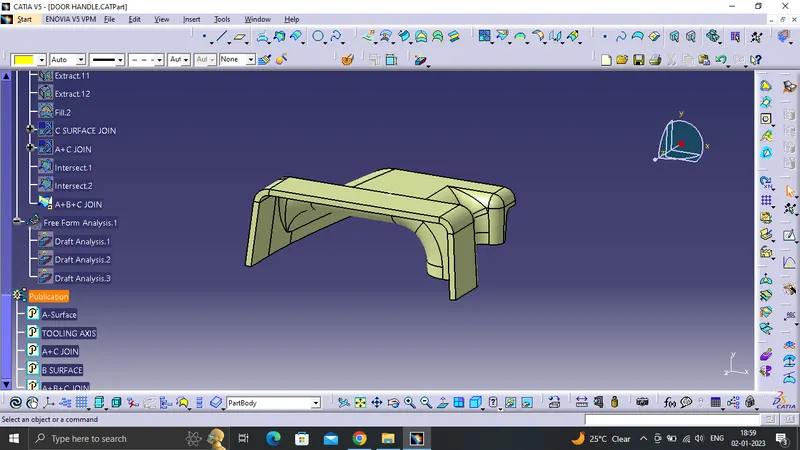
all the 3 surfaces are acquired together now.
After this the complete body is closed using close surface command from the part workbench.
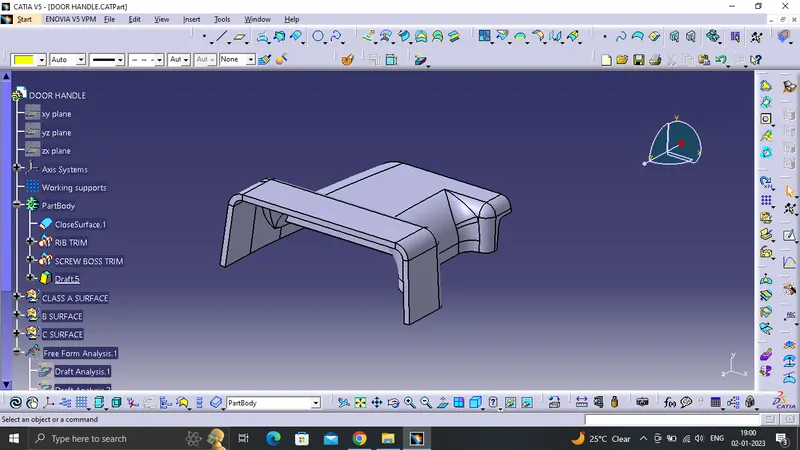
FRONT VIEW:-
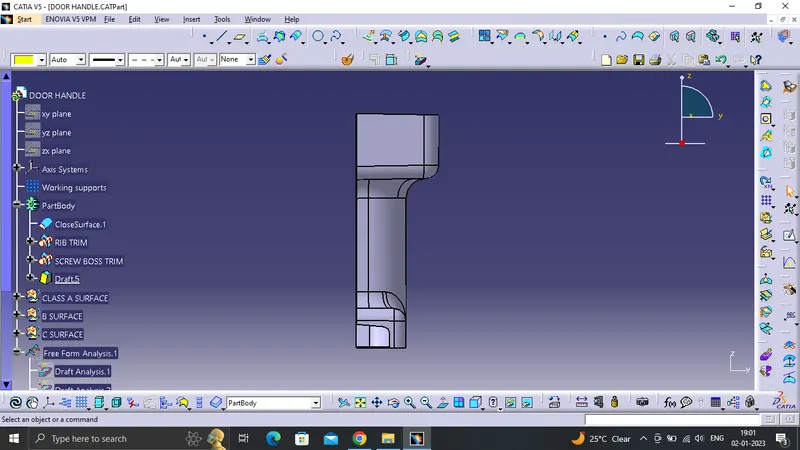
SIDE VIEW:-
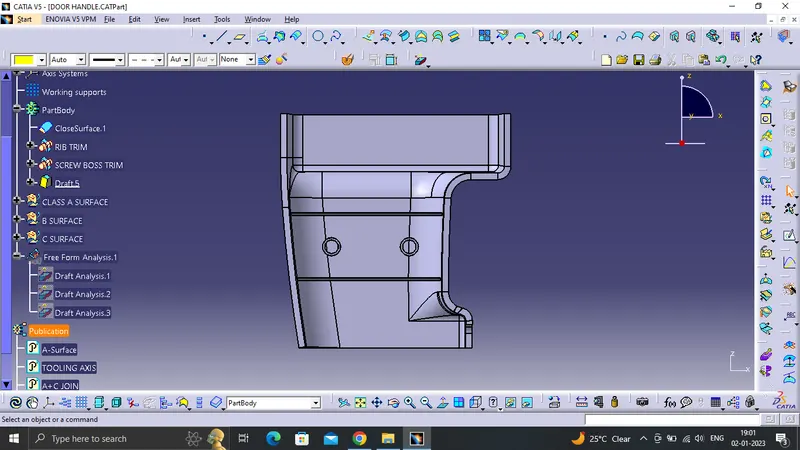
TOP VIEW:-
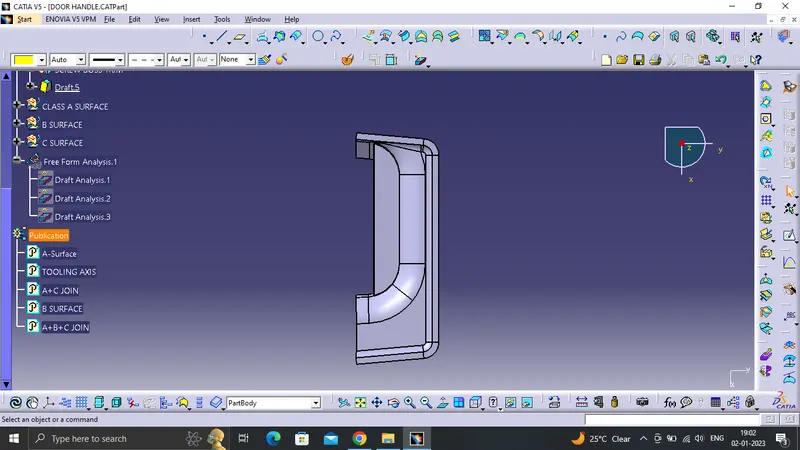
Once the body is closed the required ribs and the screw boss is created by following the design rules
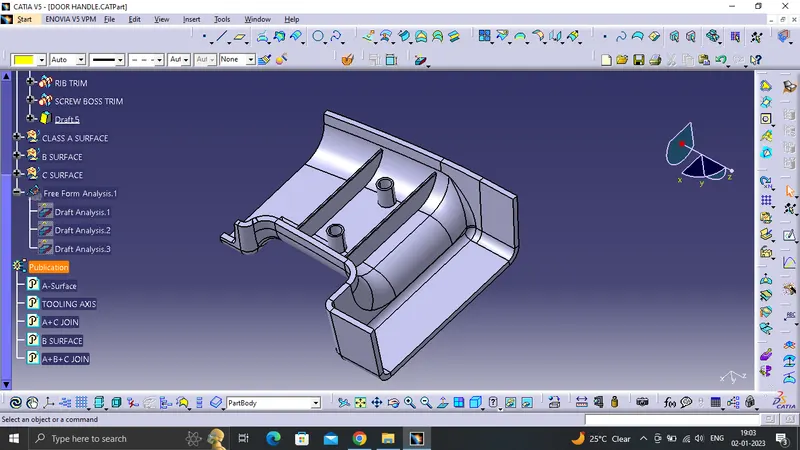
the ribs and screwboss are created on the DOOR HANDLE.
Now a draft analysis will be done on the final component.
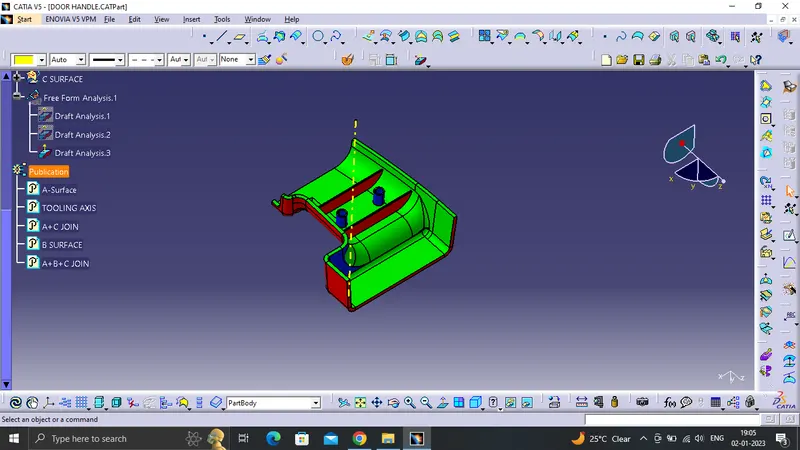
the draft analysis is completed and we have acquired a 3 degree draft angle on the surface with goes well with the design rule and follows it.
FRONT VIEW:-
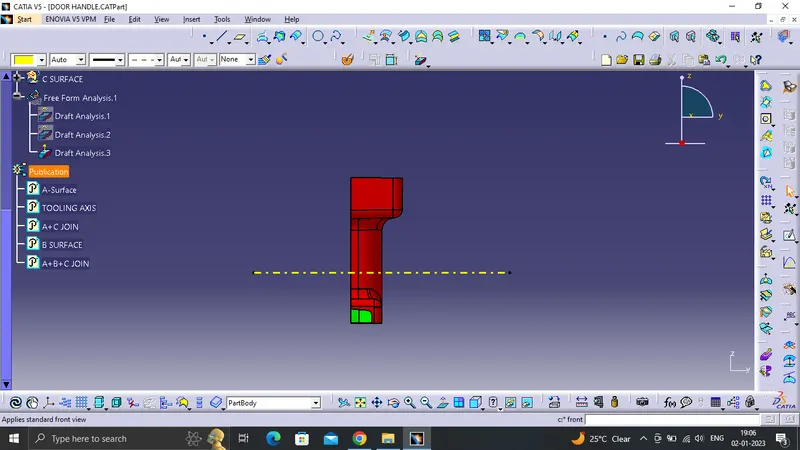
TOP VIEW:-
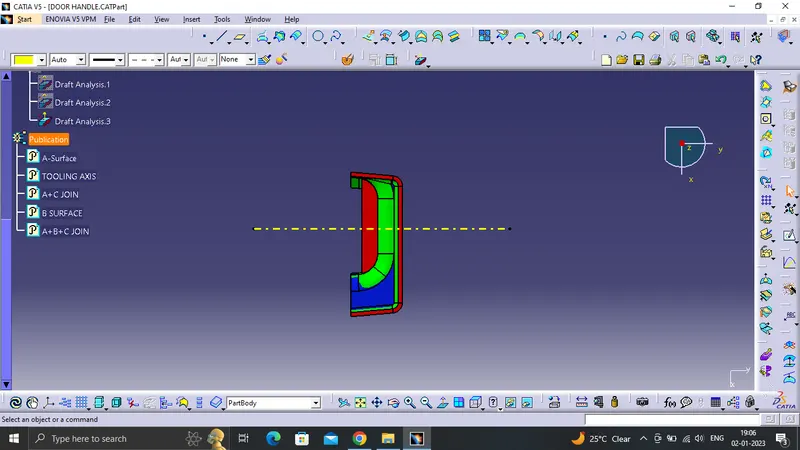
SIDE VIEW:-