Week - 8 - Morphing
Model 1:
Aim: use Morphing techniques that were shown in the video for Model-1 and implement them in the model.
Procedure:
1. Import the geometry
2. do cons resolution by going throu the mesh>perimeter> use 1mm
3. perform topo
4. check orientation and perform orientation if requeired
5. check geometry by going throu checks>geometry>select all required options(single cons)>if there are any errors use select all error and fix all error by fix option.
6. switch to morph model
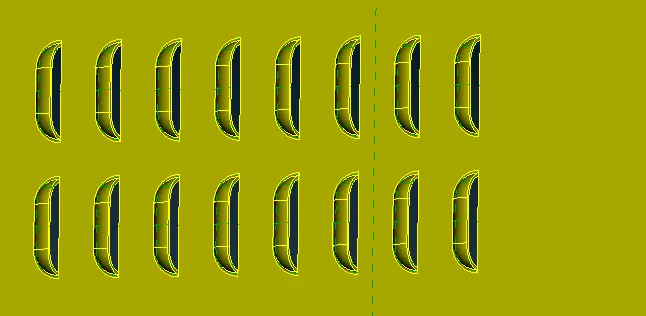
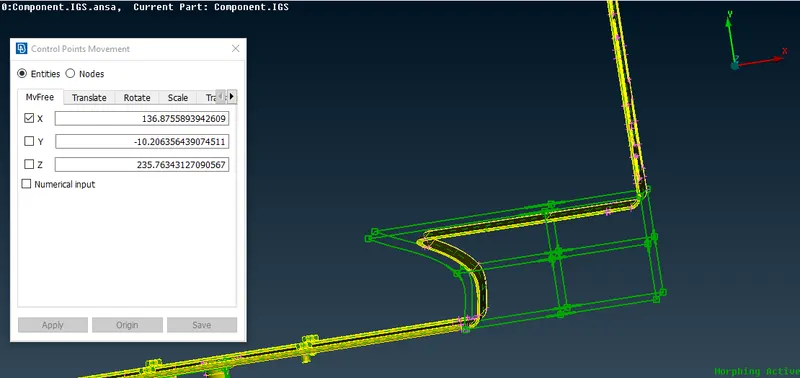
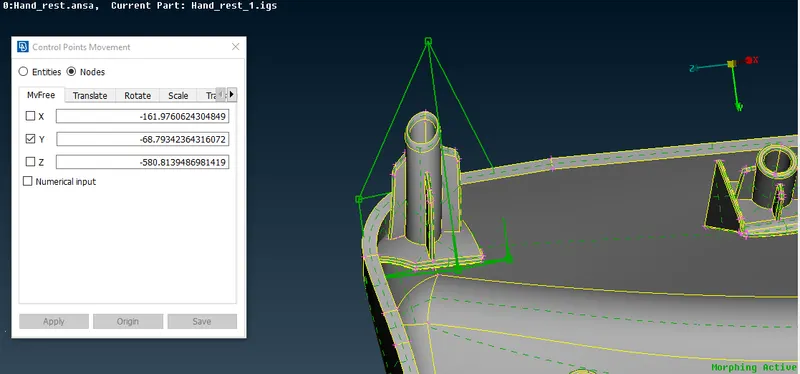
7. now we are going to morph this region.
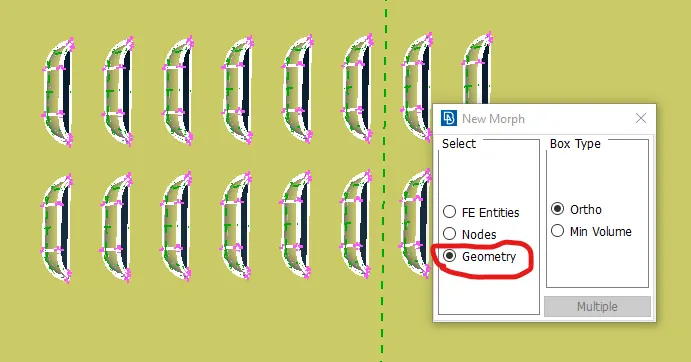
8. Go to new under Morph.deselect unwanted region.followed by middle click twice
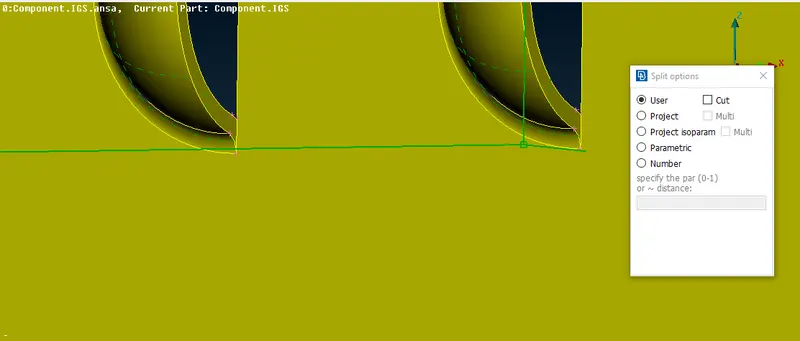
9. new morph region has been created. we need to use split option to morph it from the existing surface
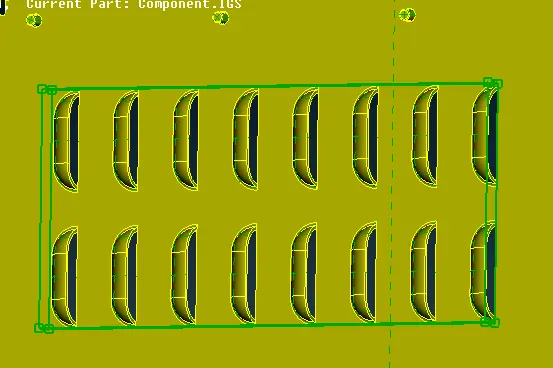
10. now use move option to morph the features
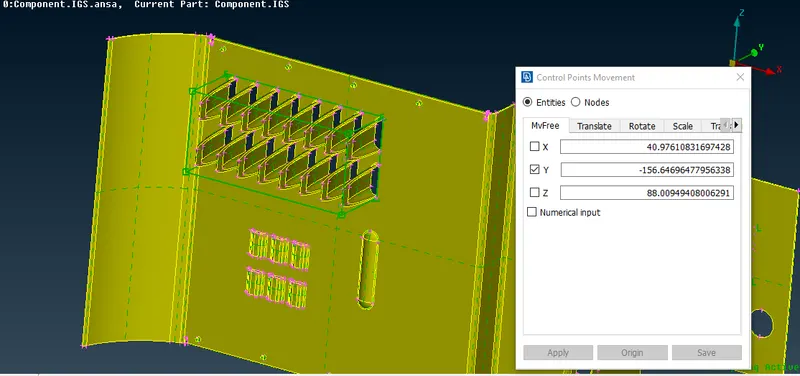
11.similarly othere features can also be morphed in same procedure.
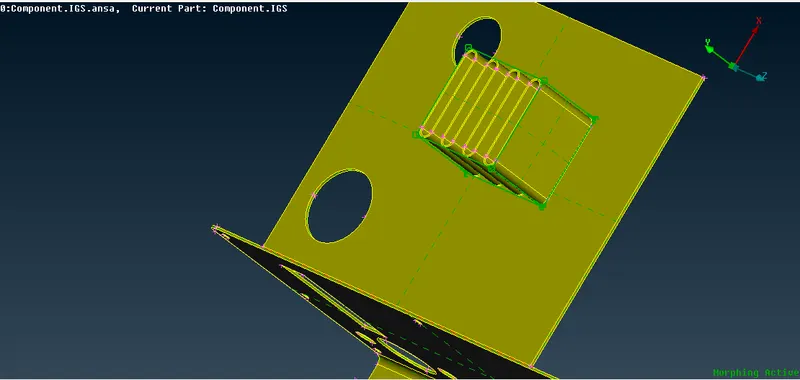
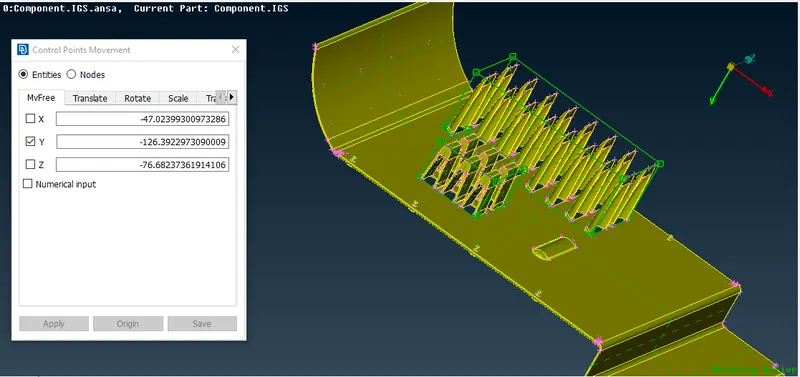
Model 2:
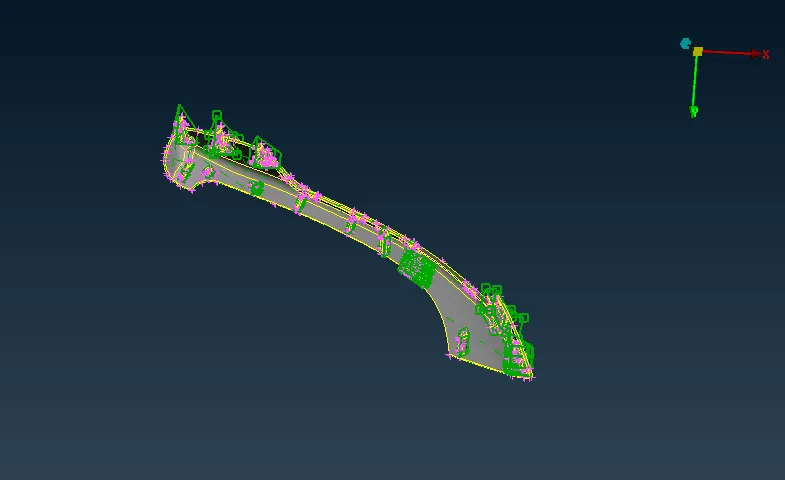
Aim:Perform morphing for the Model-2 and Increase the Height of the Dog houses and Ribs. (Refer Red annotations in the below image to understand what are Dog houses and Ribs)
Procedure:
1. follow the same 1-6 steps from model 1.
2.now we are going to morph this region.
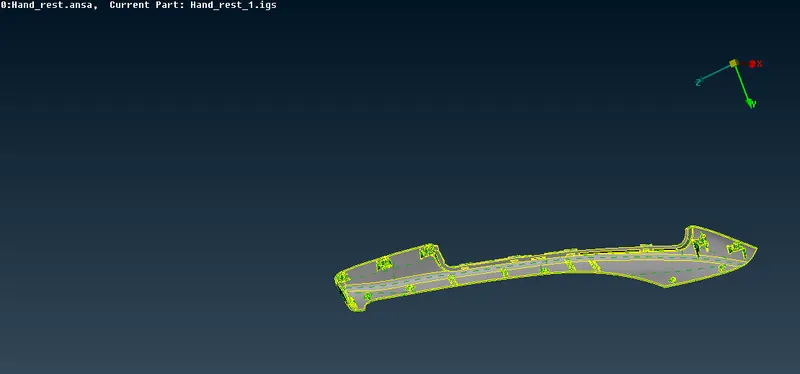
3.select new and create a box selection where we need to morphing
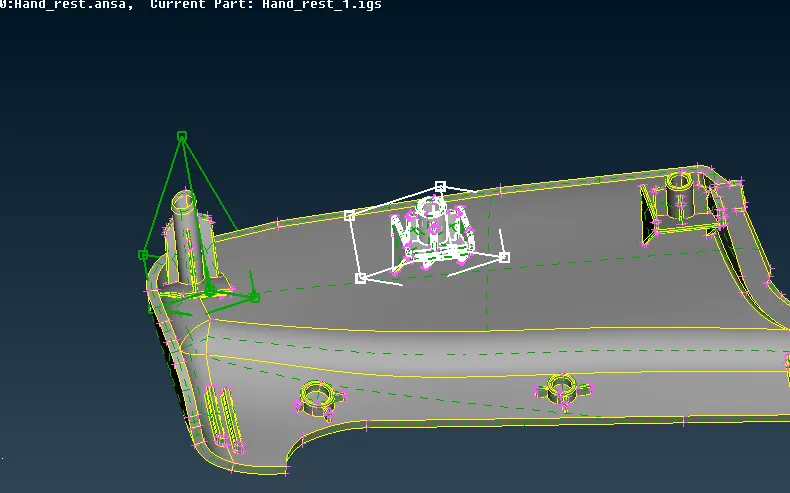
4.use split option and followed by move option.
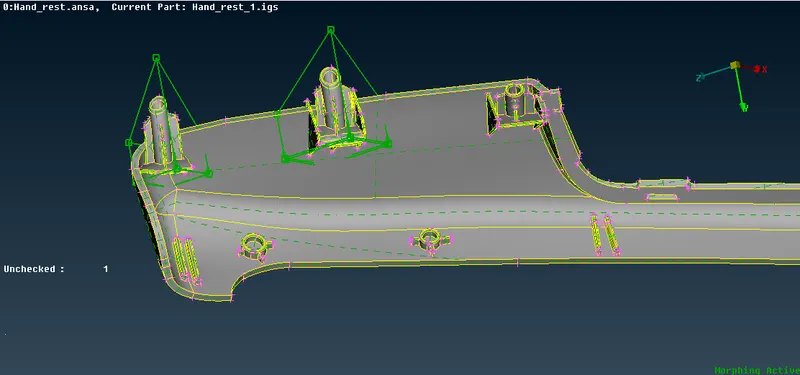
5. follow similar steps for all Dog houses and Ribs
Concept of morphing:
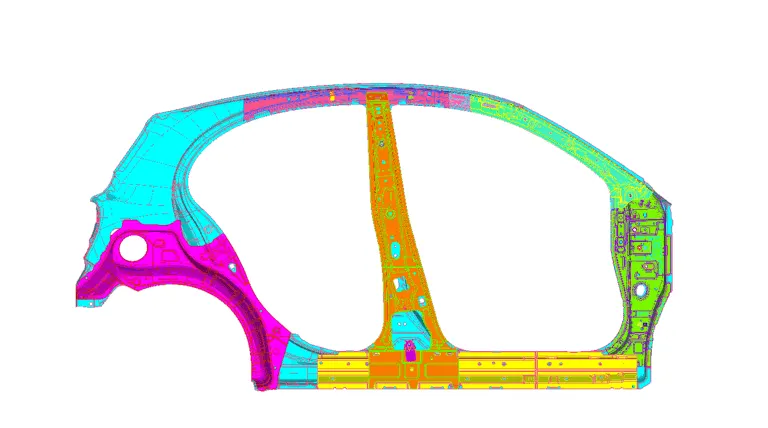
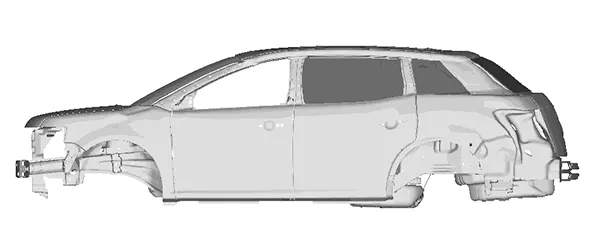
Morphing is widely used in the automotive industry where it can be used to match styling, upper body to carry over under body matching, morphing sedan to station wagon or SUV etc. can be executed rapidly.
Learning outcomes:
1. learned abot the tools in Morph and concept of Morph
2. learned about the applications of Morph and when it is been used.
Conclusion:
Both the models are morphed as mentioned in the challenge and the final outcome are kept as reference.