Week - 8 - Morphing
AIM:
To Perform Morphing for given models and Increase the height of the Dog houses and Ribs.
THEORY:
Morphing:
Morphing is a special effect in motion pictures and animations that changes (or morphs) one image or shapes into another through a seamless transition. Traditionally such a depiction would be achieved through dissolving techniques on film. Since the early 1990s, this has been replaced by computer software to create more realistic transitions. A similar method is applied to audio recordings in a similar fashion, for example, by changing voices or vocal lines.
Use of Morphing:
Typically, morphing has been used as an animation tool for cinematic special effects (Wolberg, 1990). The term morphing is used to describe the image processing technique in which metamorphosis is specified that transforms one image into another.
PROCEDURE:
MODEL-1:
- First, we want to import the given model by using the File>Select the model and click the open option. The selection process is shown as below,
-
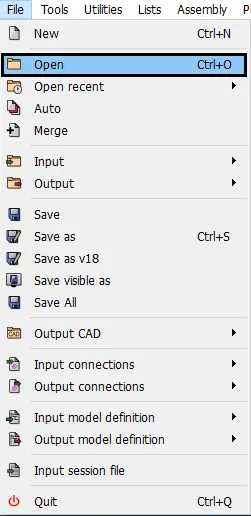
Fig: Open option
- Now the model will appear in the graphical area that is shown below,
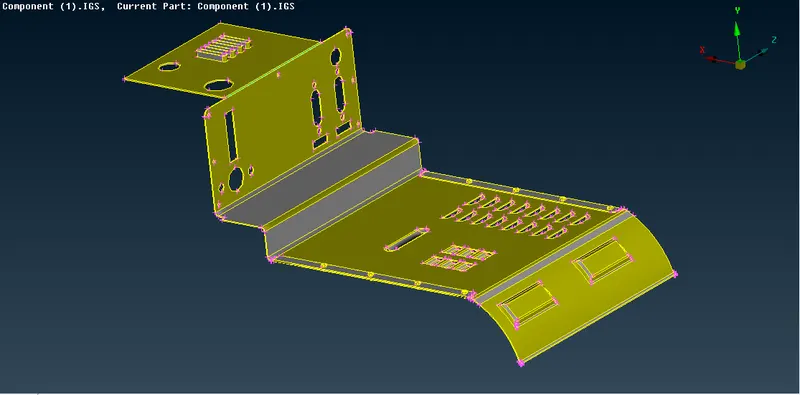
Fig: Imported CAD Model
- After Importing CAD Model, Switch to the Morph Module.
- Then select Boxes>New>Ortho option and select the FE Entity and Set Geometry and Box type as Ortho and create a box. The selection process is shown as below,
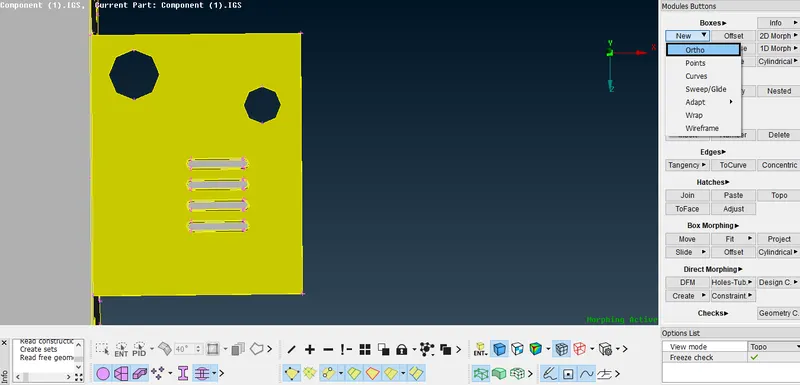
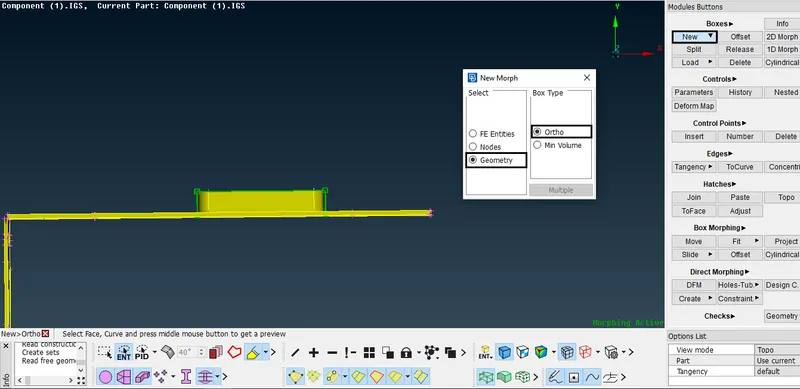
Fig: Creating a Morph Box
- After confirming the box type select the Box Morphing>Move option and Select the Box points and move in x,y,z direction to morph.
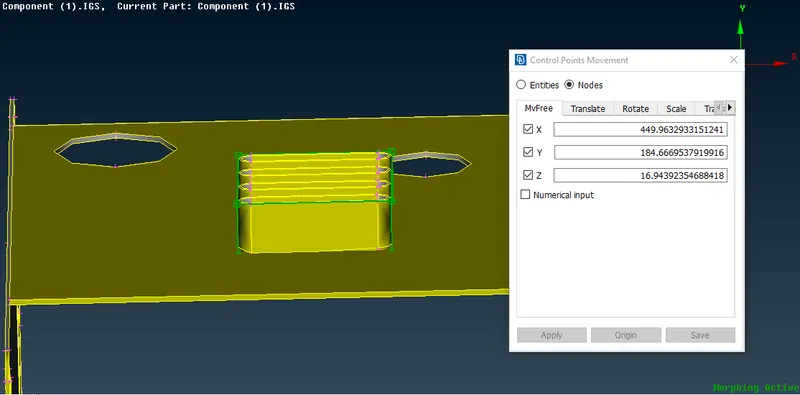
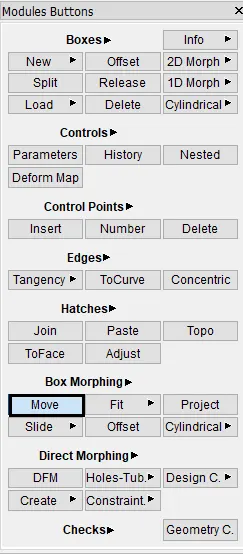
Fig: Morphing
- After Adjusting the Geometry, click the middle mouse button to change the shape of the geometry.
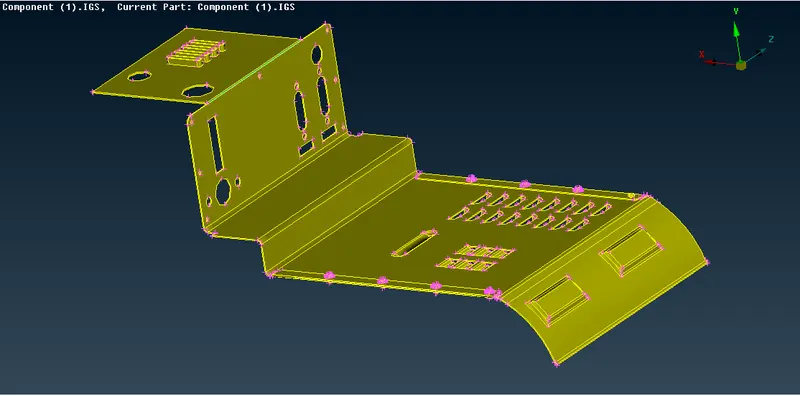
Fig: Before Morphing
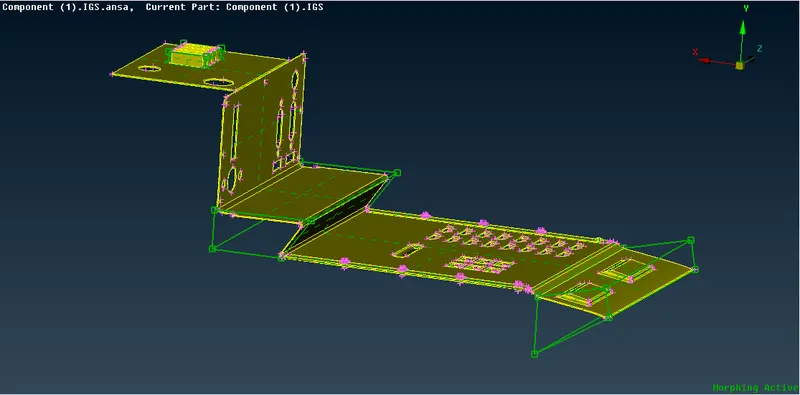
Fig: After Morphing
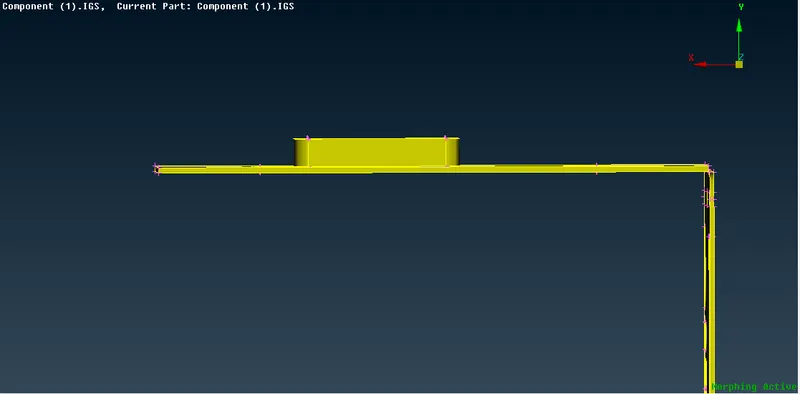
Fig: Before Morphing
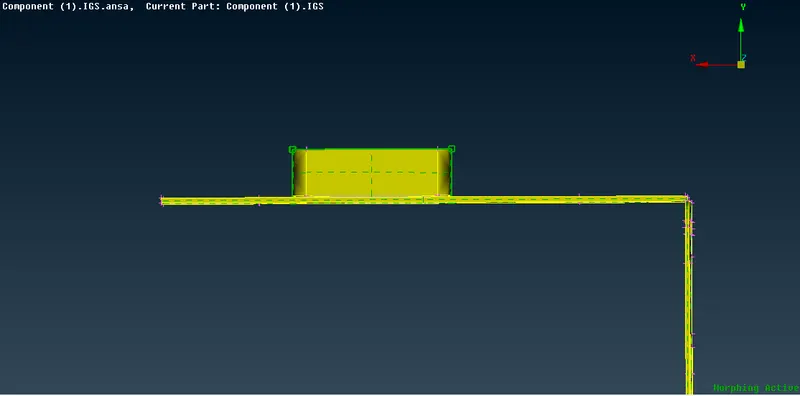
Fig: After MorphingMODEL-2:
- The same process for model-1 has been followed in model-2 also first import the CAD Model by using, File>Open option.
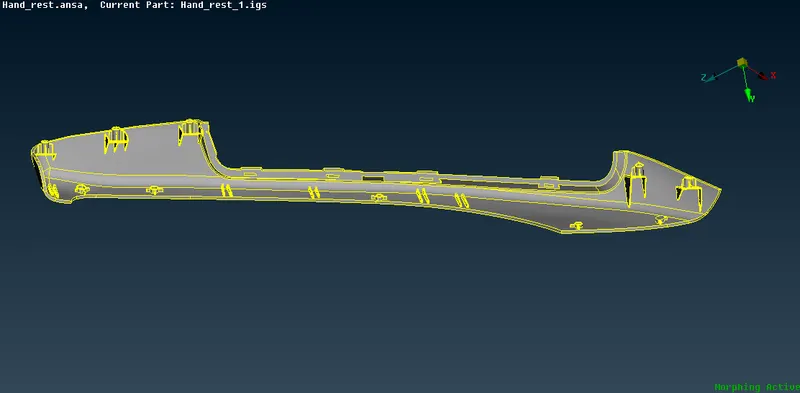
Fig: Imported Hand Rest Model
- After Importing CAD Model, Switch to the Morph Module.
- Then select Boxes>New>Ortho option and select the FE Entity and Set Geometry and Box type as Ortho and create a box. The selection process is shown as below,
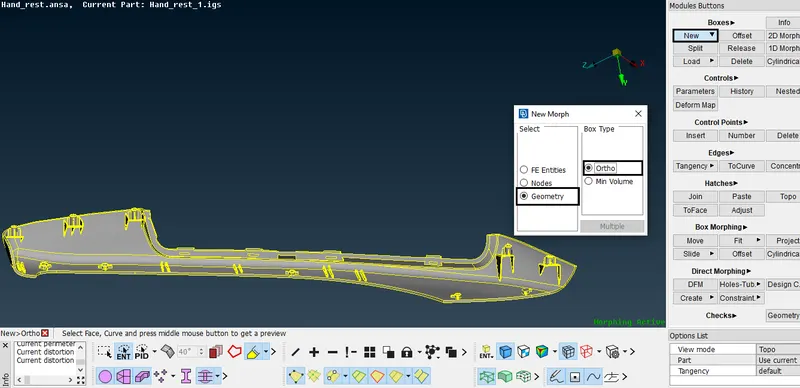
Fig: Creating a Morph Box
- After confirming the box type select the Box Morphing>Move option and Select the Box points and move in x,y,z direction to morph.
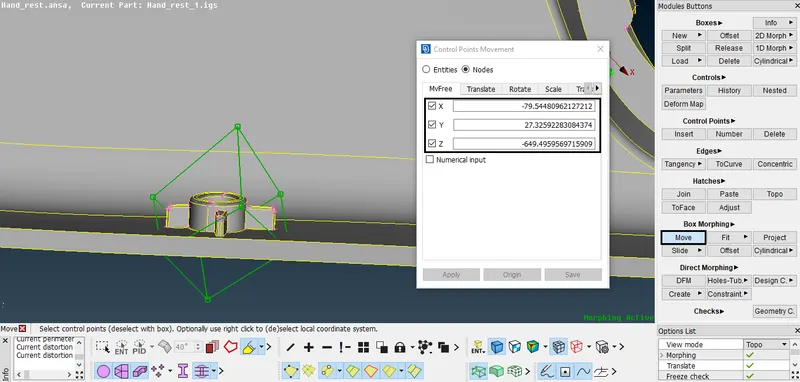
Fig: Morphing
- After Adjusting the Geometry, click the middle mouse button to change the shape of the geometry.
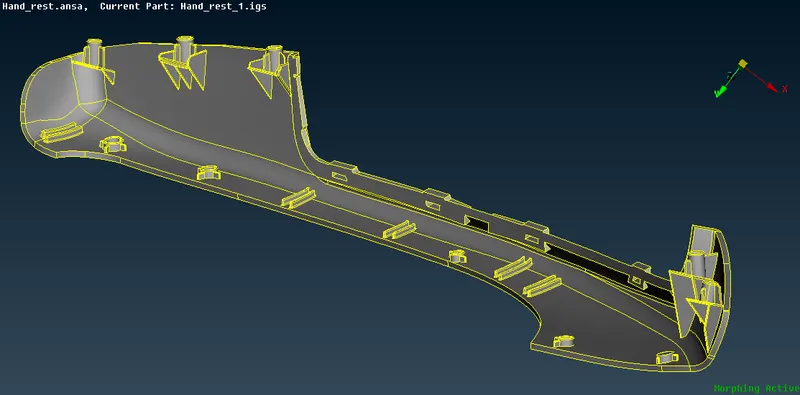
Fig: Before Morphing
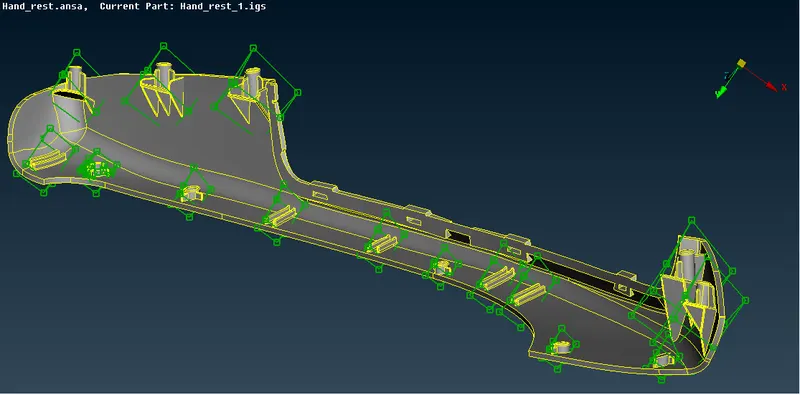
Fig: After Morphing
APPLICATIONS OF MORPHING:
- Morphing is a geometric interpolation technique that is often used by the animation industry to transform one form into another seemingly seamlessly. The morphing technique can be a powerful tool for form design and as such can be a useful addition to the armory of product designers.
- More recently, the morphing technique has become a significant tool of computer graphics animators by providing an effective means of producing a seamless sequence of forms. It is used to display a smooth transition between two models by inserting a sufficient number of interpolated models between them.
- Additional aeronautical applications
include morphing components in engines and power plants. For many morphing droop-nose designs, an aerospace-grade fiberglass prepreg material was used as the skin material given its high flexibility.
LEARNING OUTCOMES:
- From this assignment learned to do Morphing in geometry and increased the height of the dog houses & ribs.
- Studied about Morphing, Use of Morphing, and application of Morphing in Industries.
RESULT:
In ANSA, Box Morphing has been done for the given geometry and increased height of the Dog houses and Ribs.