Week 8 - Challenge 6 - Core & Cavity Design
yyyy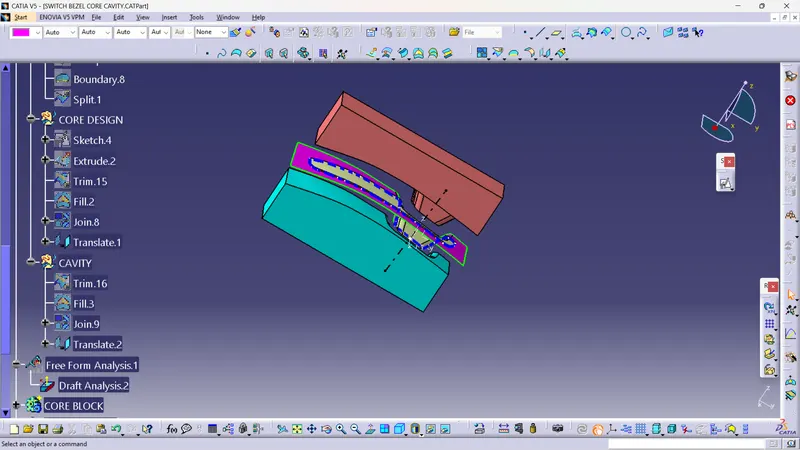
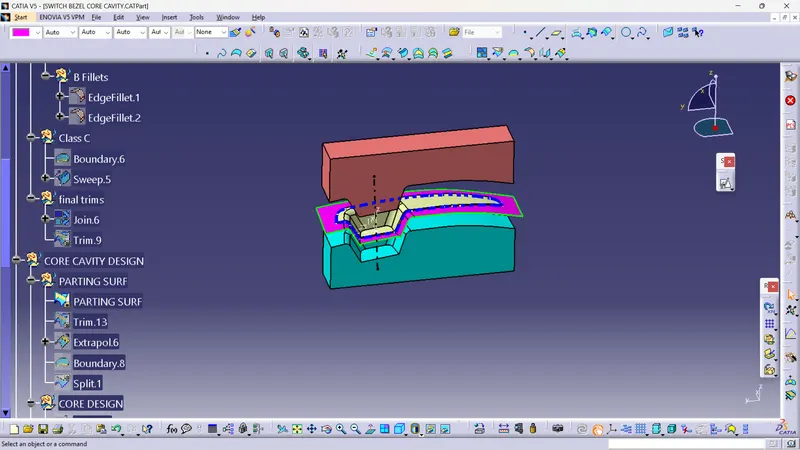
Step-1 Selection Of Tooling Axis
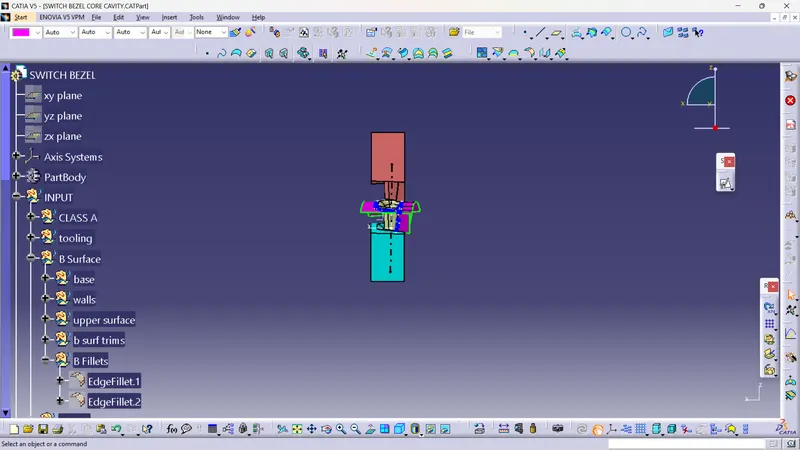
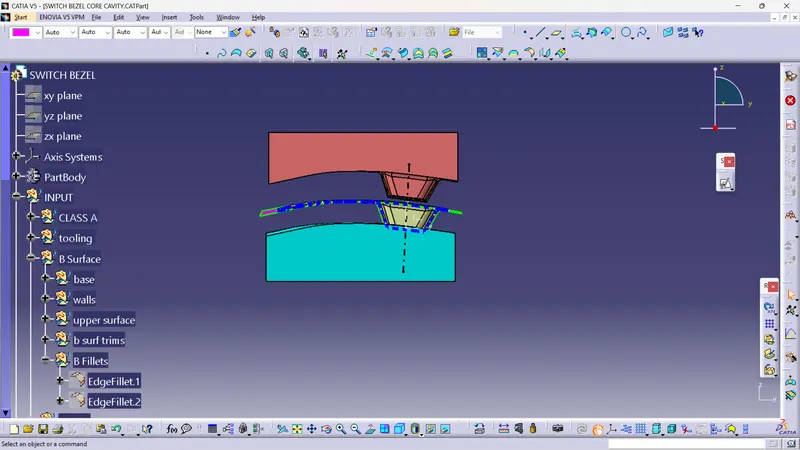
Tooling Axis-The direction in which core and cavity open is tooling axis.
- So after visualising we can say that Z-direction is tooling Axis direction.
- We took made a reference point on lower surface.
- And created a new Axis system.
- Using positioned sketch on YZ plane, we used project 3D element ,project the wall faces on the y-z plane.
- Then two lines were created (as shown below image) and a new bisecting line were made using these 2 lines.
- So this bisecting line clear y direction.
- Using positioned sketch in XZ direction, create a intersection and we create a line which coincide the wall (in z direction).
- Since there is no other wall ,we created a line on point in z direction and which angle 5° with the other line.
- Now bisect the this line with previous bisecting line(line that was clear y direction).
- So bisector of these 2 lines will be our tooling Axis.
Step- 2 Draft analysis for CLASS A -Surface
- Insert > Analysis > Features draft analysis
- Make sure view mode Customization to Material mode
- Now go to direction, and click 2nd option.
- Pick the compass and align it with the tooling Axis and click on the lock .
- Now click on the class A surface,we will see a green colour surface.
- Since our class A is green, so it clear draft analysis.
Step-3 Class-B Surface
For Bezel rest surface.
- Multi extract the upper surface of class A.
- Now you surface untrim.
- Offset it 2.5 mm.
For walls and low base
- Extract all the 4 walls and you surface untrim and offset 2.5 mm, now extrapolate them.
- Use trim operations to join walls and base.
- Now trim above with Bezel rest surface offset.
- Our be surface is ready now just we have to apply fillets on it.
- Apply fillets and B-Surface is Ready.
Step-4 Class-C Surface
- Using boundary operation i extracted ouside boundary.
- Use sweep with draft direction and the angle is 3degree.
- Similary Repeat same step for other side.
- Extrapolate both the sweep and use the trim to join them.
- So our class C-surface is ready.
Step-5-Creating Class A+B+C surface
- Extrapolate Class-A class 0.5mm so that it may join property with class C
- Trim Class A and class C.
- Trim this with class B
- Used close surface
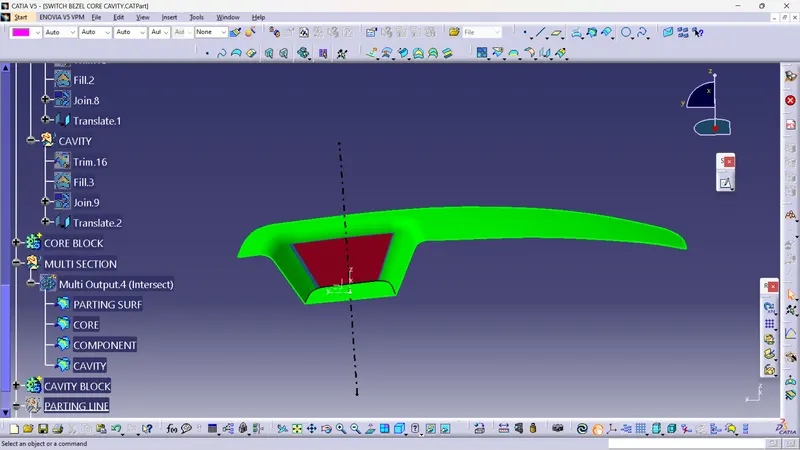
Step-5 Draft analysis report for the final plastic component
Draft analysis tell whether our component is manufacturable or not, if it's green it clears but if it's red means the surface is not clearing.
Step 6 - Parting Surface.
Parting Surface- Parting surface in mold, is area where core and cavity halves are pressed together, so that the there is no leakage of molten solid.
The parting surface should be simple surface because it will improve overall production .
The parting should not be on class A surface, since flash or mismatch will occur at parting surface and it will effect class A surface.
Creating of Parting Surface.
- Using boundary Operation Extract the boundary lines of class A surface.
- Extrapolate class-A 15mm
- Trim this extrapolate with Class C surface.
- Now trim above extrapolate with class B surface
Step 7 -CREATION OF CORE DESIGN
- To design Core and Cavity we need make a sketch.
- Draw a rectangular sketch.
- we need to keep in our mind that the rectangle should be inside parting surface.
- Now extrude it and the direction of the extrude should be tooling axis.
- trim the extrude
- Now fill above surface using fill command
- Join them and use close surface
- Our core is ready.
CORE WITH PARTING SURFACE
Step 8 -CREATION OF CAVITY DESIGN
- As we have extrude the rectangle both the side with the help of that extrude we will design our cavity
- Trim the extrude with class B surface.
- use fill command to fill the below part.
Step- 9 PARTING LINES.
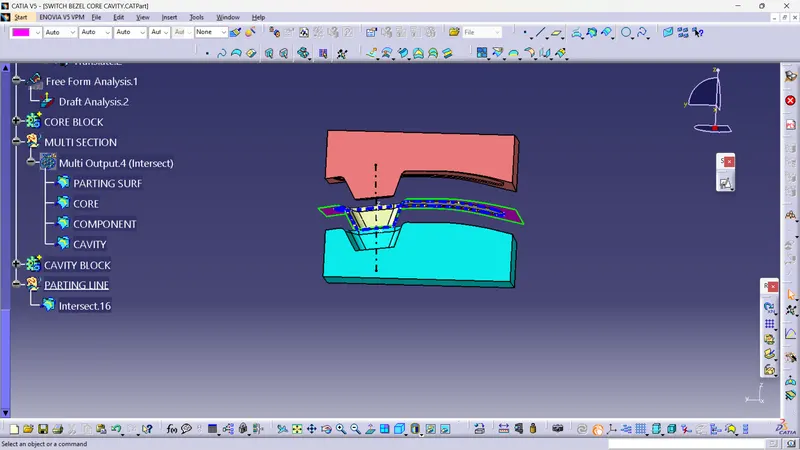
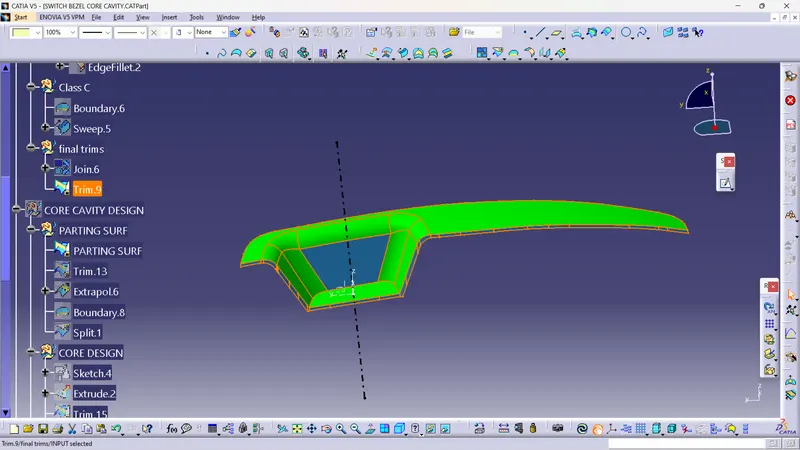
PARTING LINES- We can say parting line is the line where our parting surface intersect with component. In mold it divide core and cavity.
- If we intersect B surface with C- surface , we will get our parting line.
- below yellow lines shows parting lines