Challenge

Week 8 - Challenge 4 - Bumper

Week 8 - Challenge 4 - Bumper

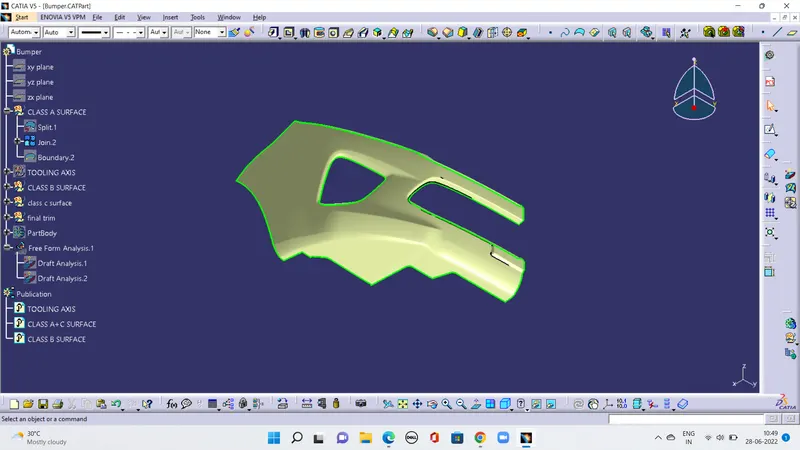
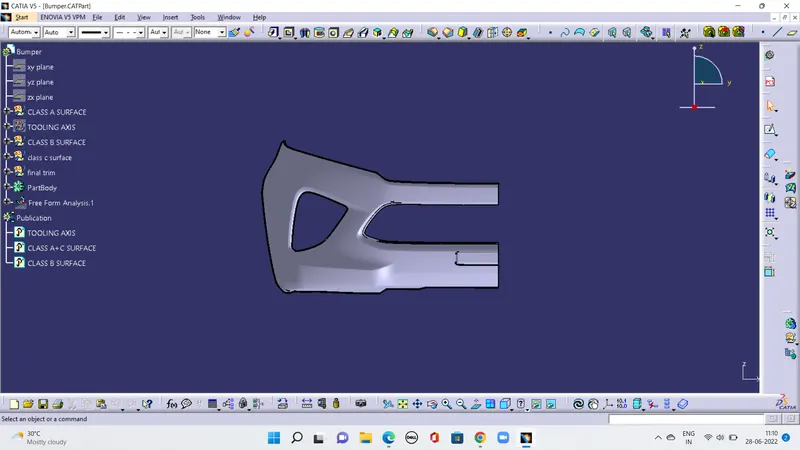
Create the Bumper Plastic component through the given Class-A surface. To begin with, the tooling axis for the given Class-A Surface should be created meeting the requirements of the draft angle and at the end perform the Draft analysis on the model. Take the Thickness of the component to be 3 mm

AIM:

Create the Bumper Plastic component through the given Class-A surface. To begin with, the tooling axis for the given Class-A Surface should be created meeting the requirements of the draft angle and at the end perform the Draft analysis on the model. Take the Thickness of the component to be 3 mm

Tree Structure

  • Ensure Proper Tree Structure
  • Geometrical sets should have a proper name based on the sketches present inside of it
  • All the sketches should be created under the Geometrical set
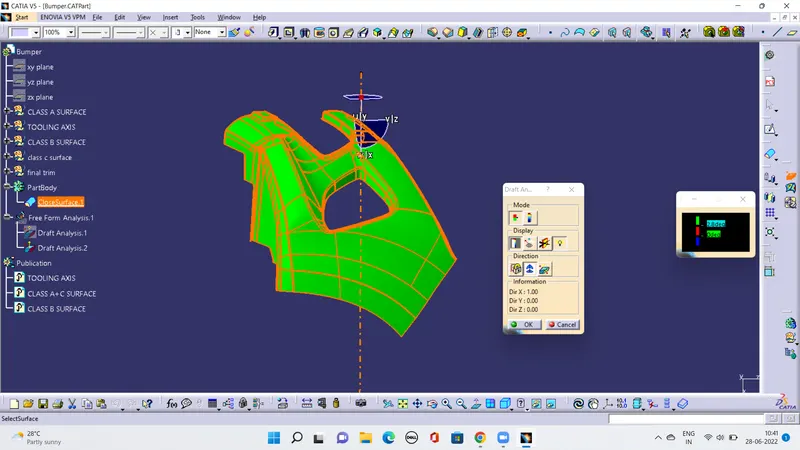
  • Use the Close Surface feature to make a solid body from the surface

. Publications:

  • Use the publication option and publish the below
  • Tooling Axis

Class A, B, and C surface

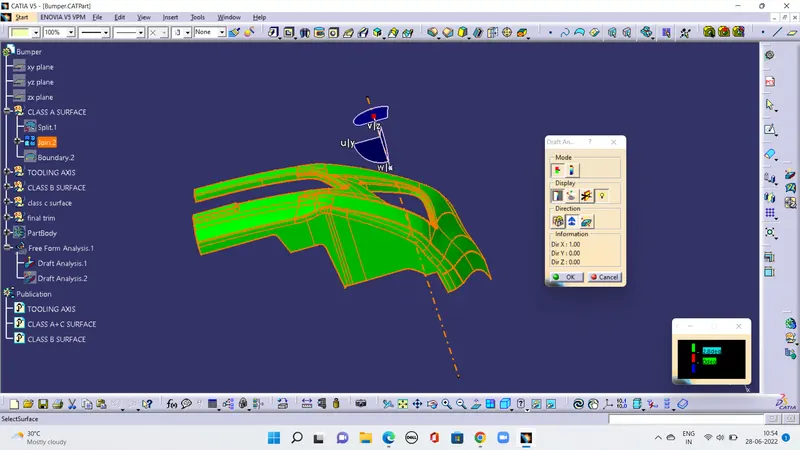
  • A detailed report should be done explaining the draft analysis and the tooling axis creation.
  • An explanation should be given on the way of creating the tooling axis, particularly the Bisecting method.

OBJECTIVES:

  • Screenshots of the Draft analysis report for both the given Class-A surface and the final plastic component
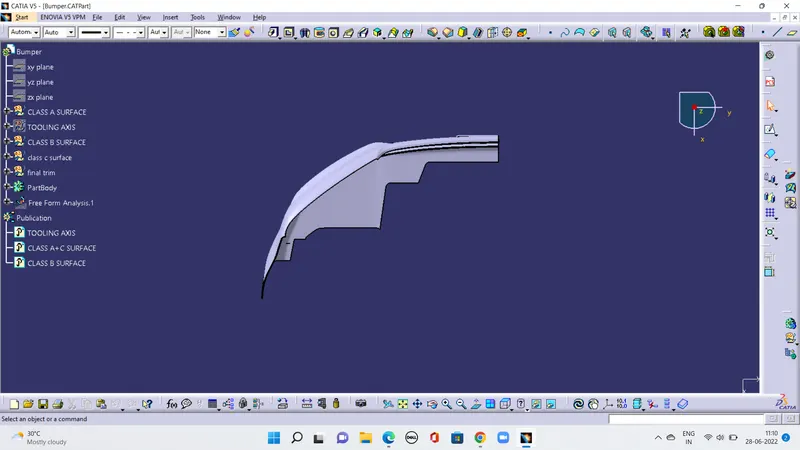
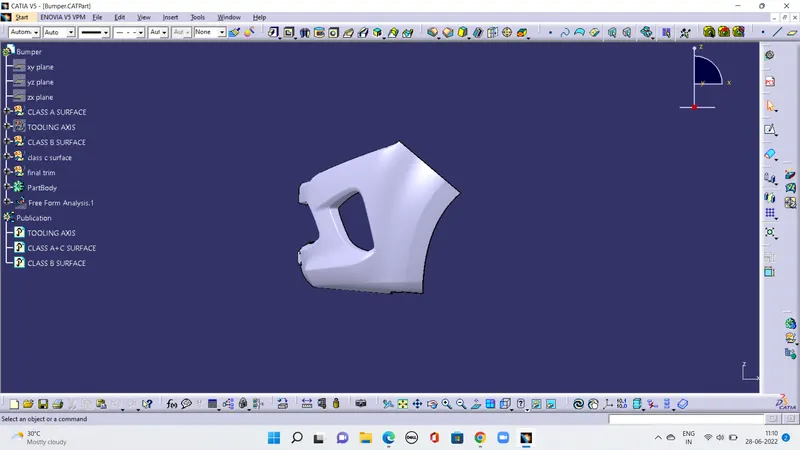
  • Screenshots of the solid model with the proper color code of the draft angle in various orientations (Isometric, Front, Side, and Top View)

FOR CLASS-B SURFACES
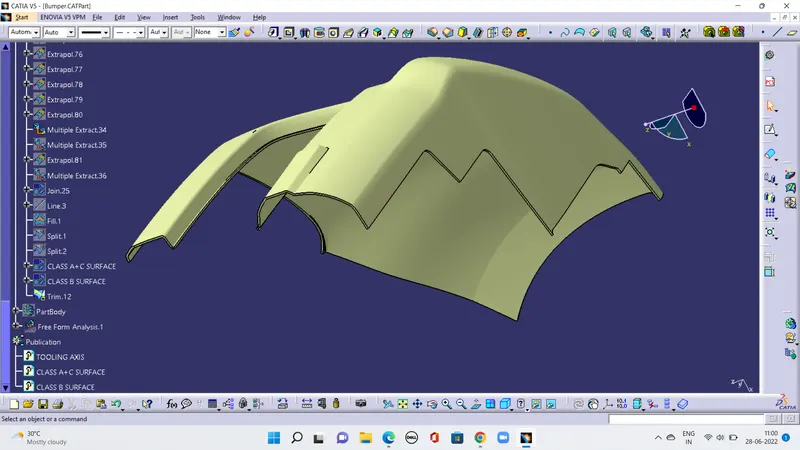
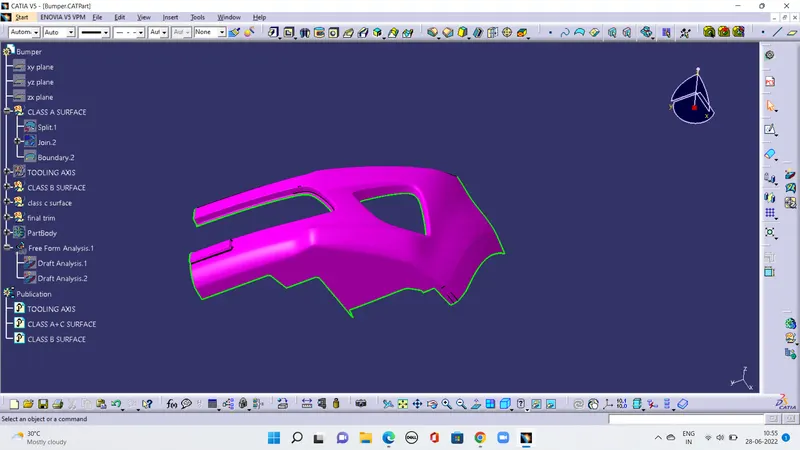
We have divided the entire model into base, side walls, inside side walls and outer flange and worked on them one by one

Everywhere we follow same procedure i.e. extract, un-trim, extrapolate, trim and offset.
First base, then side walls. To avoid confusion, we trimmed both together and made them one. Also the fillet was given.
FOR CLASS-C SURFACES
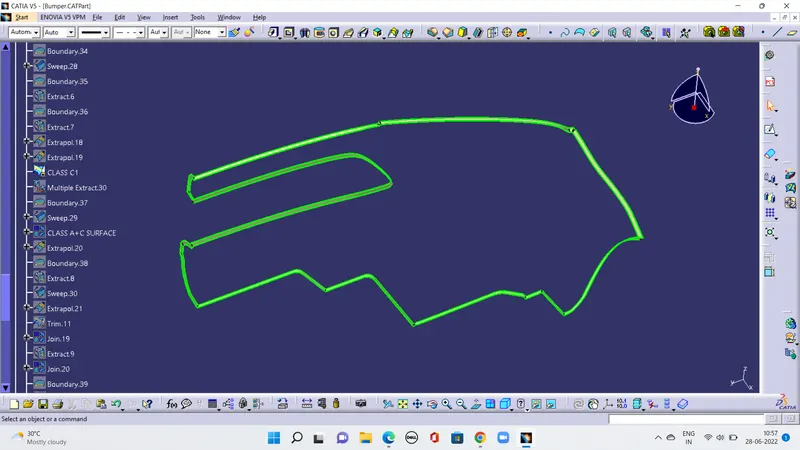
In this model, unlike the earlier models, we have used parallel tooling axis. Hence we cannot use ‘with draft direction’ option under
sweep.
The C surfaces will mostly be created like shown below.
FOR FINAL MODEL
Join class-A and class-C surfaces together.
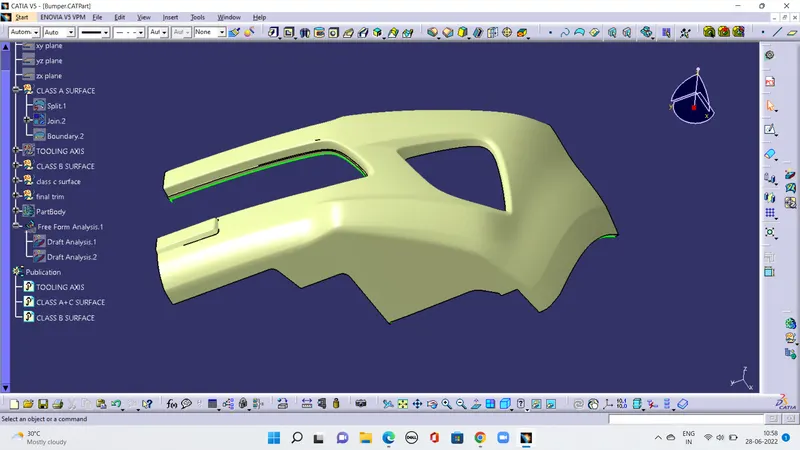

Then Trim class-B surface to them.
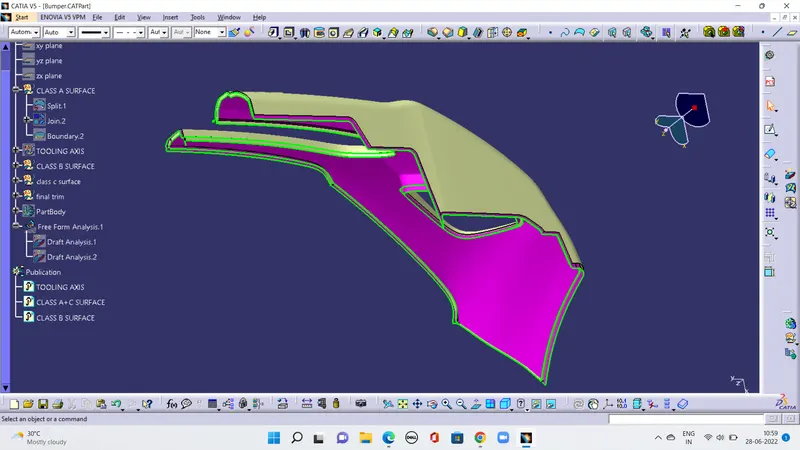

Go to the part design and close the feature.
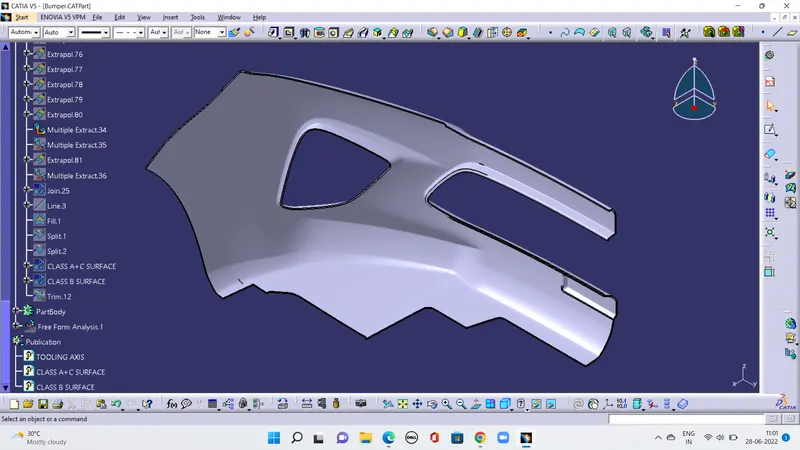

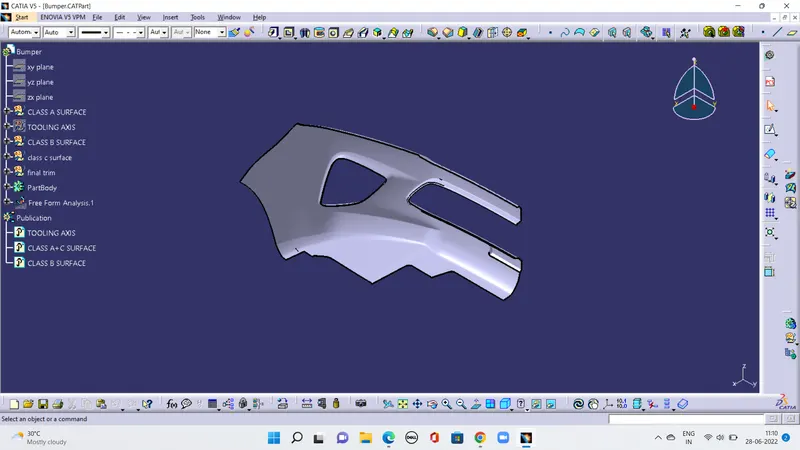
Run draft analysis on the model.
Your portfolio, next

Ship work like this
in your own course.

Talk to a career counsellor

Free 20-minute call. We'll map the right course to where you want to work.

By submitting you agree to our Terms and Privacy Policy.