Week 8 - Challenge 4 - Bumper
BUMPER DESIGN
AIM: To create a closed surface from the given (A surface)
INTRODUCTION:
CLASS-A SURFACE: a surface made by the designer which an aesthetic surface and the outer surface.
CLASS-B SURFACE: a surface below a certain thickness from the class-A surface is a class-B surface. This is the surface that contains
engineering aspects of a model.
CLASS-C SURFACE: a surface that joins class-A and class-B surfaces is a class-C surface.
METHODOLOGY:
In this model, we have performed
Tooling axis
Draft analysis
Class-B surface
Class-C surface
Extract
Trim
Extrapolate
Offset
Edge fillet
Boundary
Sweep
Join
Closed surface (part design)
FOR DRAFT ANALYSIS:
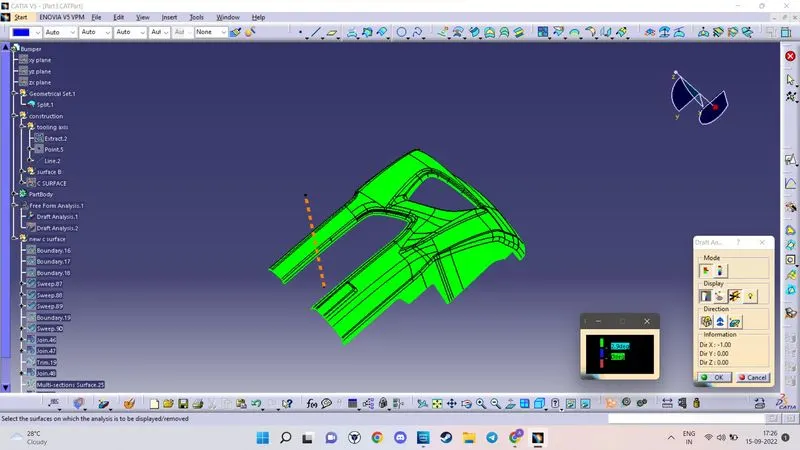
Draft analysis is the most important method. it is used to define where should the core and cavity should come in the model.
Now we go to insert< analysis< draft analysis and follow the usual procedure to do the analysis.
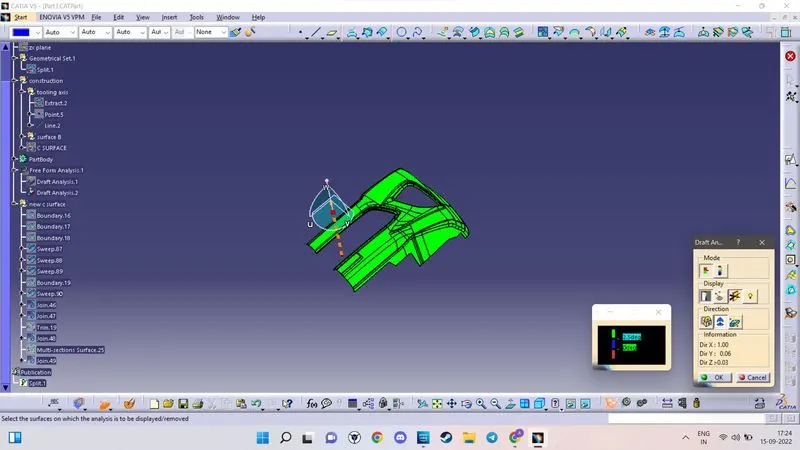
Align the compass and click on the surface and as expected the model is mostly in red i.e. negative draft concerning the axis.
To correct it as best as we can we moved the compass a bit till we got most of the surfaces in green and locked that position.
After hitting ok, we change the direction of the line from the z-axis to the compass direction. The axis will align itself accordingly.
FOR CLASS-B SURFACES
In the B surface, the A surface is offset by 2.5mm and after that, the B surface will have some patches after solving that issue with toolbars like sweep, extrapolate, multi sections surface, trim, join, etc after that the B surface will be finished and it will be ready to trim it with A and C surface
FOR CLASS-C SURFACES
In this model, we will divide the boundary into four because the bumper structure is quite difficult to create a C surface. so we divided it into four and made four sweeps which will be much easy to create a C surface.
FOR FINAL MODEL
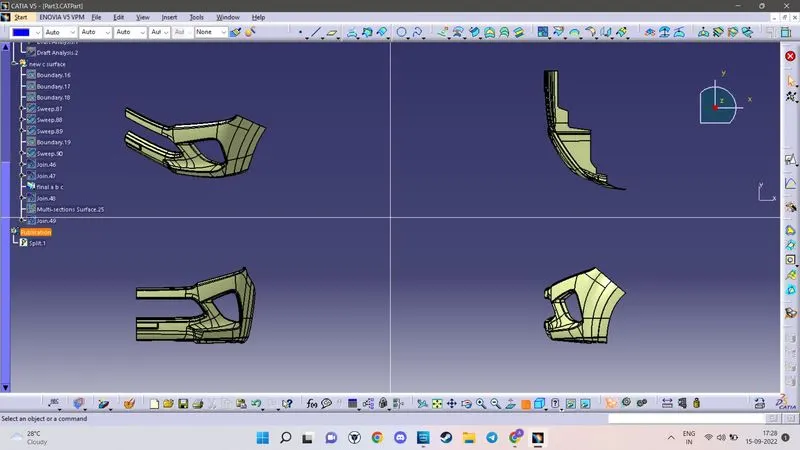
Now, Join class-A and class-C surfaces together by the join command.
Then Trim class A-C surfaces to B surfaces
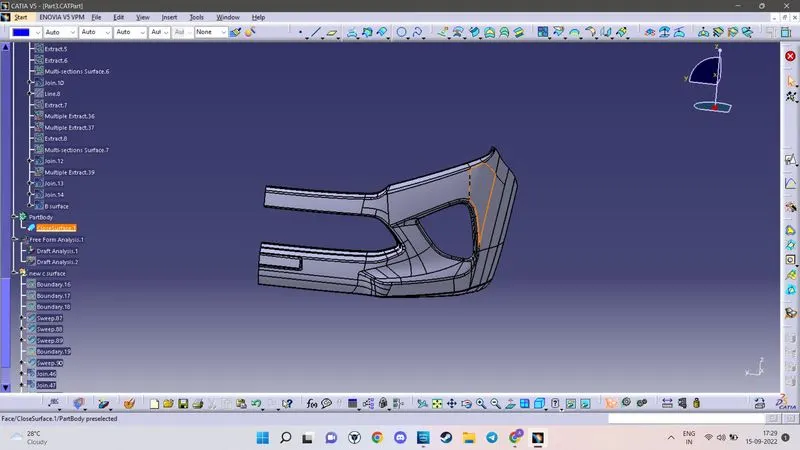
Now Go to the part design workbench and use the close the feature command to make the model solid.
At last, we should do the draft analysis for the final model.
Then the closed body of the Bumper is created.