3D Meshing (Volume Mesh) with tetra elements using Hypermesh
Tetra Meshing the given component using 2D tria mesh
First, the given component housing was checked for geometry cleanup. The given model did not require any geometry cleanup.
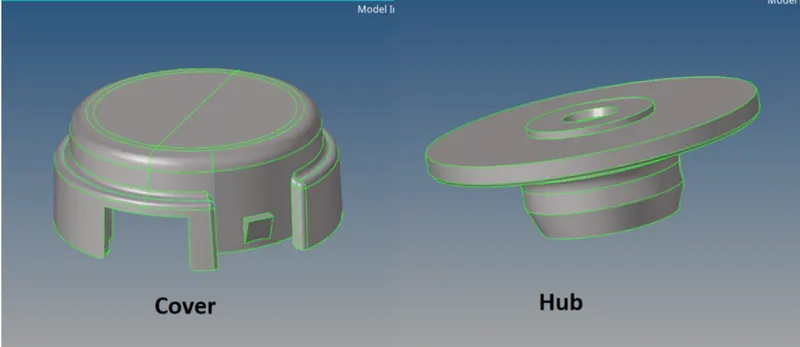
The entire geometry was meshed using 2D shell mesh with only tria elements and the target length is 5mm.
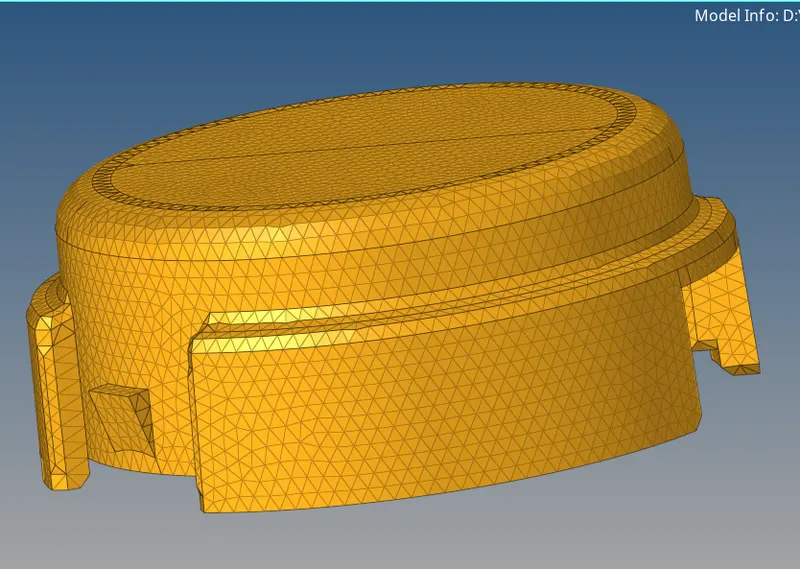
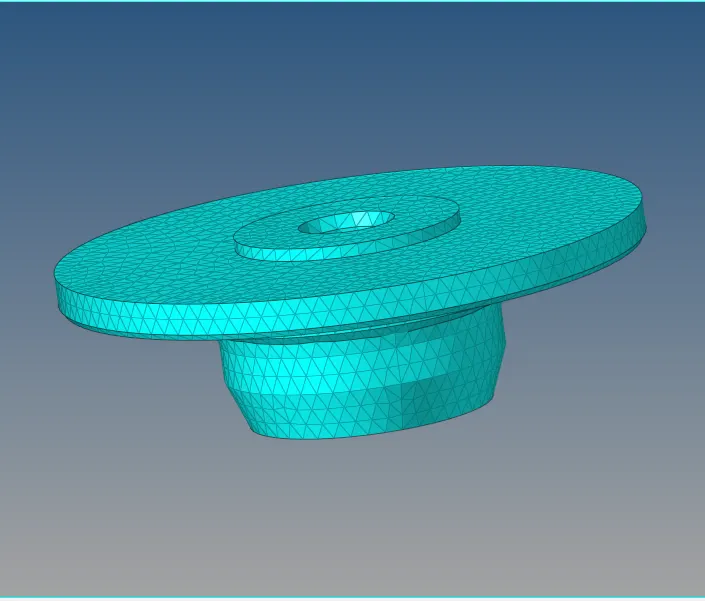
Converting the 2D mesh into tetra mesh as follows:
The shell elements are converted into 3D tetra mesh in the 3D module as shown below.
To create a separate component for the volume mesh the option create per-volume comps is chosen instead of mesh to current comp.

The tetra mesh parameters are set before hitting the mesh button. The parameters are set as shown below:
Tetramesh parameters-->Min Tetra Size (5)-->tet collapse (0.15)

After setting the parameters going back to the Tetra Mesh tab and then mesh.
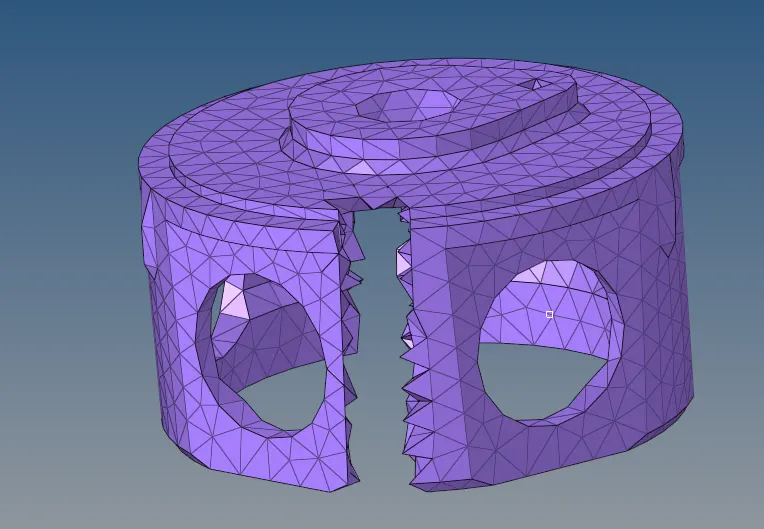
The image below shows the volume mesh of the cover:
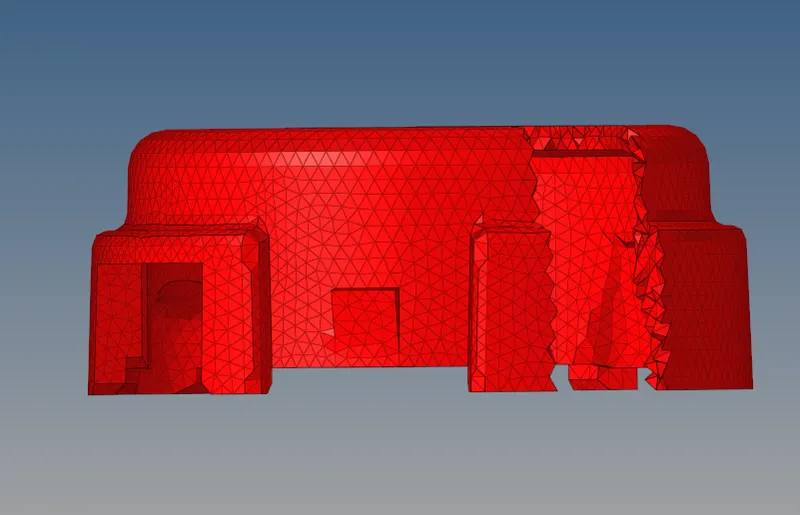
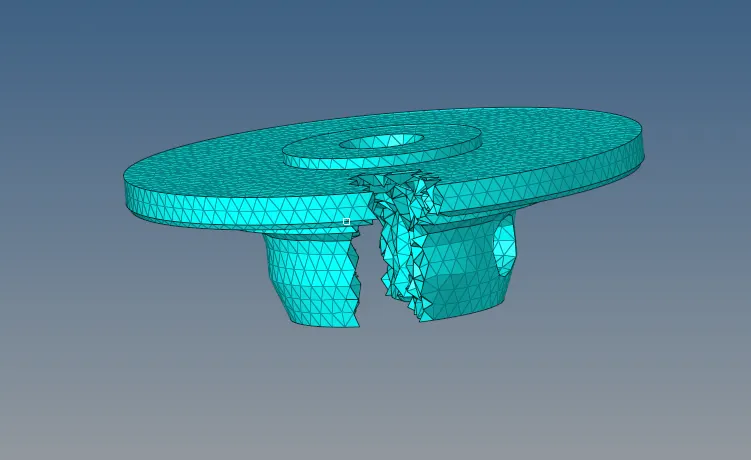
The 2D mesh is deleted after the 3D mesh is generated.
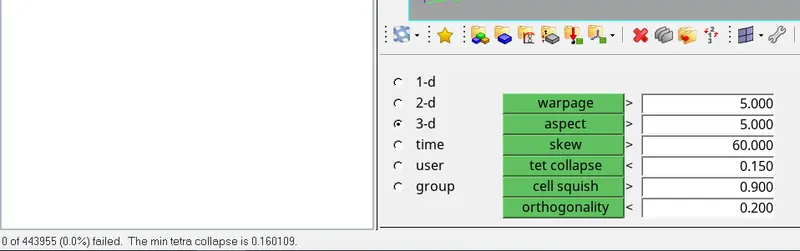
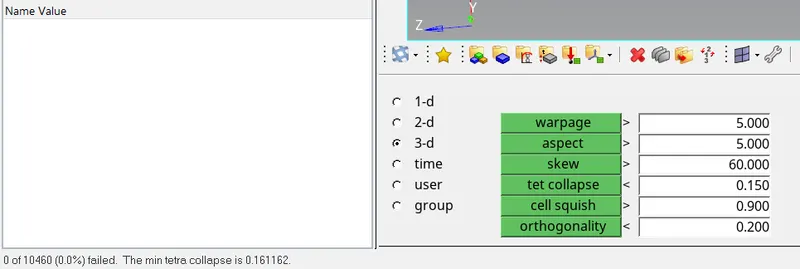
Quality check for the tet collapse is done as follows:
Tool-->check elems-->3-d-->tet collapse (0.150)
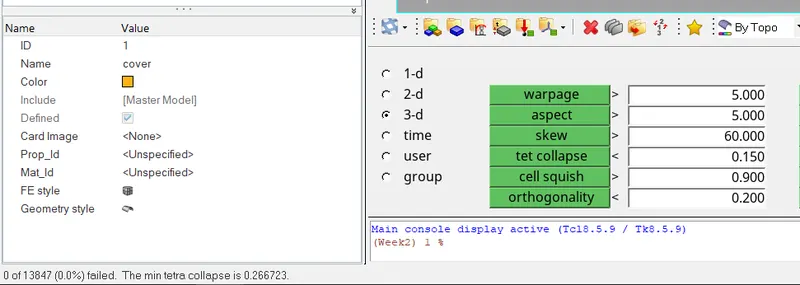
Similarly, the same procedure is followed for the other two components by just changing the mesh element size.
The model2 geometry cleanup is done using the auto cleanup option with 6 as the target length.

The model after cleanup
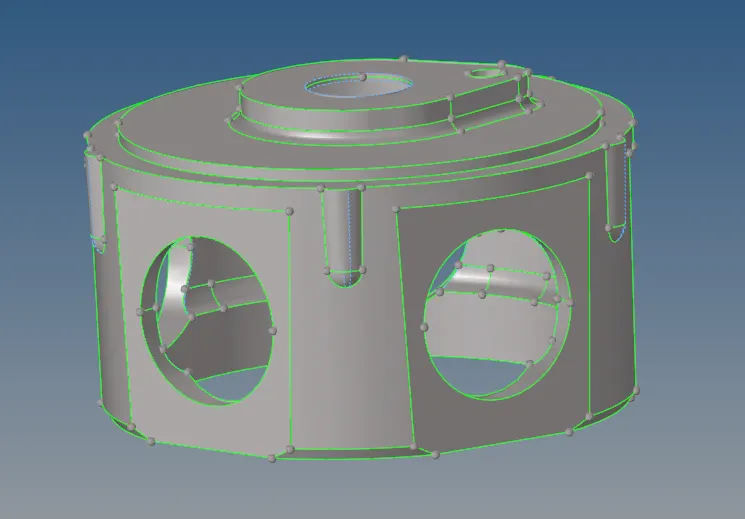
The 3D mesh of model2
The tet collapse check of the model is done similarly to how it was followed in the 1st model.
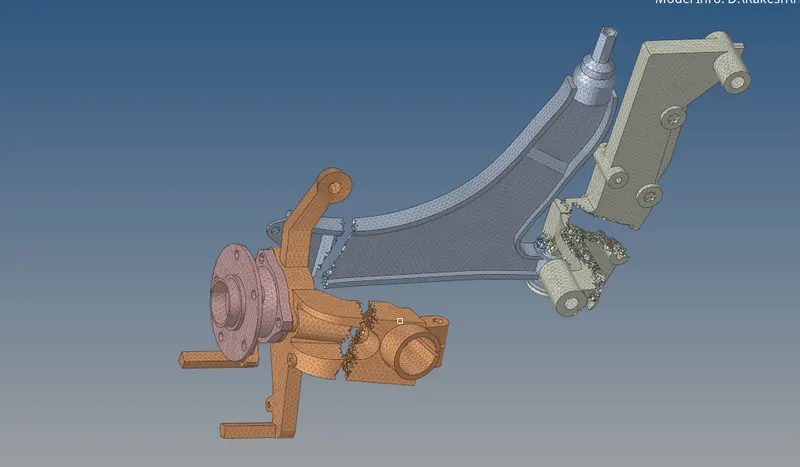
The model3 is as follows
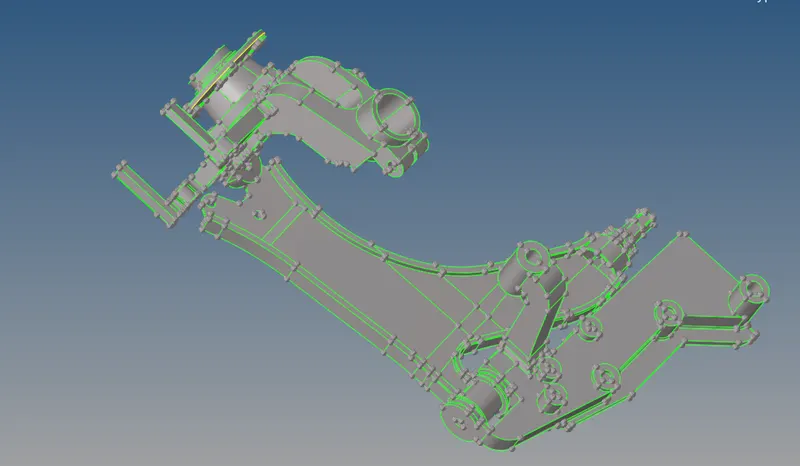
It has 4 parts in it. Geometry clean up is done of each part and meshed individually.
The geometry cleanup at complex areas is as follows:
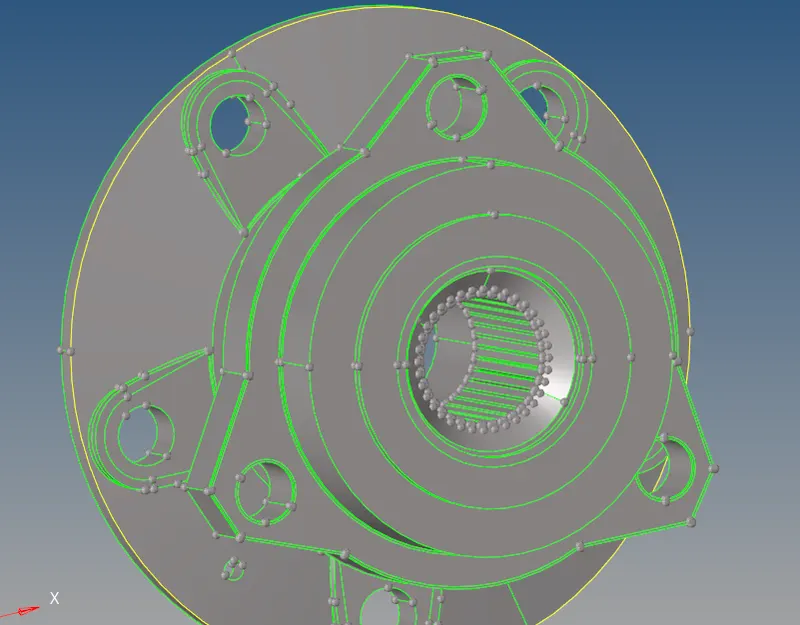
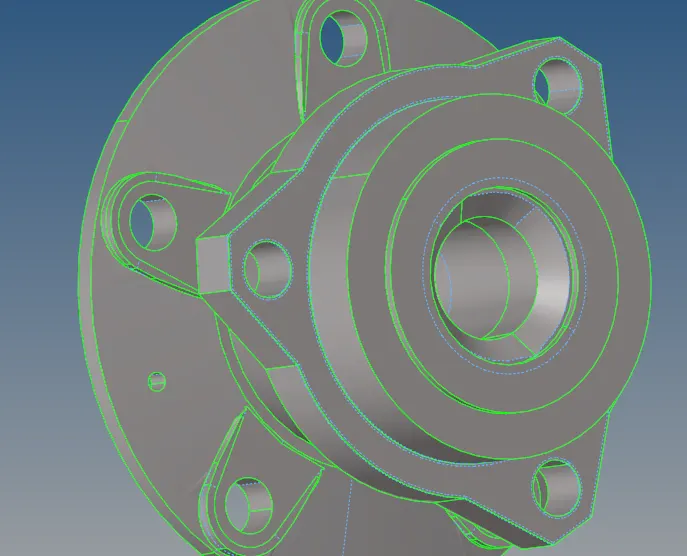
The teeth are removed as they will fail for minimum length. after all the geometry cleanup the parts are meshed in 2D and later tetra mesh is created using the 2D mesh.
The 3D mesh is as follows:
The tet collapse check of the model is done similarly to how it was followed in the 1st model.