Tetramesh | HyperMesh
AIM : To mesh the given model using 3D Tetramesh and given criterias.
CHALLENGE :
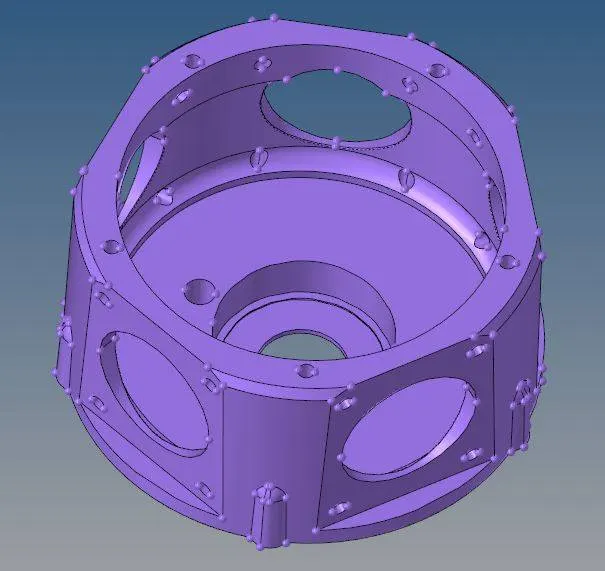
Model 1 – Housing Model
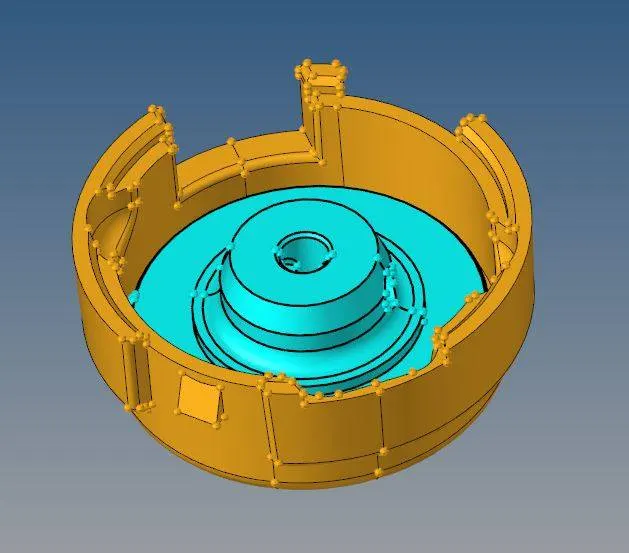
Criteria :– Target Element = 5mm, Minimum Element = 2mm, Maximum Element = 7mm, Tet Collapse = 0.15.
At first, we will import the model in Hypermesh using import command. There are different ways of creating tetramesh on the model. Here we are going to make 2D tria mesh on the model and then convert the 2D mesh to 3D tetramesh. So after importing the model, we will proceed for geometry and topology cleanup.
Here we will do manual cleanup through quick edit panel by F11 shortcut key. We will toggle all the lines where the elements can fail in minimum length or tet collapse criteria through toggle lines command. We will also use split-surf node, split-surf line and replace point option to obtain better topology for meshing.
Then we will proceed for 2D meshing by F12 key. In Automesh, we will select our meshing type as trais only option and specify target element size as 5mm, then we will select the displayed surfaces and then we will click on mesh. We can change the number of mesh nodes to obtain better mesh flow. After creating the mesh, we will check for minimum length and maximum length criteria and we will optimize the elements which are failing the given criterias and then we will proceed for 3D mesh on the model.
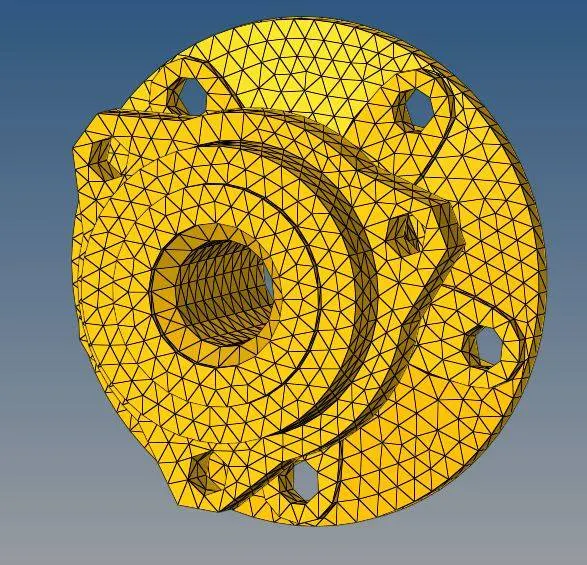
To perform 3D mesh, we will go to the Tetramesh panel in 3D page. In Tetra mesh subpanel, we will opt for elems option under fixed trias/quads to tetramesh. Then we will select the displayed elements to mesh and we will click on mesh. This will create the 3D Tetramesh mesh on the model. To check for Tet collapse criteria, we will press F10 key which is shortcut for check elements panel. In check elements we will click on 3-d tab as we have to check for quality of 3D mesh. Here we will specify tet collapse criteria as >0.15 and then we will click on it to check the failing elements. To navigate to the failing elements, we will click on save failed option and then click F5 shortcut key for Mask option. We will retrieve the failed elements and then we will mask the elements. To view the masked elements, we will click on reverse all option. Now, to optimize the elements failing in tet collapse, we will have to move the node which has the shortest distance in the element. So we will go to Move panel by F4 shortcut key, we will select the two nodes of the failed element and check for the shortest distance. We will manually change the distance between the nodes having the shortest distance, to obtain the quality for tet collapse.
Note – Here in this model, I have pre-defined the Tet collapse criteria to be greater than 0.17 in the Tetramesh Parameters panel before 3D meshing. So I haven’t got any elements failing in the given tet collapse criteria.
After creating the 3D mesh on the model we will delete the 2D tria mesh on the model. To perform this, we will go to delete panel with F2 shortcut key. We will select the elements option from the dropdown page. Under elements tab, we will select by config option and then we will select trai3 option as we want only 2D trias.
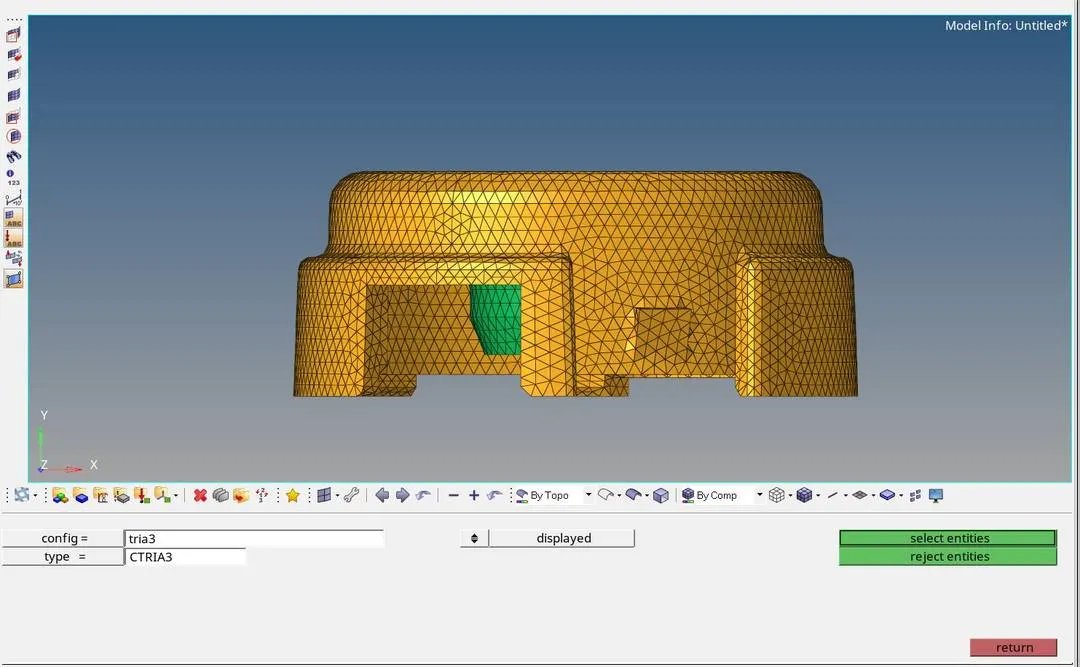
We will click on select entities which are displayed and then we will click on delete option to delete the 2D elements.
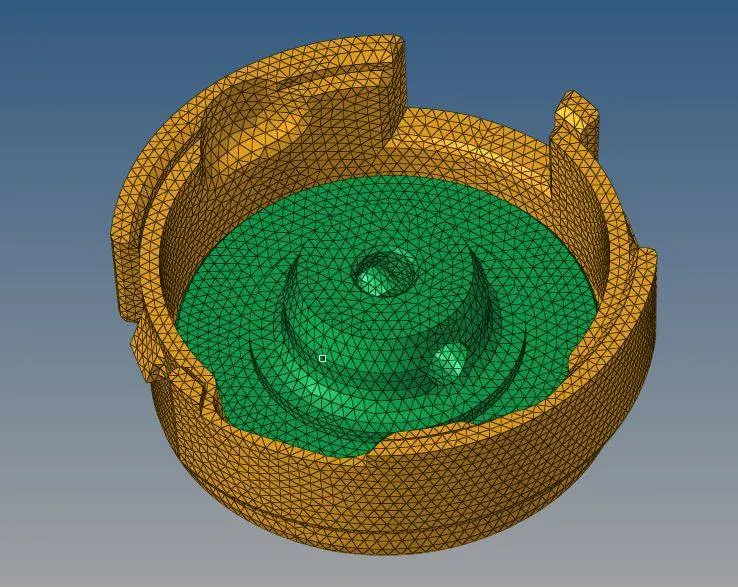
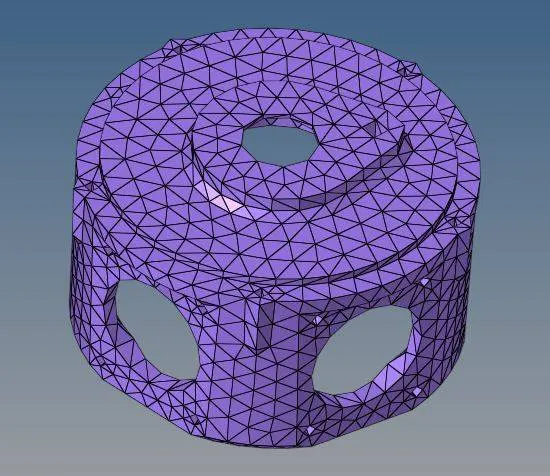
3D Tetramesh Result –
Model 2 – Crank Housing
Target Element size = 6mm, Tet Collapse = 0.15
For this model, it was recommended to use Quick tetra option to obtain the 3D tetramesh. So to perform meshing using quick tetra we have to navigate through View >> Browsers >> Hypermesh >> Utility and select Geom/mesh tab under Utility. In Geom/mesh tab, select Quick Tetra option. In the Quick Tetra window, we will select the component to be meshed, we will specify the element size as 6mm and select the Mesh type as Trias only and then we will click on the Mesh option. This will clean up the geometry automatically and then mesh the components. One thing to be made sure is that the geometry should not have any free edges or red lines in it or else the quick tetra option won’t work in such cases.
Here I have used the general method of meshing the component with 2D and then converting the 2D mesh to 3D instead of quick tetra as quick tetra option results in a lot of elements failing in Tet collapse criteria. So I have used the 3D Tetramesh option in the same way as mentioned above in the Housing model which worked and resulted in zero elements failing in Tet collapse criteria where I have mentioned Tet collapse as greater than 0.15 in Tetramesh Parameters. Some 2-3 elements which were failing in Tet collapse criteria were cleared by using Tetra remesh option on that particular mesh area.
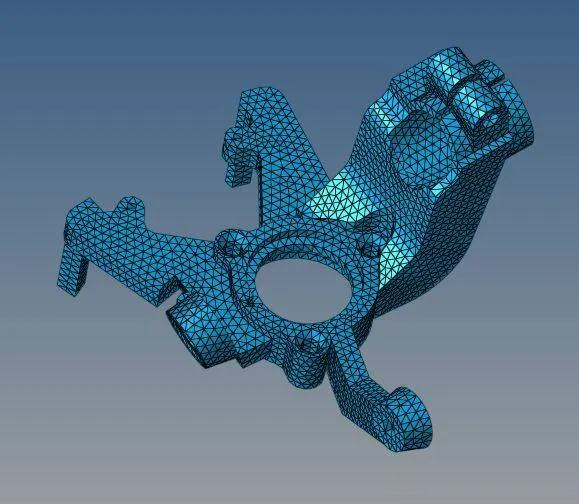
3D Tetramesh Result –
Model 3 –
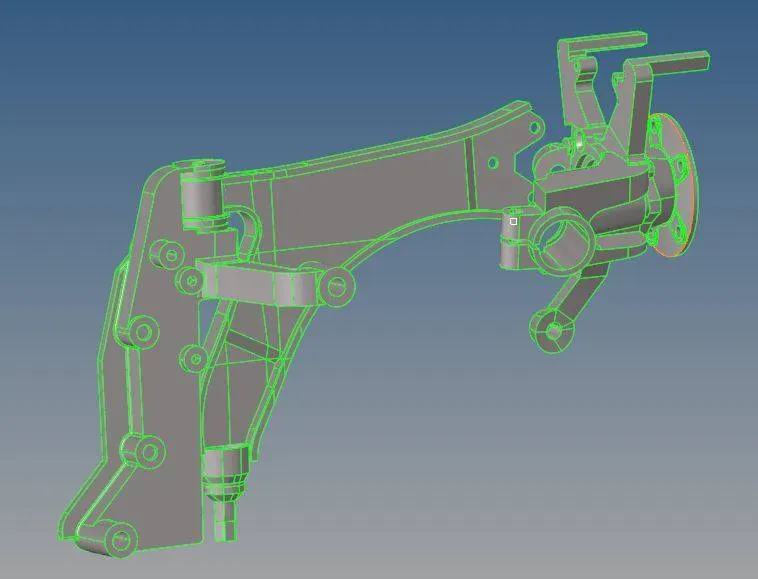
Target Element size = 6mm, Tet Collapse = 0.15
Here in this model, there are 4 main components and we have to mesh each component individually. So first we will start with Imported12-1_Body_0. The challenging thing in this component is its slotted teeth on the inner side. So we will have to clear these teeth to obtain better mesh quality. We have to do this with manual clean up. So we will use split-surf node option to isolate all the surfaces of the teeth and its periphery. Then we will mask all the faces which are in teeth geometry and then delete the displayed faces. Then we will extend the surface to fill the gap and form a simple cylinder. After performing the geometry cleanup on the component, the geometry will be ready for meshing as follows,
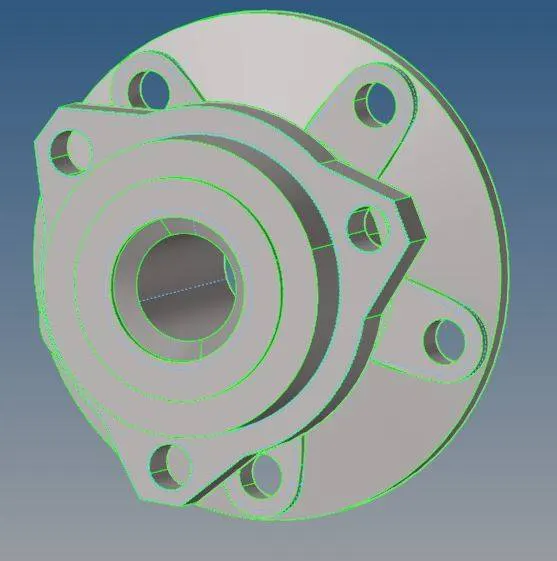
Now we will perform the 3D meshing in the same way as mentioned in Housing model. For the other three components, we will perform the manual clean up and then we will mesh the components individually in the same manner as performed in Housing model. Thus we will get the following results.
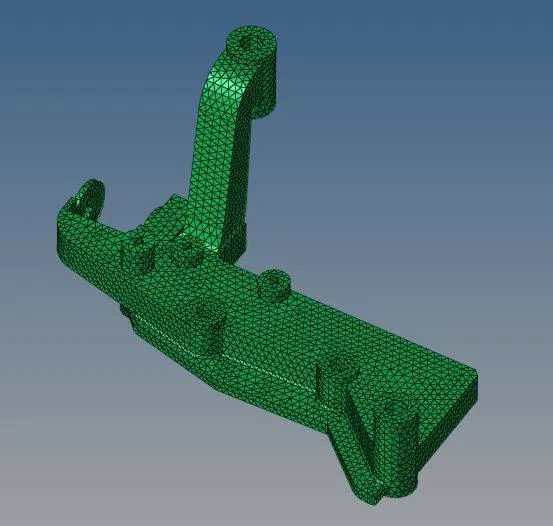
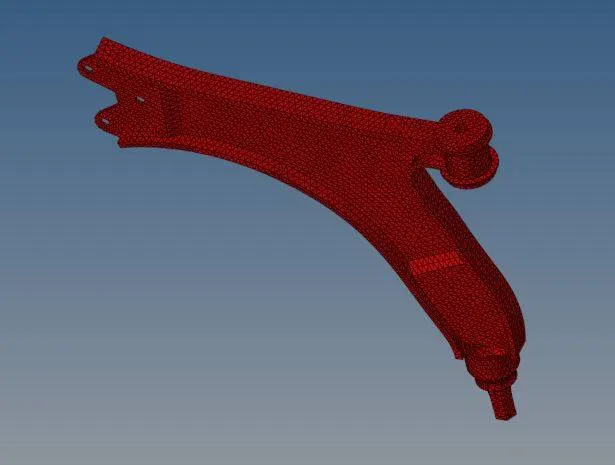
3D Tetramesh Result –
Full Model –