Week 8-3D Tetra Meshing Challenge
Objective:-
- To create tetra mesh for cover and hub, crank housing, and suspension assemblies according to the given quality criteria.
- For cover and hub, the target size, minimum size and maximum size of the element is 5mm, 2mm, and 7mm respectively.
- For crank housing and suspension assembly, the target size is 6mm. Tet collapse is set at 0.15 for both models.
Tetrahedral is a four- nodded solid element that can be generated through the tria element by creating a volume and also through the existing volume of the geometry. These elements are used where the geometry has high thickness and complexity.
Volume Meshing can be done using 3 methods
- 2D to 3D Conversion.
- Quick tetra meshing.
- Volume tetra meshing.
Method 1:- 2D to 3D Conversion:-
Method 2:- Quick tetra Meshing:-
- Import the model.
- Delete the Solid from the cad model.
- Then click on View menu>Browsers>Hypermesh> Utility
- Select Geom/Mesh from the Utility tab
- Then choose Quick Tetra mesh from the mesh tools.
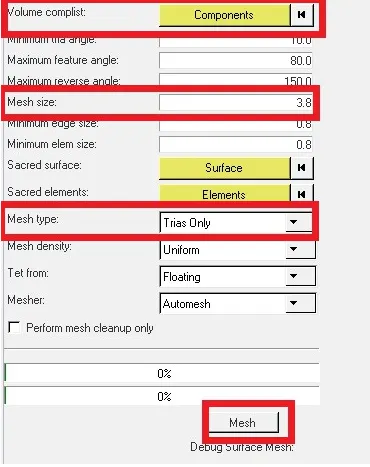
- Then from the Quick tetra tab, click on components and choose the component which we want to mesh.
- Give mesh size
- Choose only Trias from mesh type
- Click on Mesh.
- Then you will see dialogue as Surface mesh completed Attempted tetra mesh Click on OK to proceed
- After Quick tetras in the components list, you can see that there is a new component added named Quick tets, this means the quick tetra mesh is done.
- Also, we should check and confirm the presence of tetra mesh by masking.
Method 3:- Volume meshing:-
- Import the model.
- In this method, we need a solid model.
- For Volume, mesh go to, 3D> Tetra mesh> Volume tetra mesh.
- Choose Solids under Enclosed volume.
- Select the solid which we want to mesh.
- Give elements size.
- 2D element type as trias
- 3D element type as tetras.
- Wisely check the boxes of Use Curvature, Use Proximity. Because always choosing the both will make some deformations or sometimes make a 2D mesh instead of 3D
- Also for auto cleanup of the solid check the Cleanup elements option.
- Click on the mesh.

Methodology
- Import the geometry into HyperMesh.
- Cleanup the geometry
- Deploy mesh according to the given quality criteria
- Remove free edges and T-junctions if they were created in the 2D tria mesh.
- Check if elements have failed for tet collapse and rectify them.
Procedure
A. Cover and hub
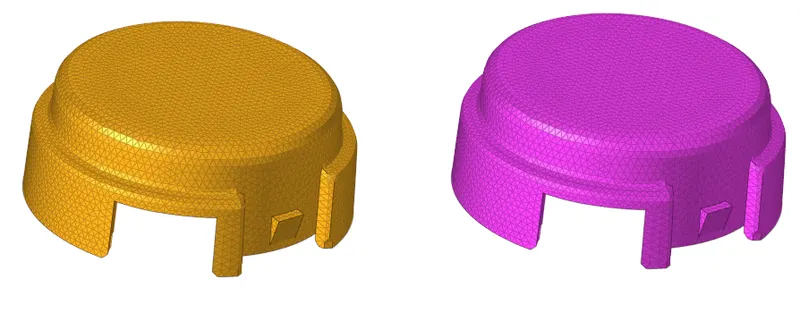
- The cover and hub were imported into Hypermesh and the model was checked for free edges and other geometric issues.
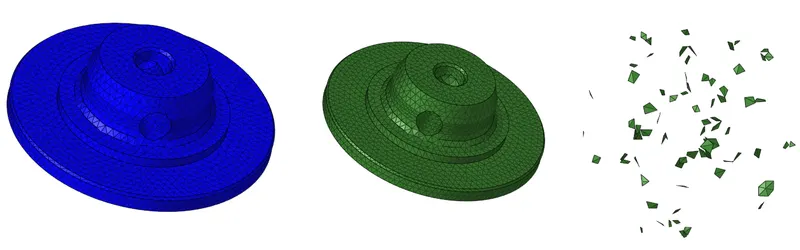
- Both cover and hub were meshed using Quick Tetramesh from View > Browsers > HyperMesh > Utility > Quick Tetramesh.
- The model was checked for tet collapse in Tools > check elements > 3D > tet collapse and it was found that no elements were failing.
- Given below is the 3D tetra mesh of the hub.
B. Model_2
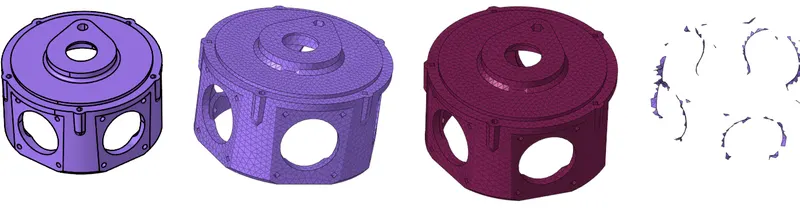
- The model_2 was imported into Hypermesh and the model was checked for free edges and other geometric issues.
- The component was 2D meshed with tria using 2D > auto mesh. This 2D mesh was converted into tetra mesh using 3D > tetra mesh > Tetra mesh > set elements in Fixed tria/quads to tetra mesh > mesh.
- The mesh was checked for tet collapse and 43 elements were failing. The failing elements were fixed using 3D > tetra mesh > Tetra mesh > fix 3D elements > Tetra collapse was set to 0.15 > fix.
- When the mesh was checked again for tet collapse, no elements were failing.
C. Turbo Charger
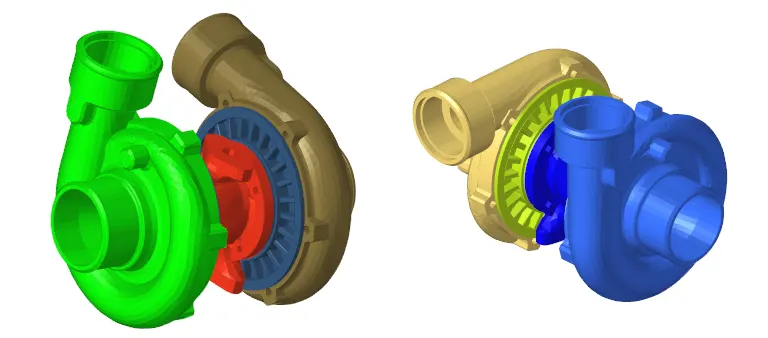
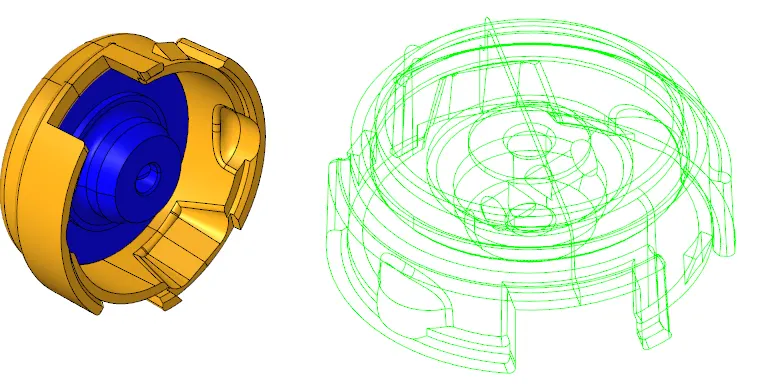
- The turbocharger assembly has meshed with tria first with a target size of 6mm. While tetra meshing this component, the 3D mesh could not be deployed because of a T junction in the feature given below.
- Therefore, a finer mesh was deployed in this region to avoid the T-junction and tetra mesh was created using 3D > tetra mesh.
- The elements failing for tet collapse were fixed using 3D > tetra mesh > fix 3D elements. No elements were failing when it was checked for failure criteria.