Week 6-Meshing of Hood Challenge
AIM:
To create the mid surface for the given inner panel hood and mesh against the given quality criteria.
QUALITY CRITERIA:
Target Element Length = 5 Units
|
S.N |
Quality Criteria |
Value |
|
1 |
Aspect Ratio |
5 |
|
2 |
Skewness |
45 |
|
3 |
Warping |
15 |
|
4 |
Taper |
0.5 |
|
5 |
Min. Length |
2 Units |
|
6 |
Max. Length |
8 Units |
|
7 |
Min angle Quad |
45 |
|
8 |
Max angle Quad |
135 |
|
9 |
Min angle Tria |
20 |
|
10 |
Max angle Tria |
120 |
|
10 |
Tria % |
10 |
PROCEDURE:
STEP 1: First need to import the model from the challenge as a .igs file.
And change geometry color mode as a BY TOPO and element colour mode as a BY ELEMENT QUALITY.
STEP 2: Set the quality criteria values by the ways PREFERENCE – CRITERIA FILE SETTINGS – set all the values – APPLY – OK.
Make the geometry cleanup to remove the free edges, single cons, needle faces, triple cons etc.,
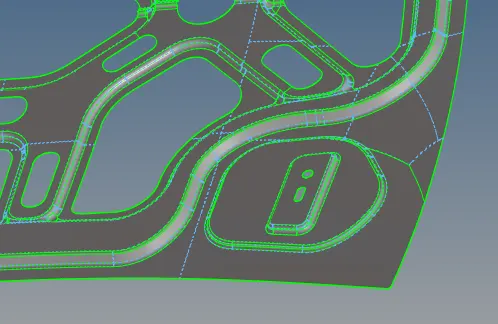
FIG 01 - AUTOCLEANUP
STEP 3: Take the midsurface by using the command GEOMETRY –MIDSURFACE.
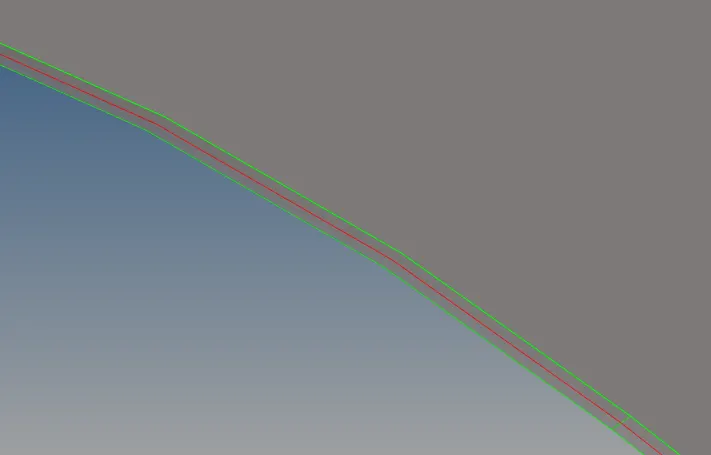
FIG 02 – MIDSURFACE EXTRACTION
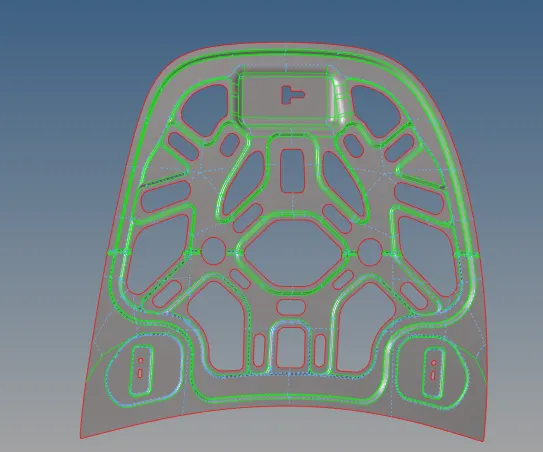 FIG 03 – MID SURFACE FOR THE INNER HOOD
STEP 4: Meshing the component surface by surface, mask the key area and we get the identical surfaces on both side for that we shall mesh half of the area to complete the work earlier.
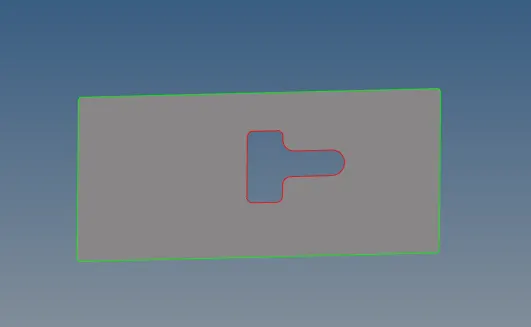
FIG 04 – KEY AREA
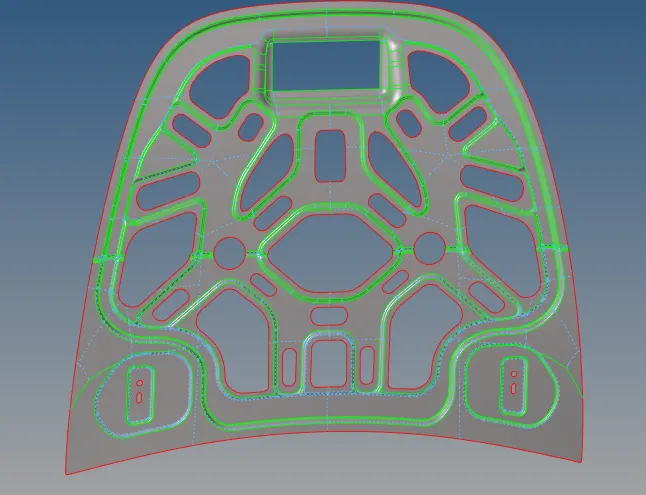 FIG 05 - IDENTICAL SURFACES
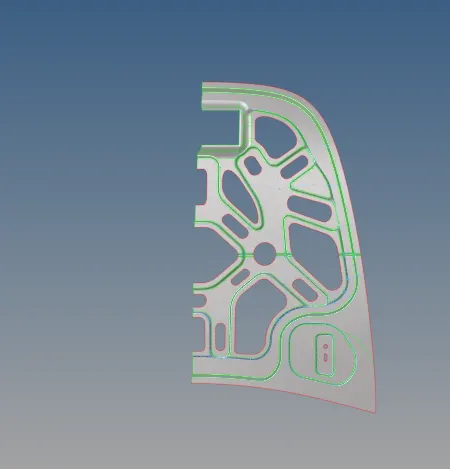 FIG 06 – HALF OF THE PANEL HOOD
STEP 5 : Complete the meshing operation without any opposite trias, try to make sure the perfect mesh elements by using the below mentioning tools.
2D – AUTOMESH
2D – SMOOTH
2D – QUALITY INDEX
2D – REBUILD MESH
2D – REPLACE
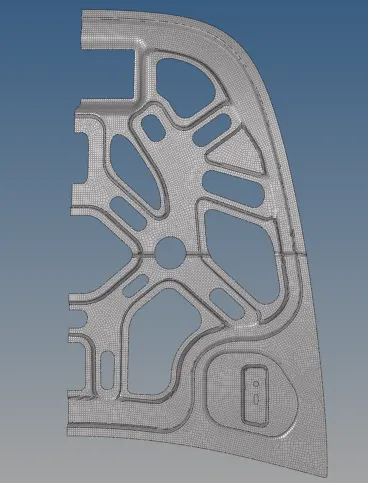 FIG 07 – HALF OF THE MESHING
STEP 6 : After completing the meshing, Use the reflect option for the opposite side, By using the command TOOL – REFLECT
STEP 7 : By the tool equivalence we can easily find the gap between the elements and done the merge operation TOOL – EDGES - EQUIVALENCE
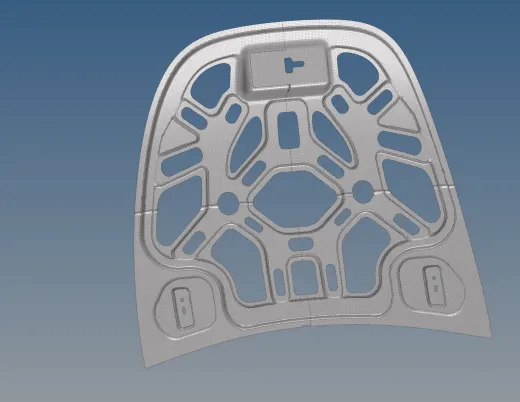 FIG 08 – COMPLETE MESHING
RESULT:
Thus the given challenges complete successfully and gained more knowledges.