Week 6-Meshing of Hood Challenge
Objective –
Follow the below-mentioned quality criteria, mesh the hood component given below and assign thickness:
Target Element Length = 5 Units
|
S.N |
Quality Criteria |
Value |
|
1 |
Aspect Ratio |
5 |
|
2 |
Skewness |
45 |
|
3 |
Warping |
15 |
|
4 |
Taper |
0.5 |
|
5 |
Min. Length |
2 Units |
|
6 |
Max. Length |
8 Units |
|
7 |
Min angle Quad |
45 |
|
8 |
Max angle Quad |
135 |
|
9 |
Min angle Tria |
20 |
|
10 |
Max angle Tria |
120 |
|
10 |
Tria % |
10 |
Procedure –
- First import the model to hypermesh workbench through import solver deck option.
- Delete solid part in your model that you have.
- Go to mid surface option and extract mid surface.
- Change the Geometry color mode to By Topo, so that all the edges will be visible.
- Go to quick edit option and clean the geometry. As shown in below pic.
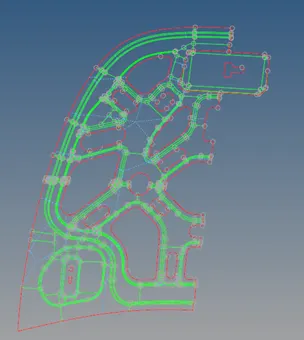
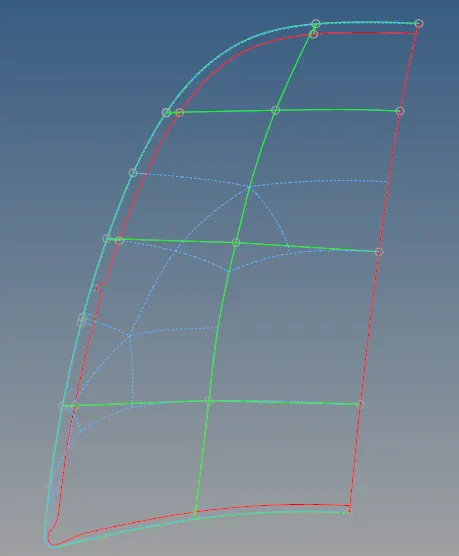
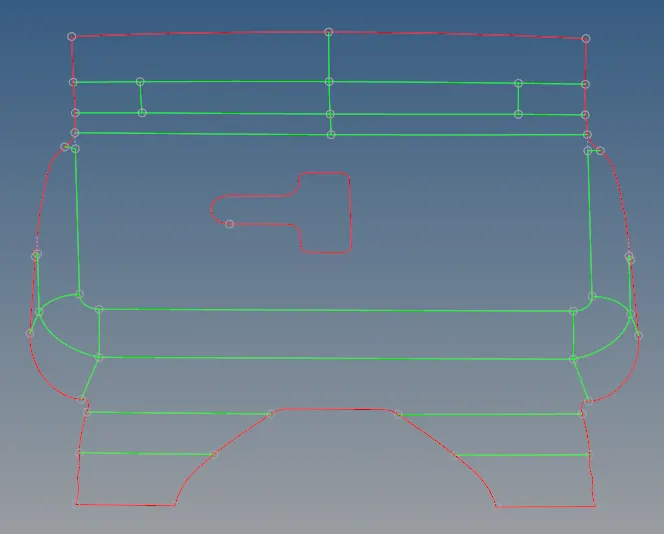
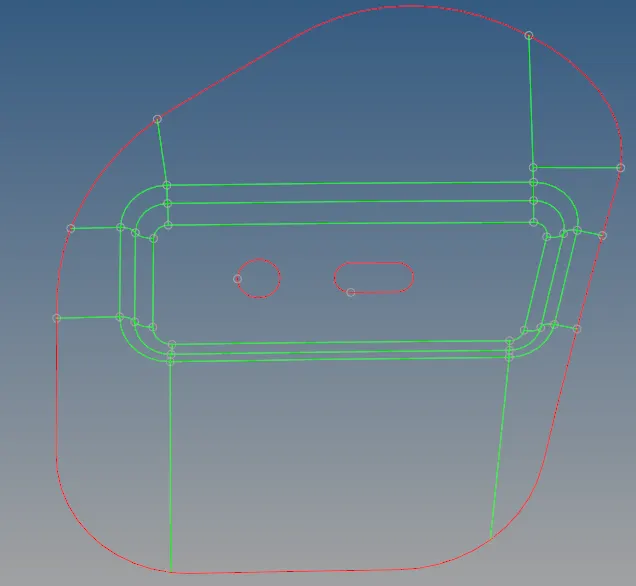
Inner Panel Outer Panel Latch Part Hinge part
- After removing unnecessary points and lines go for 2D meshing.
- Before going for mesh make sure in criteria file setting you have added quality criteria values as per given in the question.
- After getting proper mesh in your model go for quality index, where you can check elements those are failing for mesh.
- Identify those elements and remesh it.
- Some converged area will fail for min. length, for this we can toggle those area. As shown in below pic.
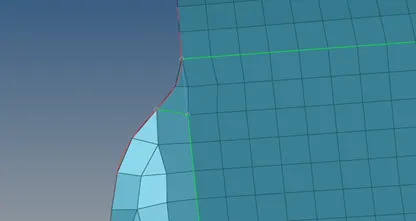
Latch part
- You may get some elements will not have proper mesh flow, in this case we can use split option to bifurcate elements and get proper mesh flow. As shown in below pic.
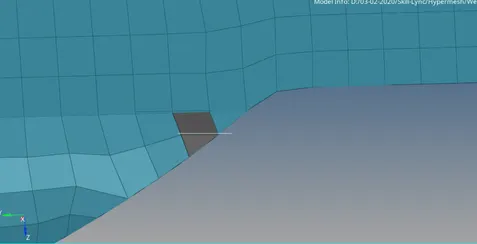
Latch Part
- In case outer and inner panel, I have taken half portion of this part since it is symmetry.
- During meshing there are many chances that you might have duplicate elements. For duplicate elements go for Check elements and find the duplicate elements through the duplicates option and delete those.
- After getting good mesh in these part, I have reflected into next side through Reflect option from Tool.
- Once you got both side of mesh on your screen go for Edges option to join both side of element together. Give a tolerance value of 0.2 to 0.3, select the elements you need to join and click on preview equivalence, The elements will be get marked with in the above tolerance. Then click on equivalence, it will get join together.
- In inner panel except latch portion we have done with mesh since it is not a symmetry part. For latch part I have gone for mesh again, checked for element quality through quality index.
- After getting good mesh in this latch potion, I have gone for Edges option to join this with inner panel as same as 14th
- If you found some elements could not able to identify with in the tolerance, we can go for replace option to replace the node as we need.
- For assigning thickness to the model we have to measure thickness of all the panels and reinforcements. Where I found 1.2 mm for reinforcement and 0.75 mm for panels like Inner and outer.
- Added two property in model tree and assigned both values as thickness.
- For applying these property in every component - right click over the component and click on assign.
Model -
Please find the attachment.