Week 6-Meshing of Hood Challenge
Week 6 Challenge
Aim: Follow the below-mentioned quality criteria, mesh the component given below and assign thickness:
Target Element Length = 5 Units
S.N Quality Criteria Value
1 Aspect Ratio 5
2 Skewness 45
3 Warping 15
4 Taper 0.5
5 Min. Length 2 Units
6 Max. Length 8 Units
7 Min angle Quad 45
8 Max angle Quad 135
9 Min angle Tria 20
10 Max angle Tria 120
10 Tria % 10
(Note: Make sure that all the mid-surface is done separately for each component and then meshed. Attach the Hypermesh model files (.hm) with the challenge)
You will have to submit a detailed report describing whatever you have performed in the challenge. You will be graded for the report as well
Procedure:
- Import the model into Hypermesh by selecting the correct format. Once imported you’ll get something like the fig shown below.
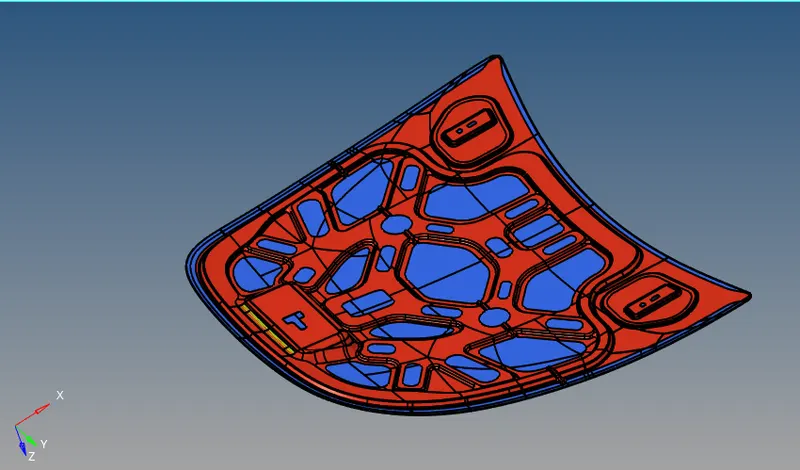
- From the above model the first step would be to extract the mid surface off the 4 components present in the model i.e., Inner panel, Outer Panel, hinges and latch. After extraction of the mid surface for all the components we start working on them one by one.
- For the purposes of demonstration, the mashing procedure of latch component is described in this report. Rest of the components were meshing using the same set of steps.
- Isolating the latch part, as shown below, we first change the surface display option from auto to “by topo”. After that we delete the solid body present. And so we are left with only surface bodies.
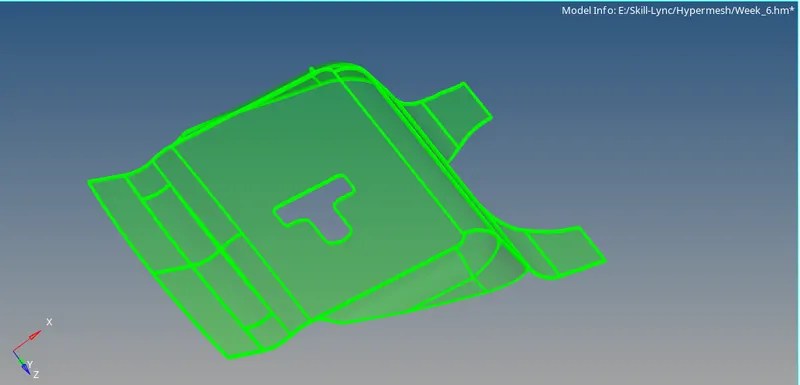
With solid body in place
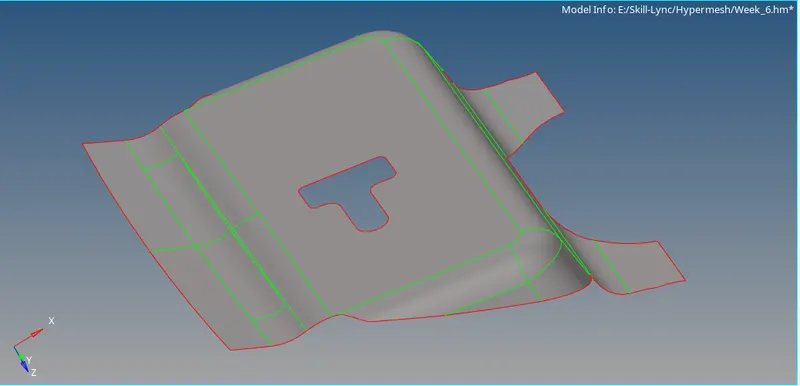
With surface bodies only
- Now we do a basic mesh using the 2D > Automesh command. This will be used to identify the locations of all the potential mesh failure points. Once the mesh is generated, we go to 2D > quality index and save the failed elements. Then we go to Tools > Mask and opt for retrieve. Then use the mask option to hide the failed elements. Then we can reverse the masked elements to just show the saved failed elements. Now we can go to Geom > nodes > temp nodes. Select all the elements on screen and create temp node. Now we delete the mesh.
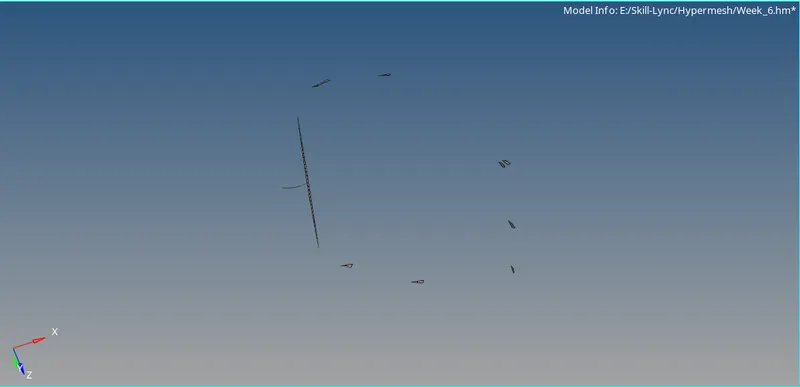
Failed elements from basic mesh
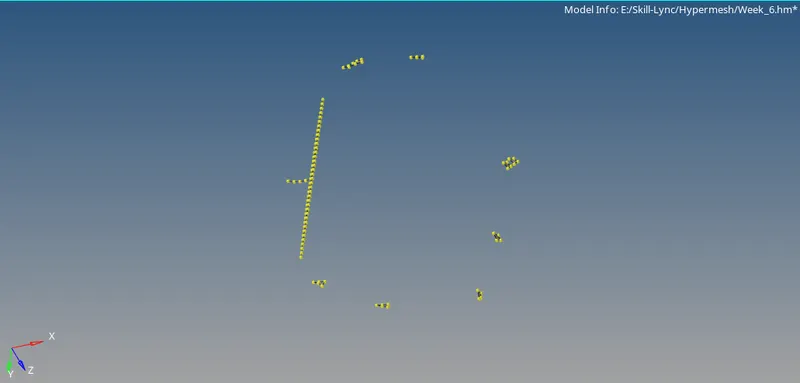
Temp nodes created to mark failed elements
- Doing the above step will give us the potential location for all the mesh failures. Now we go through all the nodes created and perform the geometry clean up on the component. This step will save us time by pointing put the geometric irregularities in the components.
- Once we have sorted out all the geometric irregularities, delete the temp nodes and create the final mesh for the latch component one surface at a time. Using 2D > Automesh.
- In case we have triangular elements at the on desirable locations, such as at the free edges or in opposite directions, we can adjust or improve the mesh by rebuilding it using the 2D > Rebuild Mesh. We can also use the smooth tool to get proper alignment of nodes.
- If required another tool to be used is the 2D > quality index > clean up tool. Here we can manually edit the nodes and elements as per need.
- The final mesh for the latch components is shown below.
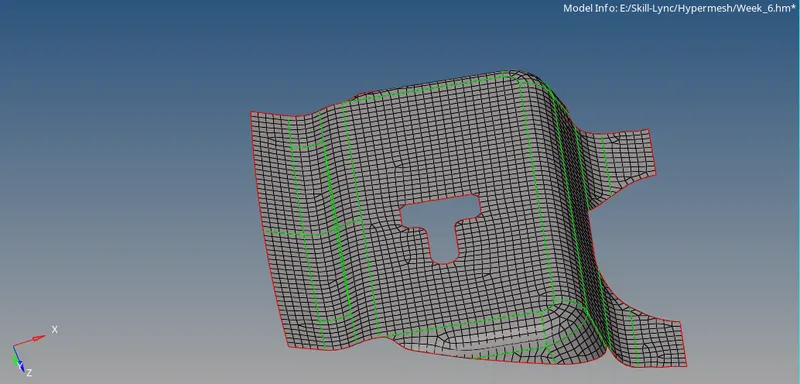
Final mesh for latch component
- Using the same set of step (from 4 to 9), we can generate the mesh for the rest of the components.
Results:
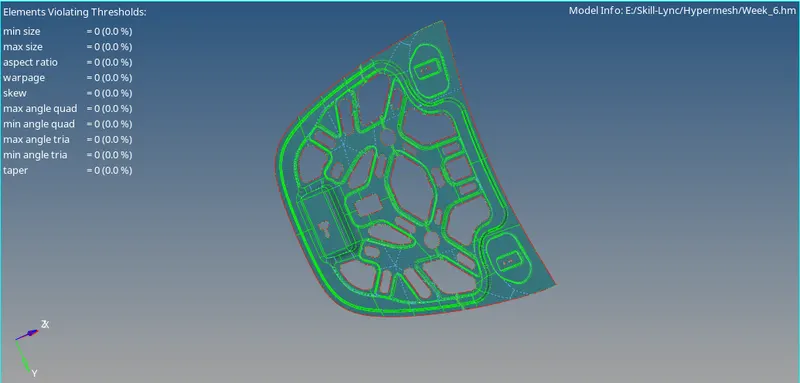
Following the steps mentioned above we can generate the mesh for the entire model. The mesh for all the components is shown below with the quality index:
- Latch component
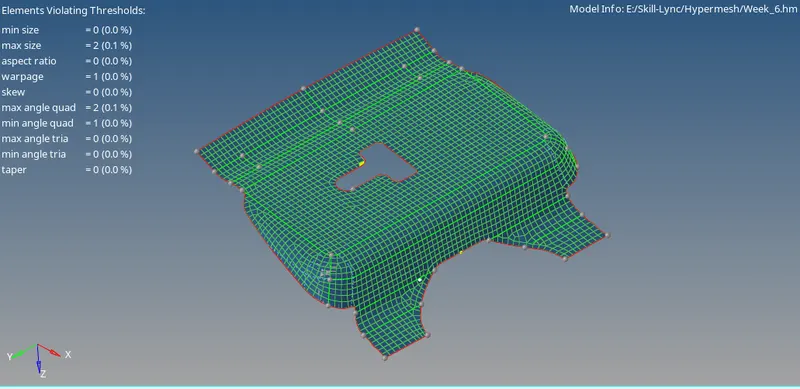
- Hinge component
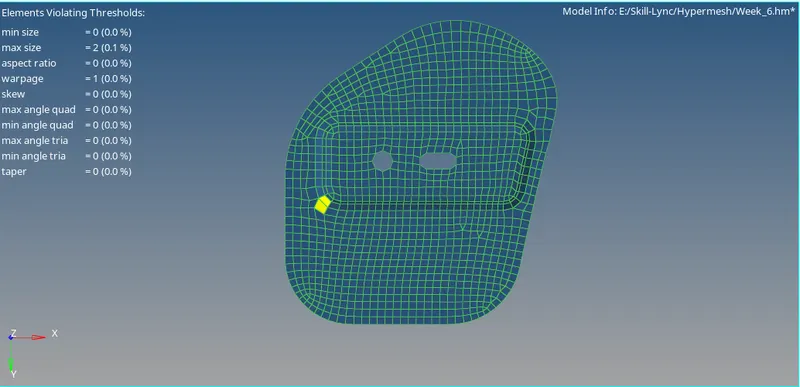
- Outer component
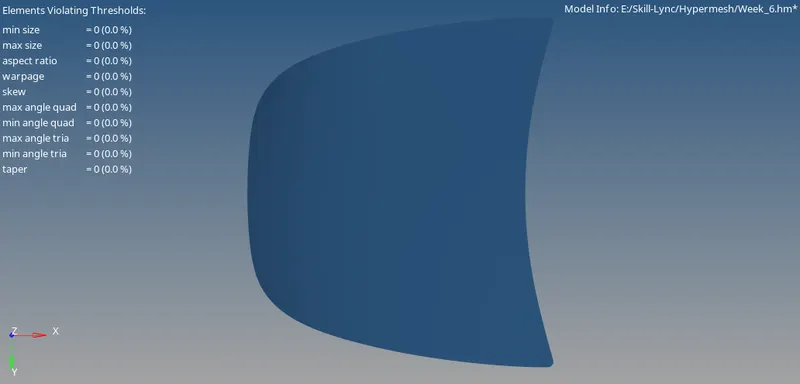
- Inner component
Note:
- It must be noted that the attached file includes only the half of the outer component mesh. This was done as I was not able to save the final model with all the components mesh as the no of nodes was exceeding the limit in student version (as in the fig below).
- I have also attached 2 seperate hypermesh models with the one showing the 3 components (inner, latch and hinge) and the other file with outer components only.