Week 6 - Creating connection for Rear door
AIM: For the given Rear door FE model, Create and Apply different PIDs for different components.
OBJECTIVES:-
- TO Understand different types of connections.
- Different methods for implementing these connections.
- How to form weld and bolt connections.
PROCEDURE:
Import FE model
The FE model is in a .nas format so we need open it by using the 'input'
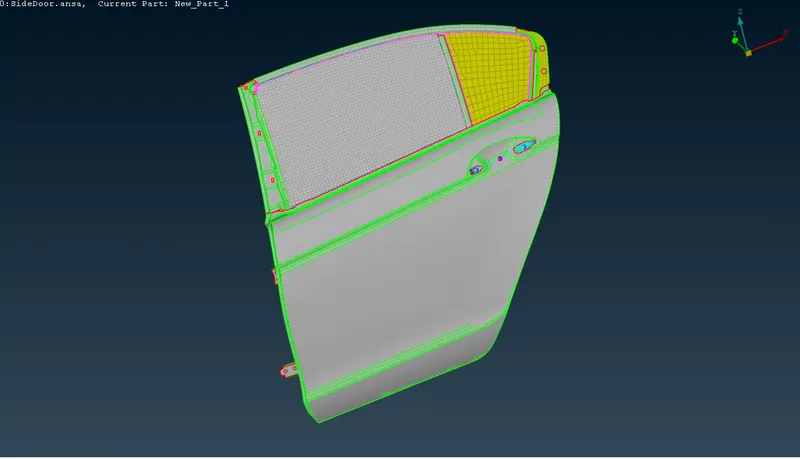
After the model is opened in the ANSA workspace, the connections are to be identified, and the necessary rigid, bush etc, connections are to be made to the model
The model is to be divided by setting new PIDs.
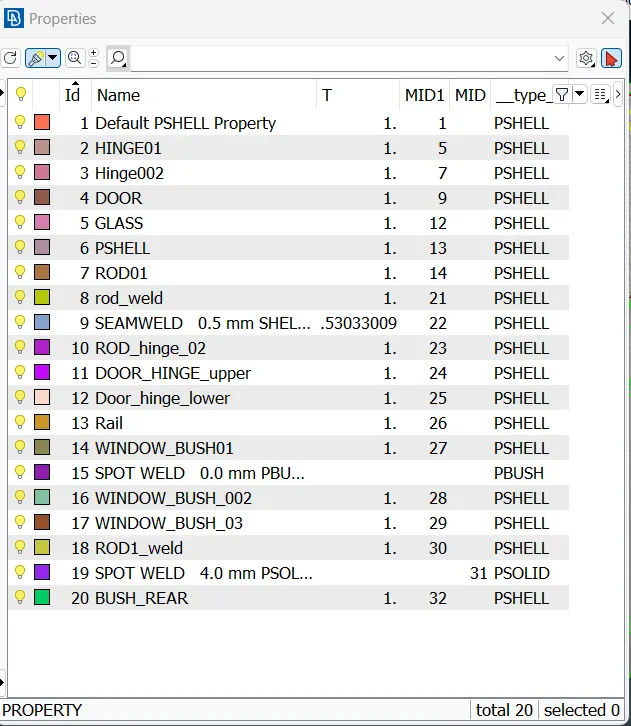
BOLT CONNECTIONS
We cover all bolt connections through the RB2 stem element. we will perform this connection by using the auto-mode for the selection of nodes.
- Under the Topo, module select the below point section to create a COG 3D point on any of the co-axial bolt holes.
- convert the 3D point into the bolt.
- Bolt representation of 3D point.
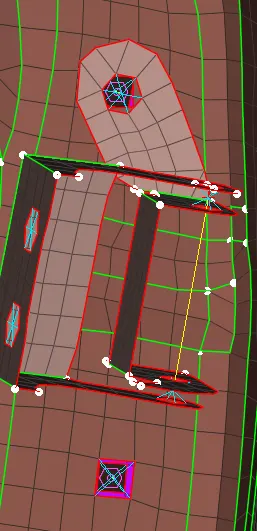
By using the connection manager we establish the rigidised connection.
y 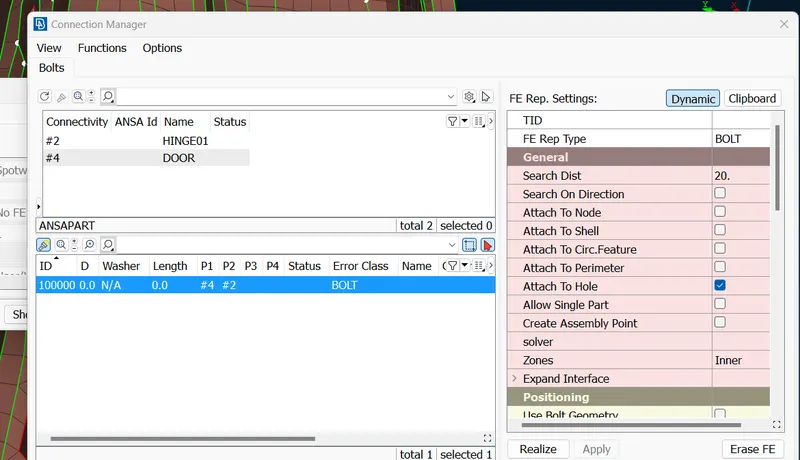
Hinge connection
connects the surface of the overlapping surface with the help of RB2 cluster element
Once the cluster RB2 elements are assigned the rotating link is made using a two-node RB2 element where the CM parameter represents the DOF here we assign 12345. As it is to be noted that 6 is intentionally not provided to allow rotation DOF about Z-axis. Therefore DOF in all directions is arrested to expect rotational motion about Z_axis, so as to allow the opening movement of the door
A similar process can be done for the lower hinge joint.
Open holes and slots connections
We will use RB2's many nodes option to rigidise those nodes. one by one we will select the open slots and holes any assign them many nodes RB2 rigid elements.
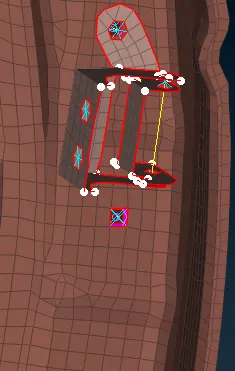
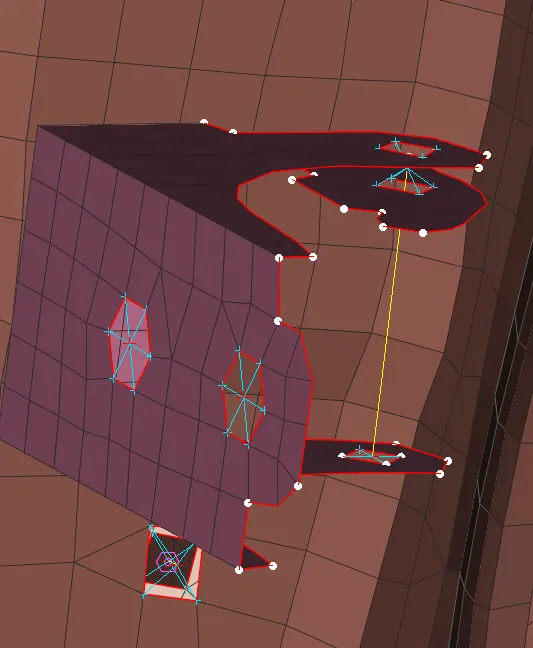
Handle connection
- Give many nodes RB2 handle slots and then connect the slot with two nodes
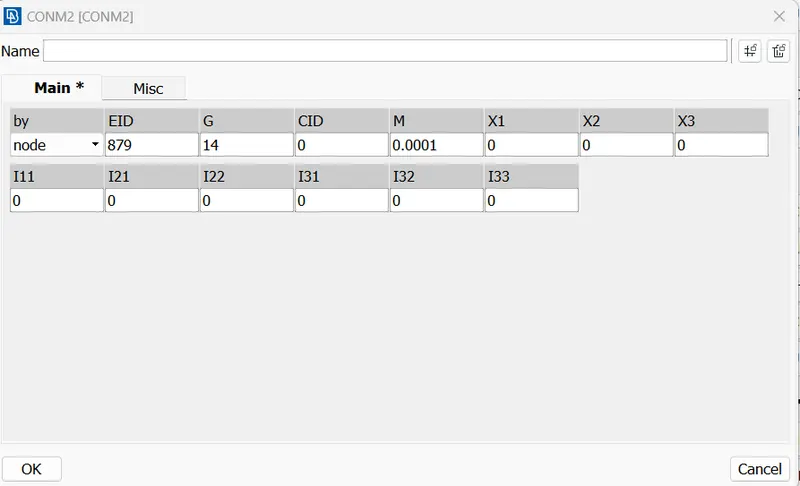
- Assign mass to the element at the COG
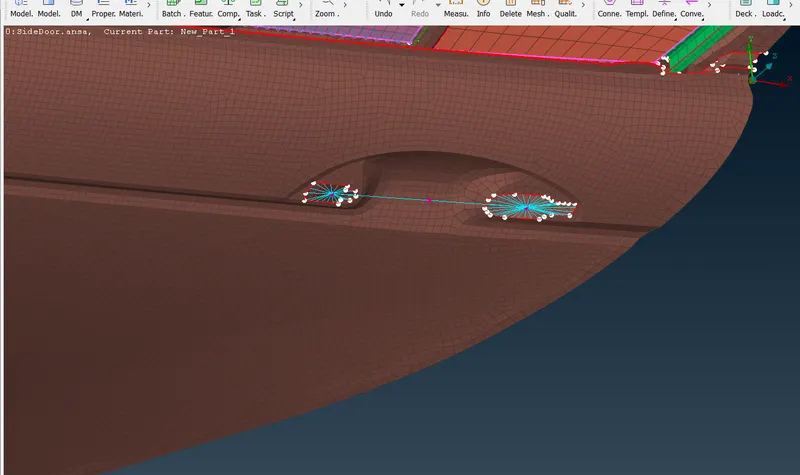
We need to assign the mass to the COG of the element connecting two slots with cluster nodes connection. For doing so we will use COMM2 & assign a value for mass ('M' as 0.0001 tons).
Weather seal with the window glass
Now we have to finally make connections for the weather seal strip and window glass. To do so we need to follow certain steps.
1) Hide the FE model except for the glasses.
2) construct the curve all around the glass edge using Feat2curve tab. Select each edge of the glass one by one to do so
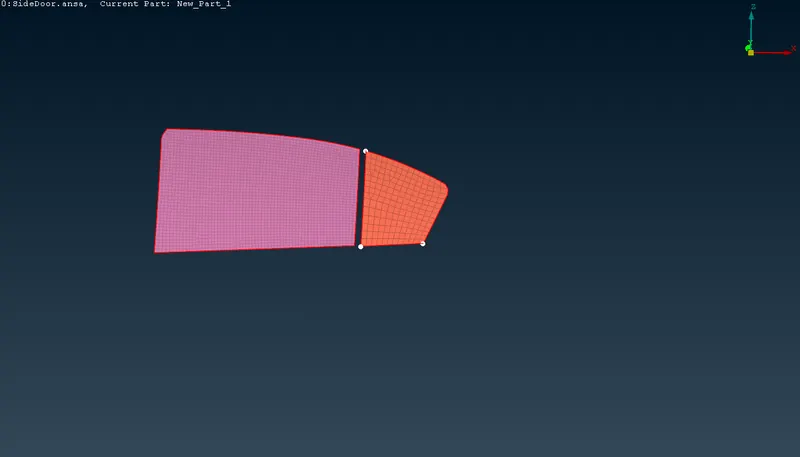
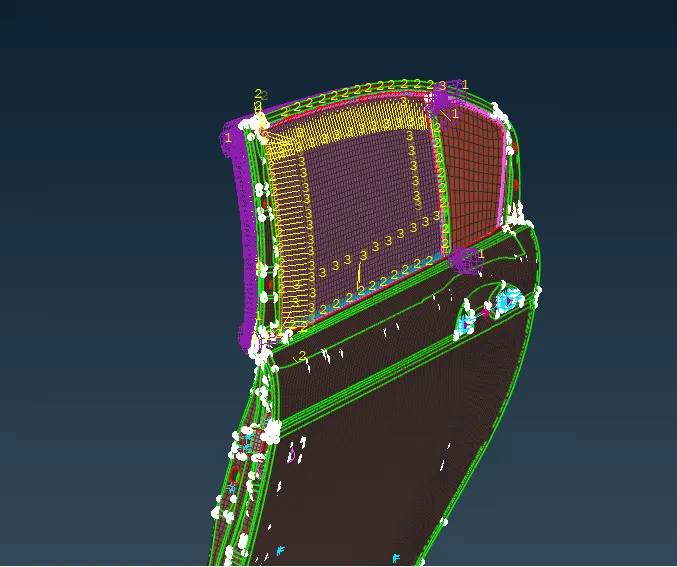
4)Go to the connection manager to assign a connection. we use the RB3-CBUSH-RB3 element to assign connection. Also, set the PBUSH ID (doorlinks) to assign the stiffness values.
note:
- set 'S' value as 10 and give search distance high to 50 as the distance is quite more between the glass and attaching surface.
- Transform copy the base curve to 10 unit so as to apply connection on both sides of the window base.
- the value k values will be given as per the solver requirements.
CONCLUSION:
After the completion of the challenge, it can be concluded that for any type of model understanding of the mechanism is very important. As the mechanism will decide in analysis ways to make decisions regarding assigning connections. The connection procedure is moreover the same for any type of model but the requirement to assign the connection may differ from model to model with the requirement of the analysis. So for the NVH analysis, the weather seal was important to capture and is captured in a pretty good way with help of the CBUSH element. Most of the areas are covered and are been rigidised as well as connected as per the requirements.
LEARNING OUTCOME:
- 1D element and types of connection
- Different types of methods to make connections
- Assigning mass to the Rigid body
- Aware of the working mechanism of the car door.
- assigning spot and seam weld to the surface
- Arresting required DOF of the element