Week 6- Challenge
AIM:
To generate a mid-surface and to create a mesh for the given hood model with the help of below given criteria.
Solution:
-The method carried out during the meshing of hood model are as follows:
i)To import the file
ii)To create a mid-surface on the hood model
iii)To give the quality criteria
iV)To generate the meshing.
Procedure are as follows:
-Initially we will have to import the file model which will be in(.stp format).Command used is file>import>geometry>browse the respctive file>click on import.
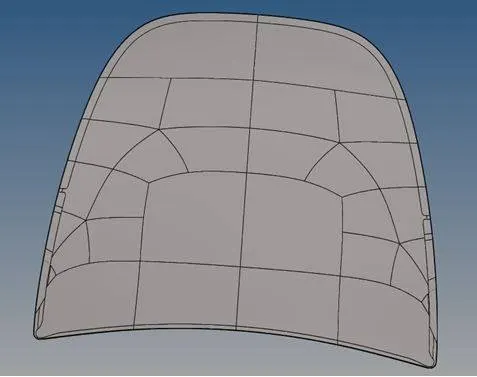
-finally we will see the file model displayed on the workspace.To fit the model perfectly on the work space click on "F" key.The model is displayed as below:
i)Outer hood component:
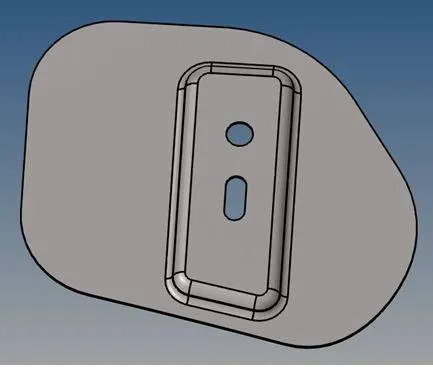
ii)Hinge body 1:
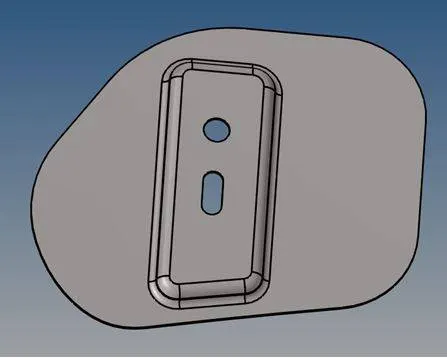
iii)Hinge body 2:
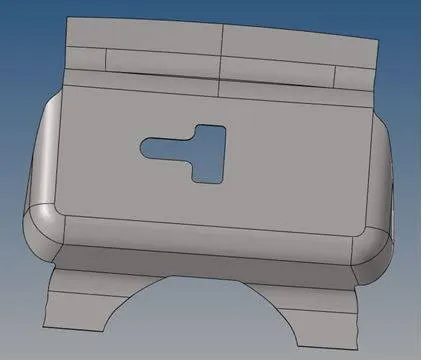
iv)Latch Body:
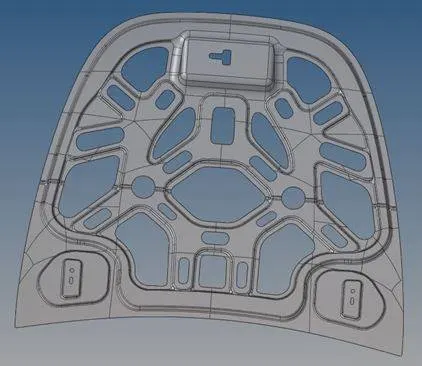
v)Inner hood component:
Overall component: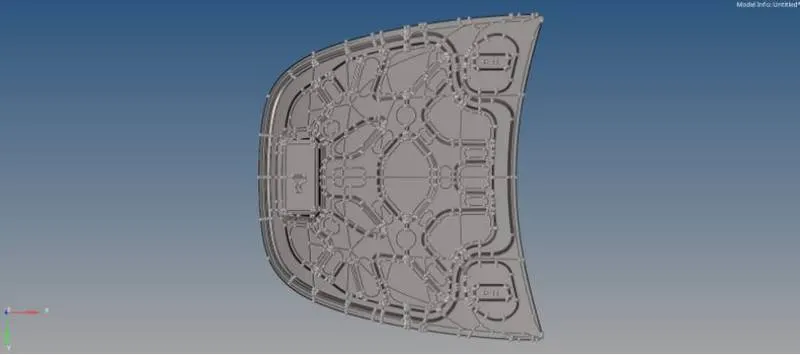
To create the mid-surface:
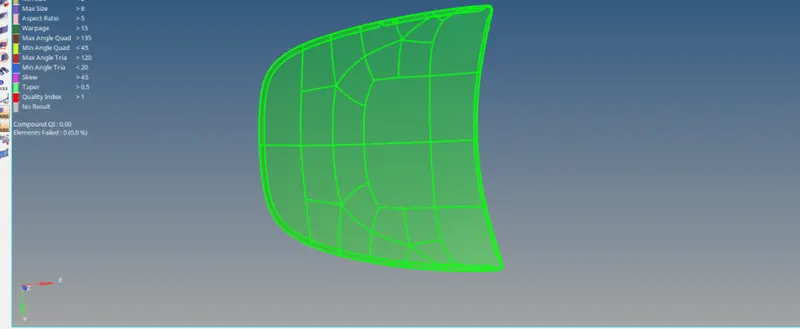
-To mid-surface the hood here we perfrom it by using the option auto mid-surface (command used Geometry tab>select mid-surface>select surfs option>Now select the surface in the model>finally click on extract.

-The selected mid-surface will be indicated in green colour and is shown as below:
-Now in mid surface option,select extraction option and select the skin off set option.

-Then go to auto-extraction,select the surface to which the mid-surface needs to be created.

-The extracted mid-surface components are shown below:
i)Outer extract mid-surface
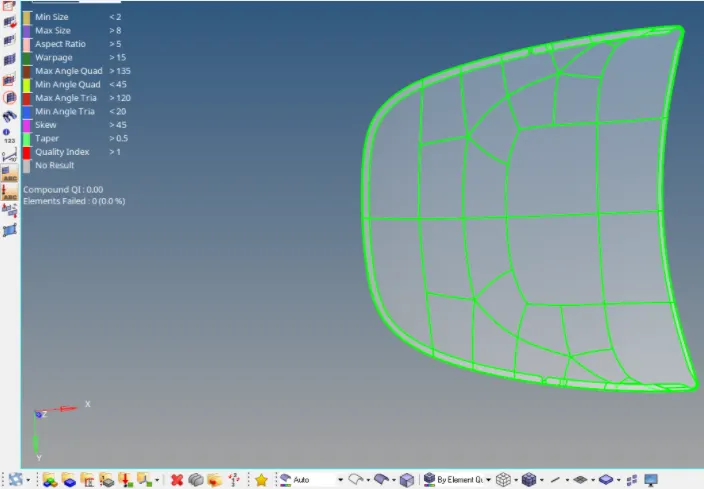
ii)Inner extract mid-surface: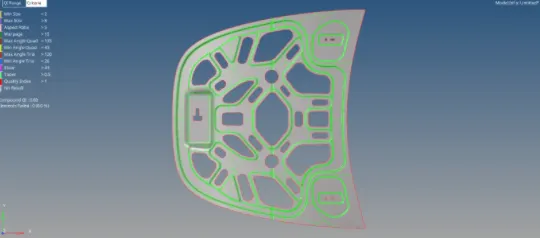
iii)mid-surface of latch part: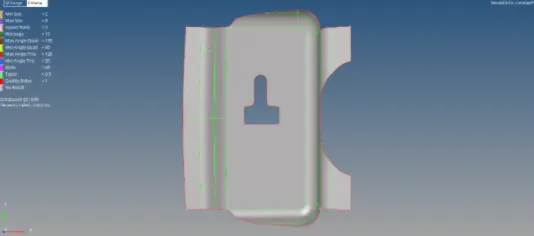
iv)mid-surface of hinges:
Frame 1:
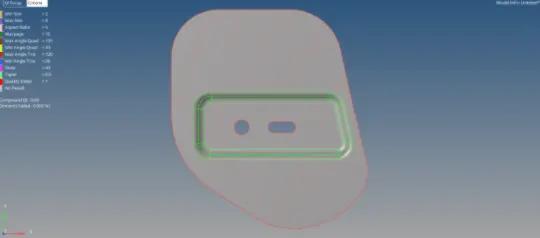
Frame 2:
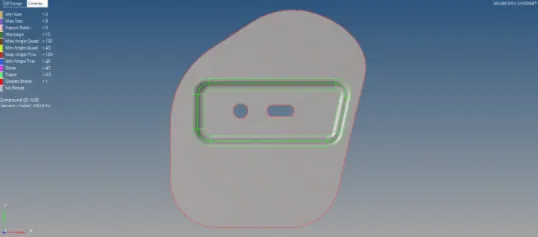
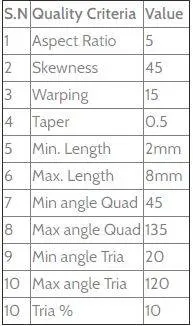
*To give quality criteria for the model component:
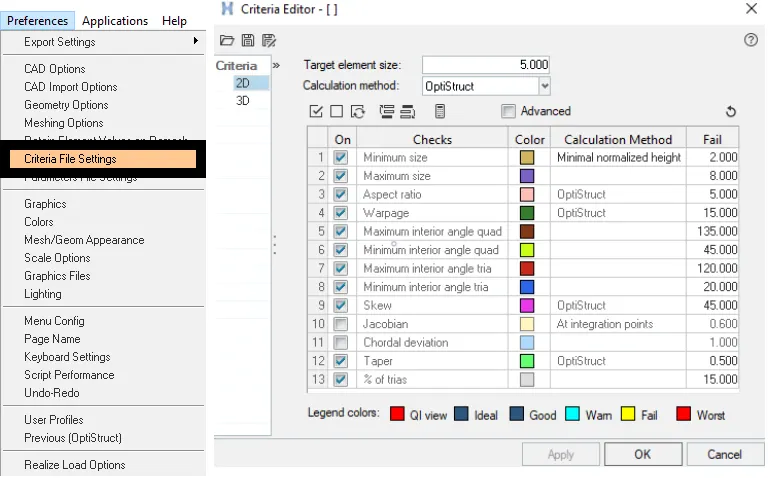
-The quality criteria for the above model is already given and is displayed as below:
-To open quality criteria,In status bar>preference>click criteria file setting>give the criteria>click apply>click ok.
*To generate the mesh:
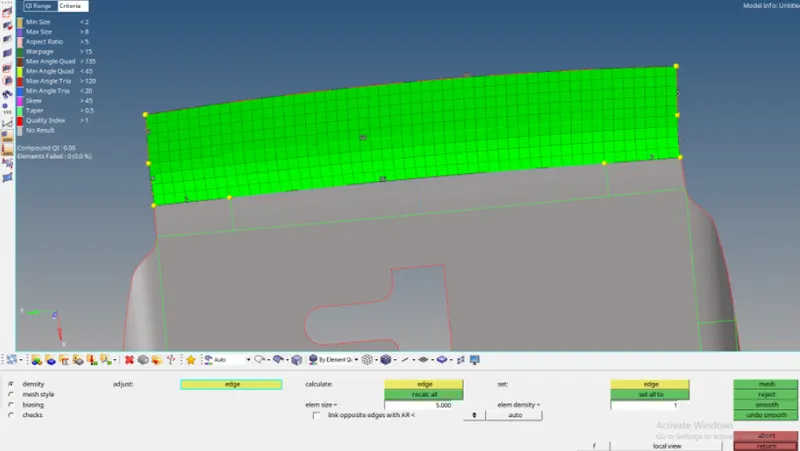
-Here we need to create the mesh at the mid-surface ,so that main part do not get affected and it can done by using the command,In main menu page 2D tab>automeshing>select surfs>give element size>select mesh type as mixed>click on mesh.

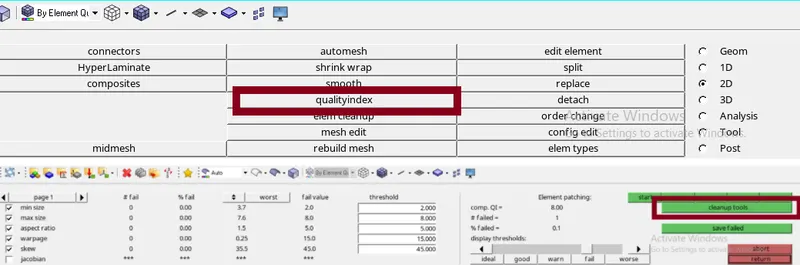
-Inorder to reconfigure the mesh quality,select quality index in 2D tab>select clean up tools (here tools are used to mesh for getting a proper mesh.
-optimizing the failed element: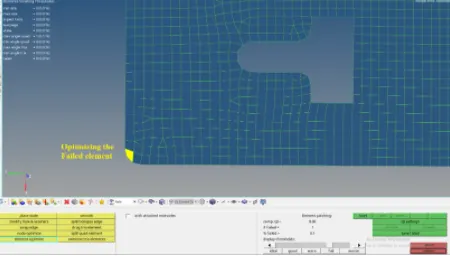
-After optimizing the failed element: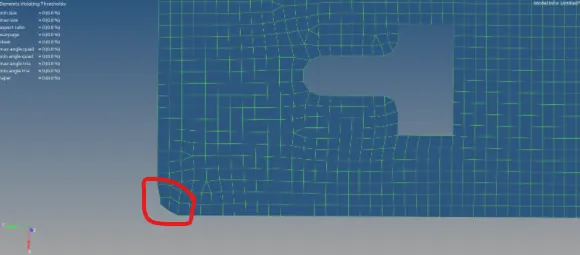
-Before draging the tria element to the opposite direction: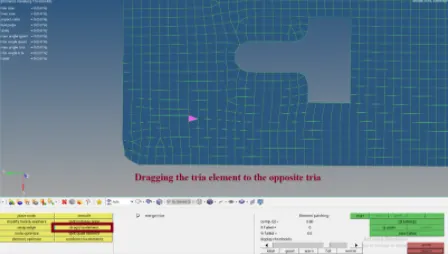
-After draging the tria element to opposite dierection,we can see that the elements getting cleared up.
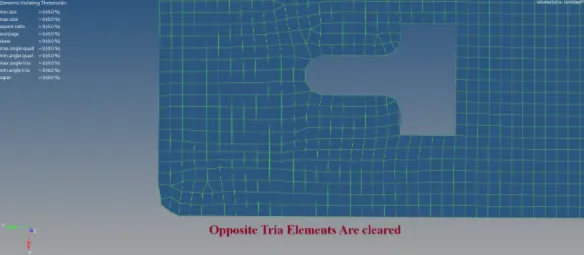
-Now we have to click on node 7 to assign the nodes ,select the node 1st and 2nd end and then select the nodes.
-To project the meshed line to featured line we make use of project tool by using the command Tool tab>select project>select to line>select the nodes>select the lines>click project.
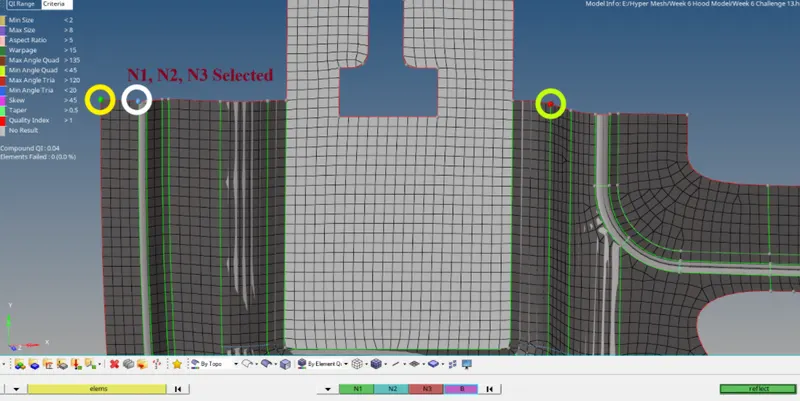
-To mirror the component reflect option is used.{command used:tool bar>select reflect>select the elements>select N1,N2,N3 and base points>click reflect.
Step1:
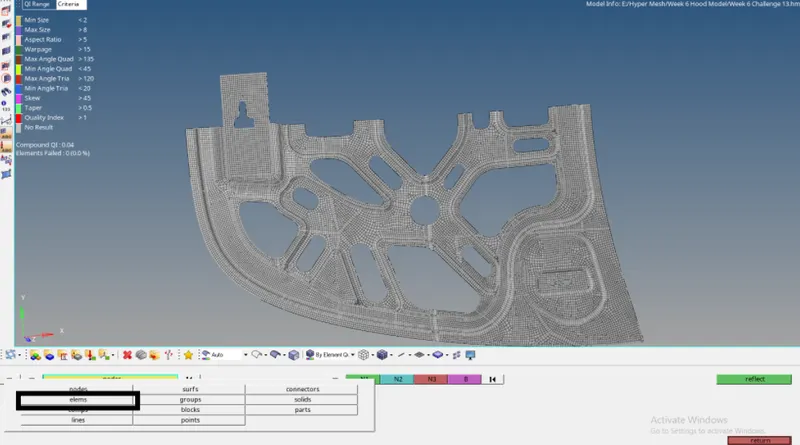 Step 2:
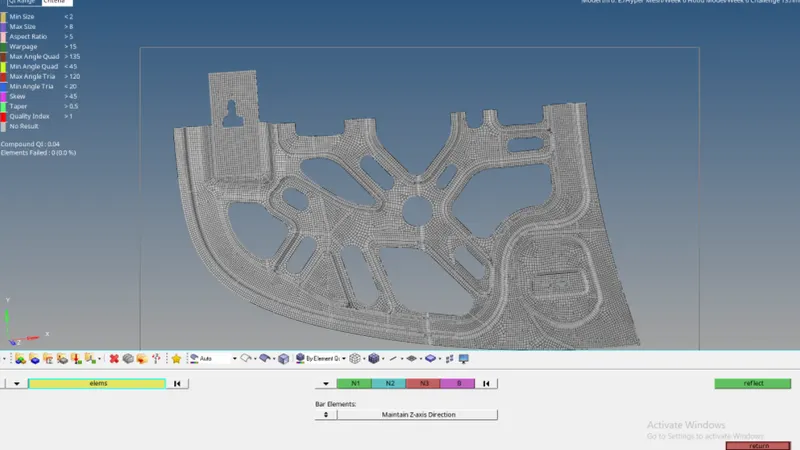
-Now after selecting the component to duplicate the part click on elems option.
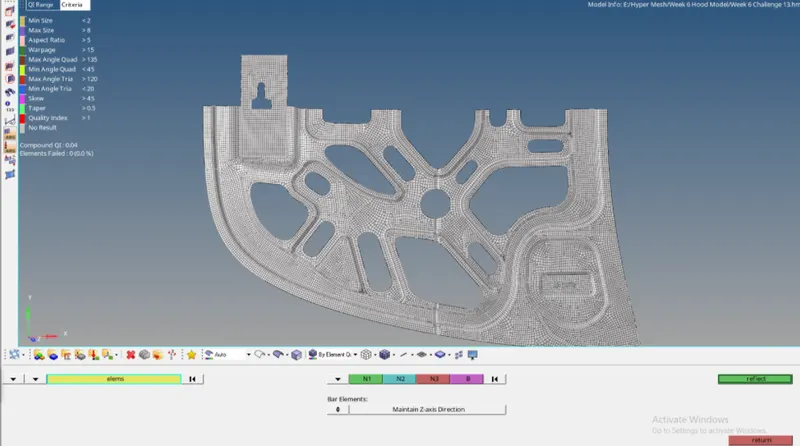
-Now procedure to duplicate the model image are listed below:
step 1:

Step 2:

-Now coming to the oreintation segment,we need to select the nodes N1,N2,N3 and base element (B) respectively.
Step 1:selection of orientation:
Step2: After reflection is completed:
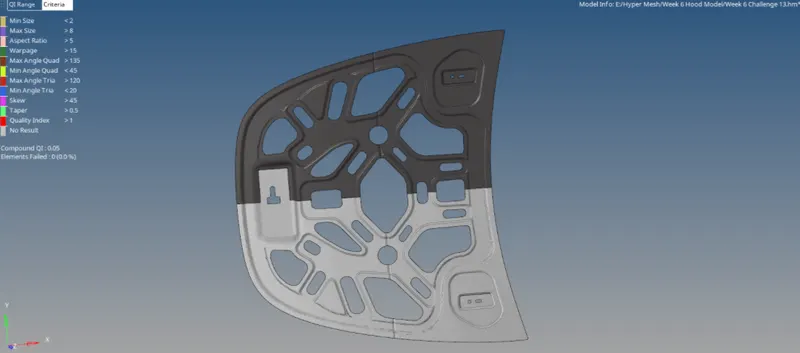
-Now after reflection is completed ,we need to check whether there is any free edges in the component by using the command Tool bar>Select reflect>select comps.>Find edges.

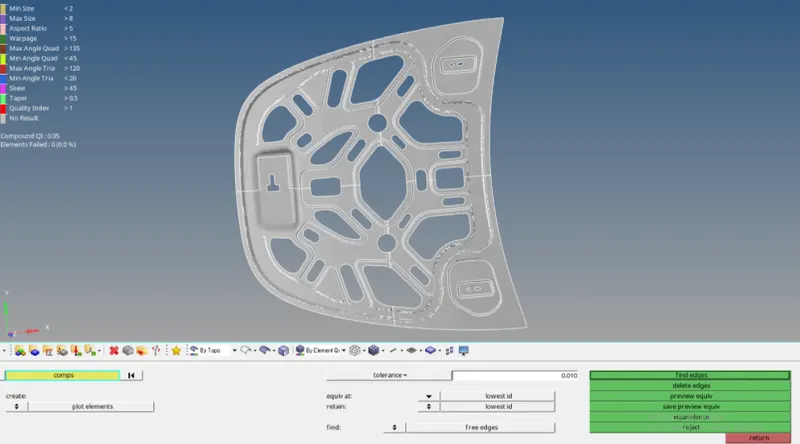
-To create the equivalance of the component,select the component>Click preview Equiv>click on equivalance.
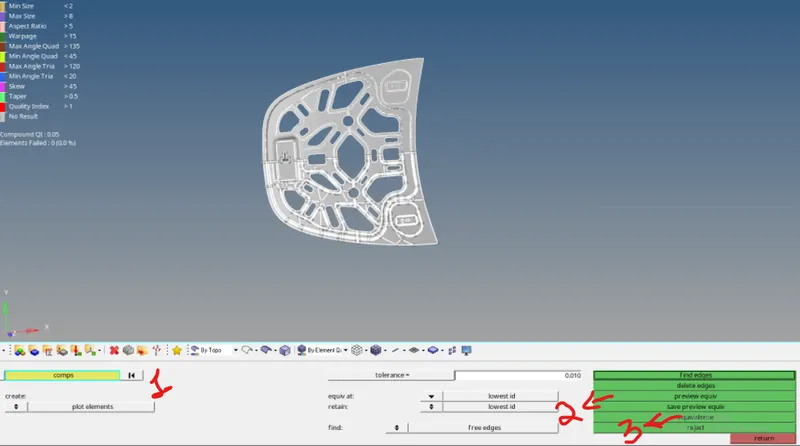
-After select the equivalance is done we will the image as below format:
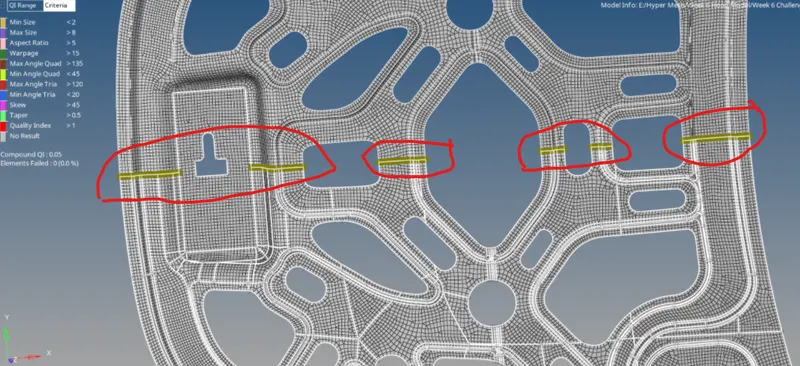
-The above red colour indicates the equilance at various points on the hood component.
*Results/Output:
-The output of the hood compoenents after meshing are as below:
-Inner hood component:
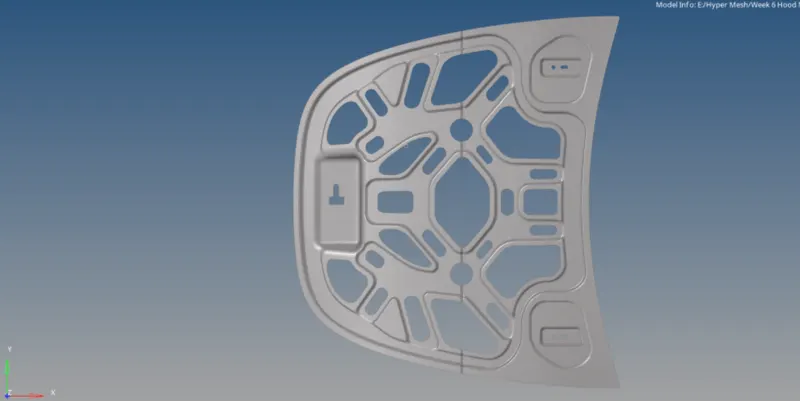
Hinge 1 :
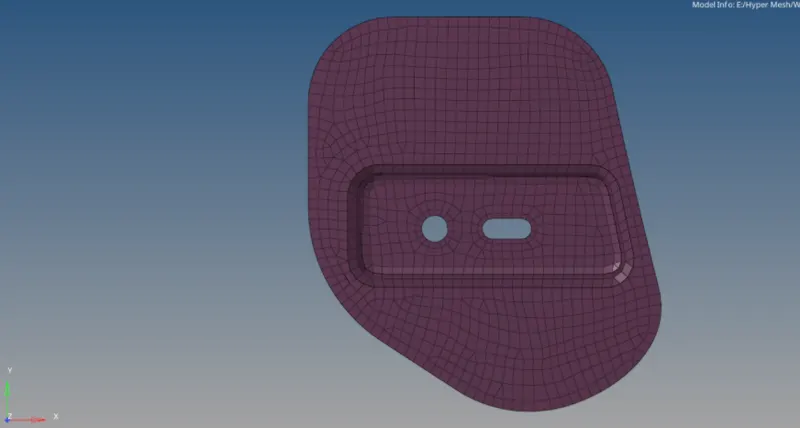
Hinge part 2:
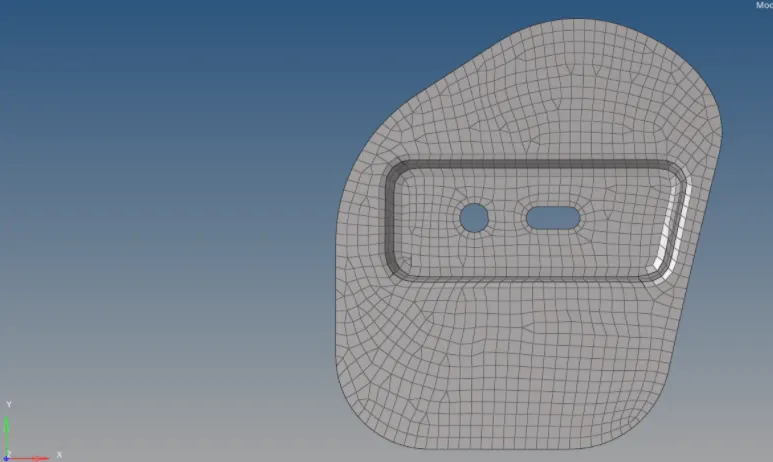
*Latch meshed component:
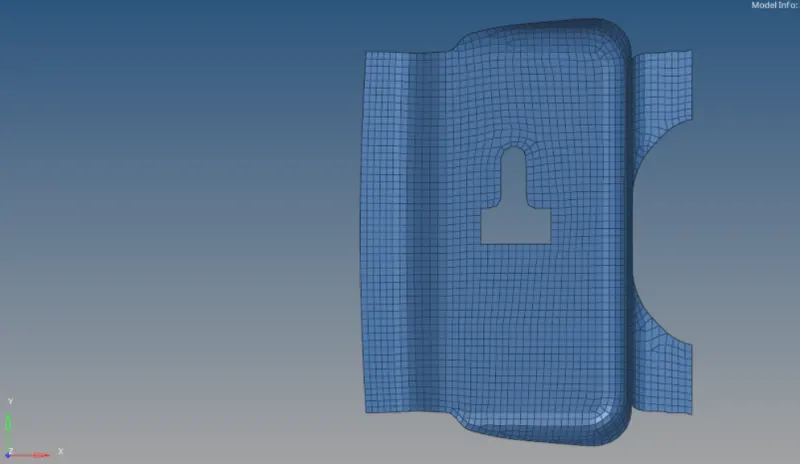
*final component: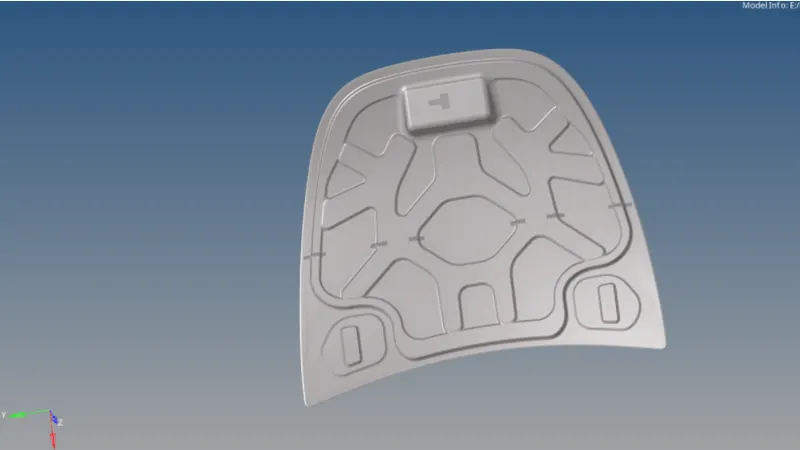
-Hence we were able to mesh the component sucessfully by creating the mid-surface,learned how to mesh properly by the given parameters.