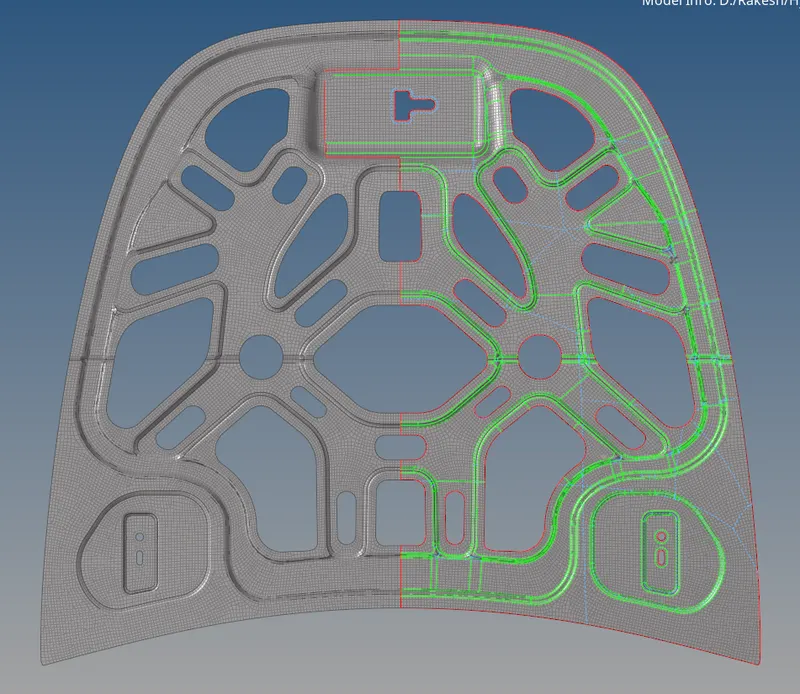
Meshing of Car Hood using Hypermesh
2D Meshing of Hood Model
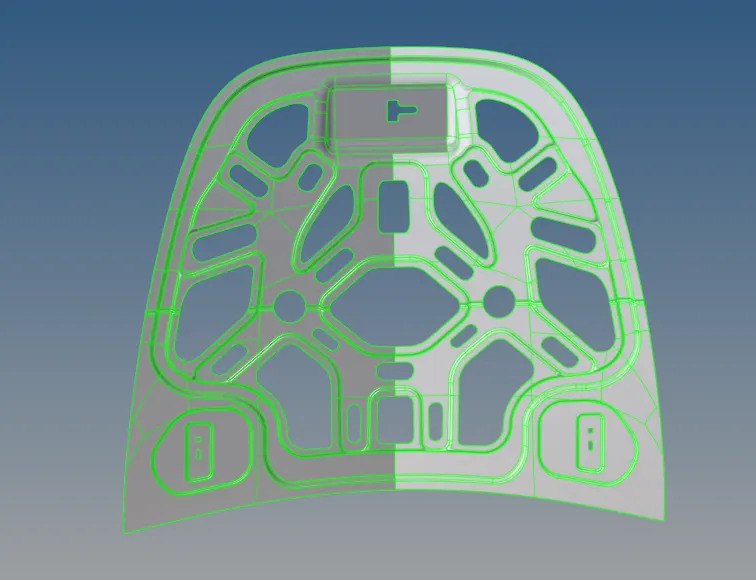
The given model was loaded in HyperMesh and the model looks as follows:
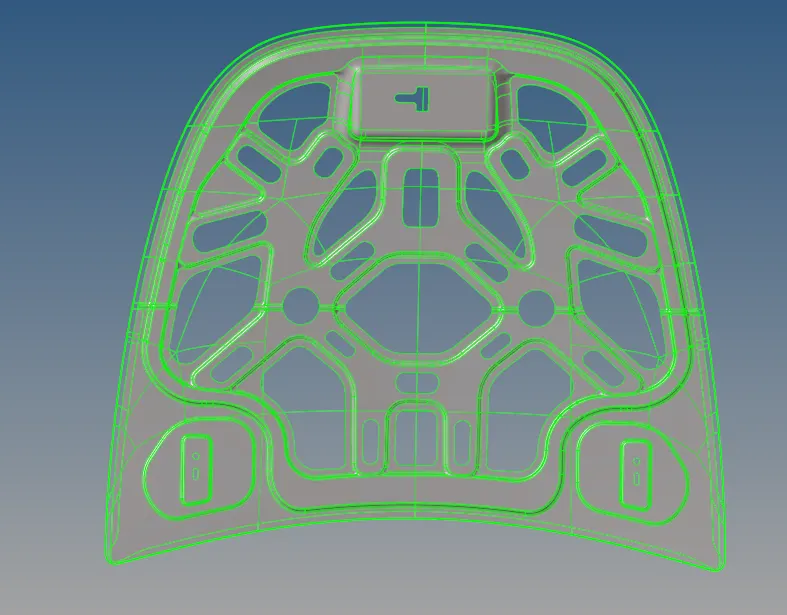
The given geometry has solid parts in it. (the image shows the thicker lines representing the solid parts in the geometry)
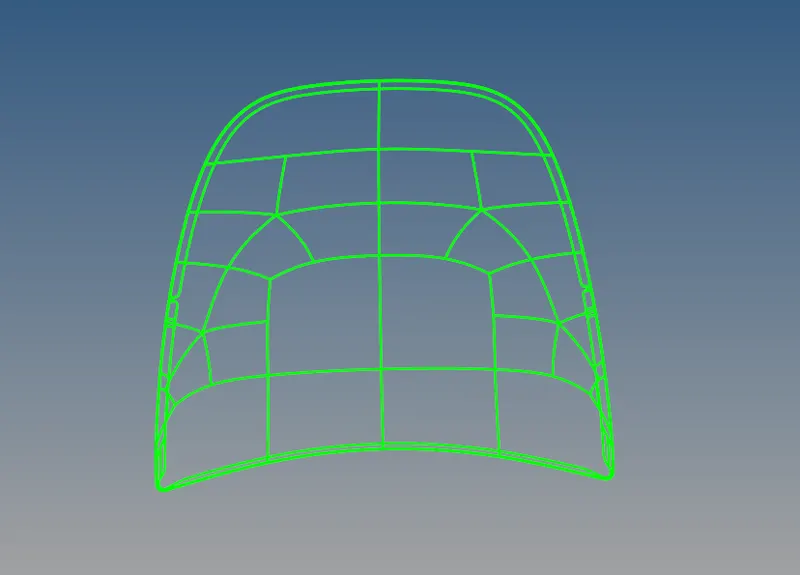
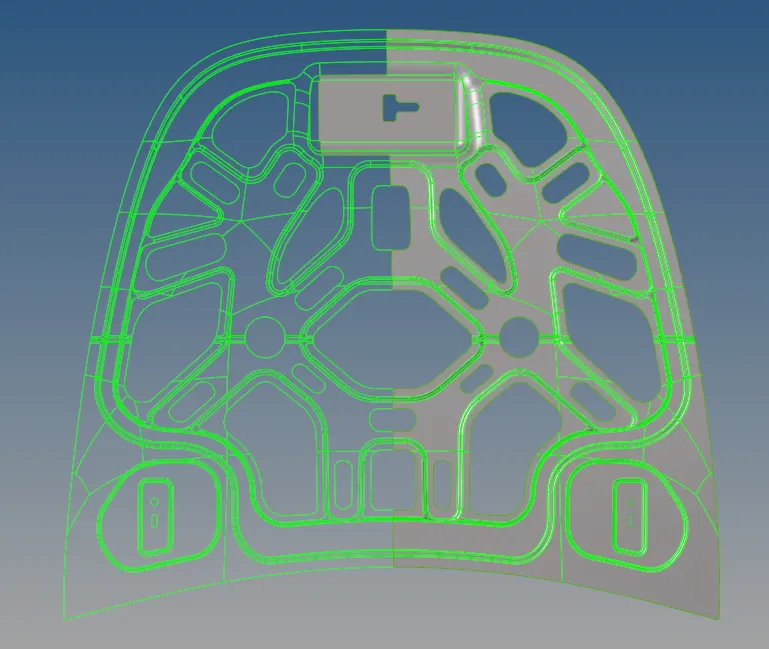
For 2D meshing solids are not required, therefore solids are deleted and the image below shows the thinner lines compared to the previous image suggesting the solids are deleted.
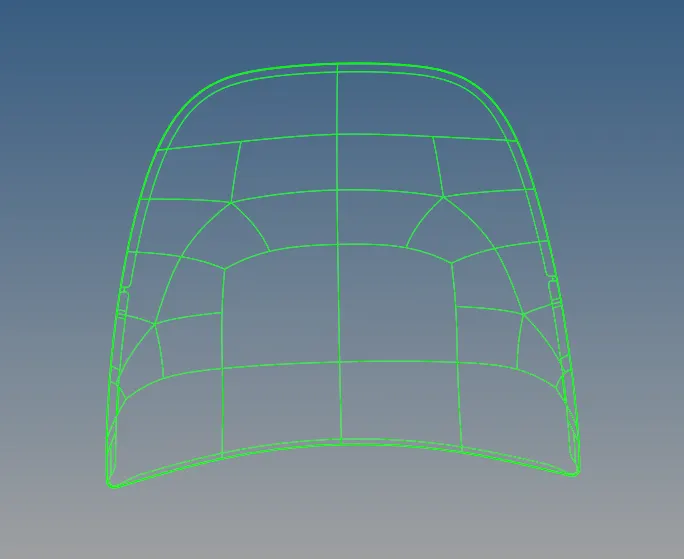
The given model has 5 parts of which 2 major parts are symmetrical, therefore only half of the geometry is considered for midsurfacing and meshing, later it is reflected in another half.
Midsurfcae is done using the offset option in the surface by selecting the areas as follows:
The mid surface generated for the inner panel is as follows:
It is seen that some surface selection was done wrong and are part of the other half (shown in the image below)
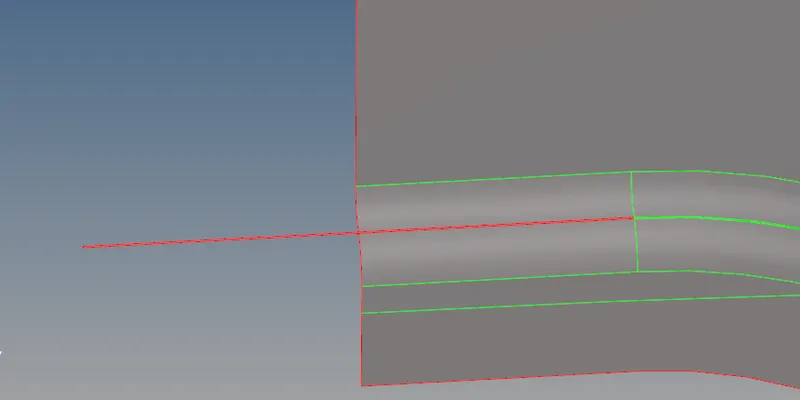
The extra part extracted is deleted and perfect symmetrical half is obtained.
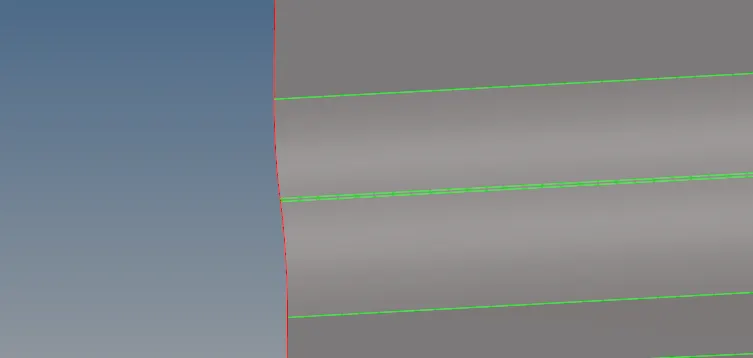
The mid surface generated is assigned thickness and the material card is updated as follows:
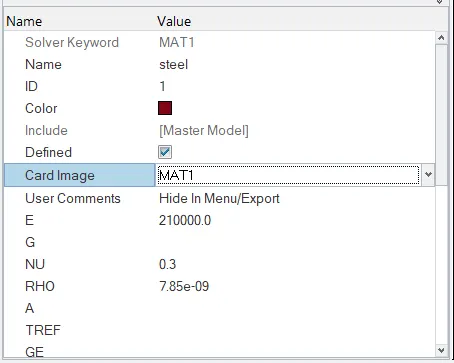
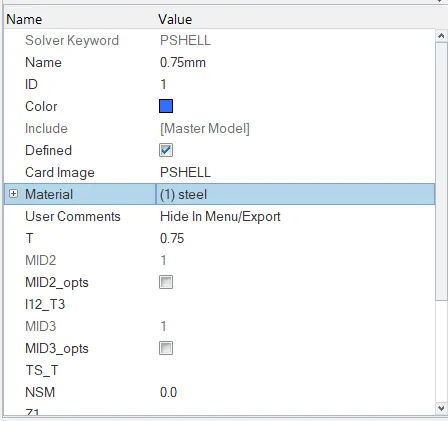
The material card and property card are assigned to the mid surface:
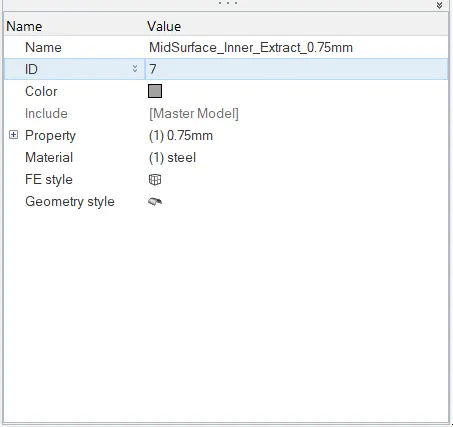
Similarly, the outer panel mid surface is taken by considering only half of the geometry.
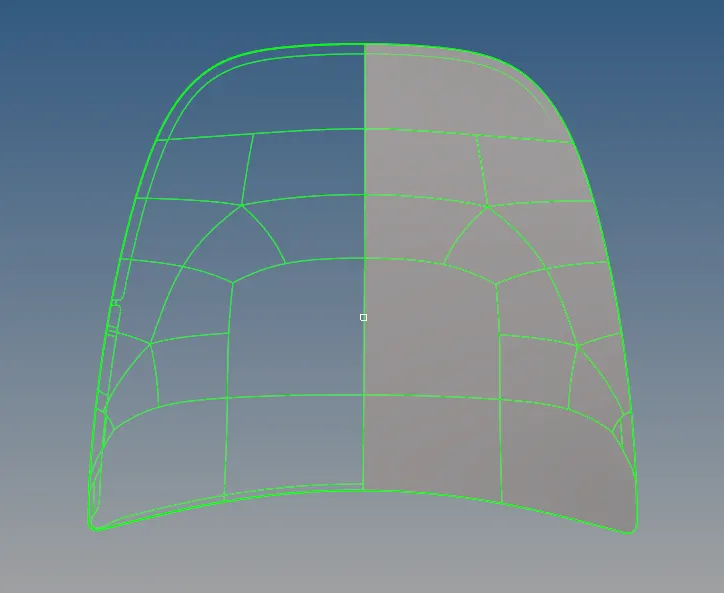
Since the material used and the thickness is the same as that of the inner panel, the same material and property cards are applied.
The mid surface of the latch and the hinges are extracted in the same manner, but these have different thicknesses.
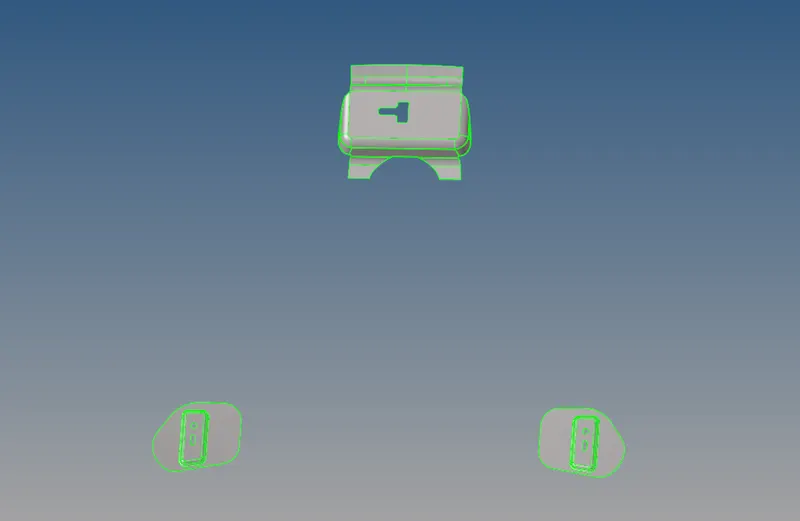
The mid surface of the latch and the hinge
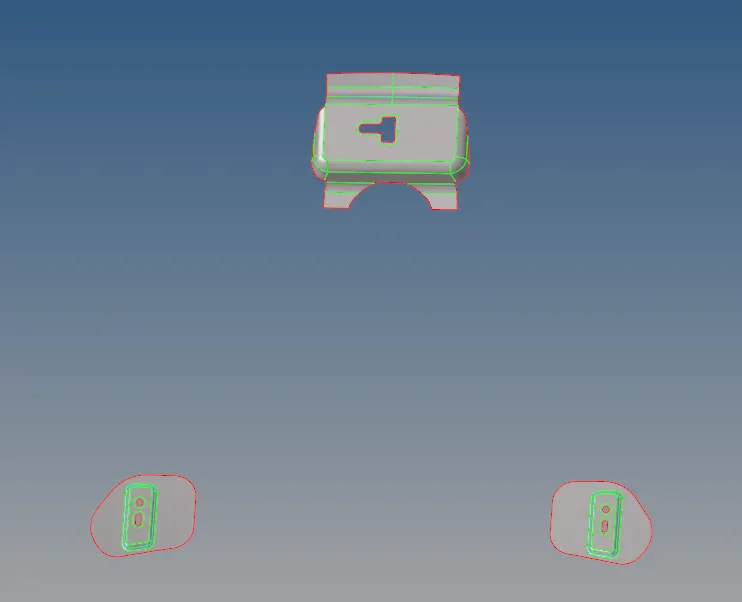
These three parts have different thicknesses, so a new property card is created with the same material card.
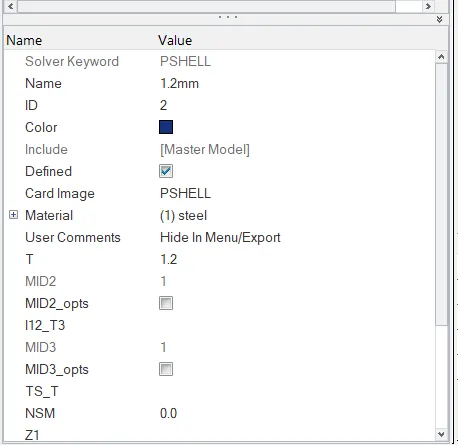
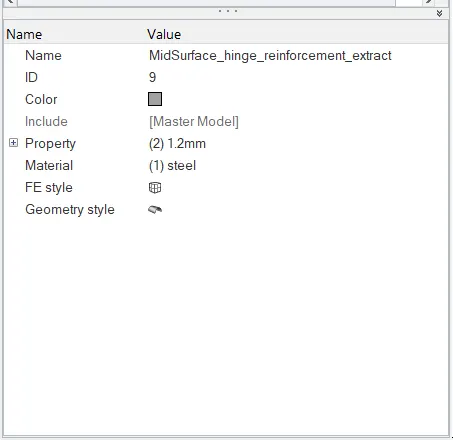
For the good flow of meshing and to avoid element failure, the construction lines are removed and the defeaturing of the surface is done at certain areas in the geometry as follows using quick edit tools:
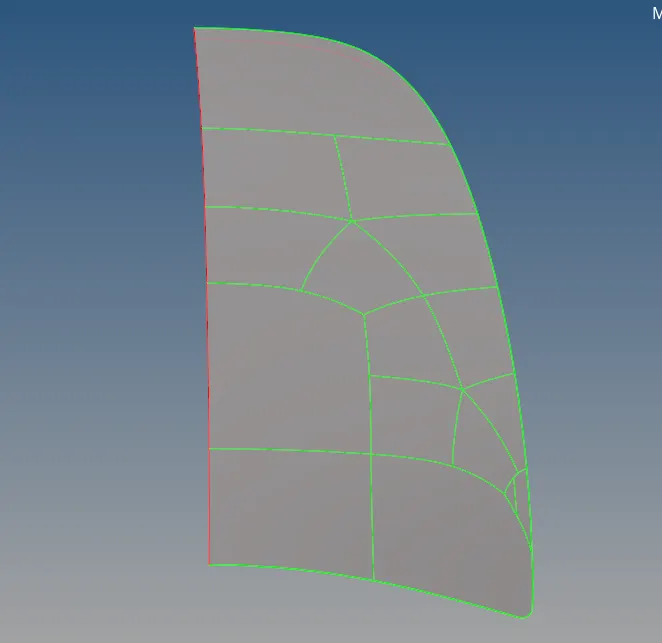
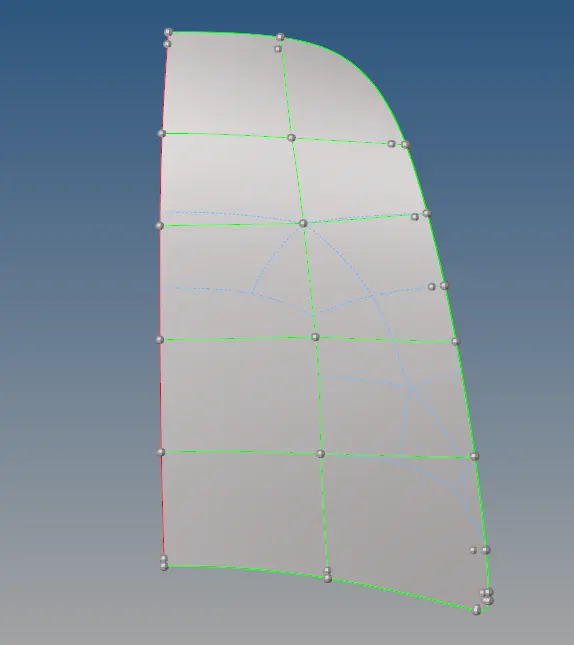
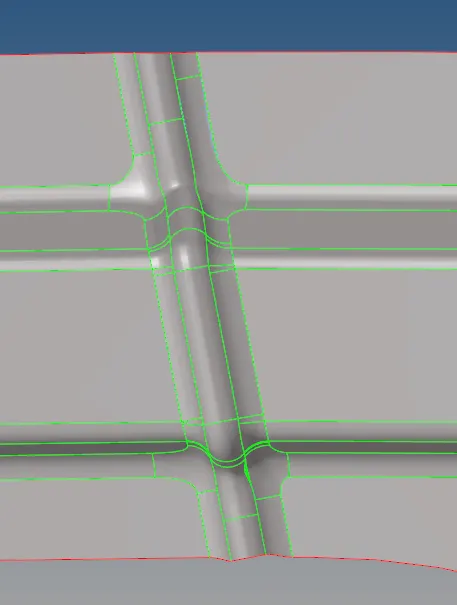
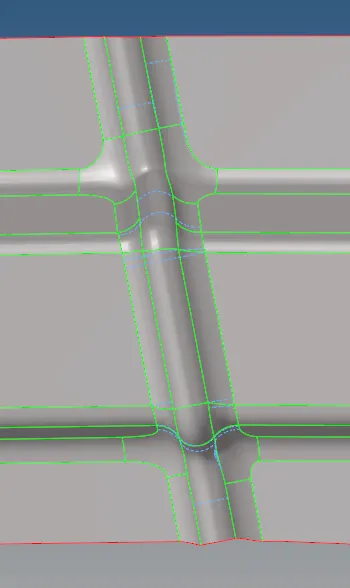
After the geometry edits the 2D meshing is done. The quality criteria of meshing are as follows:
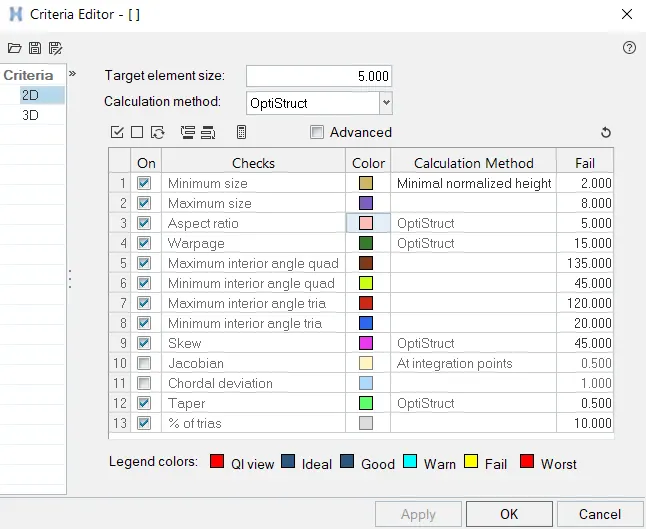
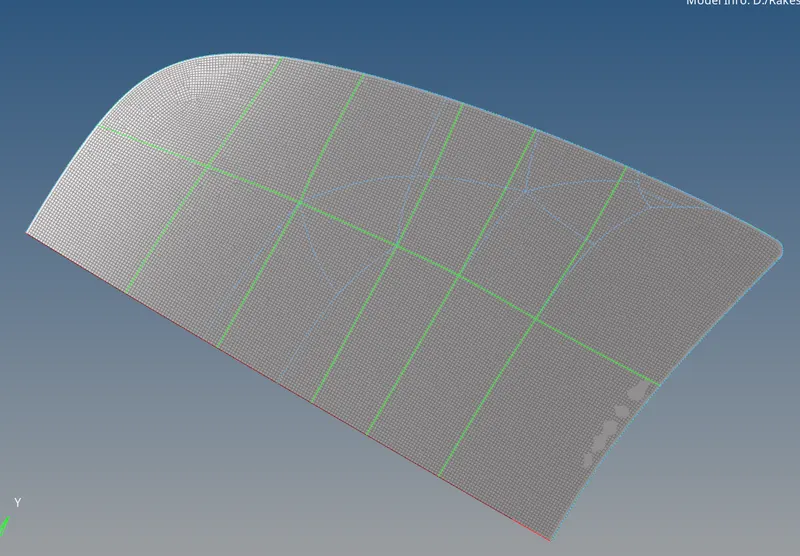
Using automesh option the mid surfaces are meshed. To have better flow the areas where the flow is bad are remeshed using automesh and rebuild mesh options.
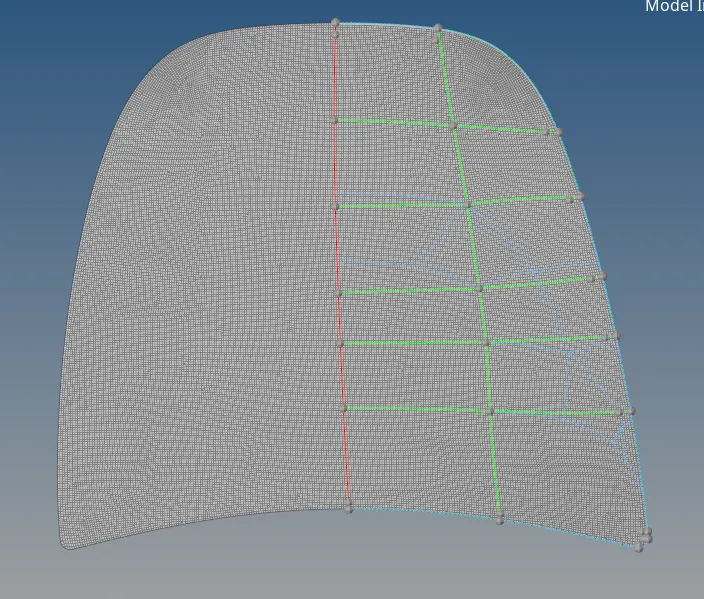
The elements are reflected on the other side and the reflected mesh looks as follows:
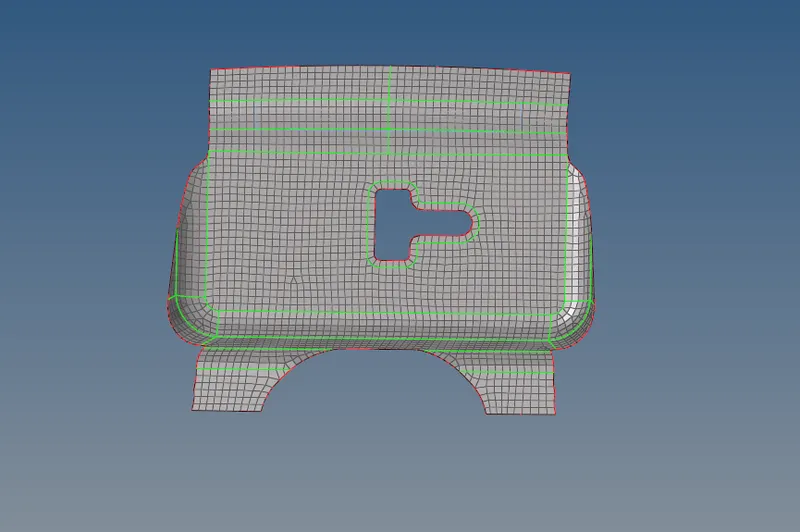
The latch and the hinges are also meshed in the same manner.
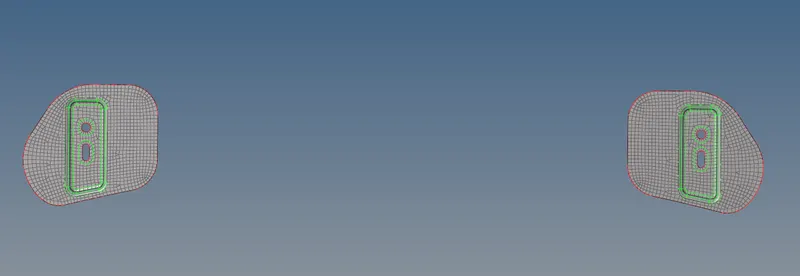
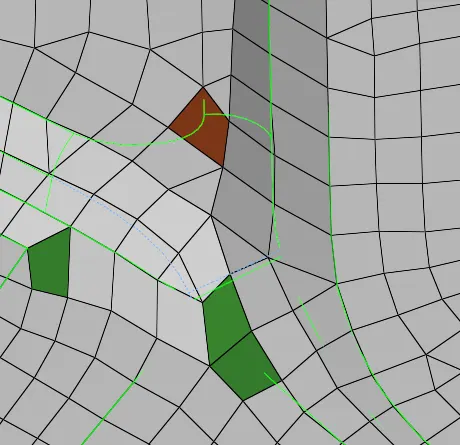
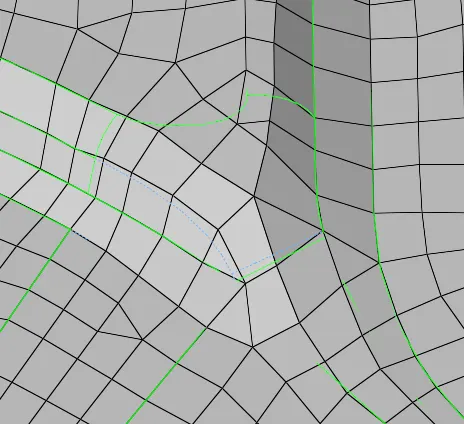
The inner panel has many complex areas, where just using the automesh and rebuild mesh option is not enough, using cleanup tools in the quality index the elements are edited to satisfy the quality criteria.
Image 1 shows the failed elements, the image2 shows edited elements using cleanup tools.
The inner panel after meshing and reflecting the other half looks as follows: