Meshing car Hood in Hypermesh
Objective:
- To create seperate midsurfaces for each component of the Hood model and assign proper thickness to the components
- To generate 2D mesh on the midsurface
- Follow the quality criteria and eliminate all failing elements
Procedure:
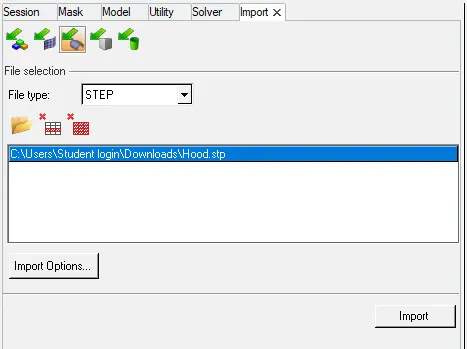
1. Import the model in Hypermesh
The model is .stp file, import it with geometry option.
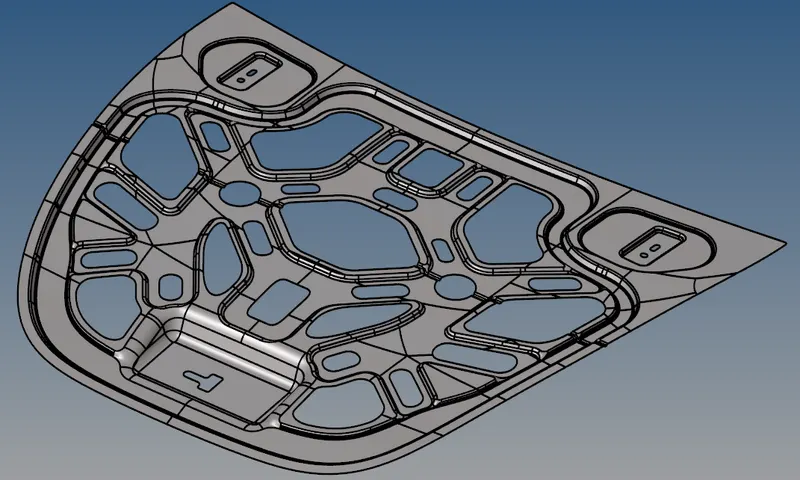
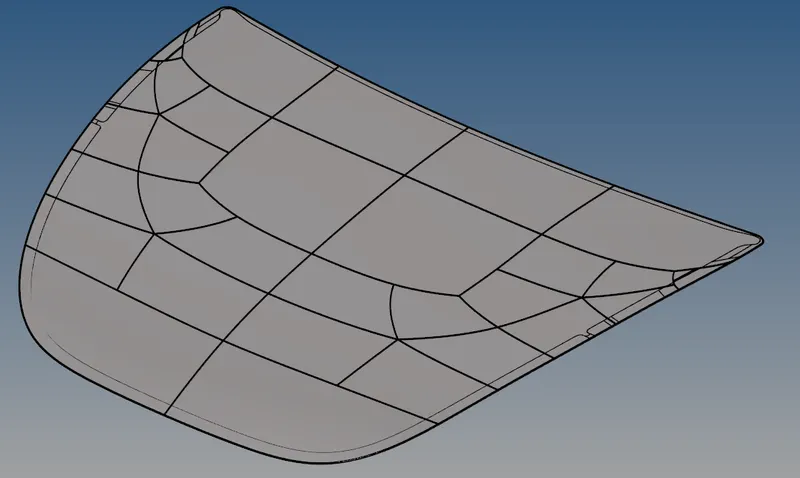
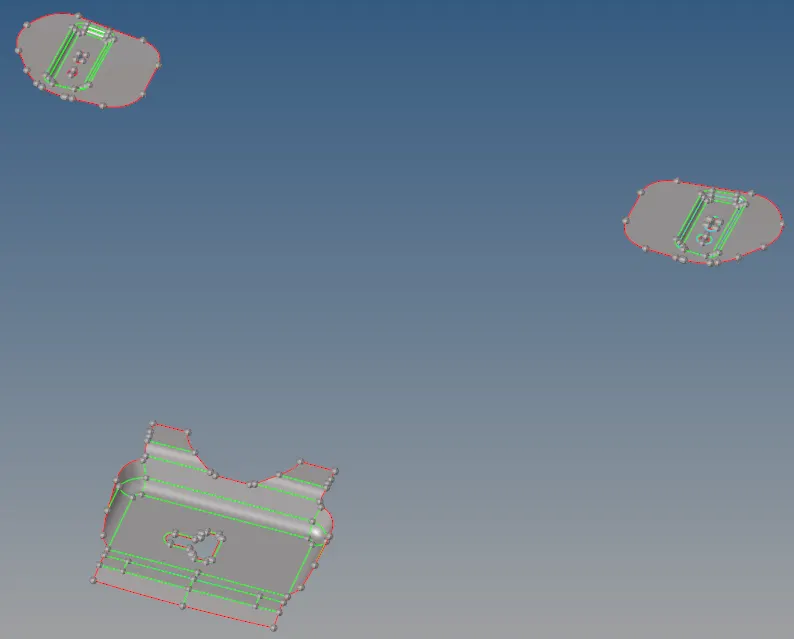
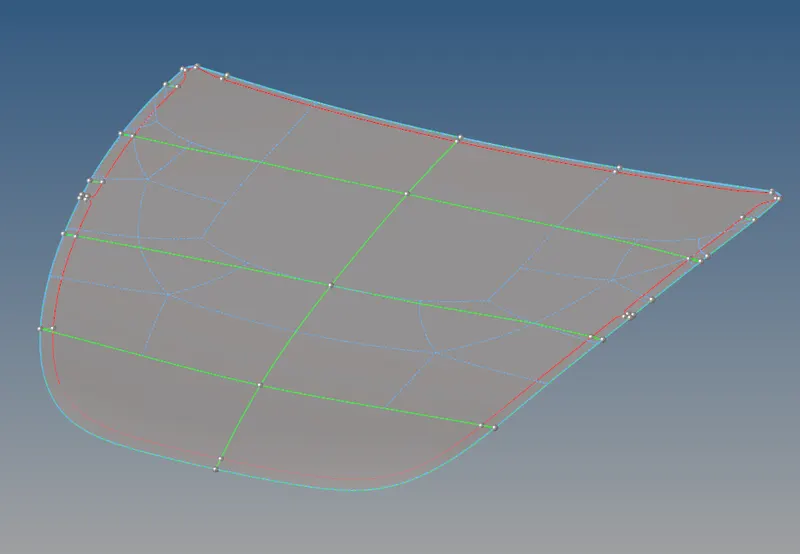
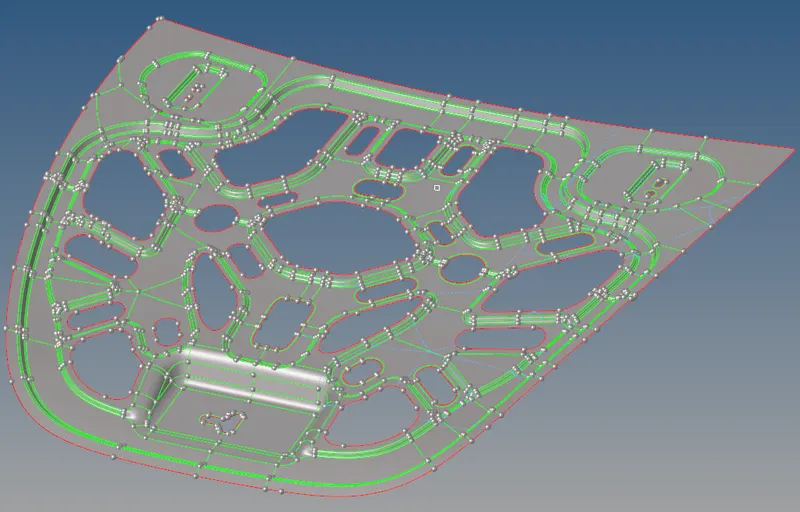
After importing we see that the hood is made of five components, two hinges, a latch, inner extract and outer extract.
Latch and two hinges:
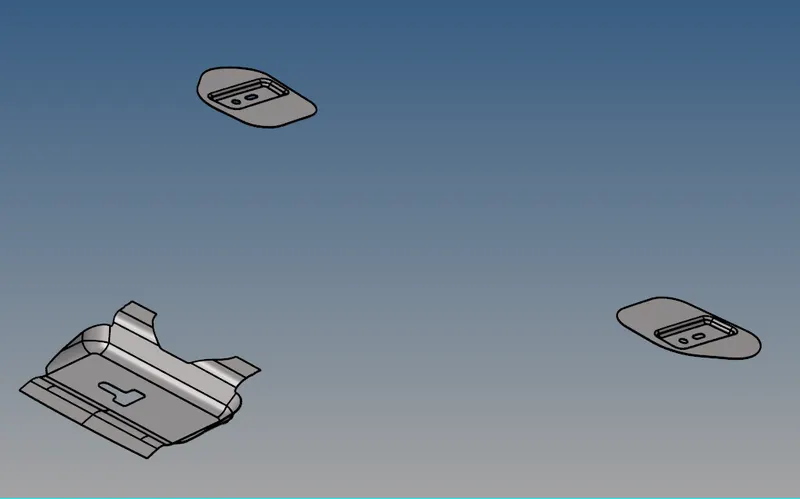
Inner extract body:
Outer extract body:
2. Geometry cleanup:
Check for geometry errors and eliminate if any. There were no errors found in the geometry.
As we can see there are solids in the model and we cannot extract a proper midsurface from solids. Hence we delete these solids and only surfaces are left in the model.
3. Midsurface extraction:
Using the automidsurface generates a good midsurface of the component with while capturing all the features.
4. Meshing:
For meshing the components we have been given quality criteria as follows.
Target Element Length = 5mm
| S.N | Quality Criteria | Value |
| 1 | Aspect Ratio | 5 |
| 2 | Skewness | 45 |
| 3 | Warping | 15 |
| 4 | Taper | 0.5 |
| 5 | Min. Length | 2mm |
| 6 | Max. Length | 8mm |
| 7 | Min angle Quad | 45 |
| 8 | Max angle Quad | 135 |
| 9 | Min angle Tria | 20 |
| 10 | Max angle Tria | 120 |
| 10 | Tria % | 10 |
We can set the given quality criteria under Preferences:Criteria File Setiings.
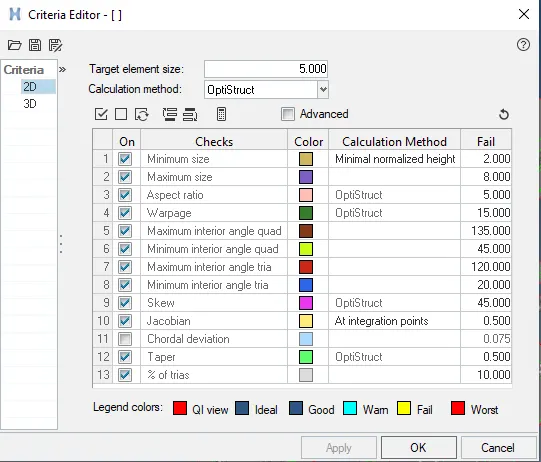
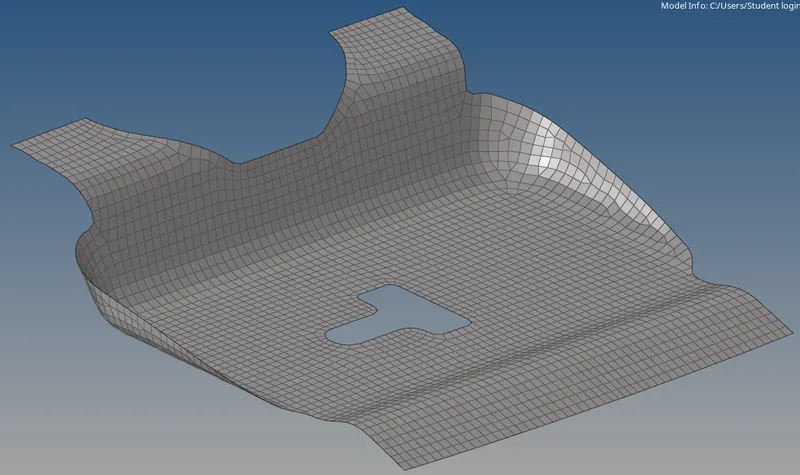
For meshing we use automesh option in the 2D deck and by setting the type of elements to mixed and element length to 5mm we can mesh by selecting the surfaces and elements.
When we begin meshing we can enable the quality criteria under element color mode:by element quality. This will show the failing elements instantly as it changes the color of the failed element.
a. Latch:
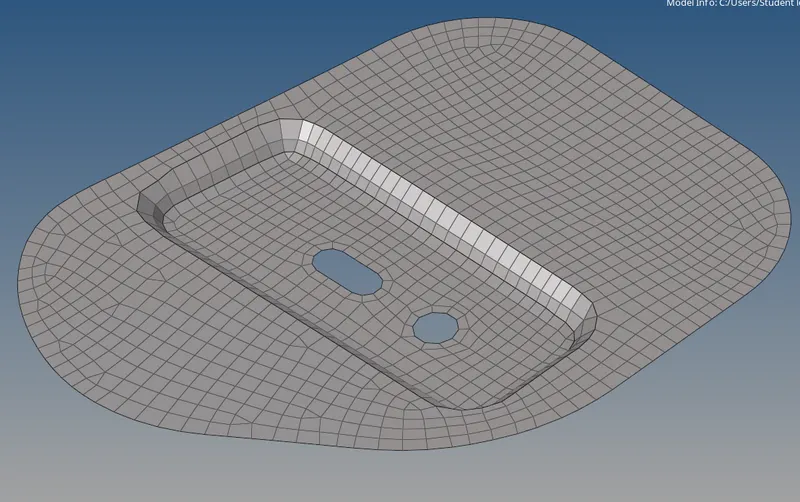
b. Hinge:
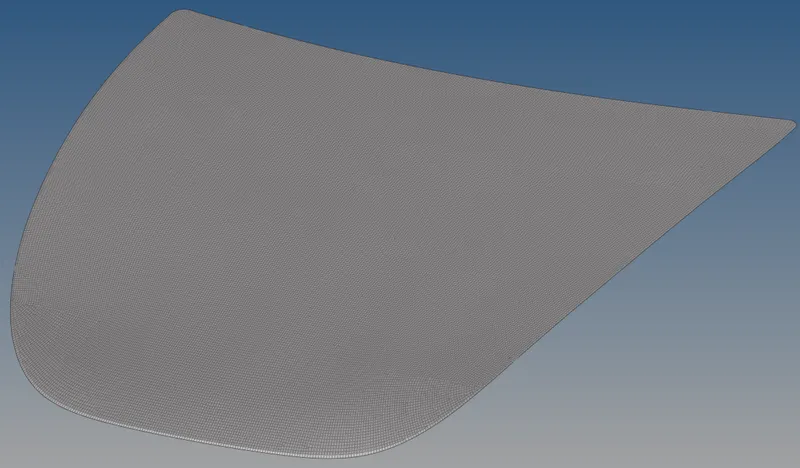
c. Outer extract:
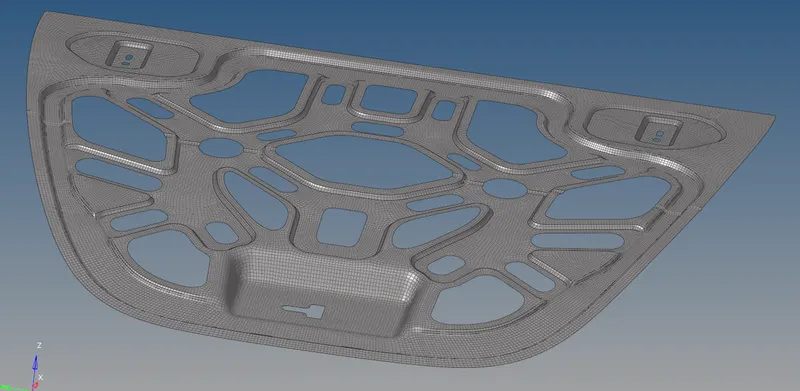
d. Inner extract:
We have two hinges which are identical, hence one of them is meshed and for other reflect option is used by creating duplicates of the first.
It is reflected along the centre line of the component which can be seen on outer and inner extract.
Similar technique is used for inner and outer extract. As they are symmetric, only half side is meshed and other is reflected.
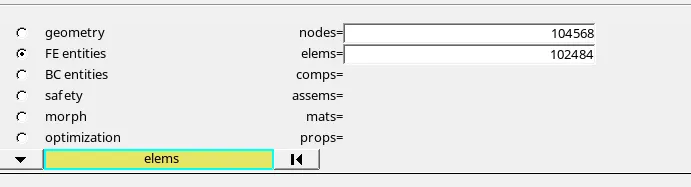
After completing the whole meshing process we can see that the number of nodes have exceeded the limit of the student version. Hence the model cannot be saved. The limit to the number of nodes is 100,000 nodes. Hence the complete model canot be saved as we have got 104,568 nodes.
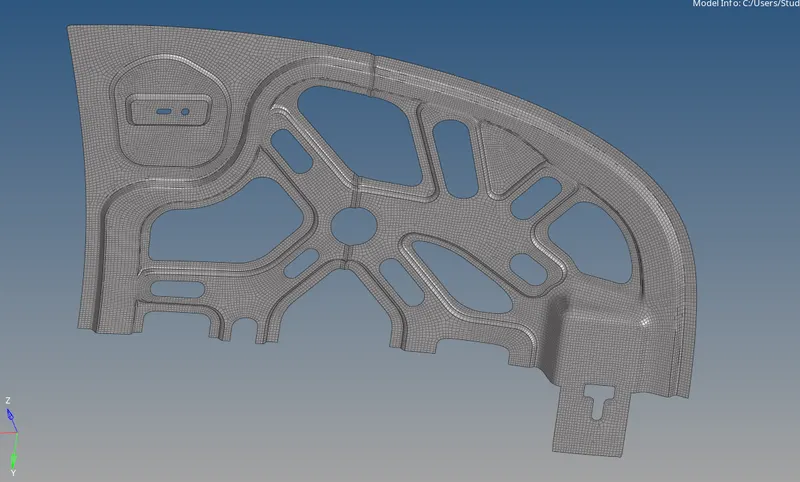
Due to this the inner extract is not reflected.
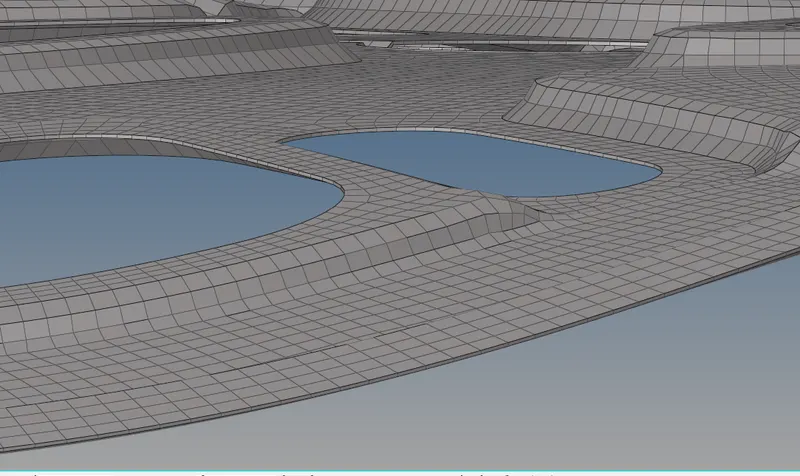
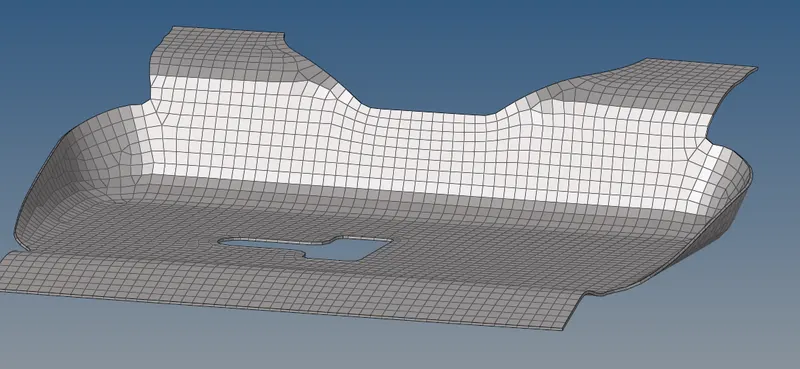
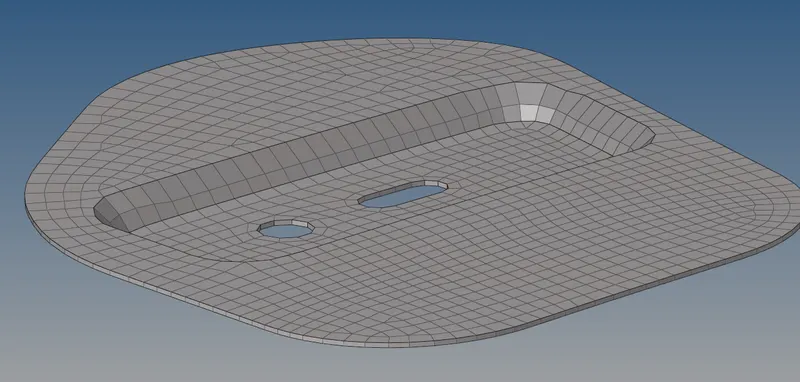
After assigning the thickness the mesh is visualized as shown below.
Conclusion:
The Hood model is meshed by creating midsurfaces and meshing with 2D elements. The respective thickness of the components is assigned and visualized.