Week 5 Challenge : Surface wrap on Automotive Assembly
Surface wrap on Automotive Assembly
- Aim:
For the given models, check for the geometrical errors and delete surfaces which are unwanted for Surface wrap as shown in the videos. After clearing geometry, Merge all 3 models and perform surface wrap.
- Objective:
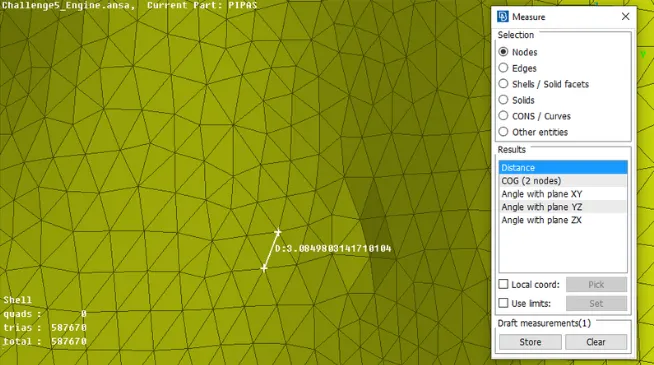
- Target length for Wrap = 3 mm
- Write a detailed report on steps followed to finish this challenge.
- Model:
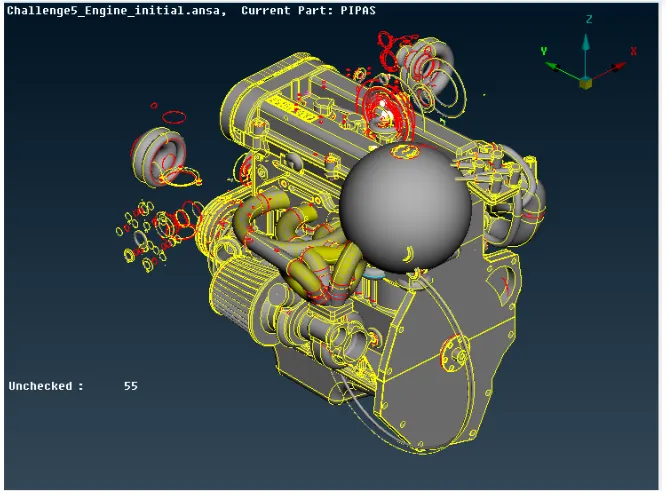
1.Engine:
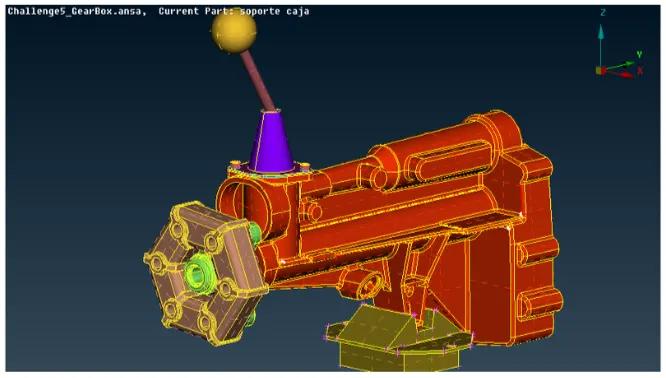
2.Gear Box:
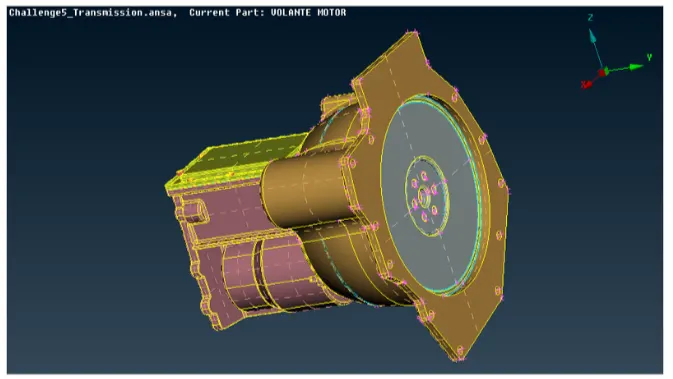
3.Transmission:
- Procedure:
1. Upload the ANSA file onto the screen, first we perform topo-clean up on the engine.
2. The engine file has a lot of excess parts which are not necessary for surface wrap. Select the main important parts in PID mode and and hide them.
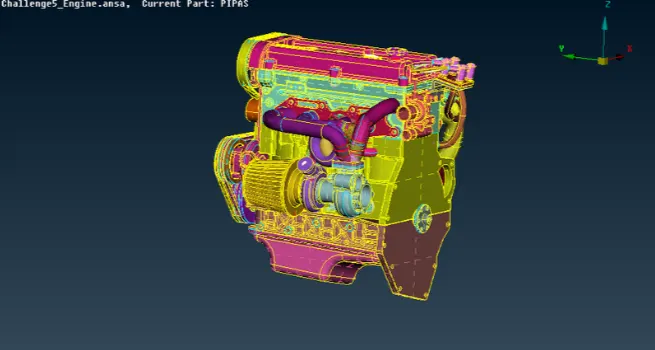
fig1: Engine topo cleaned
3. Now that we can see the majority of the excess rings and pipes which are not needed or irregulary designed can be deleted.
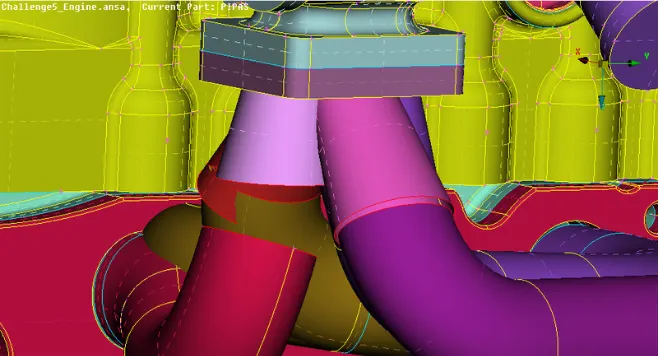
fig2: Deleting excess pipes and rings
4. After deleting, we fill up all the holes since we are interested only in surface wrap and not fill the holes will result in error while performing surface wrap.
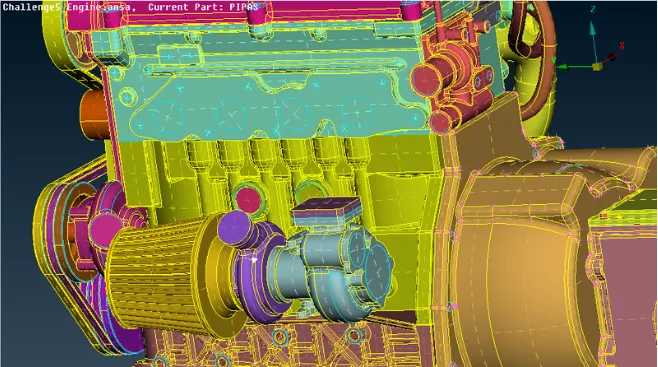
fig3: Filling holes of entire geometry
5. Save the updated file and open gearbox and transmission individually.
6. Now, we need to perform topo-clean for gearbox and transmission, similarly to engine topo-clean.
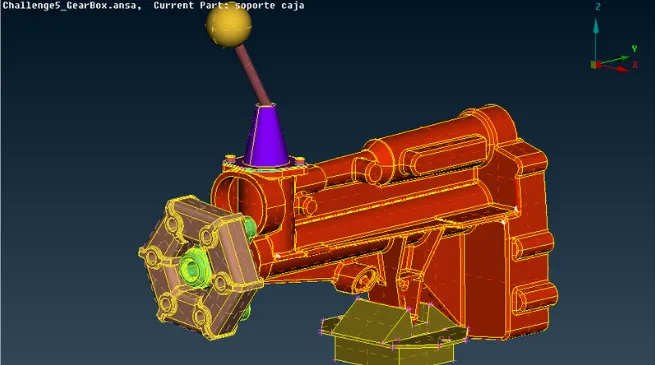
fig4: Topo cleaned gear box
7. Remove the unecessary triple cons and discontinous surfaces like rings and extra features which do not play part of the single volume we need to achieve.
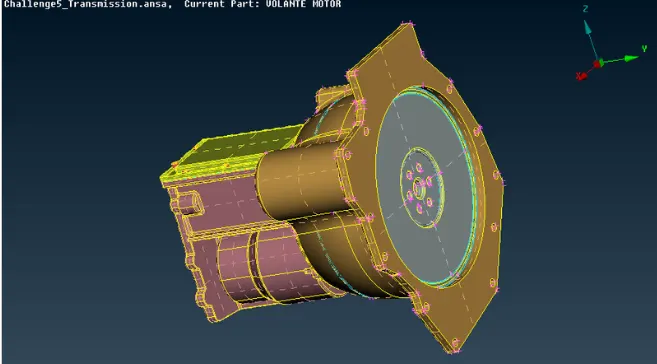
fig5: Topo cleaned transmission
8. After performing topo-clean, we need to merge the 3 parts together and form a single volume so that surface mesh can be achieved perfectly.
9. Merge can be done by selecting the merge option under file and select the gearbox, transmission files and perform merge.
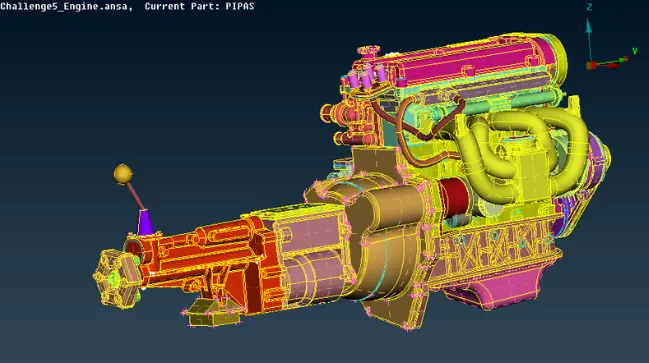
fig6: Entire geometry after performing merge function
9. After performing merge we can now perform surface mesh. But first we need to delete the excess PID create and can be done by compress and only the required PIDs can be kept.
10. Before mesh wrap, we need to assign the type of mesh in mesh parameters, which is trias
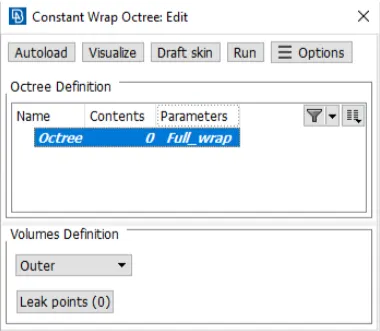
11. Go to mesh, Choose wrap under mesh generation. Click and hold on wrap and a drop down appears. Choose constant wrap.
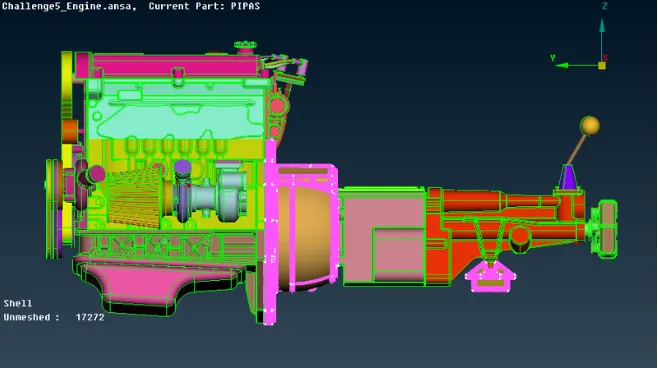
fig7: Geometry to be surface wrapped
12. Pop up window appears, where we are required to give mesh parameters.
13. Click on the parameters section, enter the mesh length.
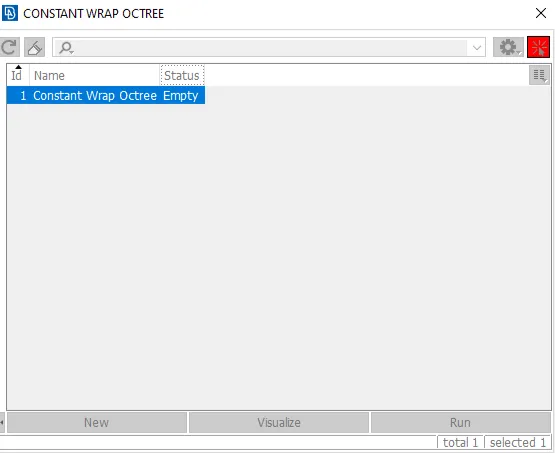
14. Click on contents and select all the PIDs to be meshed and surface wrapped.
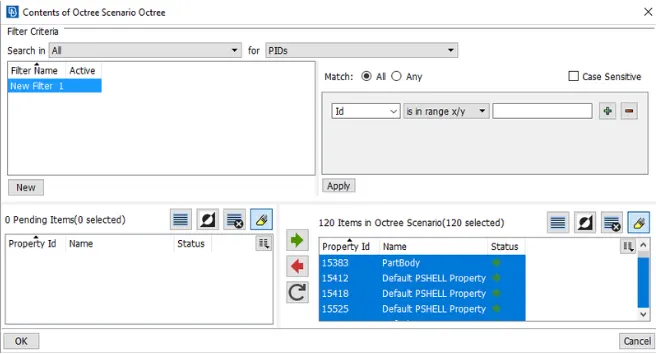
15. Click on RUN to perform wrap on the selected PIDs.
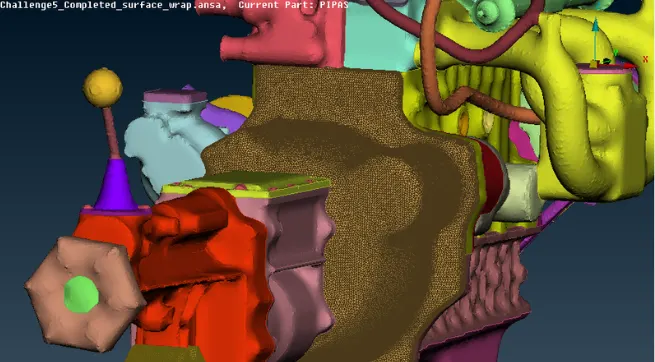
16. Surface wrap is achieved.
- Learning outcomes:
1. Technique to remove extensive excessive parts which is difficult to remove indivudually.
2. By hiding the main parts and deleting the rest.
3. Learning the merge option to merge different components.
4. Selection criteria to perform surface wrap.
5. Wrap function and its parameters needed to perform mesh wrap.
- Conclusions:
1. Surface wrap is achieved on the given powertrain components.
2. Surface wrap is effective for outside flow simulations where the volume between the body and wind tunnel is required for flow over the body simulations.
3. Surface is easier to perform since it does not depend on the quality of the wrap on each material as we are not interested in physics in the body.
4. Effective surfce wrap is achieved on the given body for a given mesh length of 3mm.
- Completed surface wrap ANSA
https://drive.google.com/file/d/1RMEufxxDsyR3Uac5yNE3nKAGi6SM8iGg/view?usp=sharing