Week 5 Challenge : Surface wrap on Automotive Assembly
Aim & Objectives:
For the given models, check for the geometrical errors and delete surfaces which are unwanted for Surface wrap as shown in the videos. After clearing geometry, Merge all 3 models and perform surface wrap.
Target length for Wrap = 3 mm Write a detailed report on steps followed to finish this challenge.
Theory:
Here in this challenge we can see we have to create a surface wrap over automotive assembly, so first of all lets see what is that automotive assembly? so, basically here we used automotive assembly is assembly of major parts of automobile like engine, transmission, gearbox these are the major components of any vehicle. We can do different types of analysis on these parts like thermal analysis, outside air flow etc. but for those we need that type of mesh too like water tight body, no sharp edges, less curved surfaces etc. but as we can see these assembly is very complex geometry and to do such cleanup its near about impossible because there are various small components present in this assembly and as we are more focused on outer most surface of assembly we have one option called surface wrap in which we can create a wrap over body and mesh on that particular wrap and after creating wrap if you see try to see through it by cutting both side we can see it is completely hollow. Due to this what we achieve is, a complete water tight body with having mesh on it with no sharp edges. So lets see stepwise procedure of how to do surface wrap mesh over automotive assembly below.
Procedure:
Lets see stepwise procedure of surface wrap and geometry cleanup;
- Here in this challenge we have 3 different geometries which we have to create them as one single geometry but before that we have to create each and every geometry one by one which we can see below.
- Engine :
So as we all know engine have various small components in it basically it is assembly of all small to big components, so to clean one by one it will consume more time so what we do is first hide all the major PIDs, after hiding those components rest is all waste for us which we can delete that directly. We can see those waste in image bellow
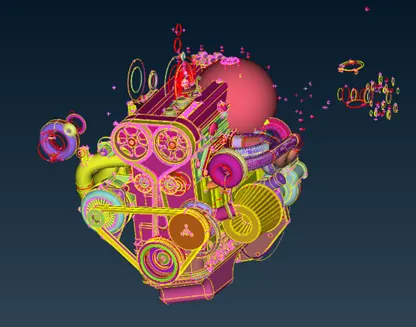
Fig 1. (a) pre-cleanup engine geometry
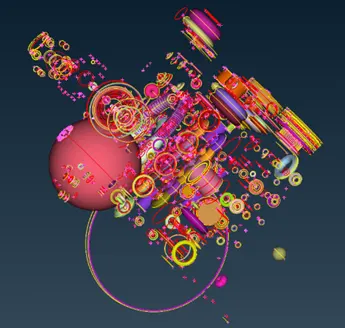
Fig 1. (b) After hiding PID rest of waste
- Transmission:
In transmission we have to check weather we have any single and triple con at outermost surface of geometry, if any then we have to fill those as it will create chaos to in our surface wrap
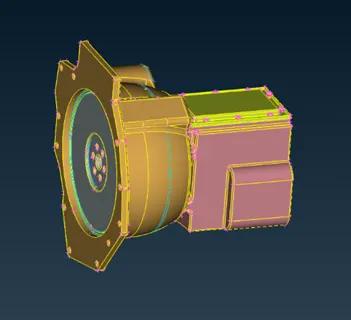
Fig 2. Transmission geometry
- Gearbox :
Same as like transmission we have to check the single and triple cons at outer most surface and if present counter those.
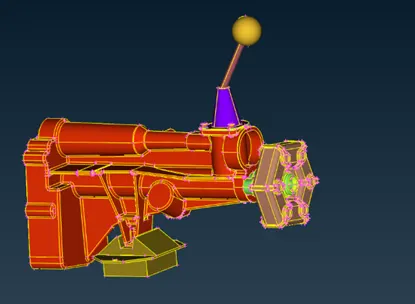
Fig 3. Gearbox geometry
- After deleting the excessive faces and geometries now we have to make our geometry fully packed lo loop holes should be kept open because if there any then newly created surface will be go inside the holes and that will be not a good mesh.
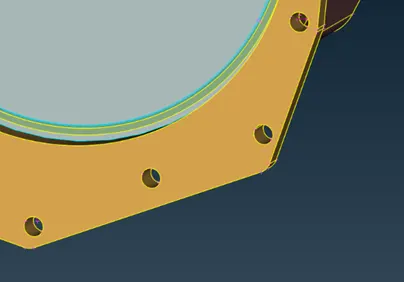
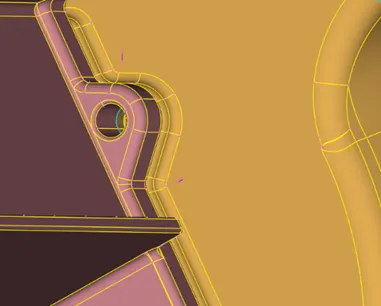
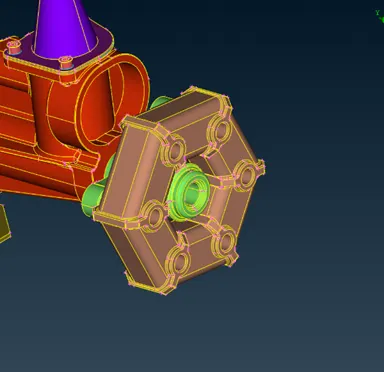
Fig 3. Holes to fill
We can see the image below how we fill holes
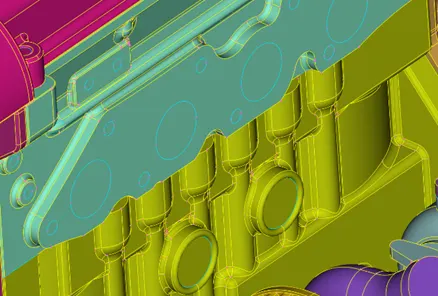
Fig 4. Filled holes of engine block
- Like wise after filling all the holes now we have to move forward to merge all these 3 geometries together, so lets merge those for that we have to open any one geometry like we open engine geometry, then we go in file where we can see the merge option
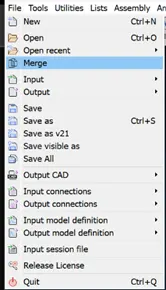
Fig 5. Merge option
After clicking on merge we get the option of select the geometry which we have to merge,
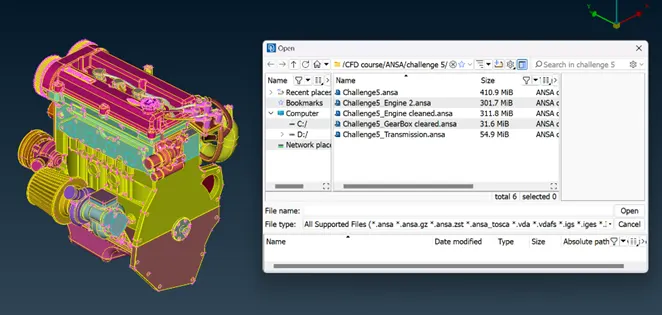
Fig 6. Selecting geometry
After selecting geometry we will get our final merged geometry which we can see below
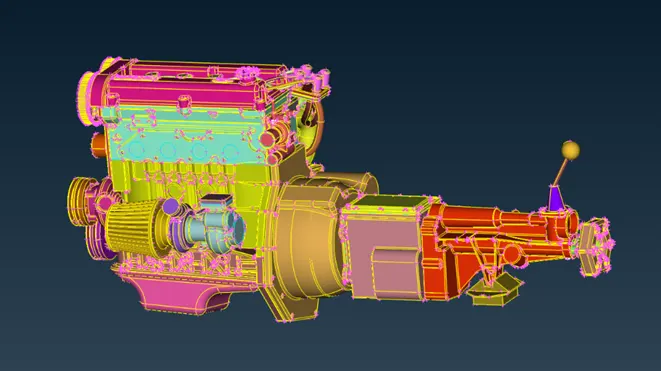
Fig 7. Merged geometry
- Now as we got the complete geometry now its time to do surface wrap,
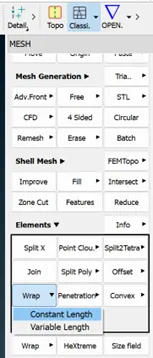
Fig 8. Wrap option
Going in surface mesh , element section we will see the wrap option in which if we long press we can see two options constant length and variable length between both we have to select the constant length option
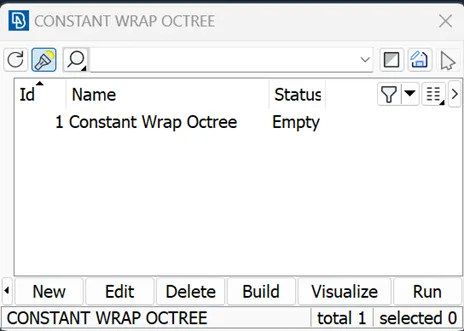
Fig 9. Wrap setting
After clicking on constant length one box open up which shows the status of mesh which is empty here so we have to click on empty word
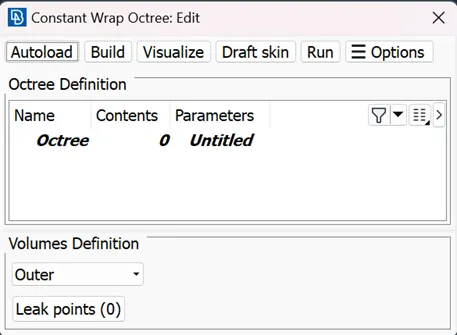
Fig 10. Parameters defining
In this box we have to first click on untitled and define the parameters by selecting the PIDs
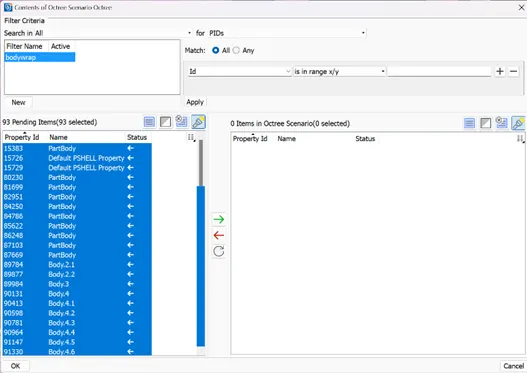
Fig 11. PIDs defining
We have to select all those PID and click on right arrow and then click on ok
After clicking if we notice the box again there are properties defined
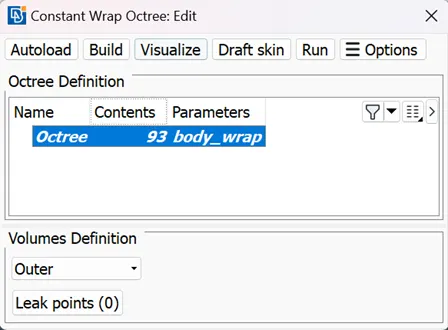
Fig 12. Setting done
We can see now the contents column there are 93 PIDs are loaded now when we click on run we will start to get the surface mesh.
Learning outcomes:
From this challenge we get to learn how to deal with complex geometries and clean those also we get to know about new type of mesh which is surface wrap in which we get to know what precautions should be taken before applying wrap and what cleanup is necessary
Results:
We can see results after doing surface wrap in images ;
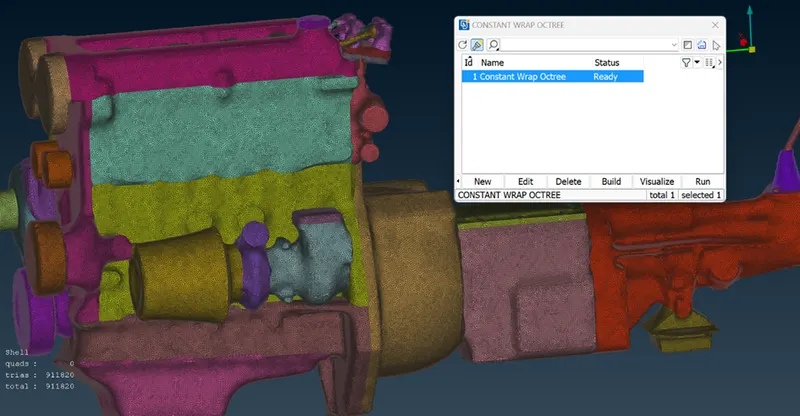
Fig 13. After Wrap
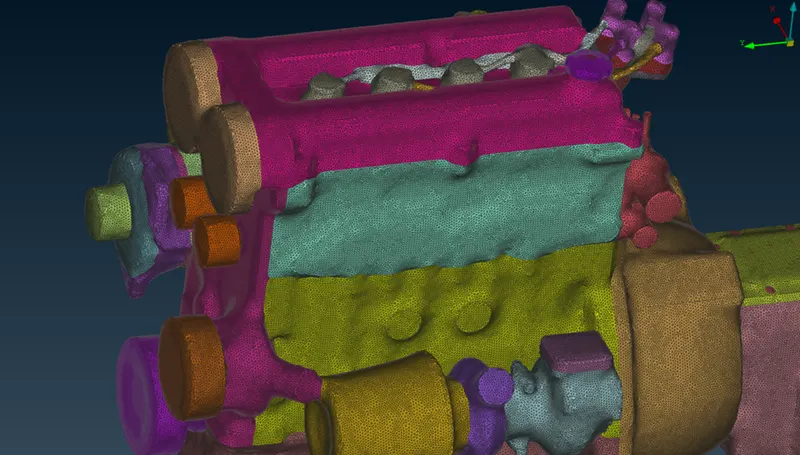
Fig 14. Wrap result
Conclusion:
In the we conclude that, we finished the cleanup of complex automotive assembly and also apply mesh on it where now it is totally ready to do the CFD Simulation and analysis on it by just creating wind tunnel around assembly.