Week 4 Challenge : CFD Meshing for BMW car
Aim :- To Perform CAD Cleanup of the car model. And also preform tire crushing and too create wind tunnel test.
Objective of project :- 1. To make the geometry error free.
2. To create wind tunnel test and preform Tire crushing.
Work on geomenrty :-
- Car model in PID Mod.
- Views of car :-
- Fornt view
- Back view
- Bottom View
- Side view
- Body parts of car
- Tyres of car:-
- Bottom Part of car:-
- Upper Body of car:-
- Grilles of car
- Side mirror of car:-
- Exhaust, Engine, Radiator of car
- The radiator haveing error. so it have to assing annthor part or save to another part.
- This is radiator
- The Bumpher is havig exhaust port for exhaust, It is not symmetry . So it to assging in another PID.
- To do the symmetry cut of exterior body of car, We use Plane cut option .
- After using plane cut option the exterior body of car is divided into two equal parts.
- After Complition of plane cut, we go towards geomentry check.
- It is showing 9 penetration error & Some warnings, error.
- Moving towards clearing of penetration error.
- There is overlaping of two faces at Side mirror .
- Deleted the one overlap face.
- Clearing error from tyers.
- Coping the tyre
- Deleting the overlap face from grriles.
- Checking the geomentrical error.
- It having single coons & Concave coons.
- To clear the concave coons , we use the option cut plane and cut the plane into two parts .
- And deleted the upper plane .
- To join the to plane we created the face between to plane , then the concave coons were deleted .
- After clearing the concave coons we need to work on radiator.
- There are two overlappping faceses
- The geomentry is error free.
- In the geomentry there are triple coons , this should be niglected.
- Clearing the error of shrut and radiator .
- There are concave coon
- Now moving tooward engine.
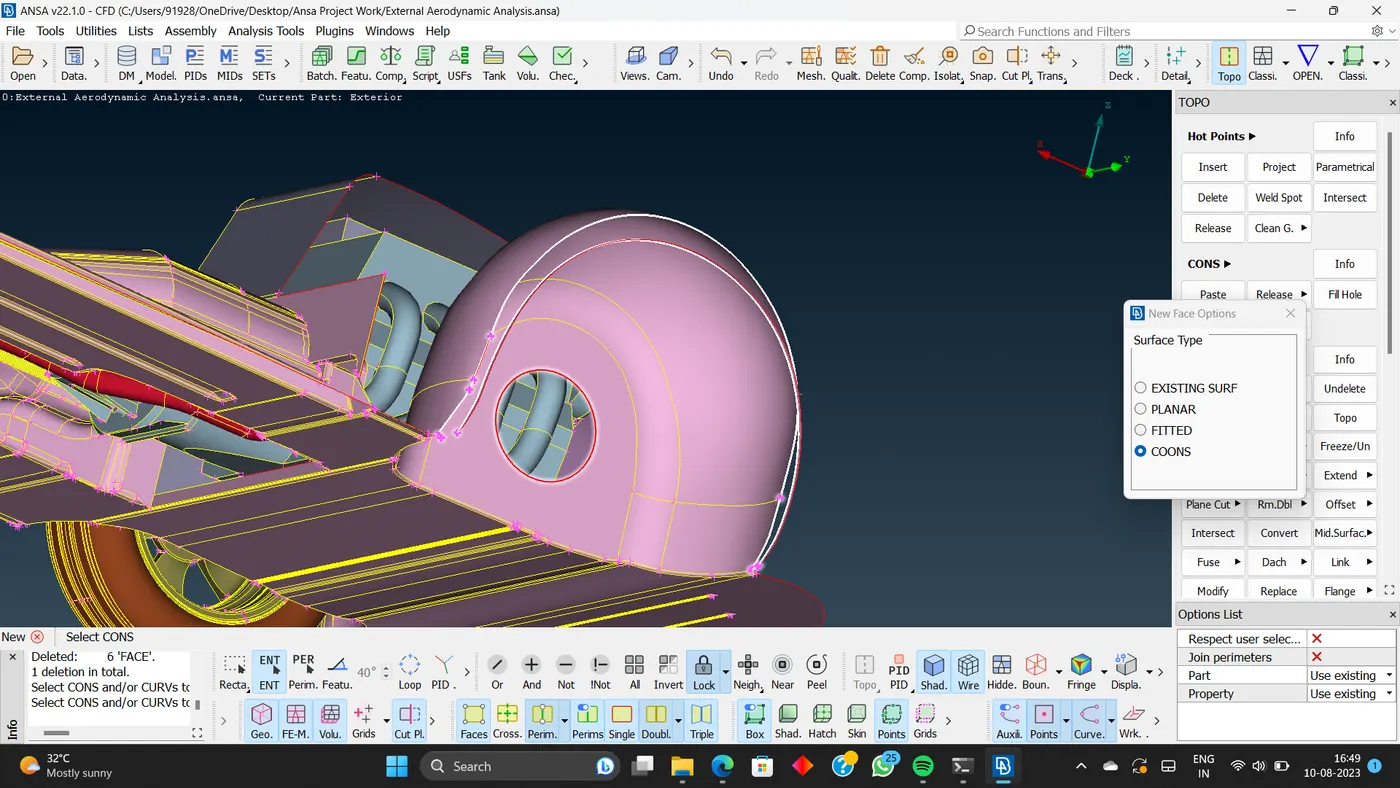
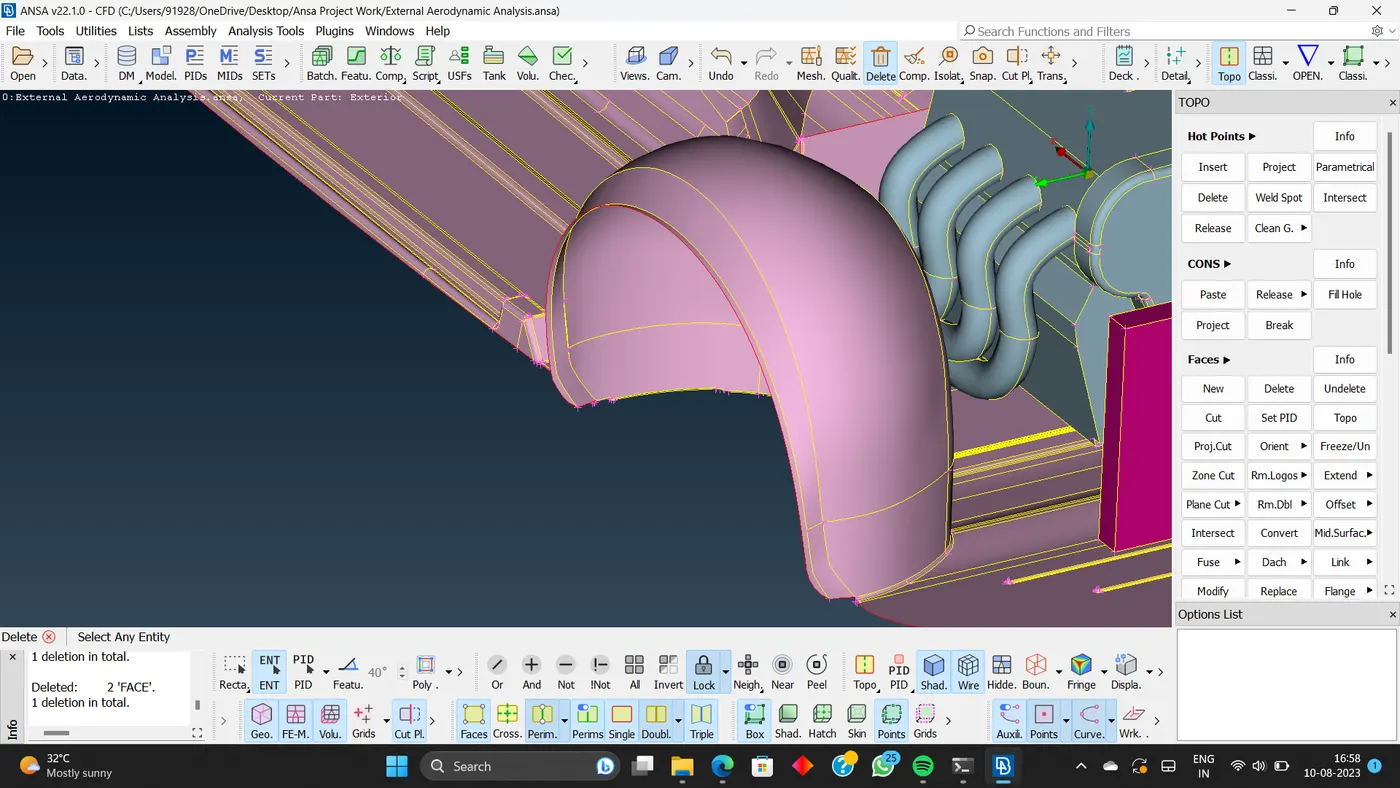
- Creating a new face.
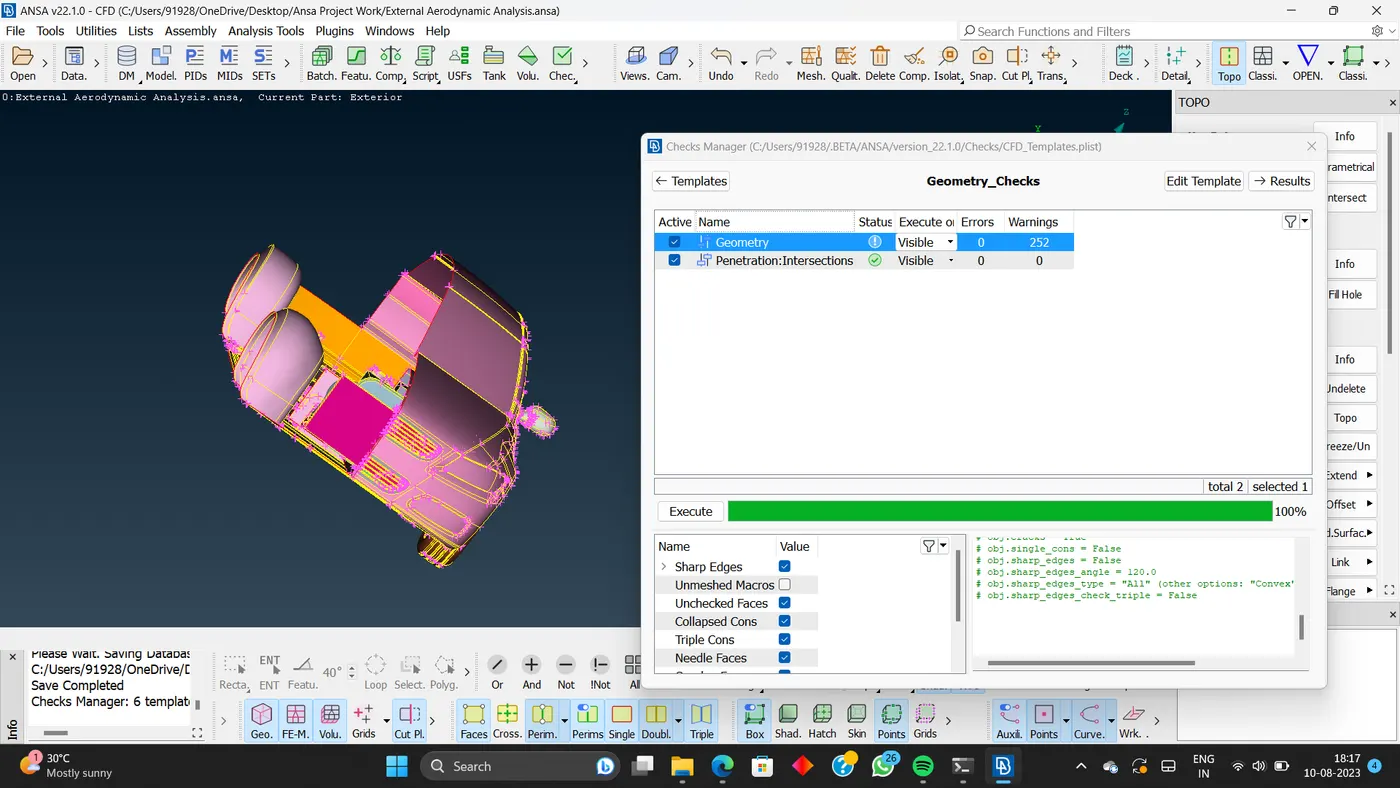
- Cleared all penetration error.
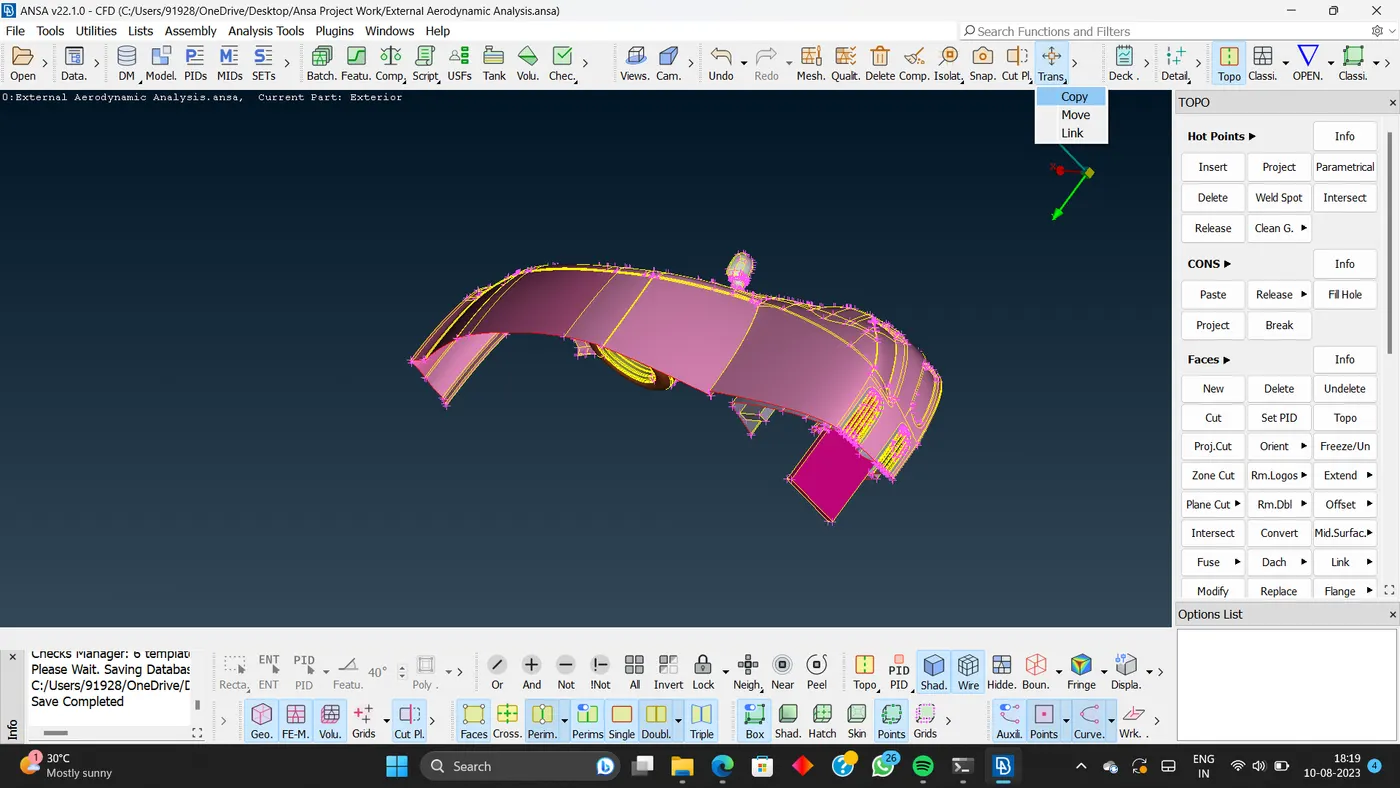
- After clearing all penetration error in half part of car upper body, we have to merror it to make whole complete body car.
- For doing this we have to use, Transfer option in which go to copy .
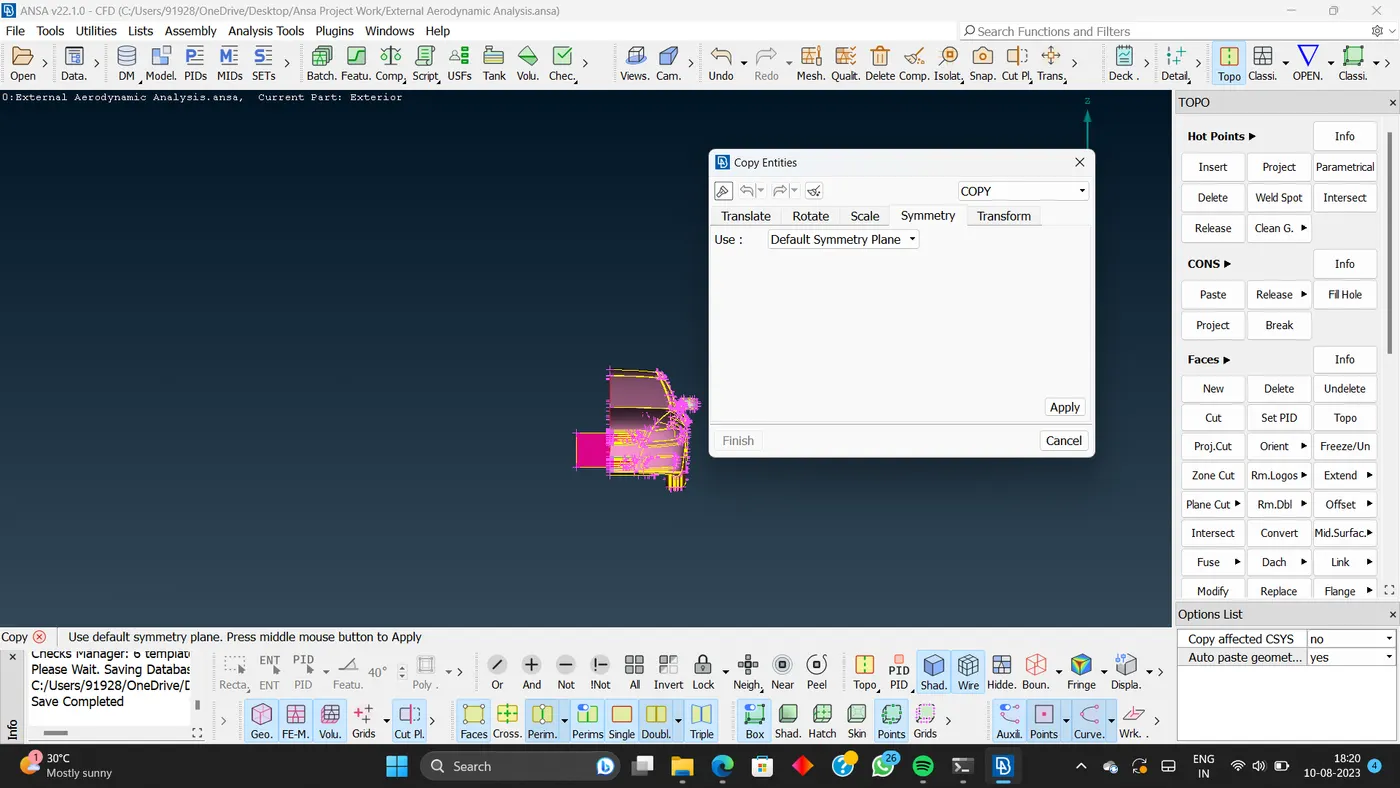
- Slecting the default Symmetry plane
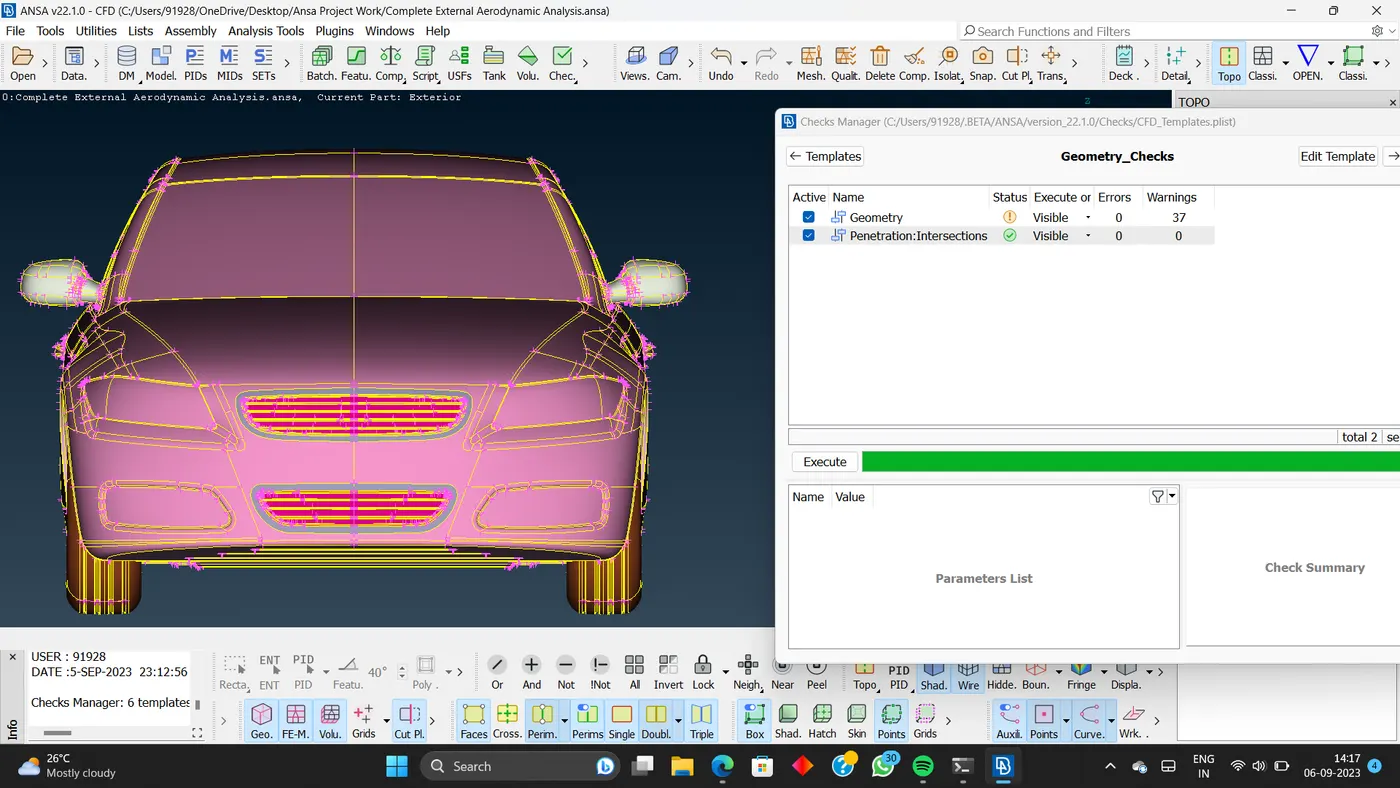
- After compition of transfer, Ckecking for penetration error.
- The all penetration error are clear.
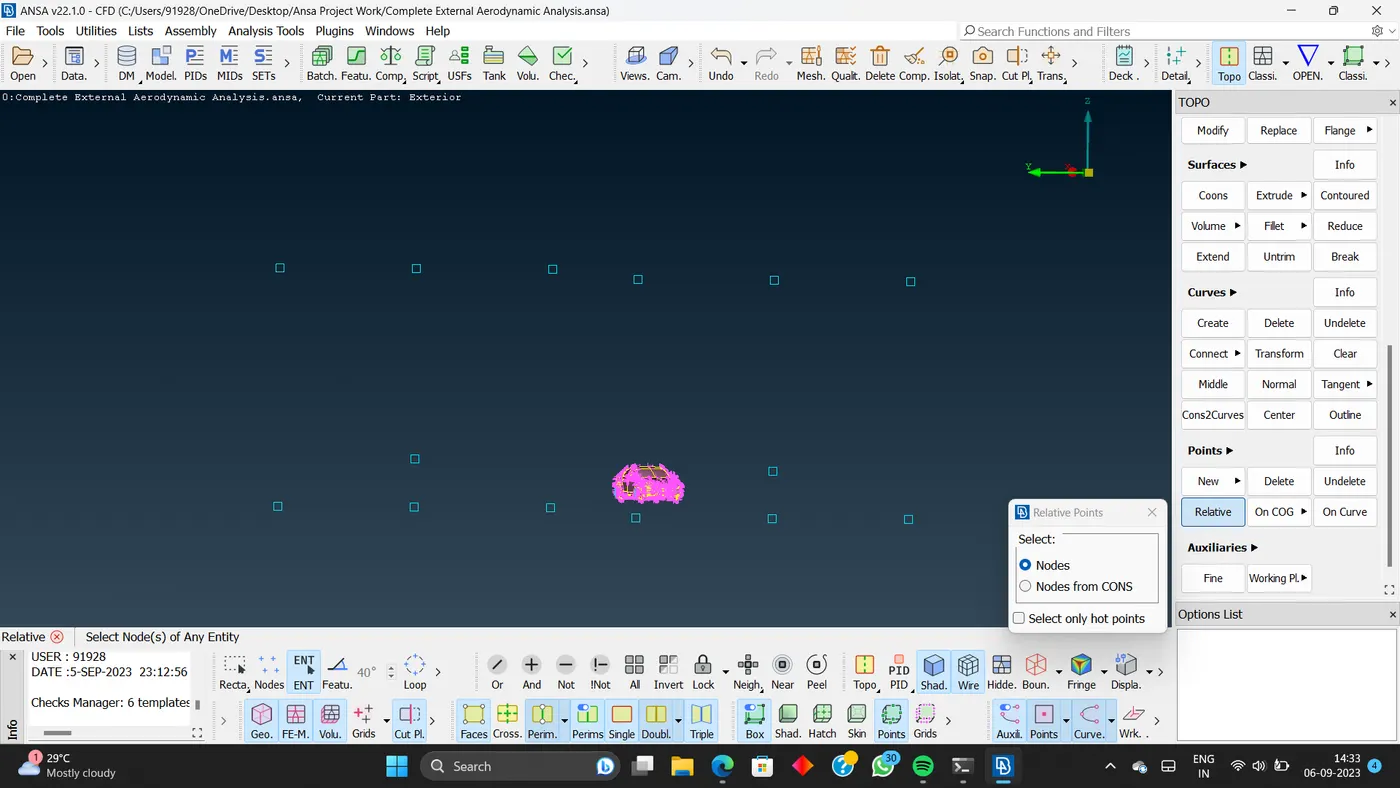
- For creating the wind tunnel, Slecting the Points optins going to the relative and to nodes.
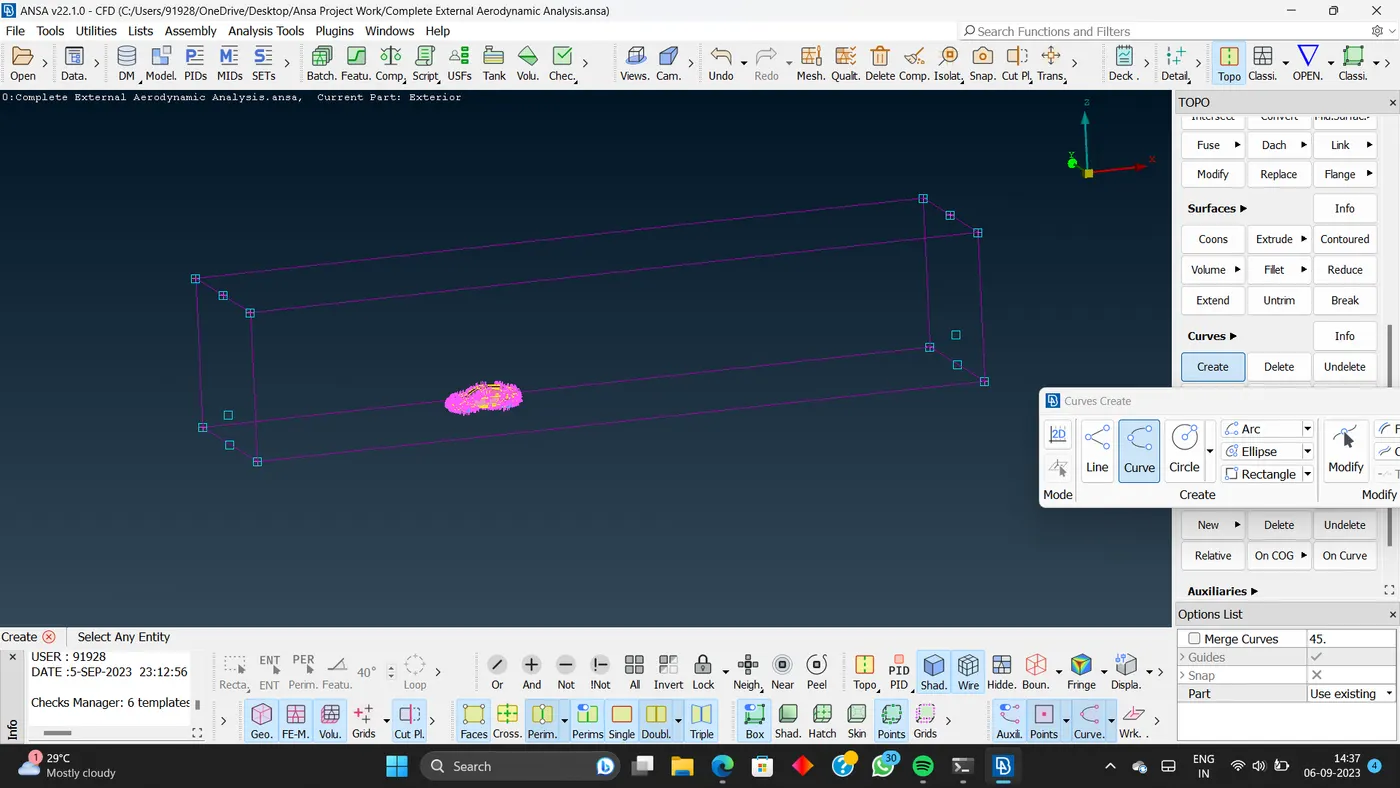
- After creating the node it have to join, for that creating curve and joining the nodes to each other.
- And creating the facese using the surface coons options.
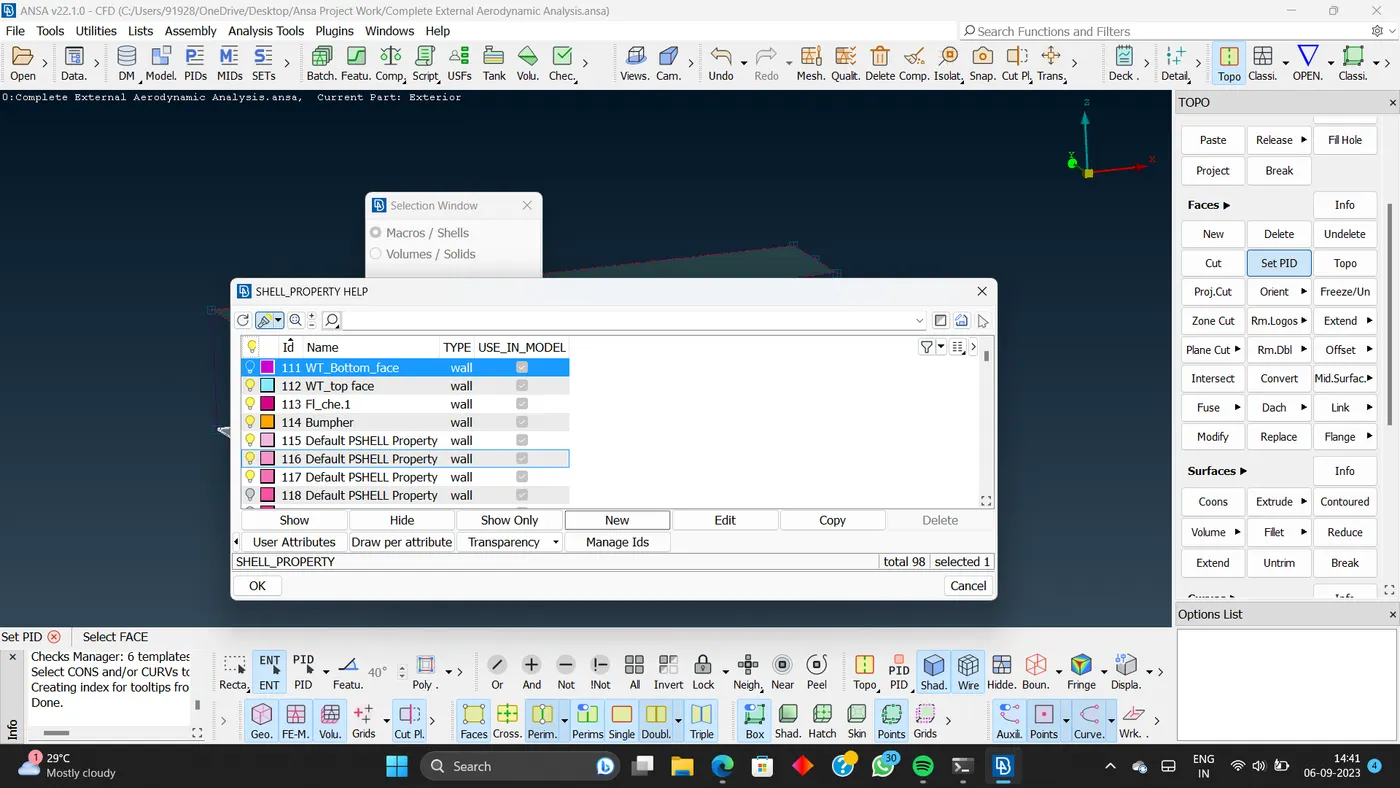
- Giving them name to all facess
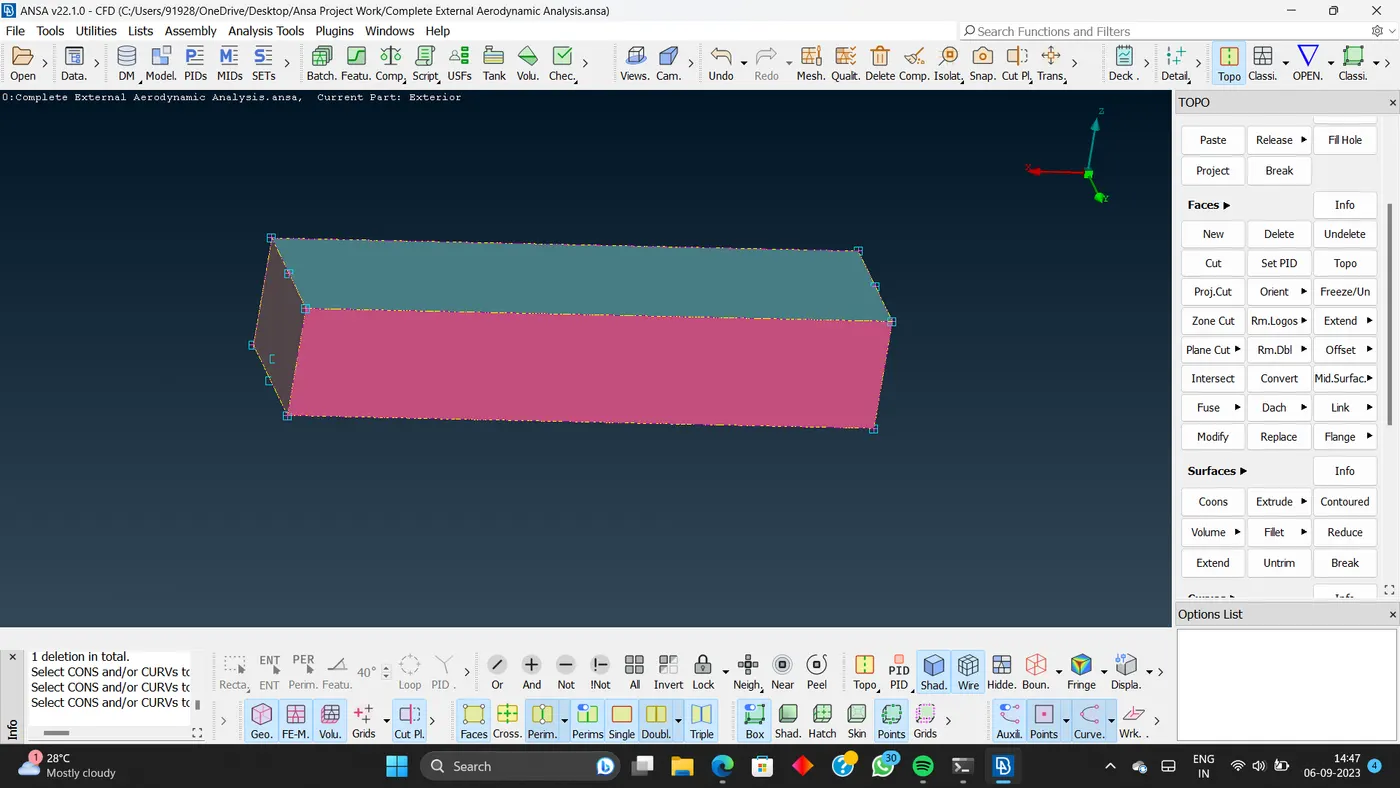
- The wind tunnel was created.
- After this going towards meshing.
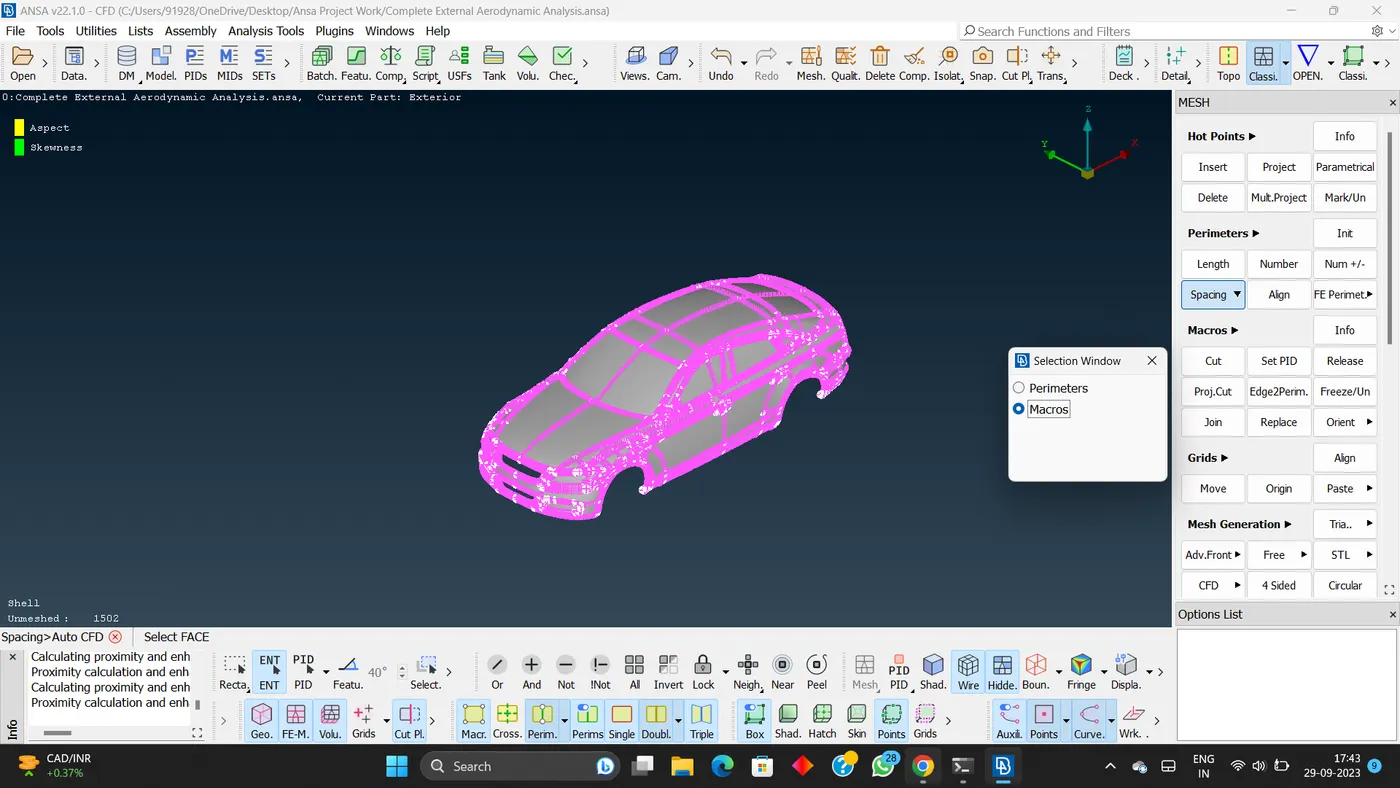
- Giving perimeter lengths and macros length
- And useing mesh generartion option.
- Giving auto CFD mesh.
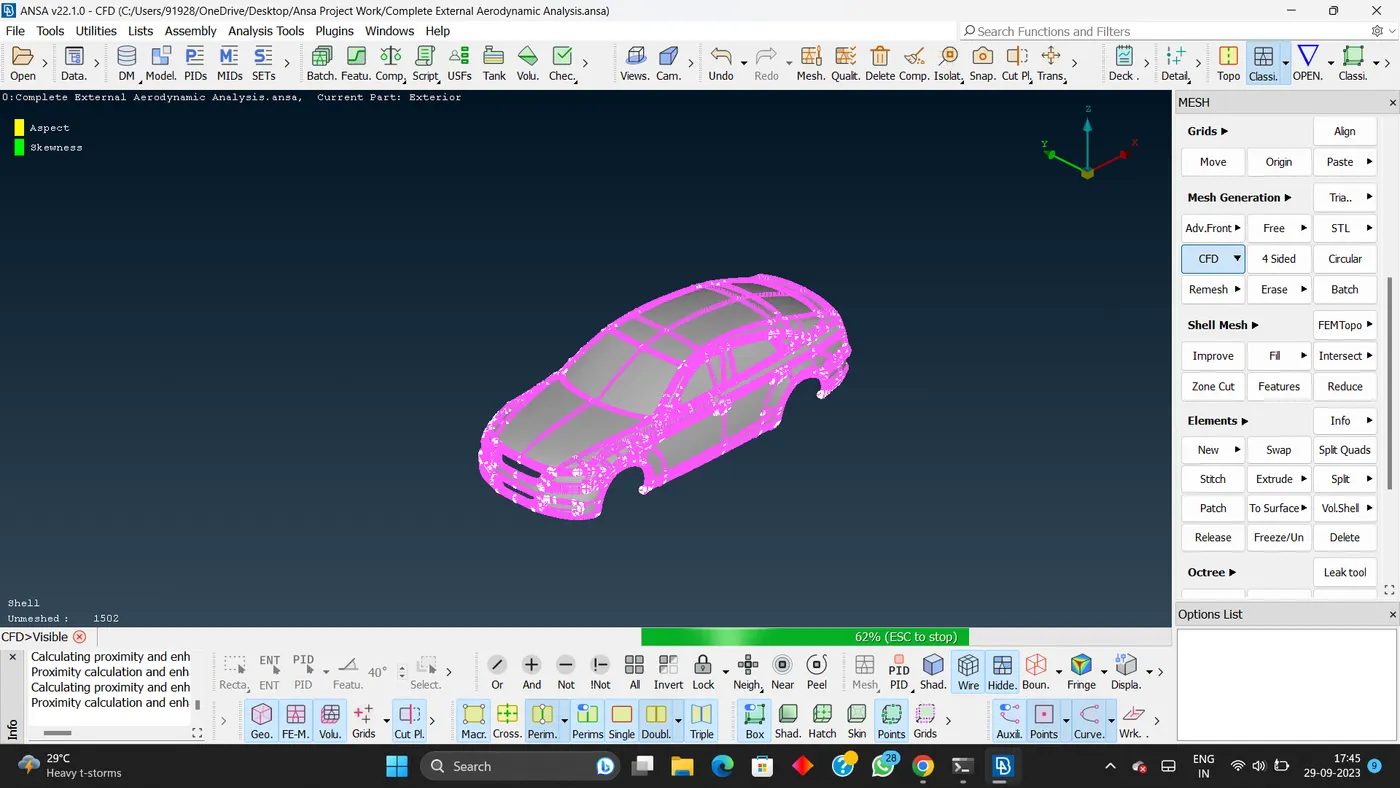
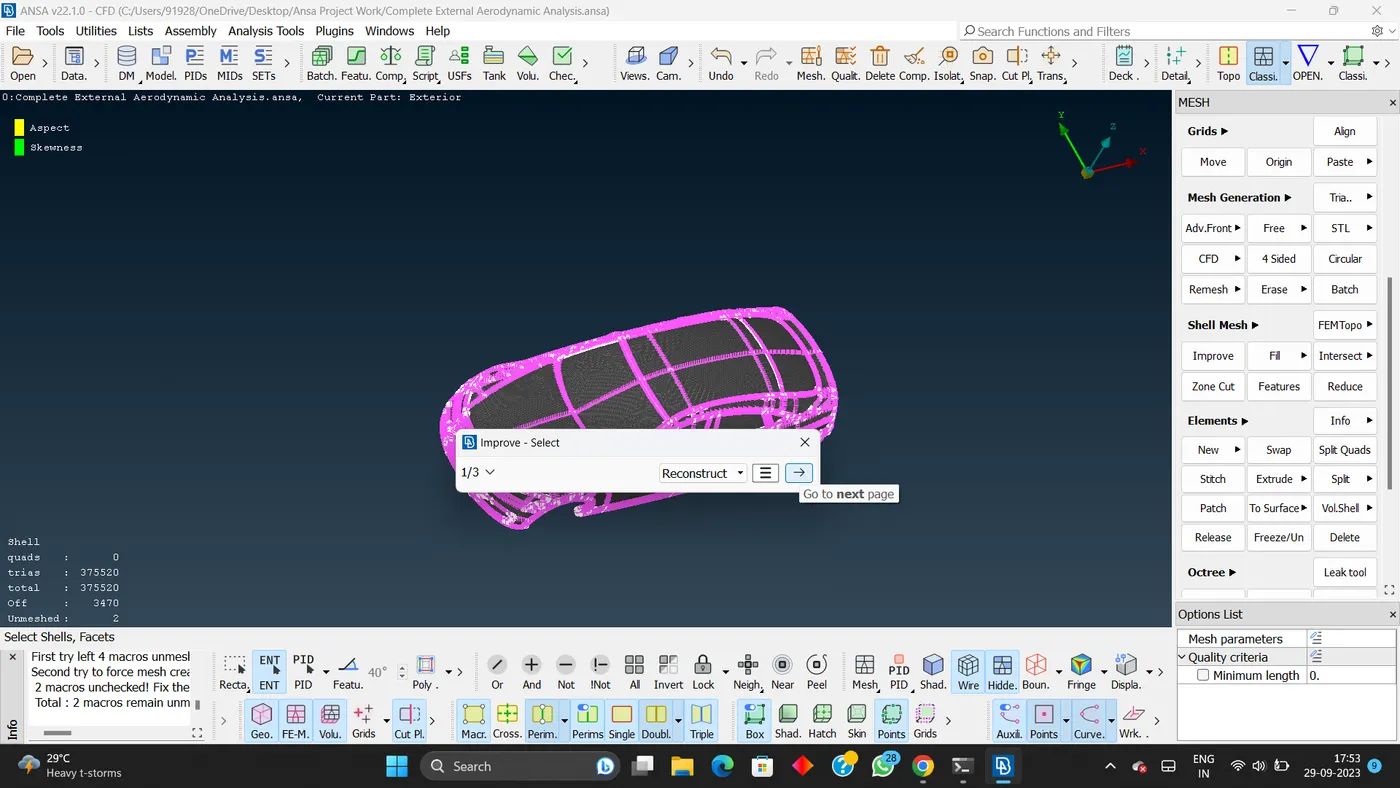
- After complition of mesh many OFF elements are occure,
- For clearing that goinig to improve option and and giving reconstruct, the Off element will gone.
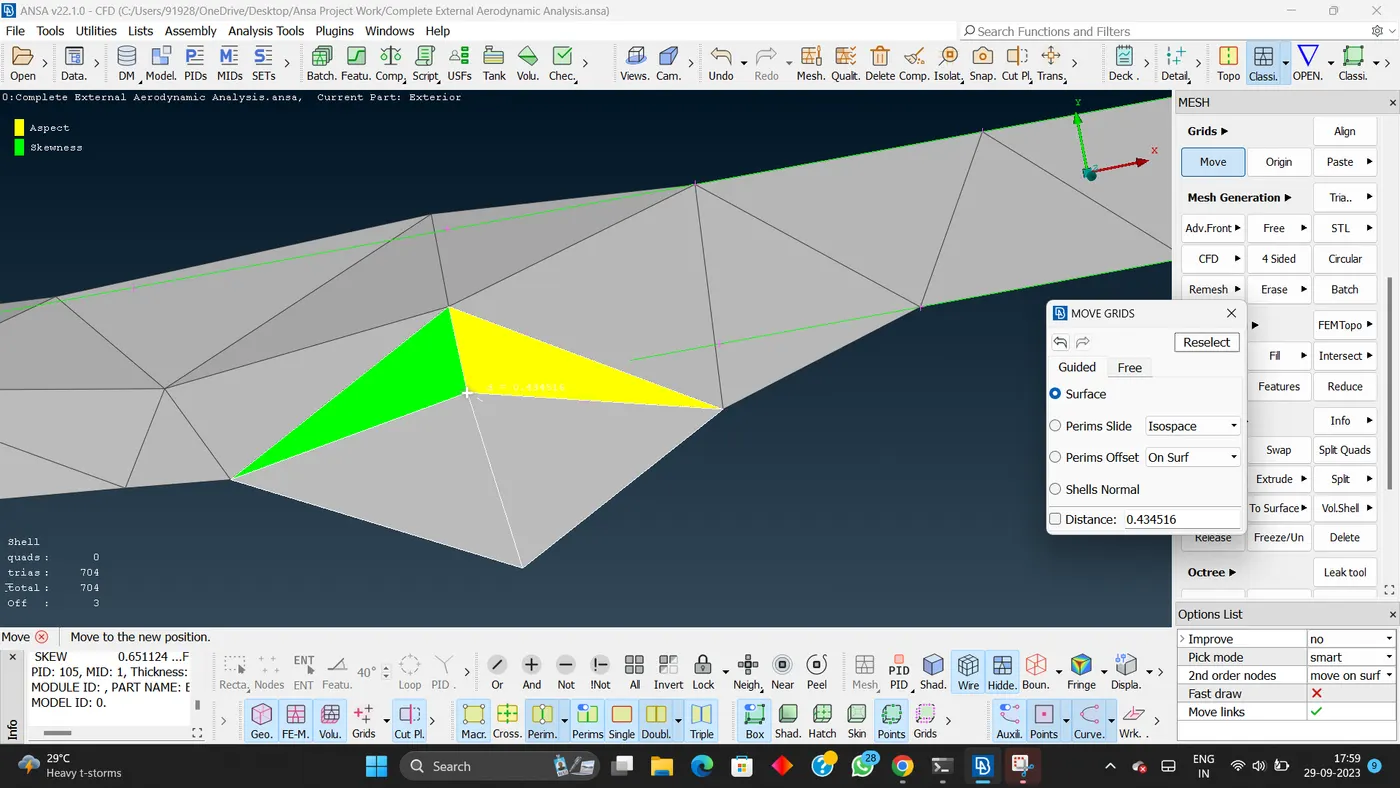
- After using reconstruct option some off elements will not gone, For clearing that move option is use,
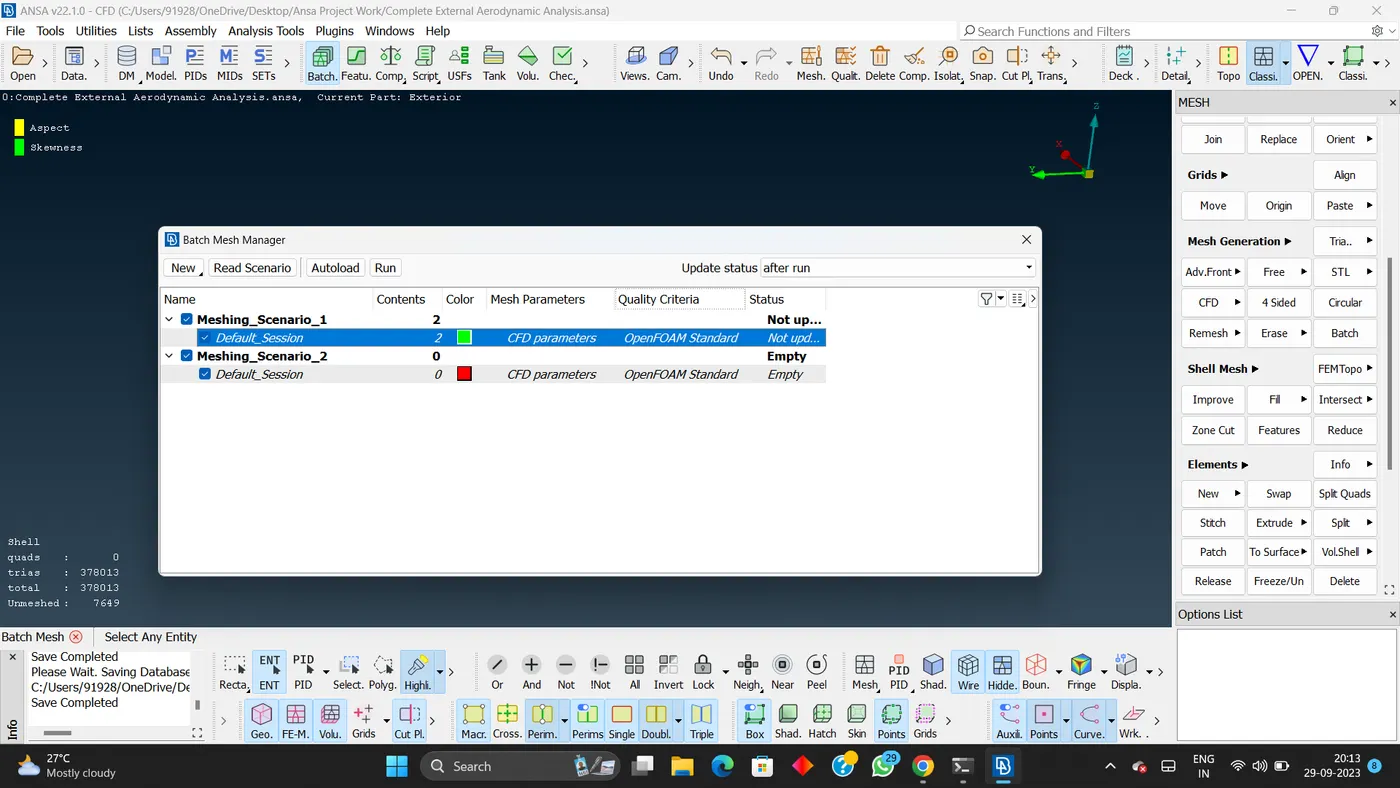
- For meshing the remaining part of car the Batch manager is use.
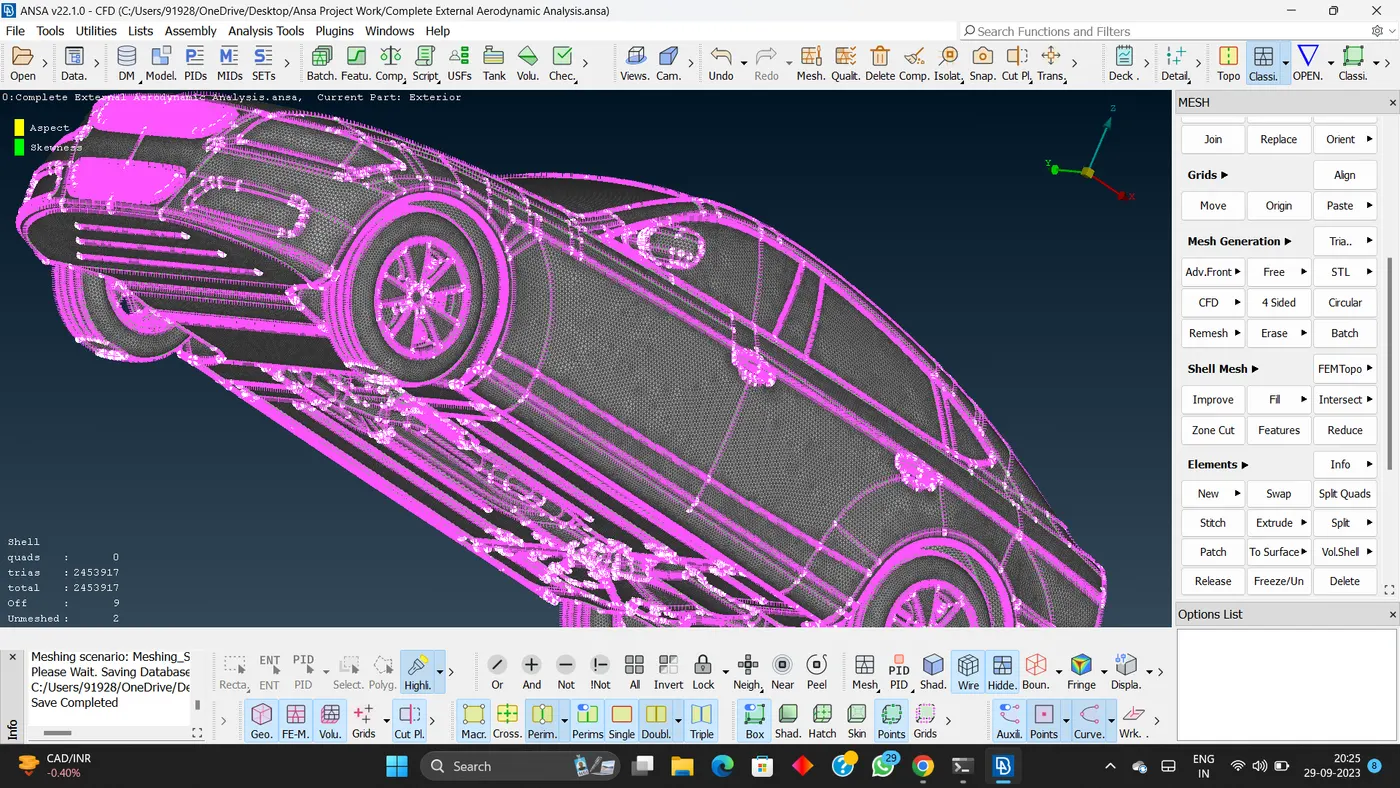
- After using batch manager.
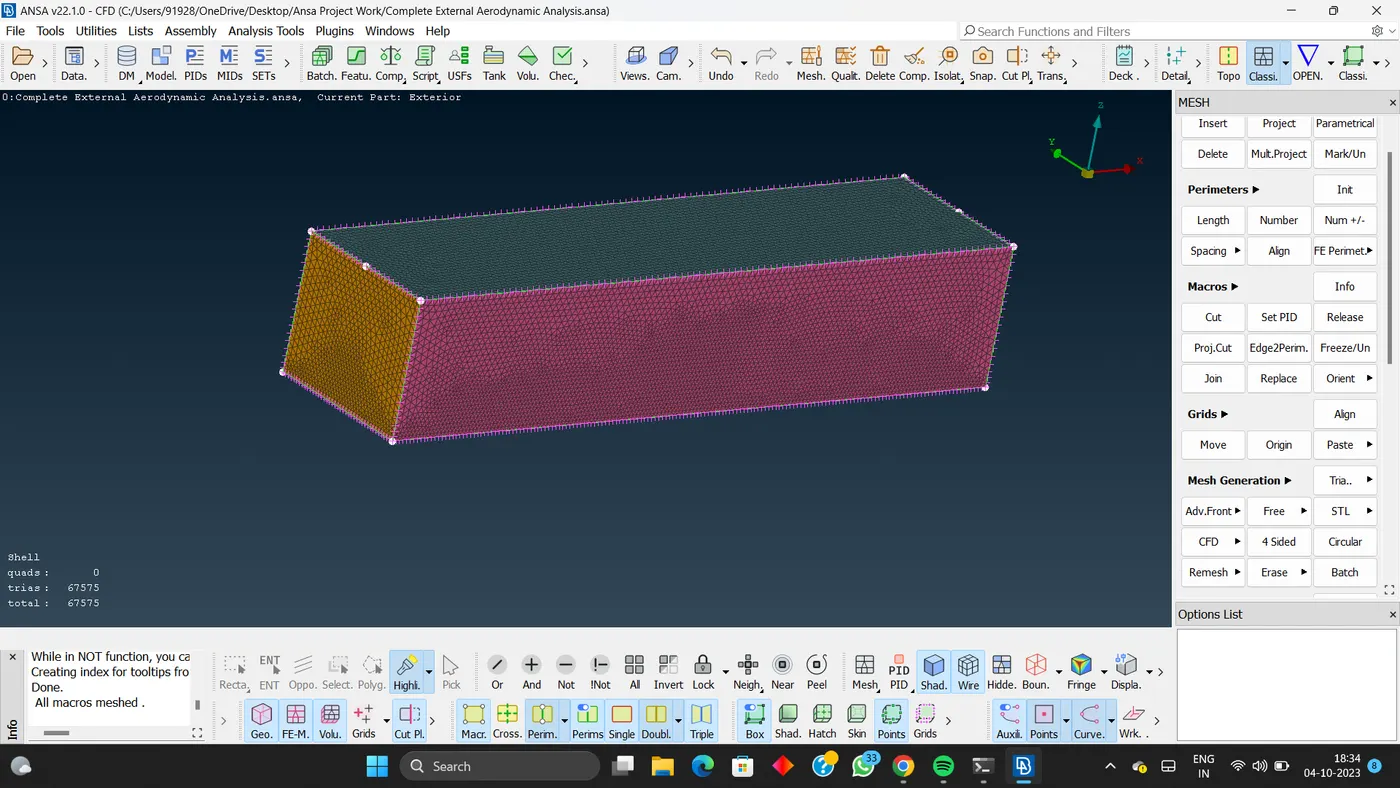
- Now meshing the wind tunnel faces.
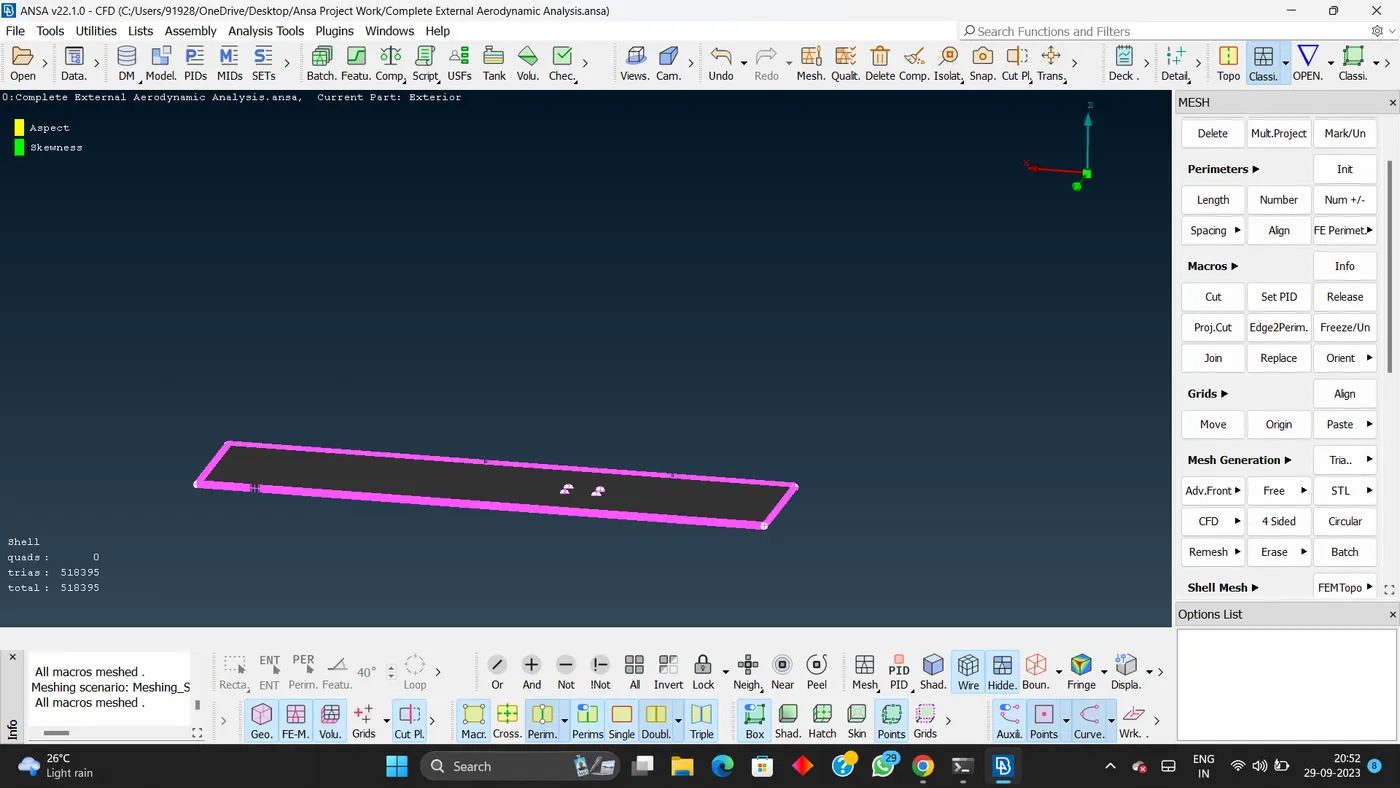
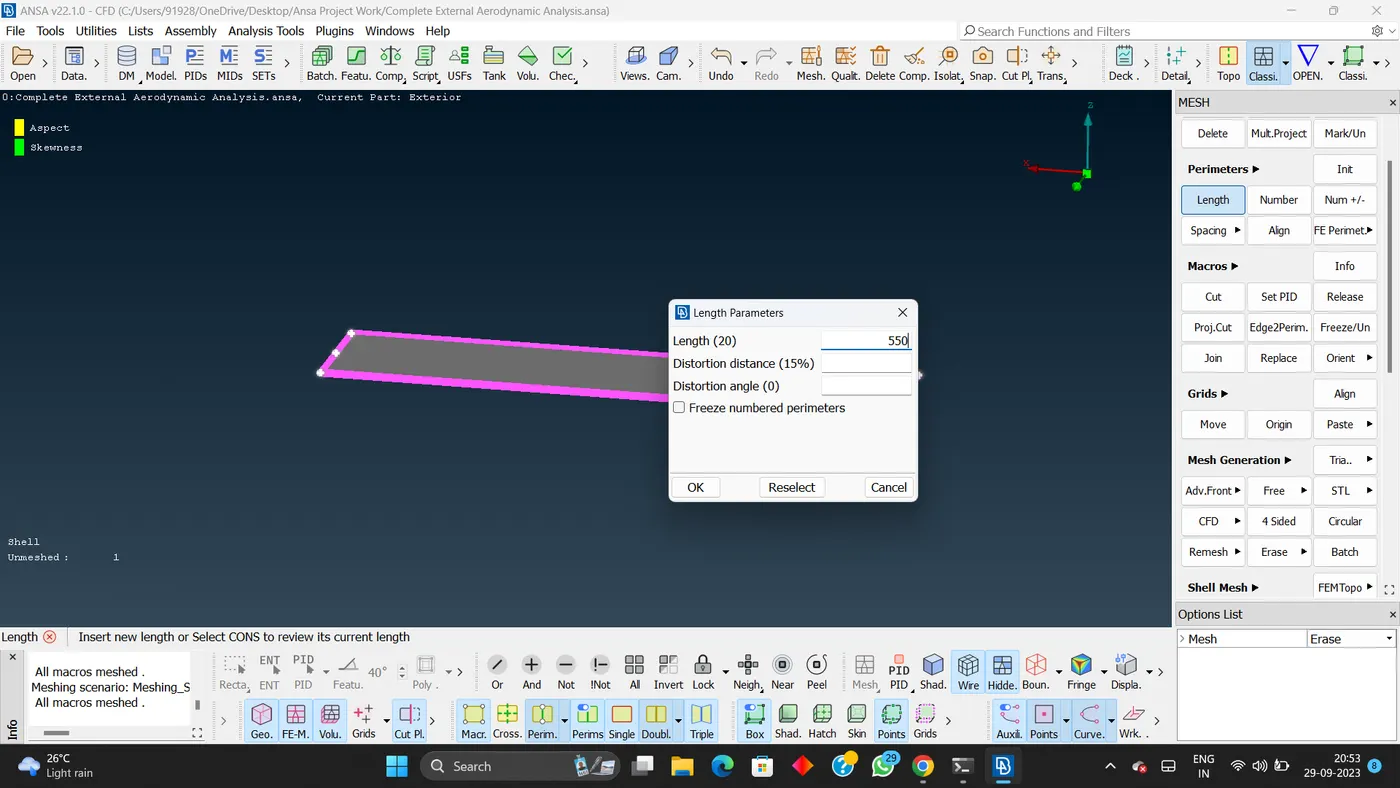
- Giving perimeter length and macros and mesh with advanced front.
- We want the growing mesh fom 300 to 550.
- For meshing remaining face spacing manaual option is use.
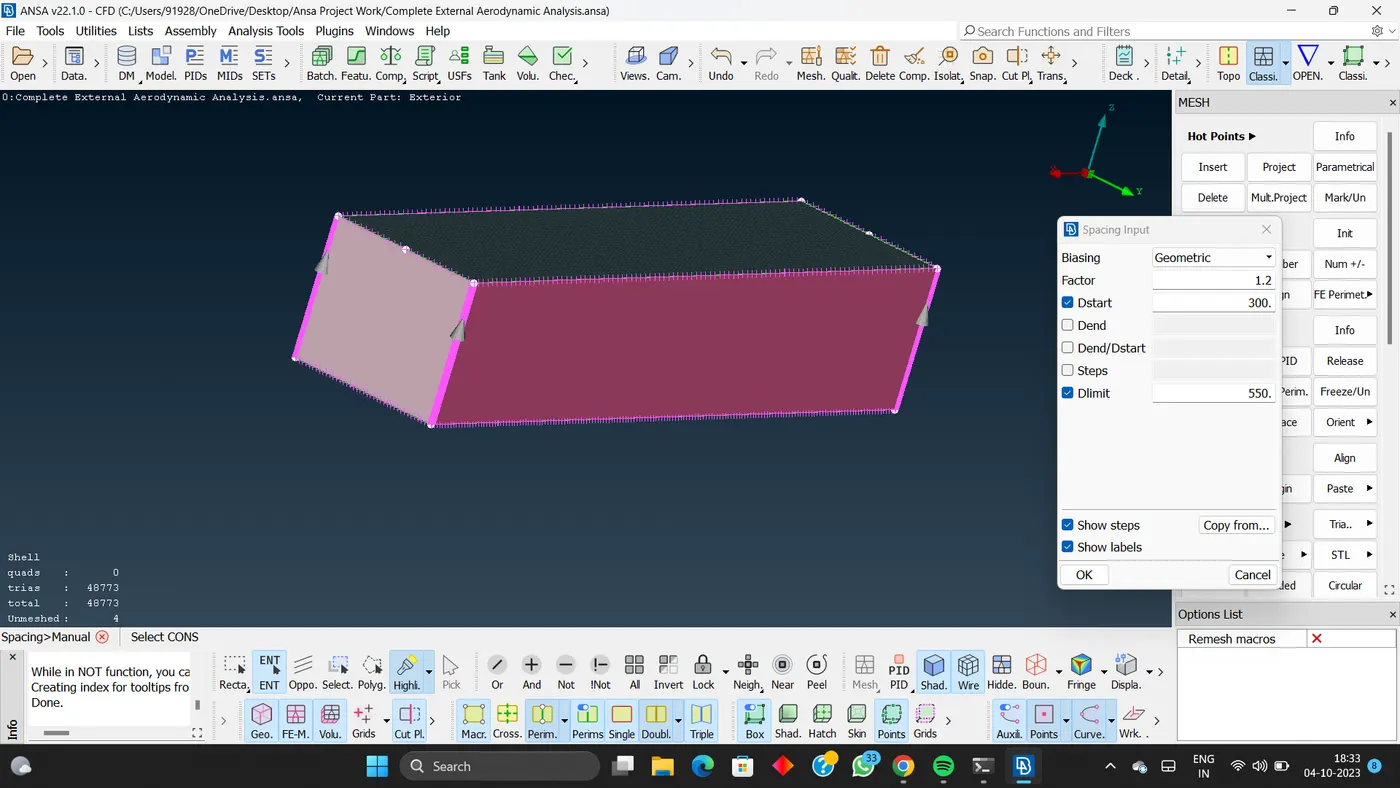
- Giving the growing mesh value.
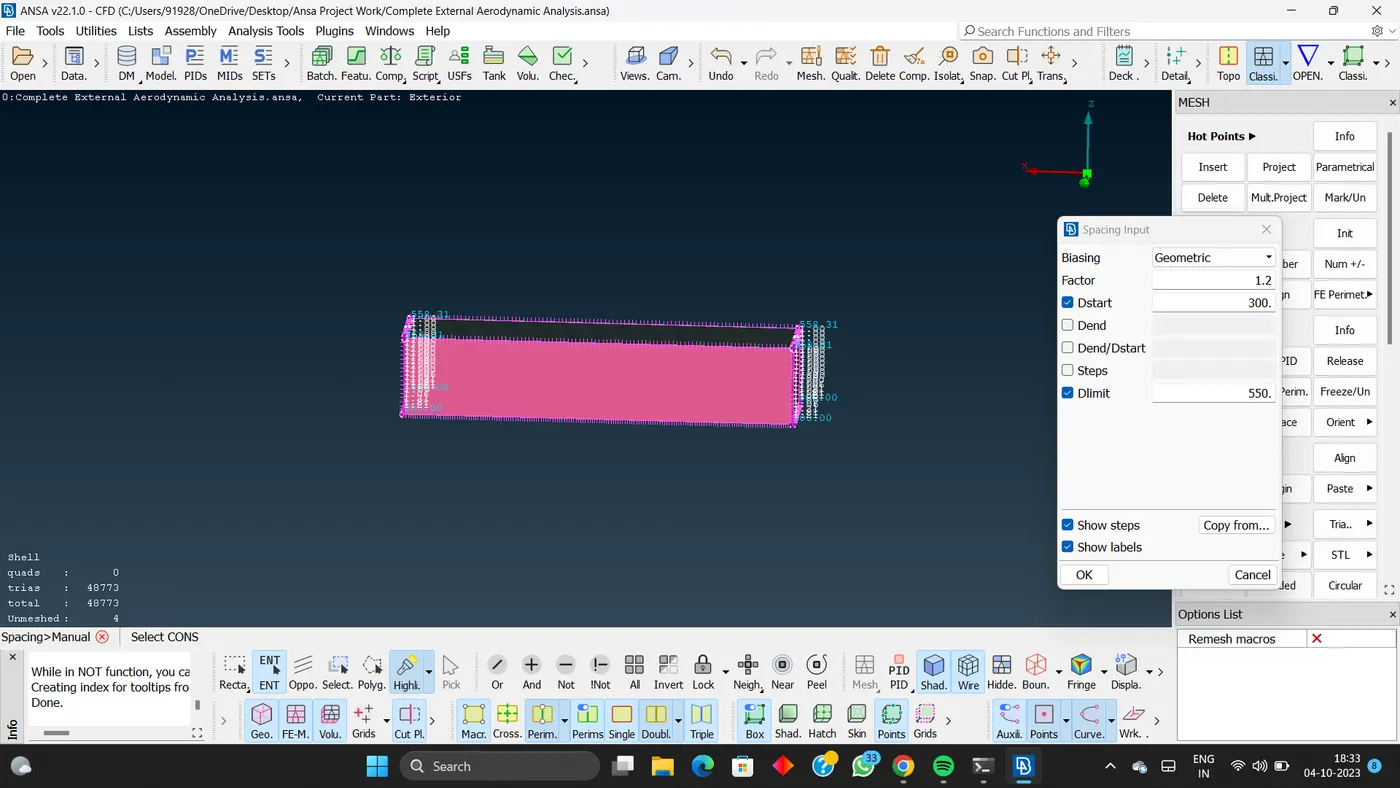
- The whole geomentry iis mesh.
Model file link(google link):- https://drive.google.com/drive/folders/1R2UlHb8zRddZfbEIi-N7MU6BdbfirnhF?usp=sharing