Week - 4 - 2D meshing for Plastic components
Meshing of Bottle Cap Plastic Component
Input Model
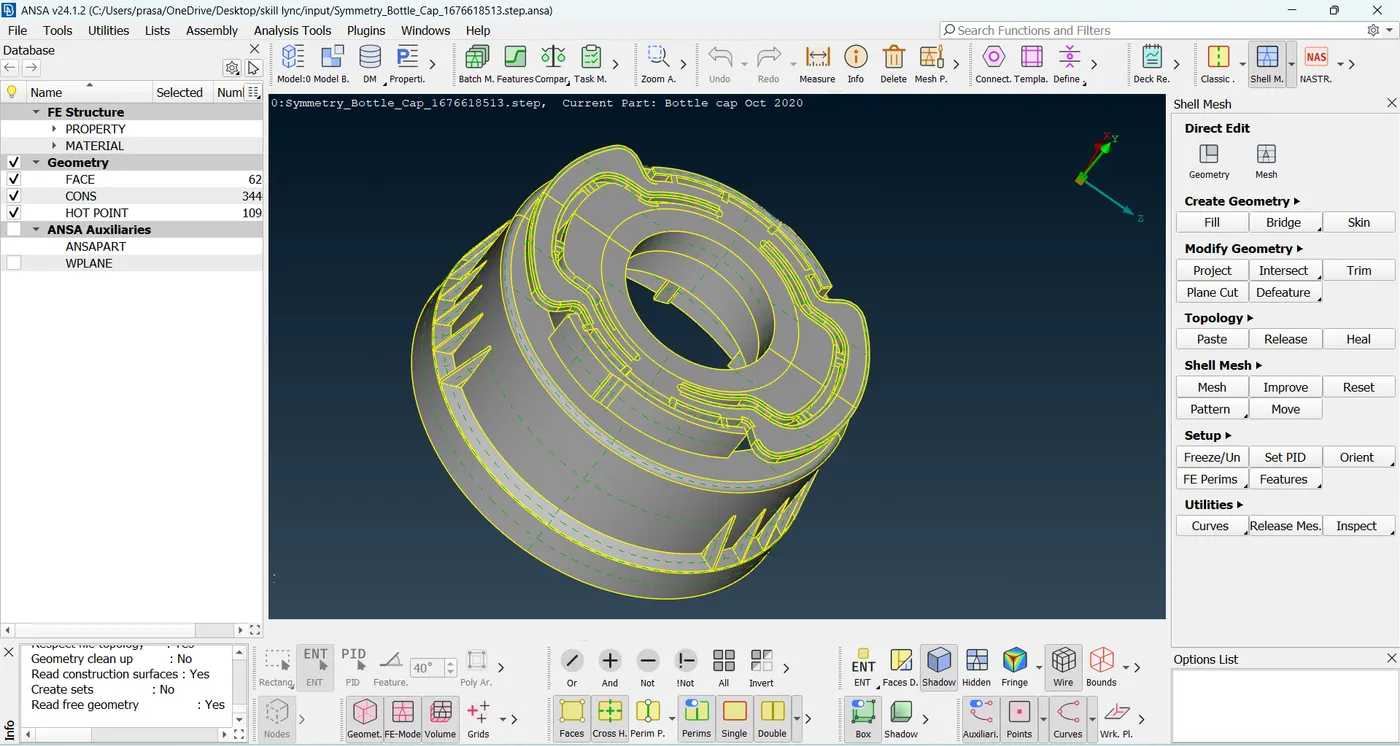
Aim: Manually extract the mid-surface & create a mesh following the given quality criteria, ensuring proper mesh flow.
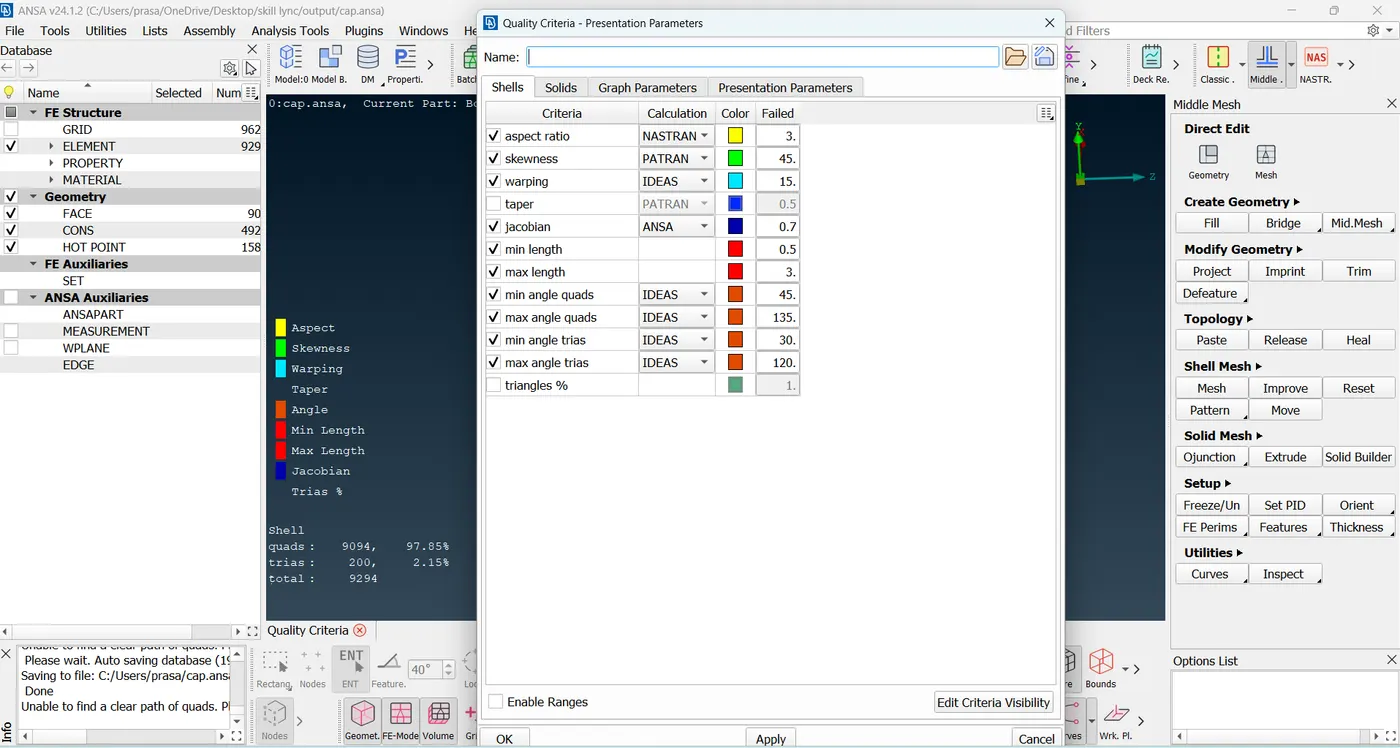
Quality Criteria:
Target length - 1
Aspect ratio - 3
Skewness - 45
Jacobian - 0.7
Warping - 15
Min length - 0.5
Max length - 3
Min angle for quad - 45
Max angle for quad - 135
Min angle for tria - 30
Max angle for tria -120
Procedure Followed :
Step 1: Imported the Model
Loaded the given model into ANSAv24.0.2 & adjusted general settings like resolution, tolerance & units (curves-1, perimeter-1) for better visibility & accurate geometry capture also it will help to identify the errors properly.
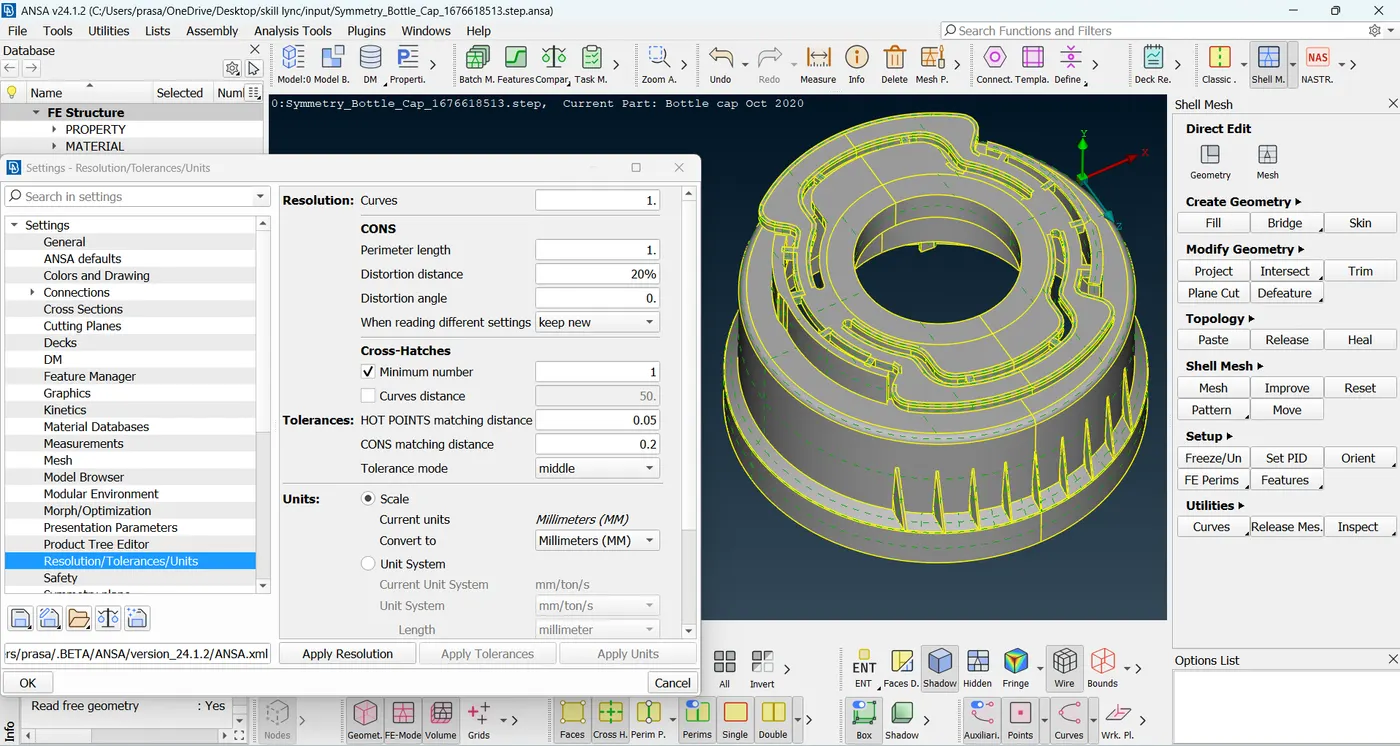
Step 2: Analyzing the model
- Checked the model carefully to identify possible errors that might occur during mid-surface extraction & the regions which may fail for quality.
- Checked for areas with varying thickness, ribs, fillets, & other critical features that might require special attention.
- Did not found 100% symmetry in the model, as some features were asymmetric. this required careful handling during mid-surface extraction & meshing.
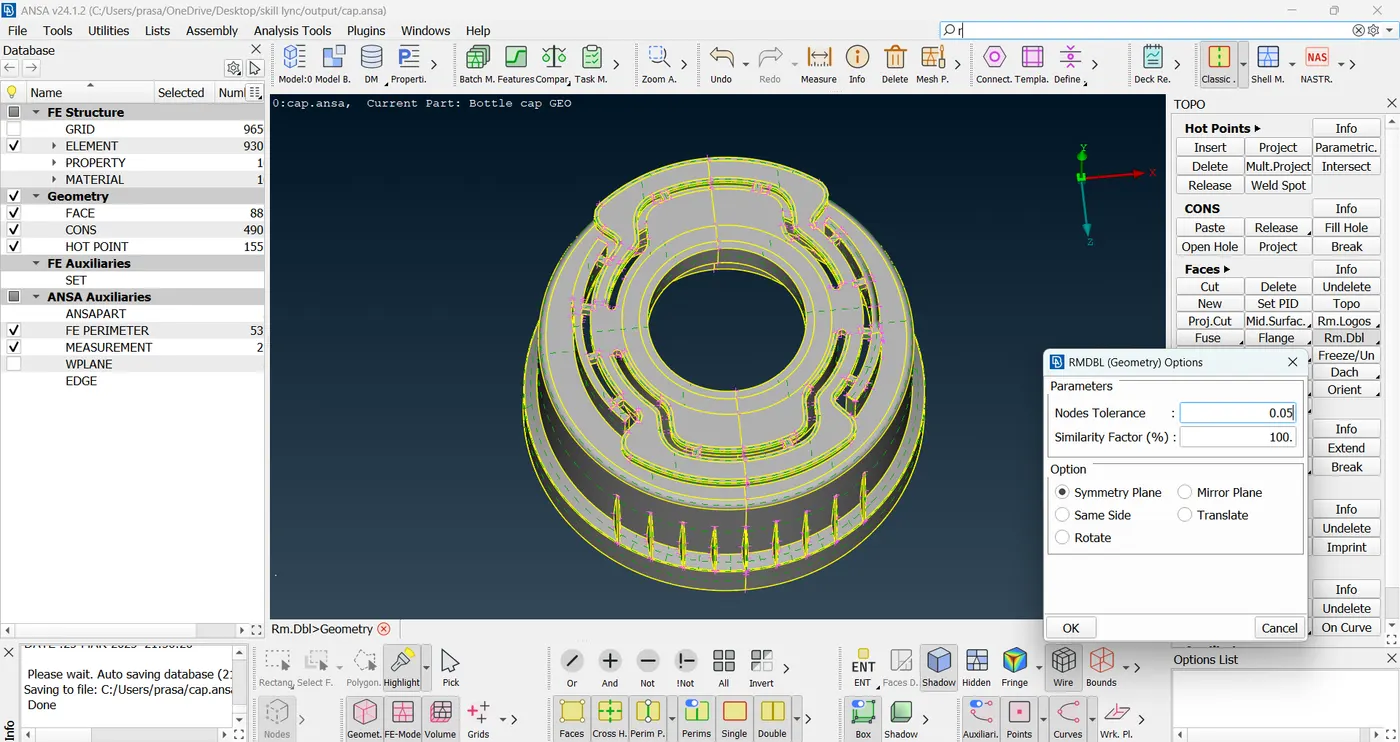
Step 3: Geometry check & error fixing
Performed the geometry checks & fixed errors using the auto fix option. some errors that were not cleared automatically were corrected manually.
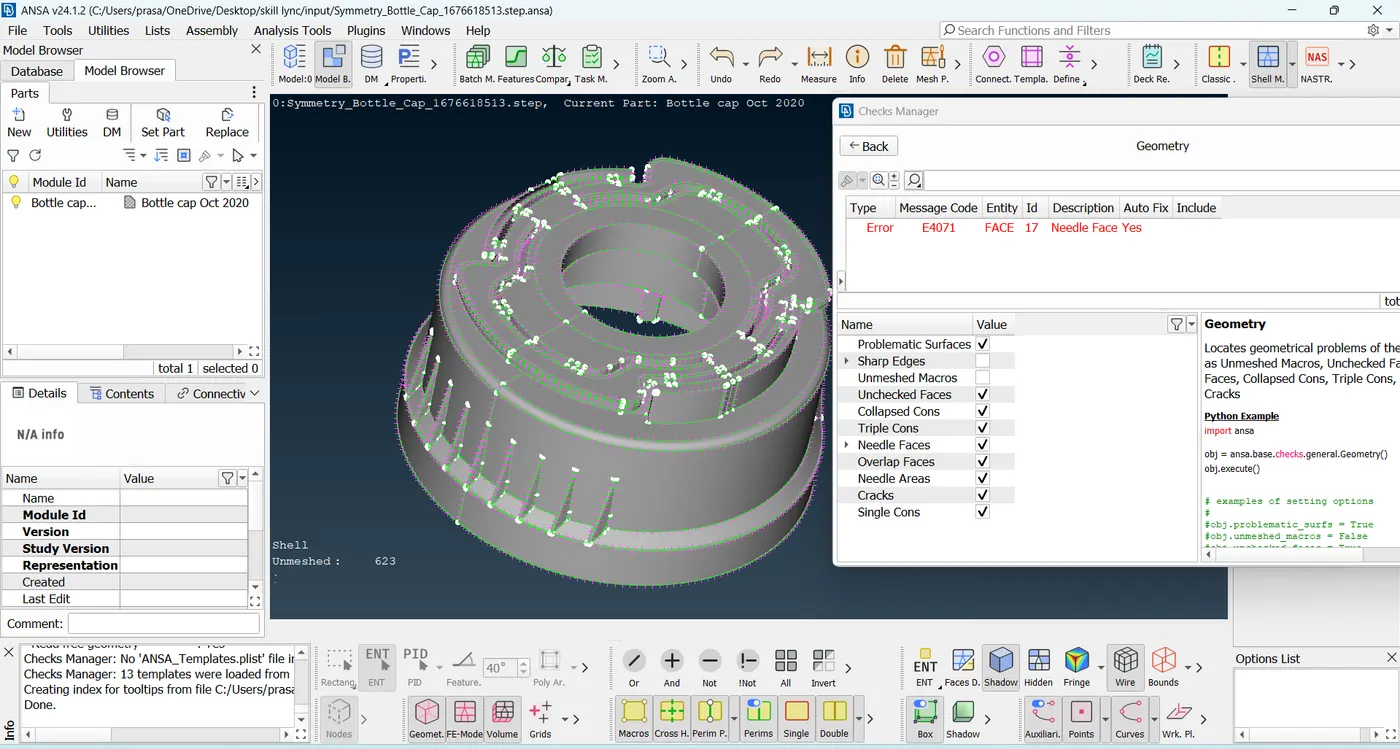
Step 4: Mid surface extraction
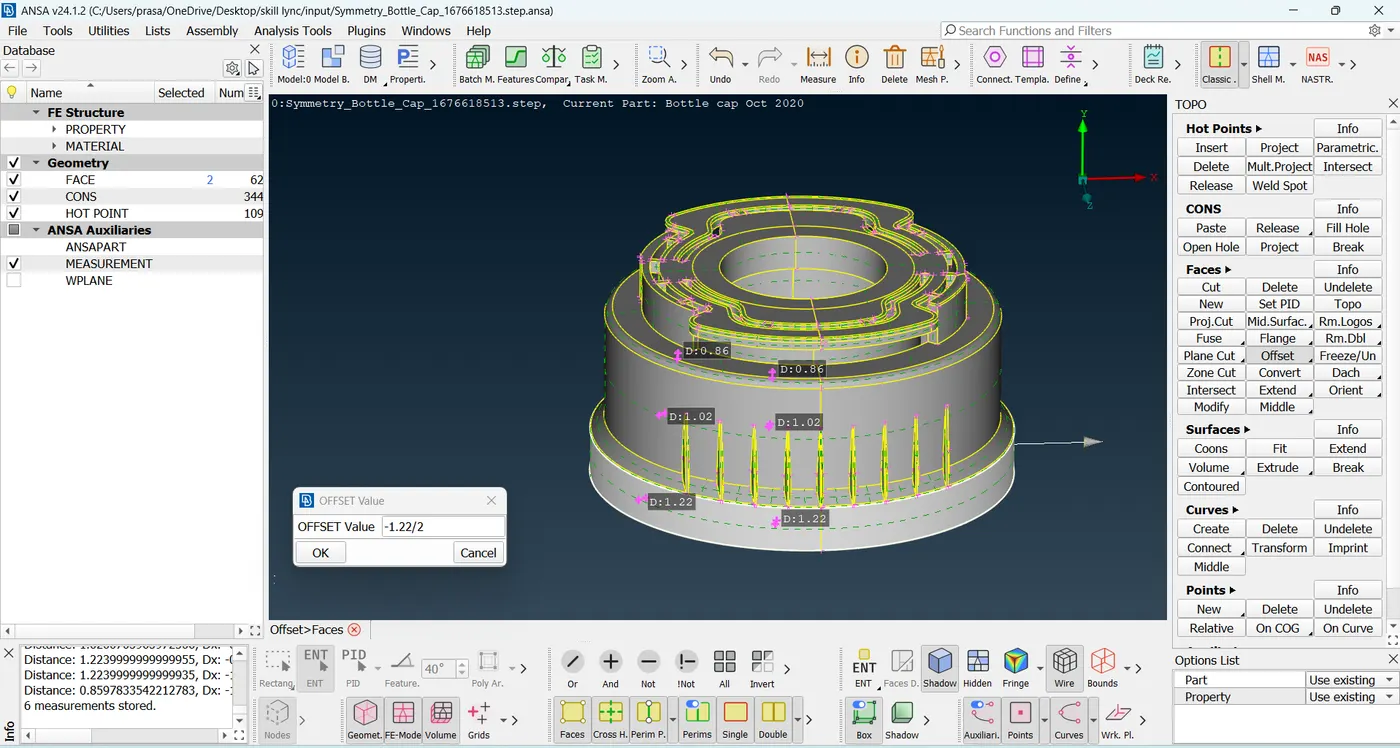
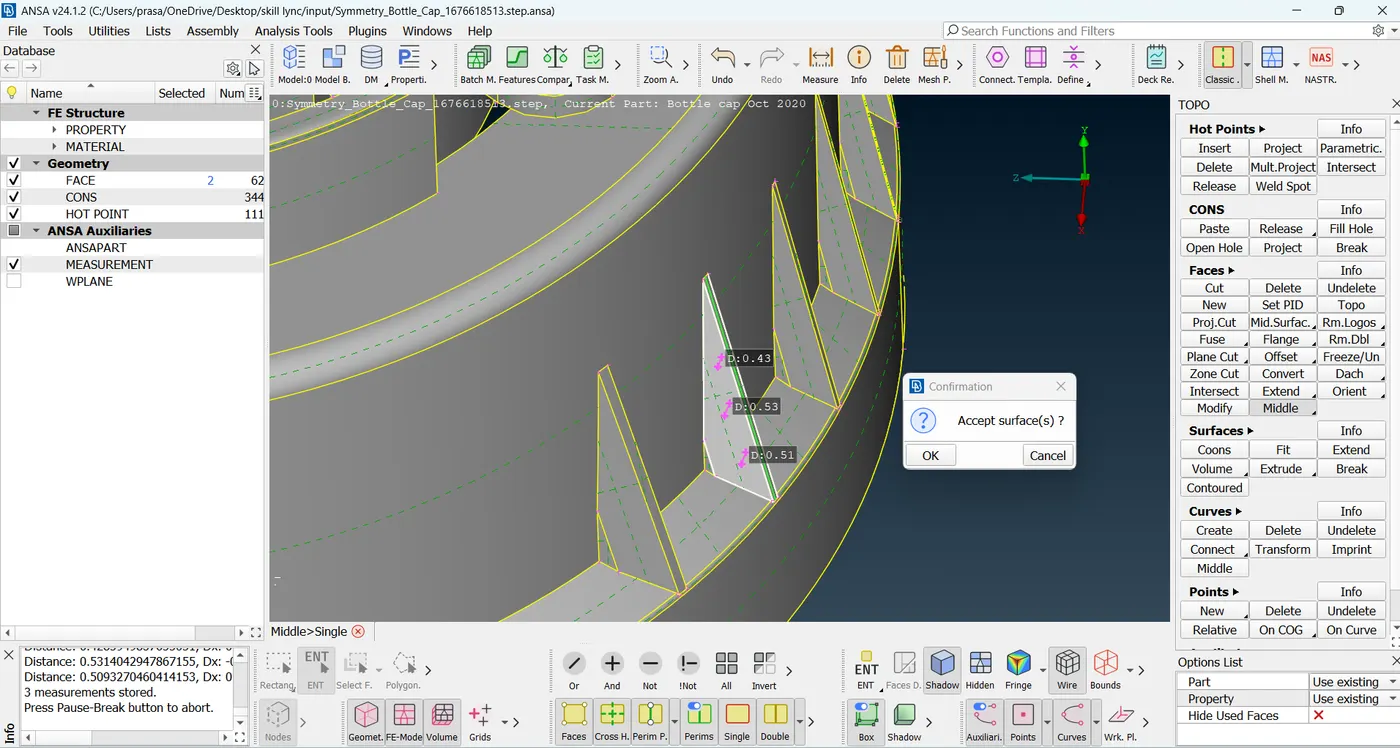
- Used the offset method for areas with uniform thickness to extract the mid-surface accurately.
- Applied the middle option in regions where thickness varied (ex ribs, fillets & complex features).
- Ensured proper continuity of the mid surface to avoid errors in meshing.
Step 5: Connected the mid-surfaces
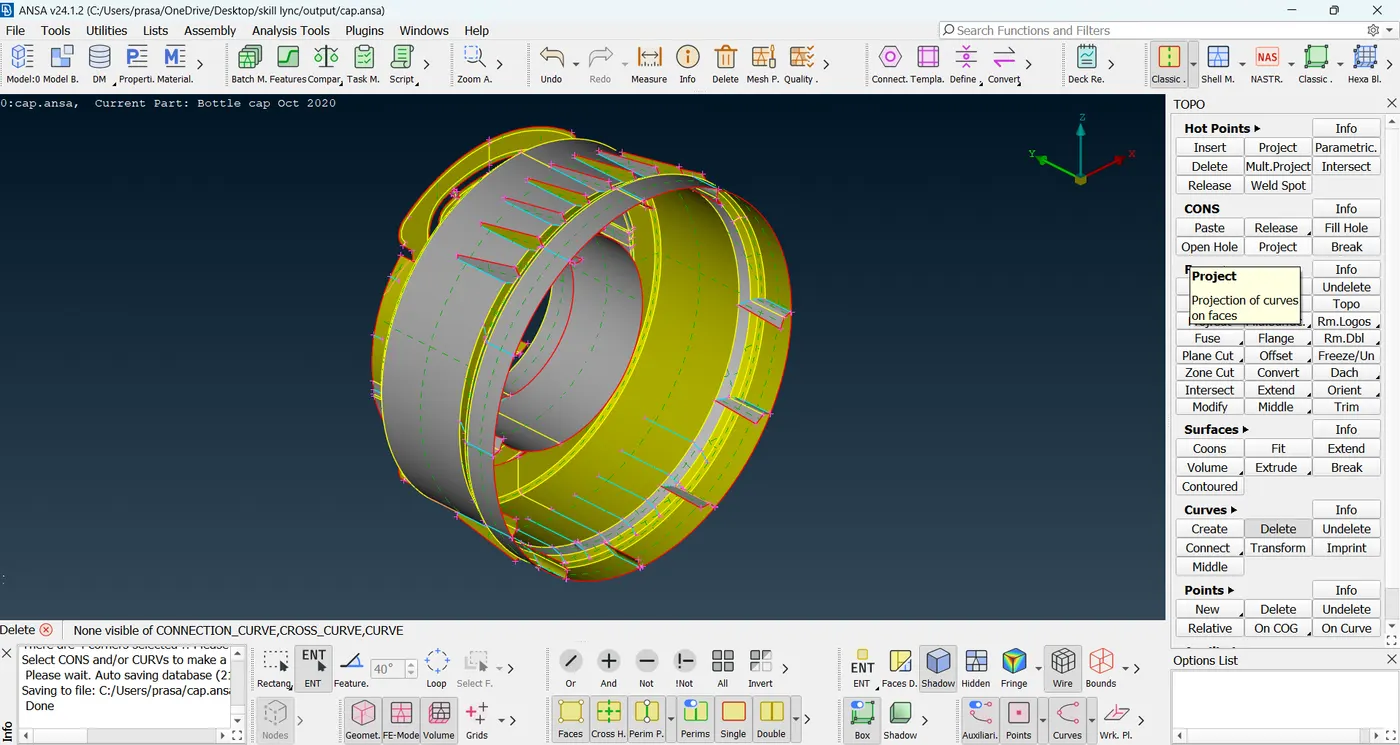
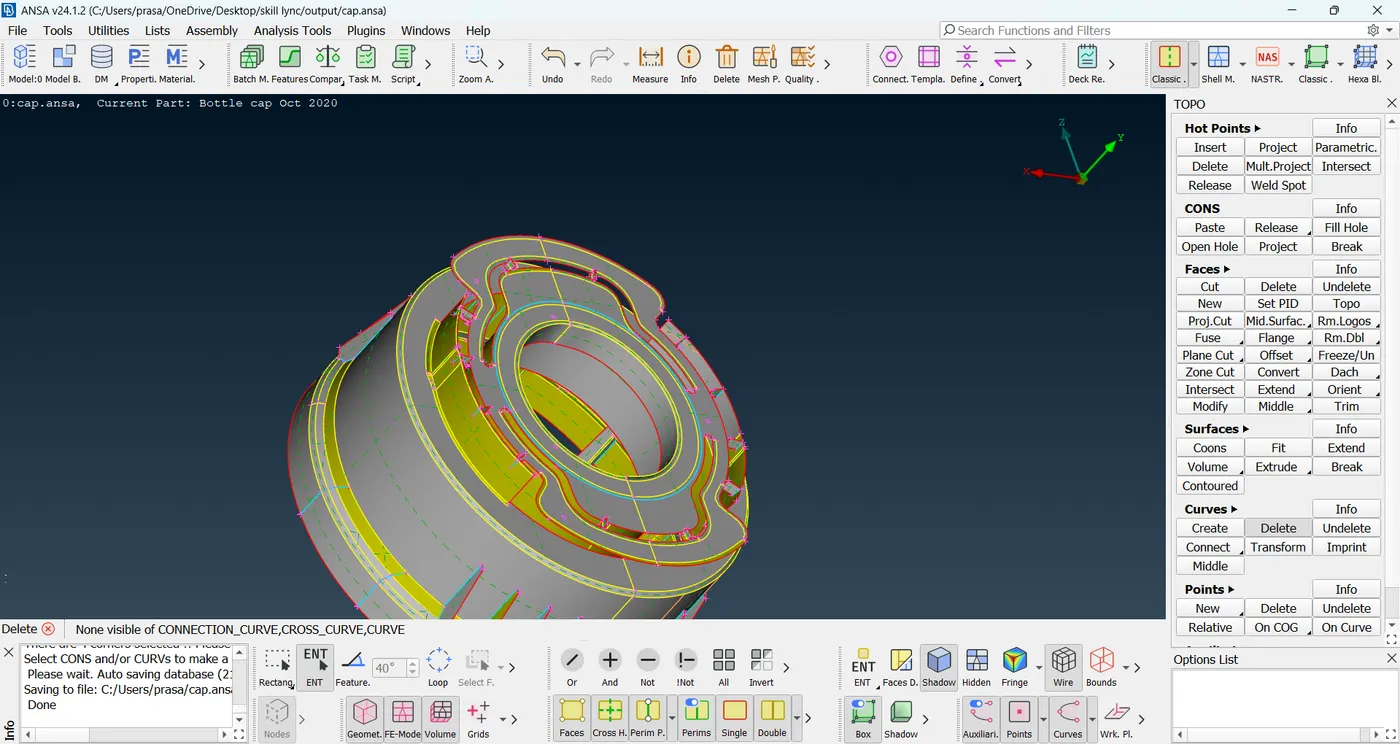
Used Extend & Project tools to properly align & connect the extracted mid-surface to match the original geometry. Faced various challenges, such as overlapping surfaces & disconnected regions, but solved them using different ANSA tolls & techniques.
Step 6: Meshing with Quality criteria
- Defined the mesh parameter & quality criteria ( Such as aspect ratio, skewness, Jacobian ex) Based on project requirements.
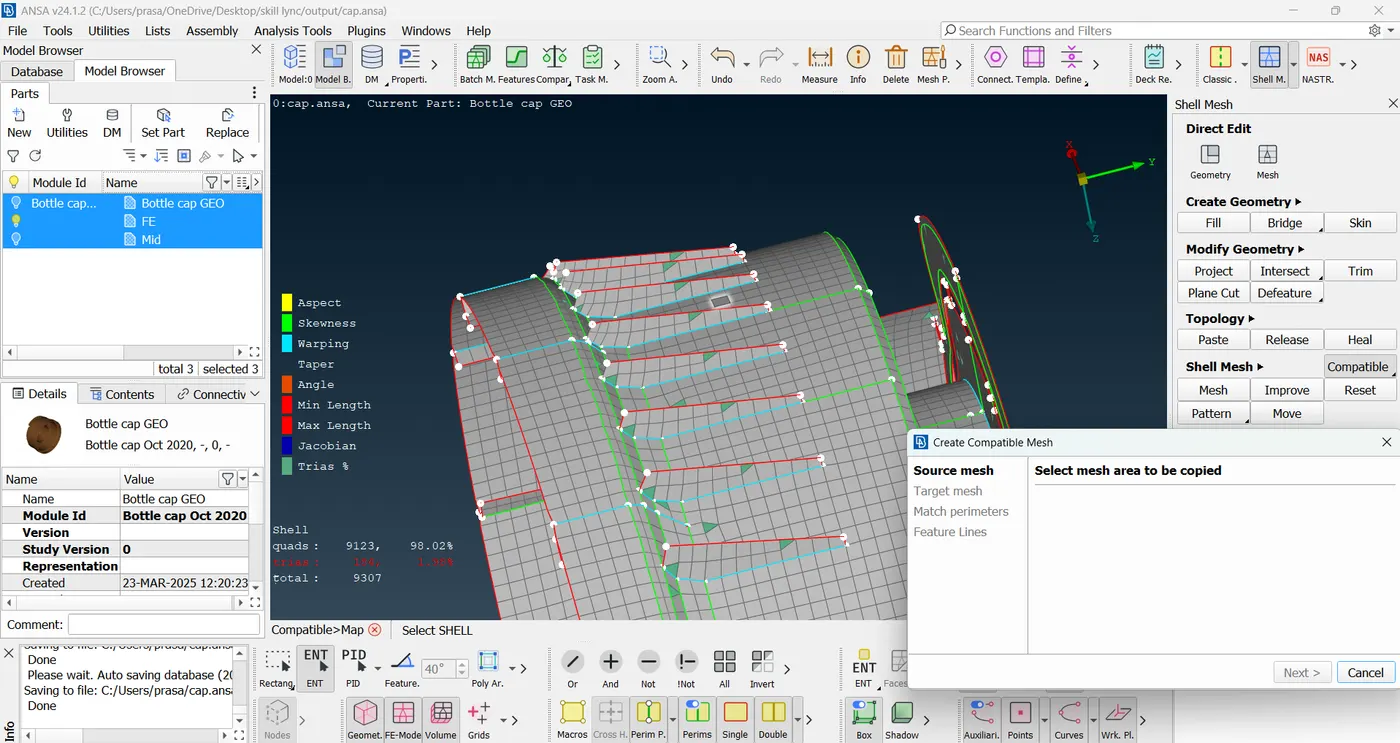
- Ensured that similar features were meshed using the same pattern to maintain consistency for that i used the tool called map (compatible).
Step 7: Mesh Validation & Refinement.
- Checked the element quality errors
- Made necessary refinements to remove any failed elements & achieved Zero quality errors.
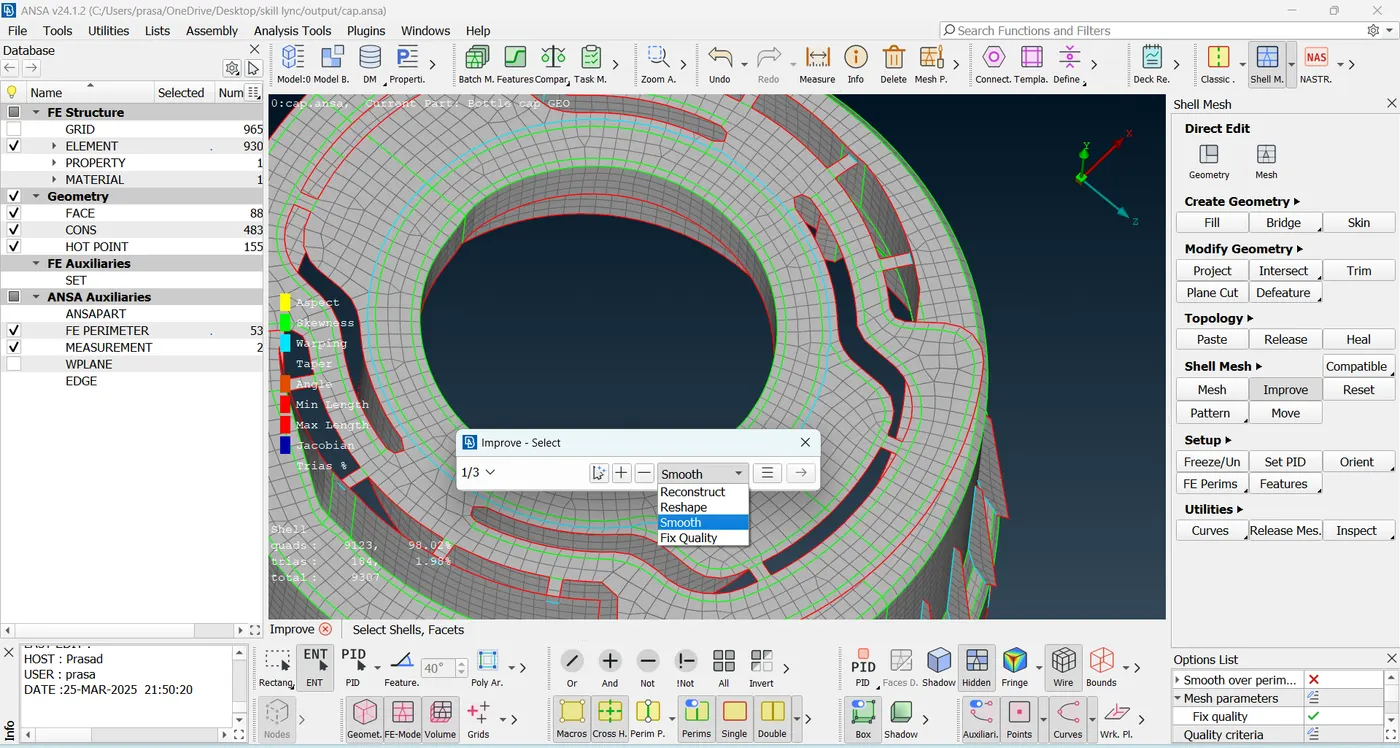
- Used mesh editing tools like Reconstruct, improve, smooth & fix quality to enhance mesh accuracy.
Step 8: Model Organization
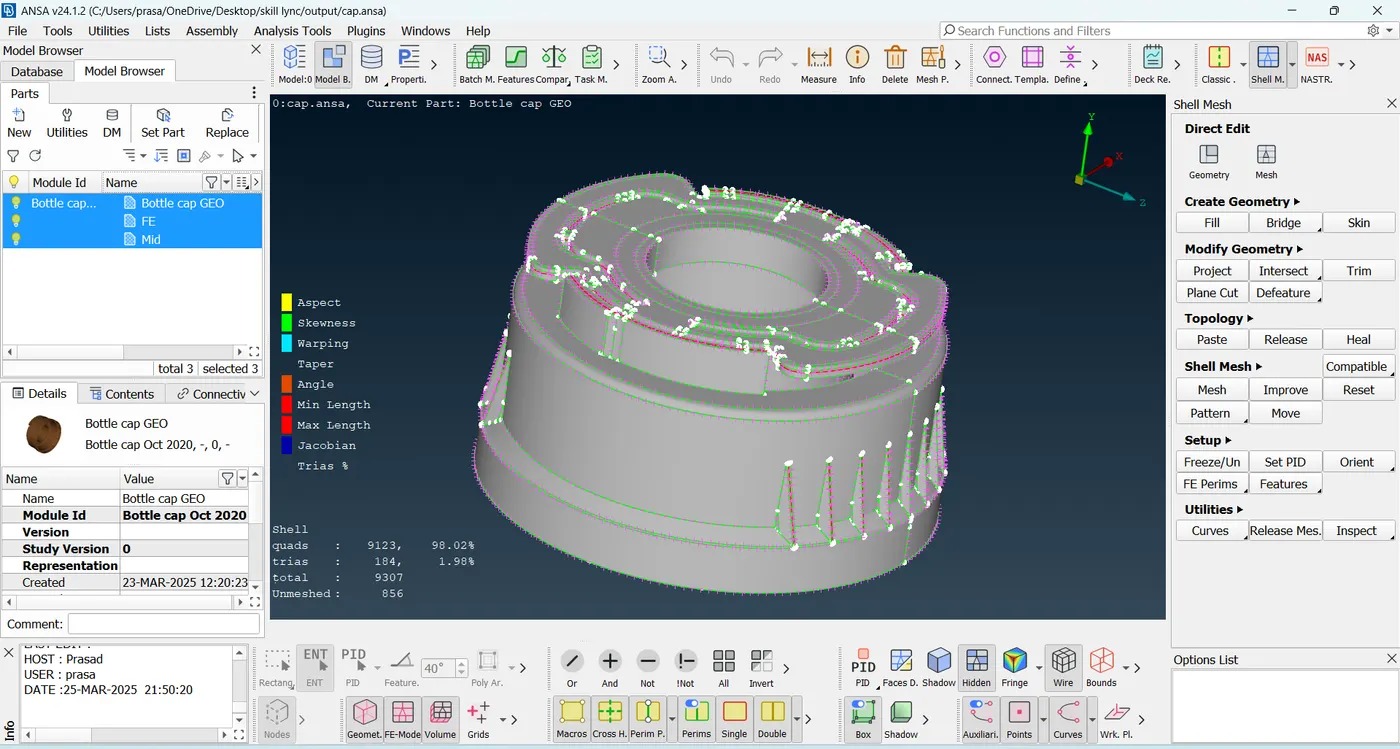
Separated the mid surface geometry & FE elements using model browser to maintain clarity that all is done after clearing the all quality errors and with proper mesh flow. Created the different parts in model browser that is Geometry, Mid & FE.
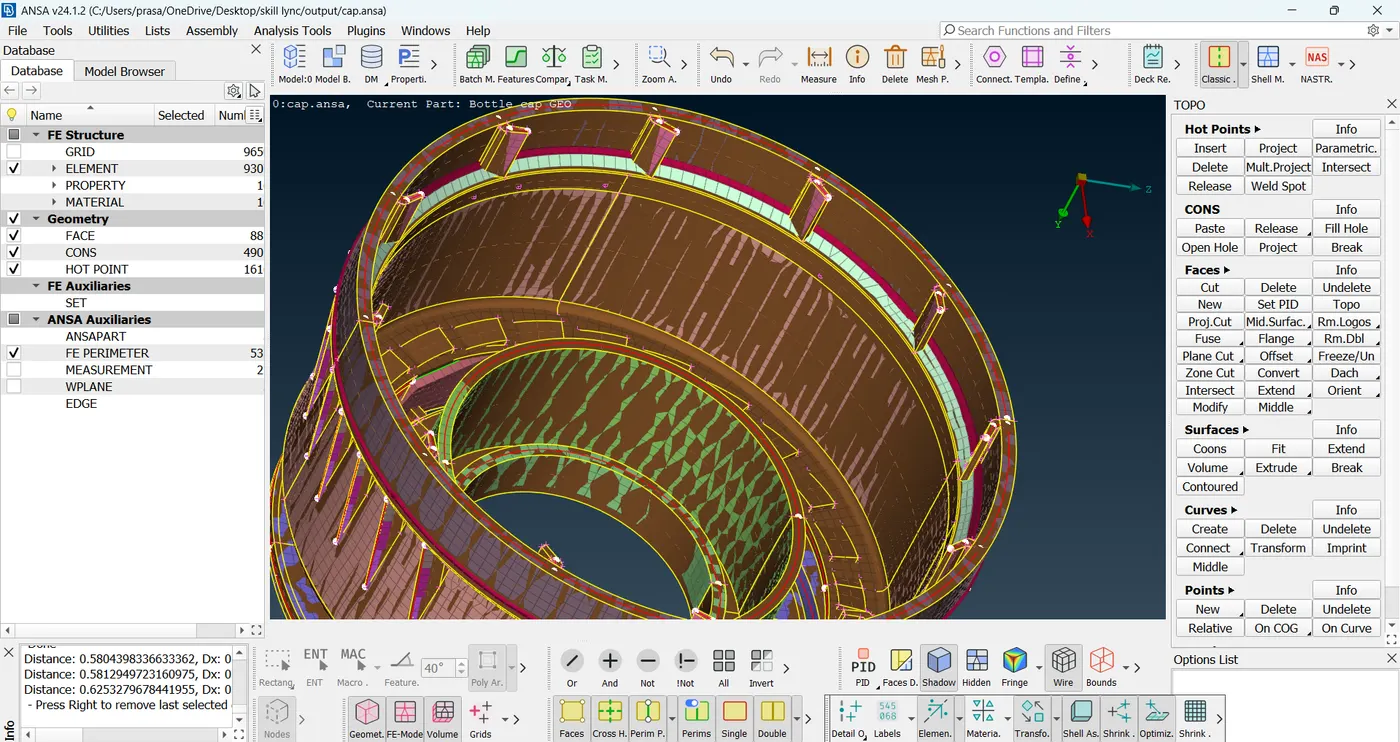
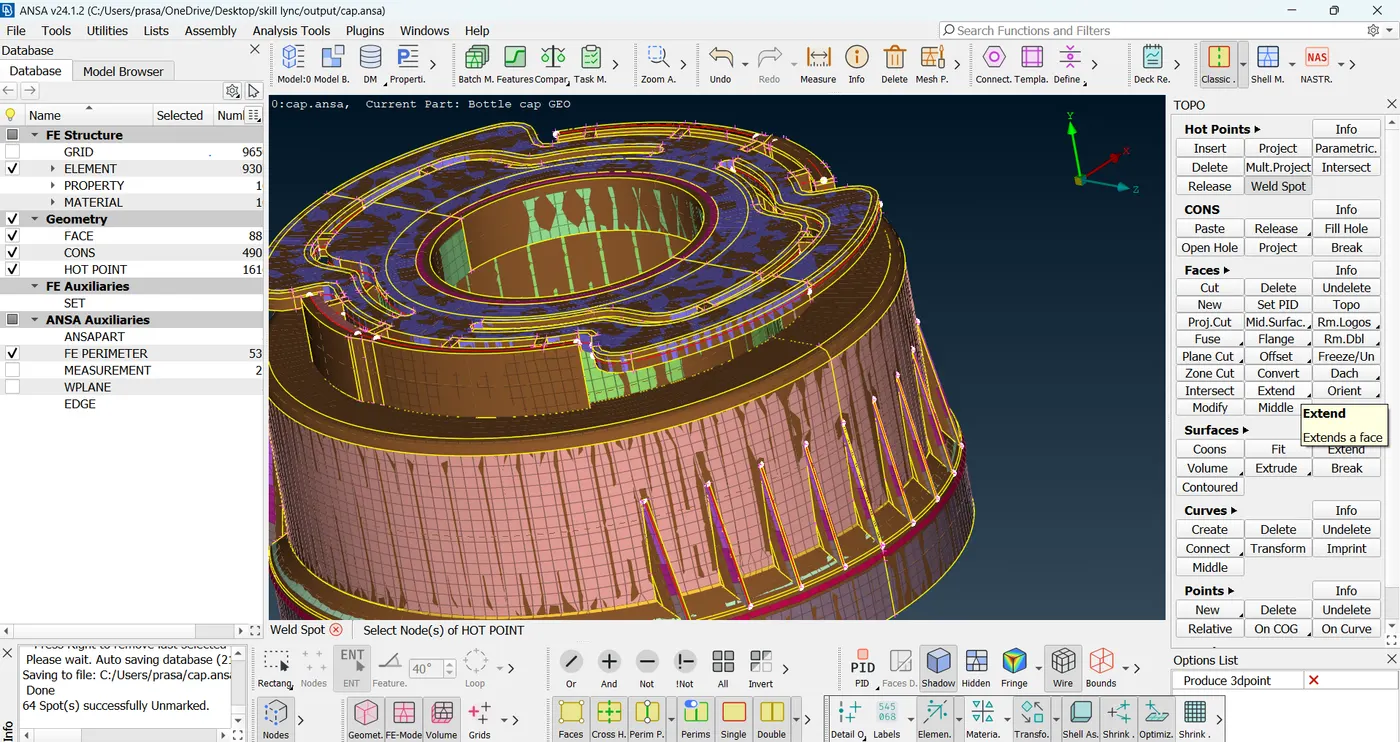
Step 9: Assigning the Thickness
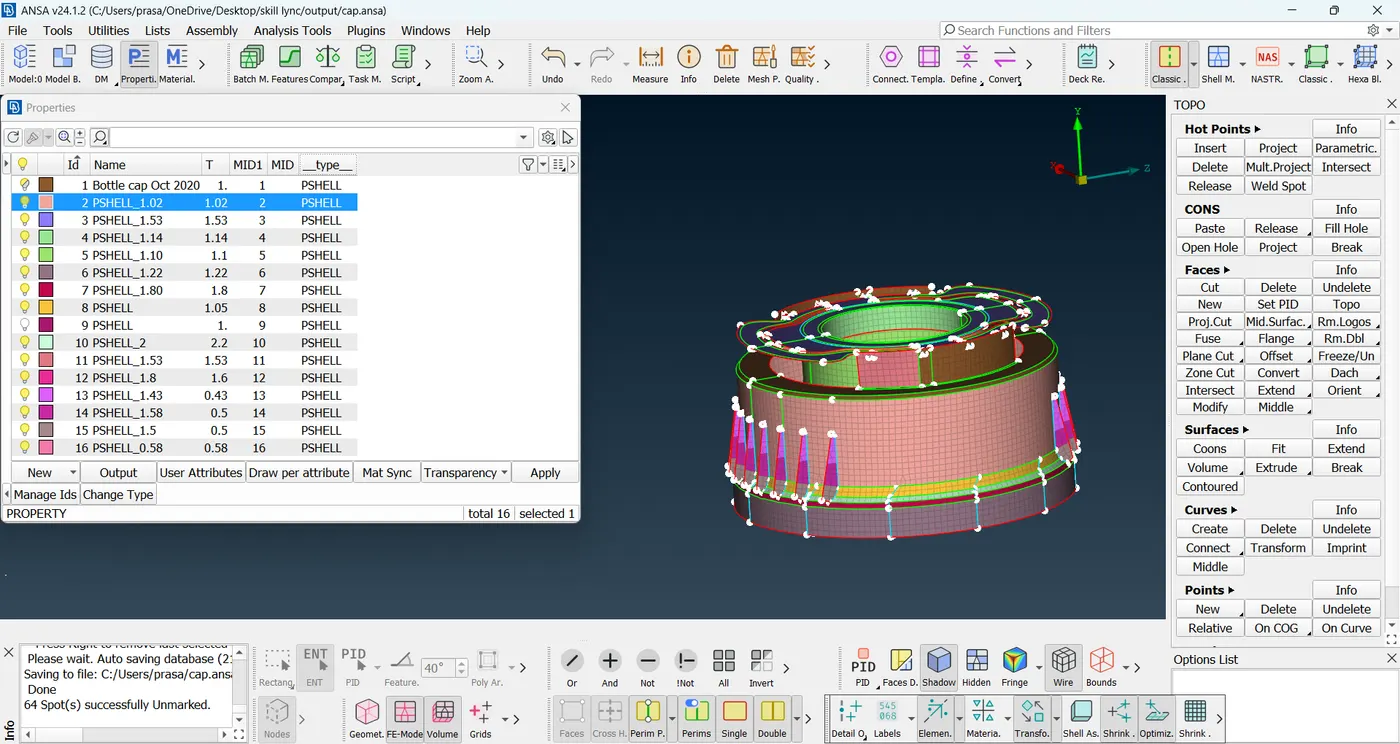
- Assigned the appropriate thickness values to different FE parts based on the original CAD model.
- Verified the thickness by enabling GUI settings (Drawing Draw Property Disable) for better visualization.
Step 10: Final Review & Export
Performed a final check to ensure Geometry Mesh Quality, & Thickness assignment were correct
Additional Enhancements & Best Practices:
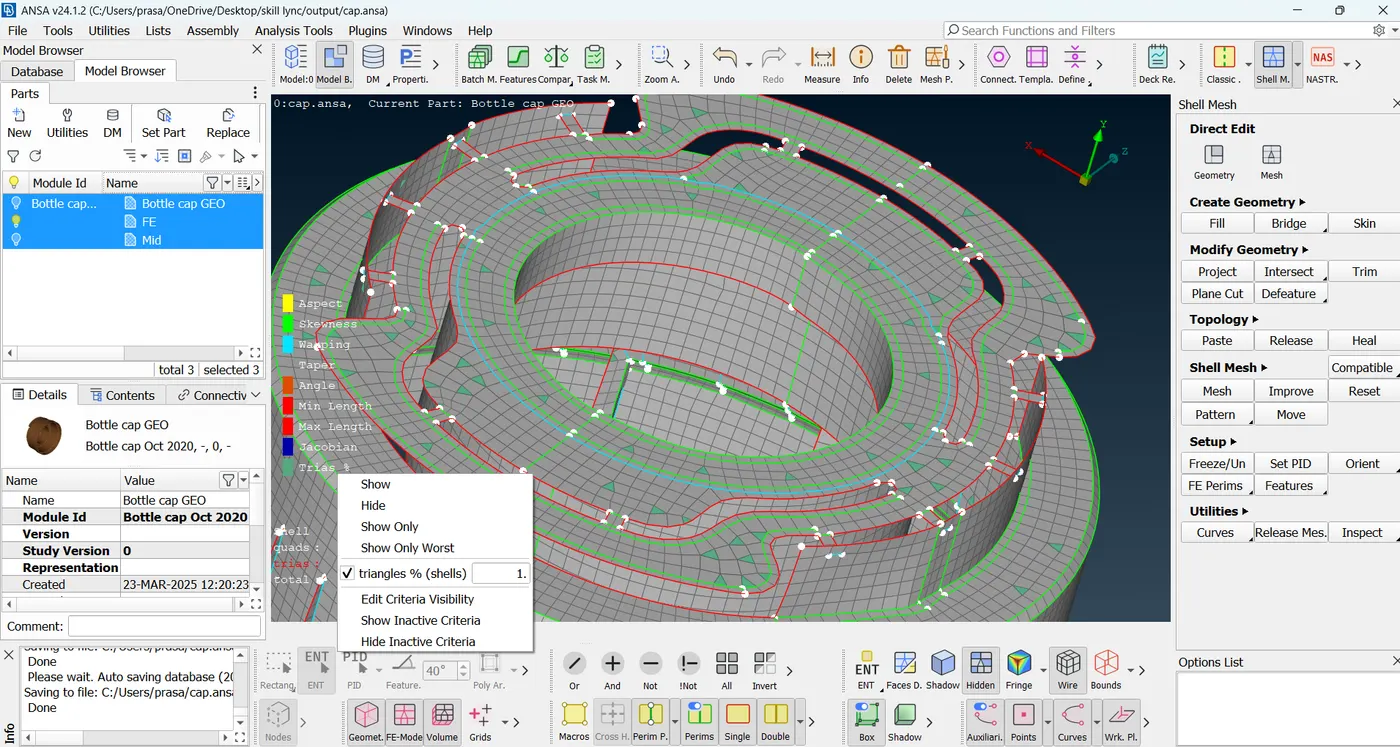
1. Enabled Tria Percentage for Trias in Quality Criteria
Set Tria Percentage to 1% in Quality criteria to efficiently identify triangular elements (Trias) & ensure they met the required quality standards.
2. Used Compatible Tool for Consistent Mesh Pattern
Applied the Compatible tool to ensure that similar features were meshed with the same pattern, maintaining uniformity in mesh flow & improving accuracy.
3. Organized model for Efficient Thickness Assignment
In the model Browser, Separated parts for geometry, mid-surface, & FE Elements. this organization assignment process, reduction errors & saving time.
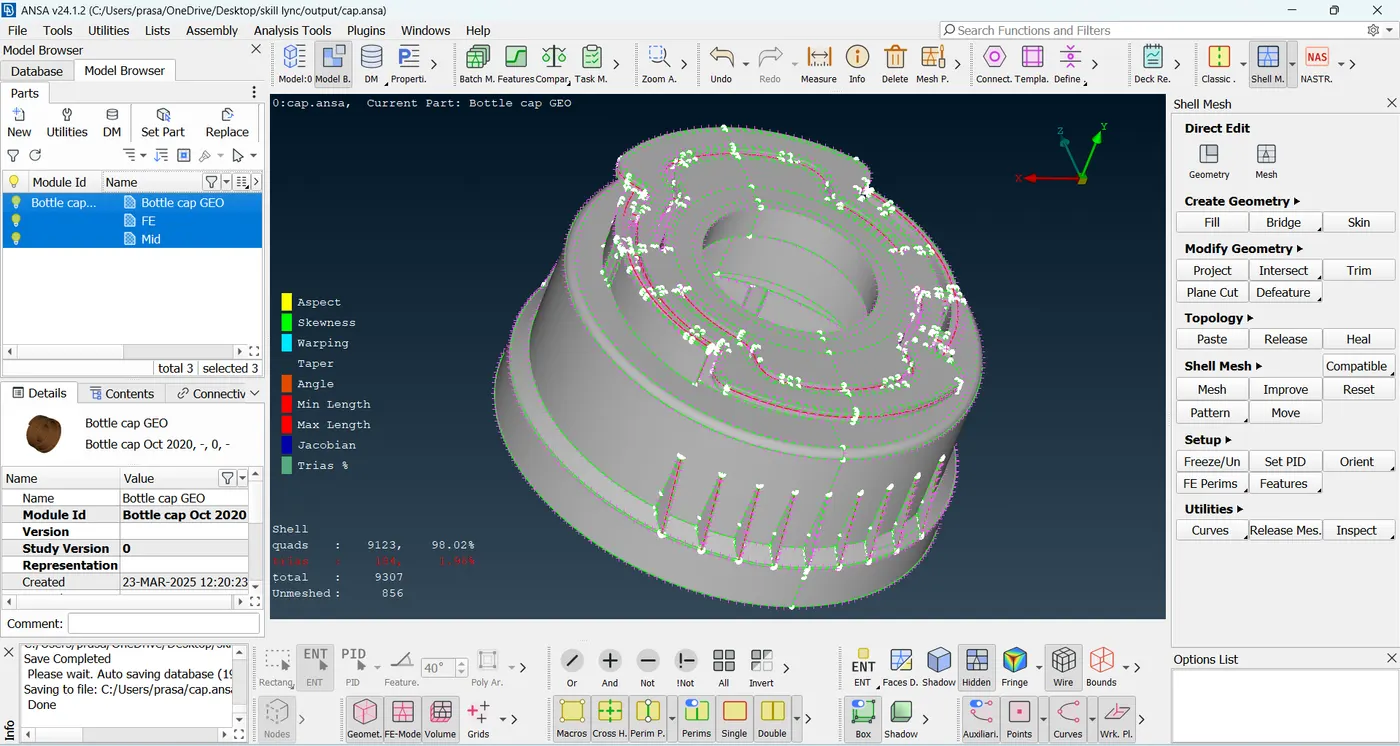
4. Optimized Visualization for Better Inspection
Enabled Drawing Settings & Disabled Draw mode to enhance Visibility, Making the geometry & mesh easier to inspect.
Conclusion :
This Skill-Lync project helped me gain hands on experience in mid surface extraction, meshing & troubleshooting in ANSA. I learned how to handle complex geometries, fix errors & ensure high quality mesh flow, which are essential skills for CAE preprocessing.