Week - 4 - 2D meshing for Plastic components
2D MESHING FOR SHEET METAL
Aim:
Creating the mid surface of the given CAD model after checking the geometrical errors and meshing the mid surface with the given element Quality criteria. Every product which has been produced will go through the set of quality check, if the quality check is fail other steps like boundary condition & applying loads will not be feasible.
|
S.No |
Quality Criteria |
Value |
|
1 |
Target/Average length |
1 |
|
2 |
Minimum Length |
0.5 |
|
3 |
Maximum Length |
3 |
|
4 |
Aspect |
3 |
|
5 |
Warpage |
15 |
|
6 |
Skewness |
45 |
|
7 |
Jacobian |
0.7 |
|
8 |
Minimum Quad Angle |
45 |
|
9 |
Maximum Quad Angle |
135 |
|
10 |
Minimum Tria Angle |
30 |
|
11 |
Maximum Tria Angle |
120 |
|
10 |
Tria Percentage |
15 |
METHODOLOGIES ADOPTED:
- Geometry Cleanup
- Mid-Surface extraction
- Mesh creation, Quality check & assigning thickness
PROCEDURE:
Import the cad model and start the 1st operation 'Geometry Cleanup'.
- Check if there are any errors in the given model using Check manager(Checks>Geometry>Execute). If errors are found, it is to be corrected & in this model there were several errors like needle faces etc. These errors are removed (Fix automatically).
- To remove the errors certain commands are used such as:
- Autofix
- Cut
- Topo
- Creating new surfaces if necessary
- Delete hot points at unnecessary places
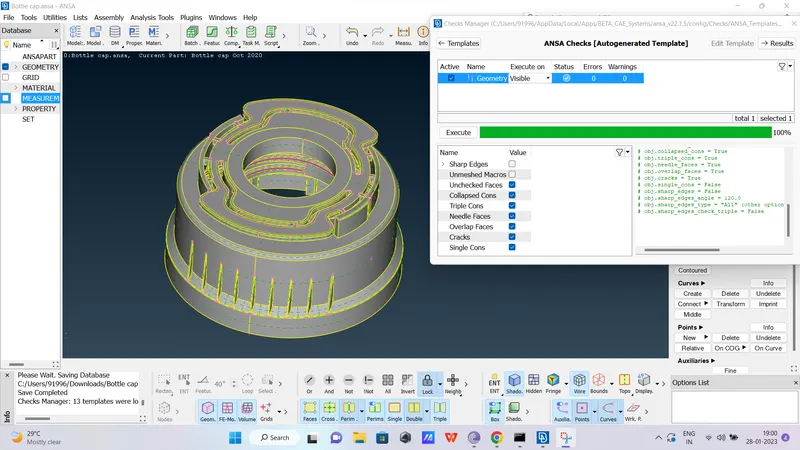
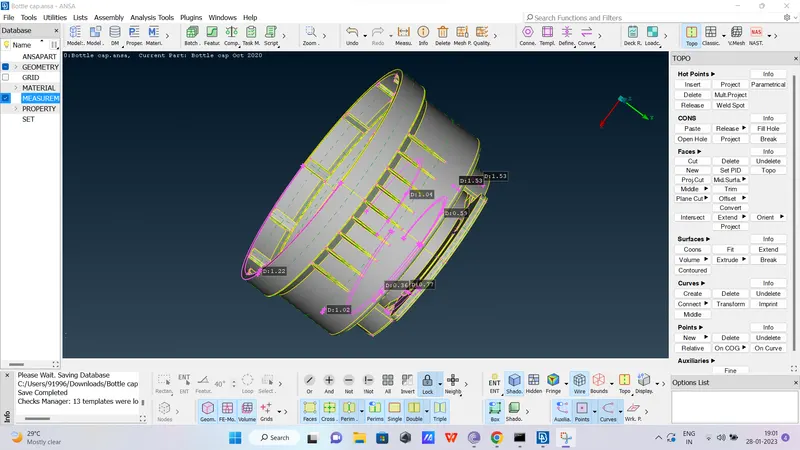
- Then Check the thickness for each component by measuring option. This operation is very important for the purpose of creating Mid Surface.
-
Measuring thickness and orienting the geometry
- After measuring the thickness and storing the thickness extract the mid surface by using offset option. For extracting the mid surface, the entire geometry has to be oriented accordingly which results in easy extraction of the mid surface.
- To orient the geometry go to Faces>Orient>then select the geometry (Grey is positive & yellow is negative)
Next is the 2nd operation 'Mid Surfacing'.
- For extracting mid surface go to Faces>Offset>Select the entities>Enter the offset value(Half of the thickness).
- To select faces for extracting, here three methods are used:
- We can select manually by clicking on the cross lines on one side of the surface.
- Other method by using the feature caption option set an angle and select any of the cross line this will select the whole one side of the surface.
- Using Vol selection option.
- Now the mid surface is extracted, given below are the examples:
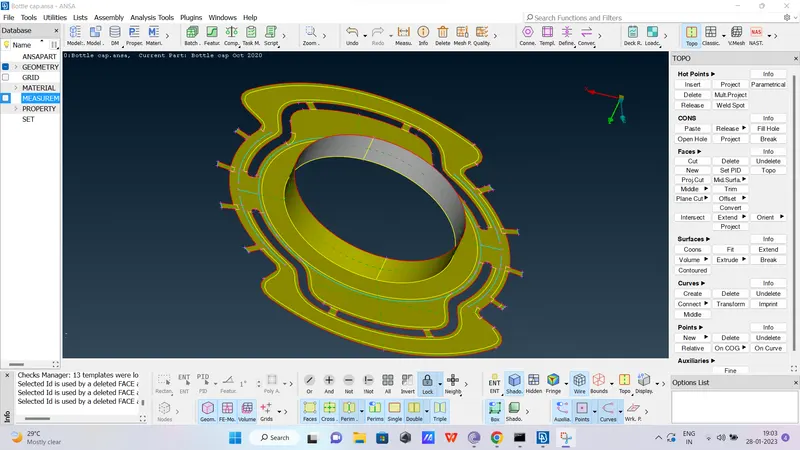
- Repeat this procedure for all the different portions. An important thing to do is setting PID along with mid surfacing. All this model have many portions with different thicknesses it is recommended to set PID simultaneously for the easiness.(While extracting MID, Select offset/middle> in options list > Property change to ask always> Select entities> Set PID.)
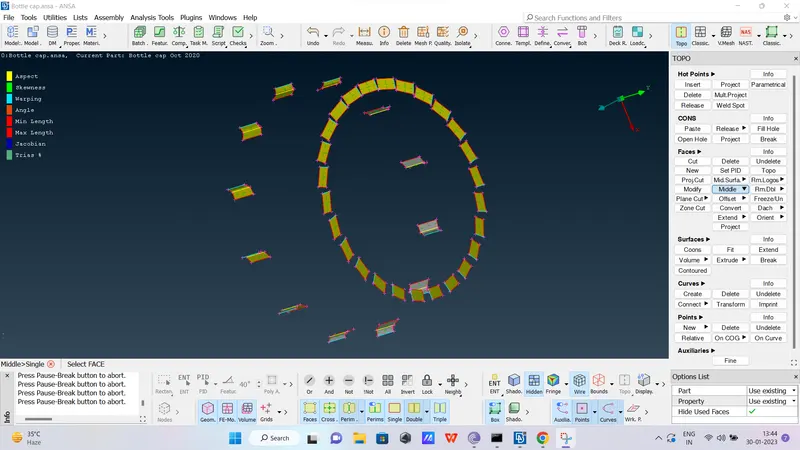
- In this model there are 'Teeths' and 'Fins' which are in a circular pattern. In order to extract MIDs for these easily, 1st extract MID of one teeth and fin.
- Then create a 3D point(center point) of 2 circles at different heights.
- Go to Utilities> Transform> Copy> Select MID of fin> select rotate> select corresponding X,dX values, Steps & angle> ok.
- Repeat same for teeths.
- Now for extracting MIDs for threads, 1st create middle curve for entire thread> Project this curve to extracted respective MIDs> Then create New face in Faces.
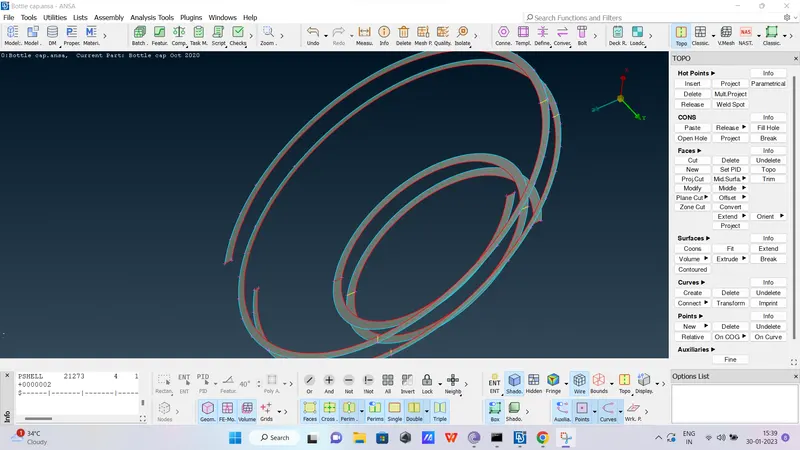
- Then MIDs are checked for verifying there are no existing errors.
3rd operation 'Mesh Creation, Quality check & Assigning Thickness'.
- Before starting meshing operation the properties are to be created.
- Then Change all perimeter element and macro elements distance to 1mm
- Confirm whether perimeter element distances are in acceptable range
- Input all the given Quality criterias (shortkey - F11)
- Then each components are meshed seperately
-
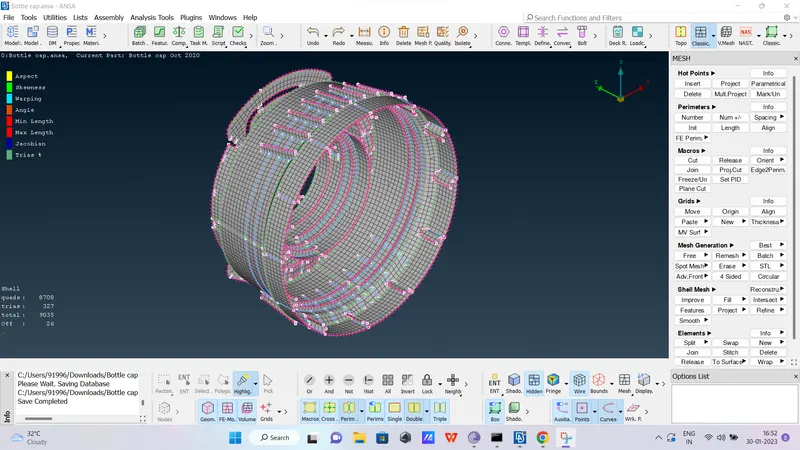
Next is Meshing operation. A mesh is a network that is formed of the cells & points. It can have almost any shape in any size & is used to solve partial differential equations each cell of the mesh represent an individual solution of equation which, when combined for the whole network result in a solution for entire mesh.
- For gaining the suitable mesh remove unneccessary cons(Topo>Faces>Cut>right click on cons).
- For meshing 'Best mesh', 'Free mesh' & '4 sided mesh' (In mesh genereation)are used which gives a mesh within the quality criteria.
- If in some region mesh is violating quality criteria, it is to be rectified. For this purpose 'Reconstruct', 'Smooth' (In Shell mesh) tools are used.
- Formation of trais in the mesh is acceptable only under certain conditions. Trais not satisfying these conditions are to be corrected. For correcting those, 'Split', 'Join', 'Swap' (In Elements) tools are used.
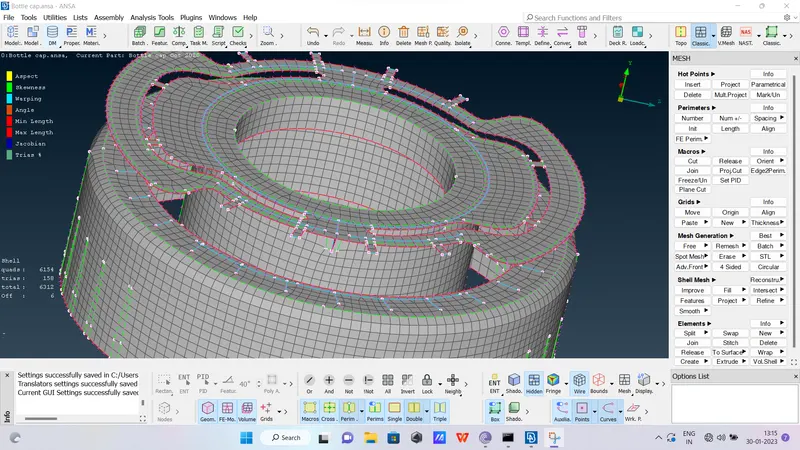
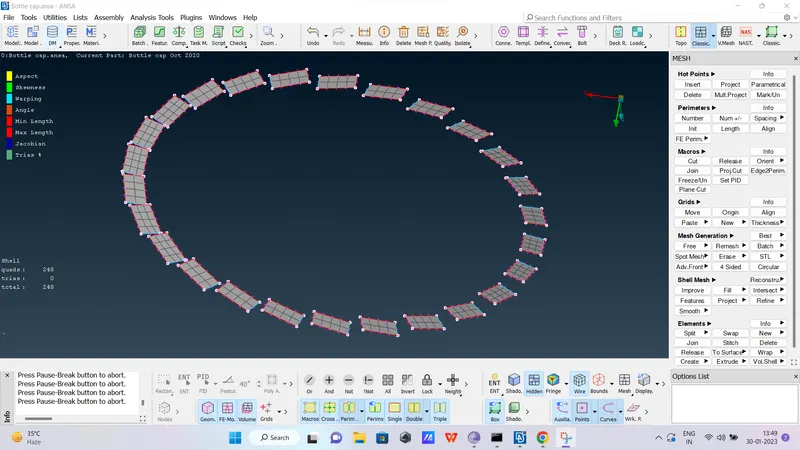
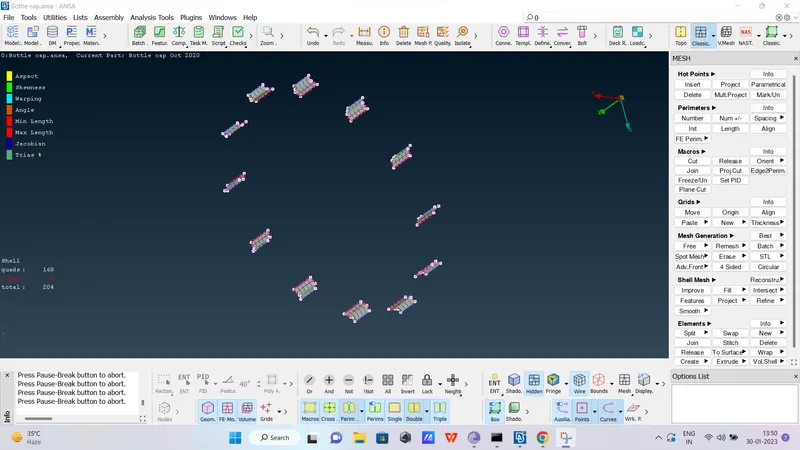
-
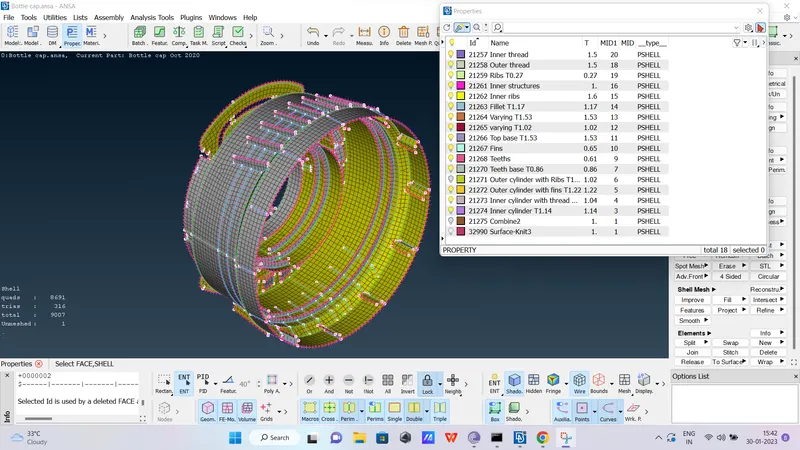
Finally we have to input the thickness values to corresponding components PIDs. (Shortcut - Cntrl+P)
- To Assign thickness for the varying thickness ribs, Split the surface into multiple surfaces by using the “CUT” command and give different thickness values such that it captures varying thickness components in the best possible way.
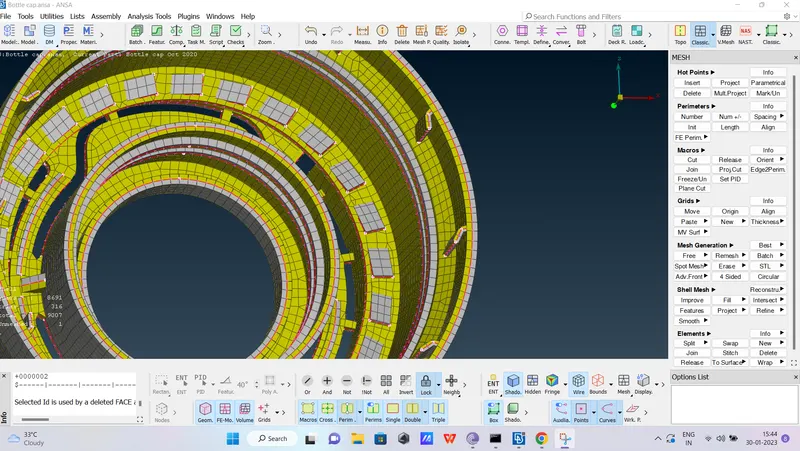
- Finally to verify the thickness of each portion, perform 'Draw shell as solid' (Quality criteria> Presentation parameters> Tick Draw shell as solids> Apply> ok)
Learning outcomes :
At the end of this challenge, I am able to Perform geometry clean up for any complex plastic components, Generate midsurface for any complex plastic components, Generate the shell mesh meeting the given quality criteria for any complex plastic components, Identify the quality failure and resolve the failure & improve the mesh quality working with ANSA. Also came across various tools that can be used in the future projects.
Conclusion:
Hence midsurfacing / meshing / and assigning thickness is done successfully
To conclude
1.Manual mid surfaces gives more accurate results
2.Cut/ construction line to divide critical region for meshing, helps in better mesh flow
3.Performing Draw shell as solid is helpful to assure the assigned thicknesses are perfect.