Week - 4 - 2D meshing for Plastic components
2D Meshing of Plastic Bottle Cap
Aim:
To extract the middle-surface of the plastic bottle cap and mesh the same with, given element quality criteria as mentioned below and also assign a proper thickness to it.
|
S.No |
Quality Criteria |
Value |
|
1 |
Target/Average length |
1 |
|
2 |
Minimum Length |
0.5 |
|
3 |
Maximum Length |
3 |
|
4 |
Aspect |
3 |
|
5 |
Warpage |
15 |
|
6 |
Skewness |
45 |
|
7 |
Jacobian |
0.7 |
|
8 |
Minimum Quad Angle |
45 |
|
9 |
Maximum Quad Angle |
135 |
|
10 |
Minimum Tria Angle |
30 |
|
11 |
Maximum Tria Angle |
120 |
|
12 |
Tria Percentage |
15 |
Model:
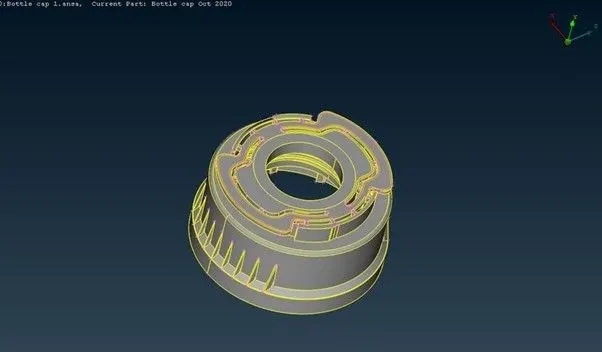
Objectives:
- Generating the mid-surface from the parent component
- Performing a meshing operation on a middle surface as per element quality criteria
- Checking the element quality by comparing with given quality parameters and criteria and improve the quality by various options
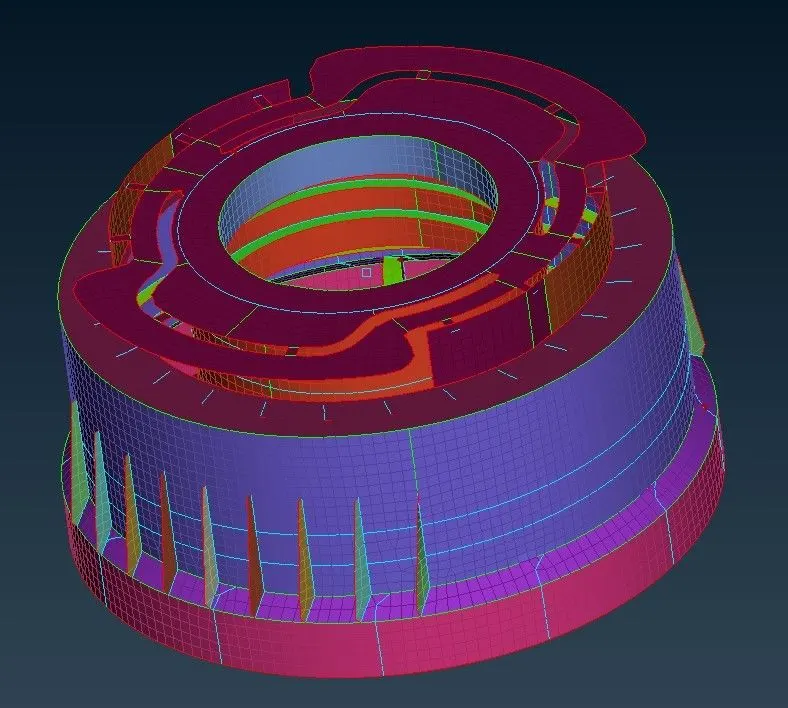
- Assigning the material and proper thickness to it
Procedure:
- Import the model file by using open option in ANSA
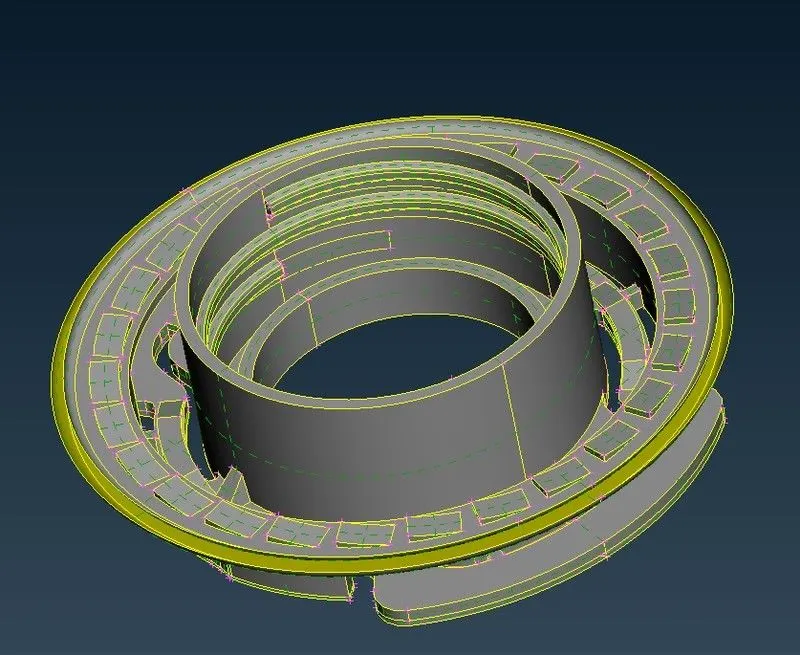
- Upper part of Bottle cap
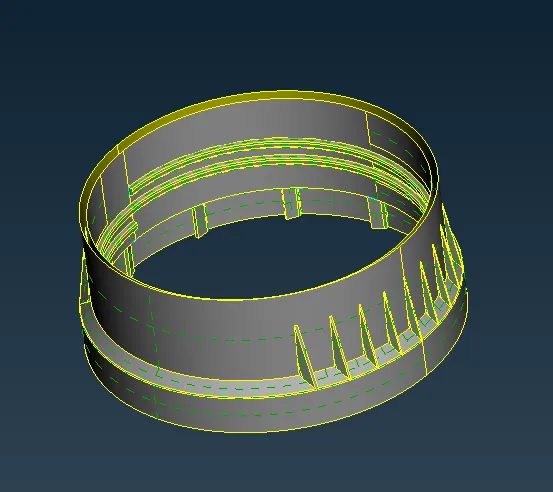
- Lower part of Bottle cap
- Use the Topo option to join the edges, for better visualization
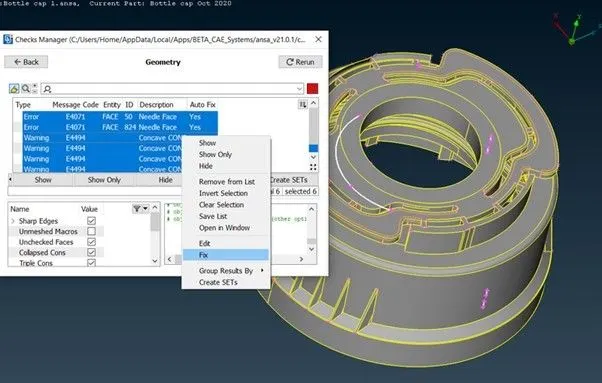
- Now check the geometry for any errors like single con, needle face, crack surfaces using checks- geometry tool in menu bar. after that select execute and select all the errors and right click-fix to fix those errors.
Mid-Surface of teeth
- For rotating the teeth first, we have to create the axis of rotation, for creating axis of rotation we need two different point at Centre at a different height, for that we are using COG option in point buttons, select the circle having two different heights to create a centre point at different height.
- After creating the centre points, now we can go to rotate command, here we have to define angle and no of teeth to be formed, also here we have to define the axis of rotation by selecting two centre point that we created previously.
- Angle between teeth = 360 / no of teeth
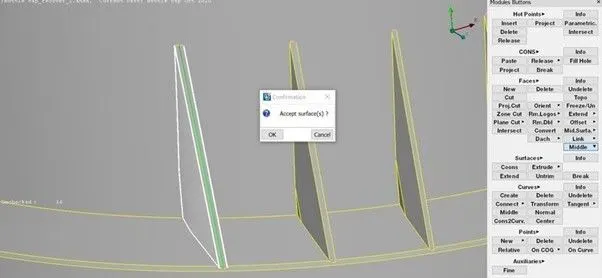
Axis of rotation
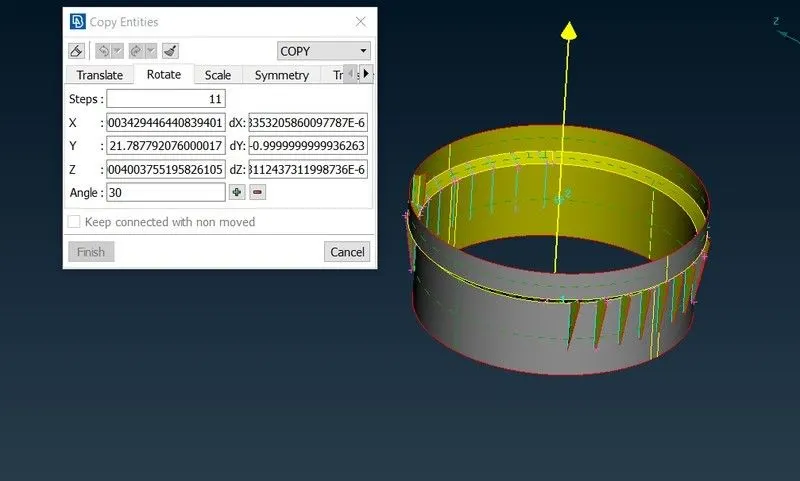
Teeth on upper part of plastic Bottle cap
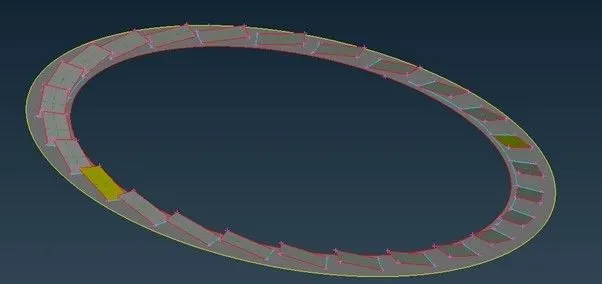
Middle surface of thread
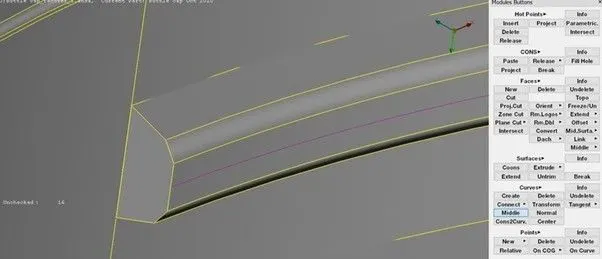
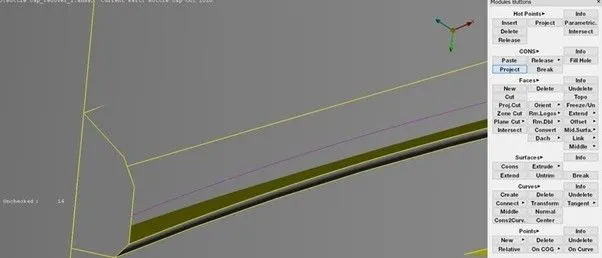
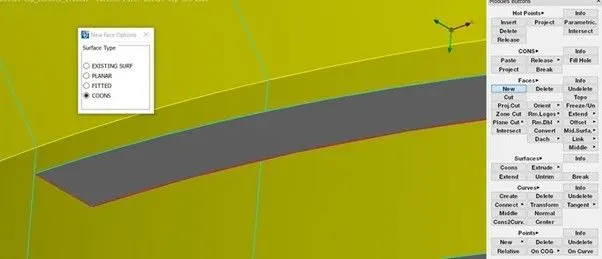
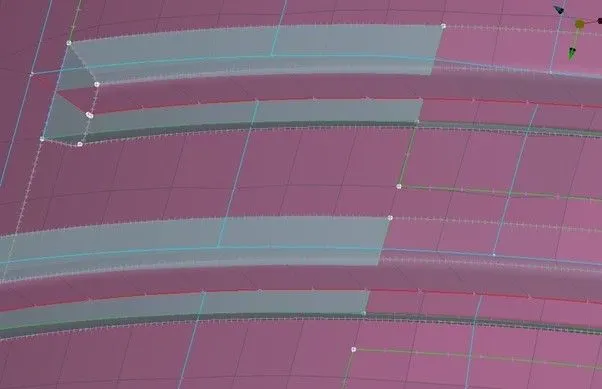
Mid-Surface of upper part of Plastic bottle cap
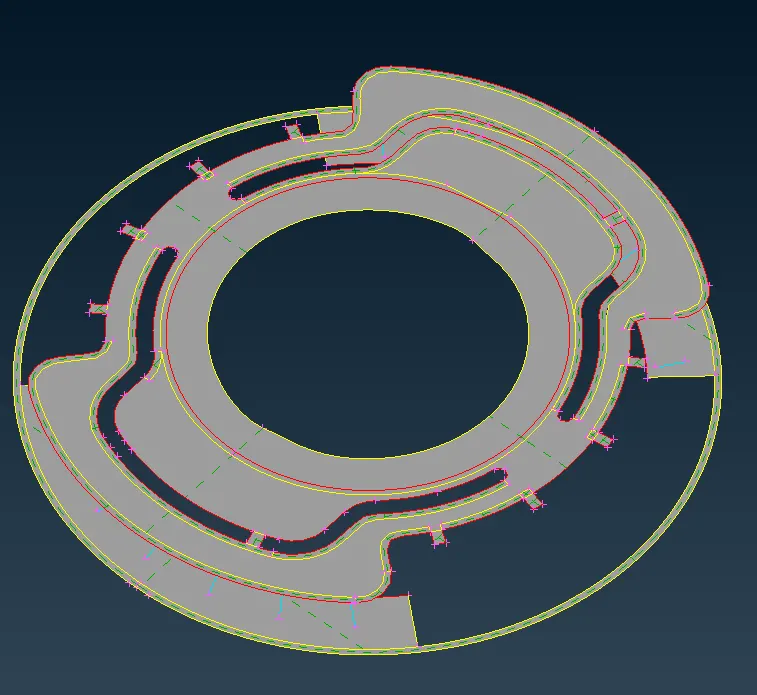
Middle-Surface of Plastic Bottle cap
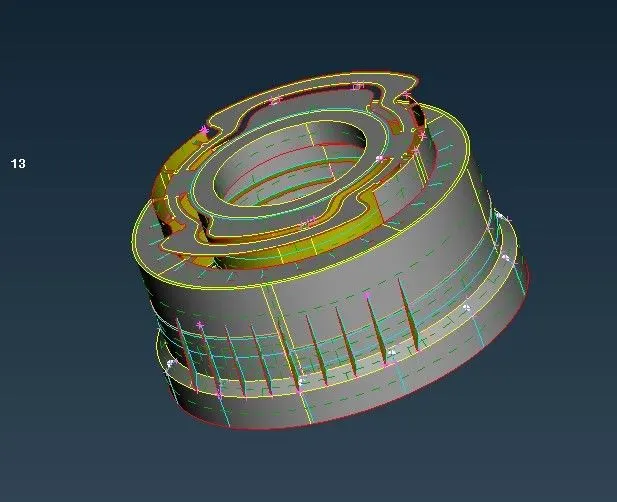
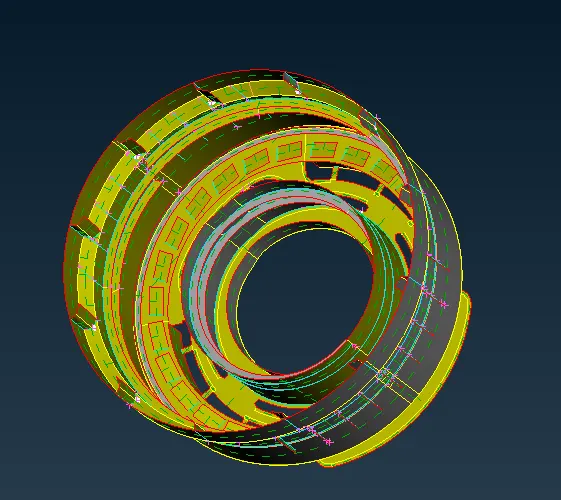
- once mid-surface of whole component is generated the next step is to again check for the error in the mid-surface.
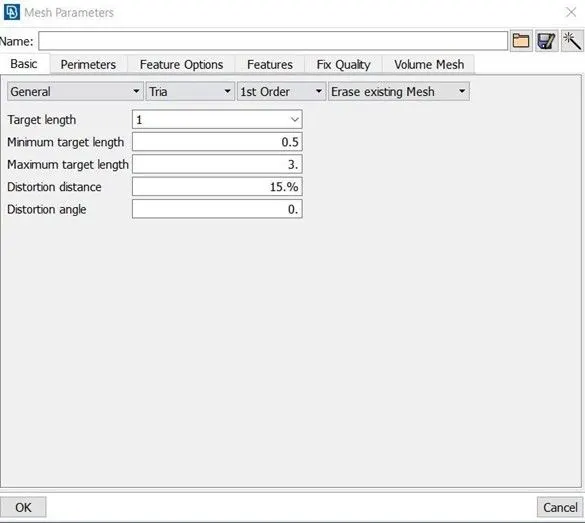
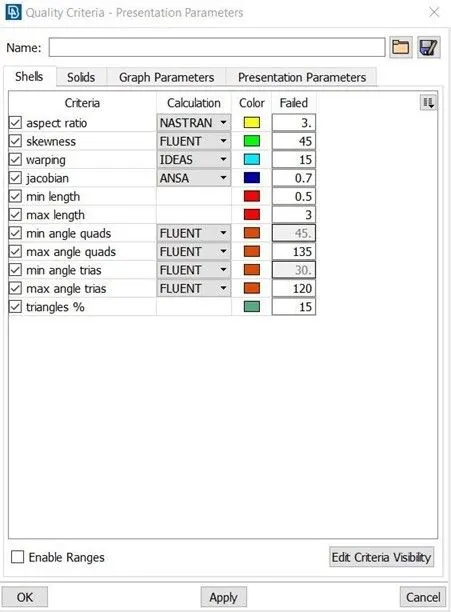
- After creating the mid-surface, the next step is to create a mesh on a component, but before meshing we have to set the quality criteria and quality parameters as mentioned above
Mesh parameter
Quality Criteria
- After defining the mesh parameter and quality criteria, now we can start the mesh
- we are using best option in mesh panel to mesh the component
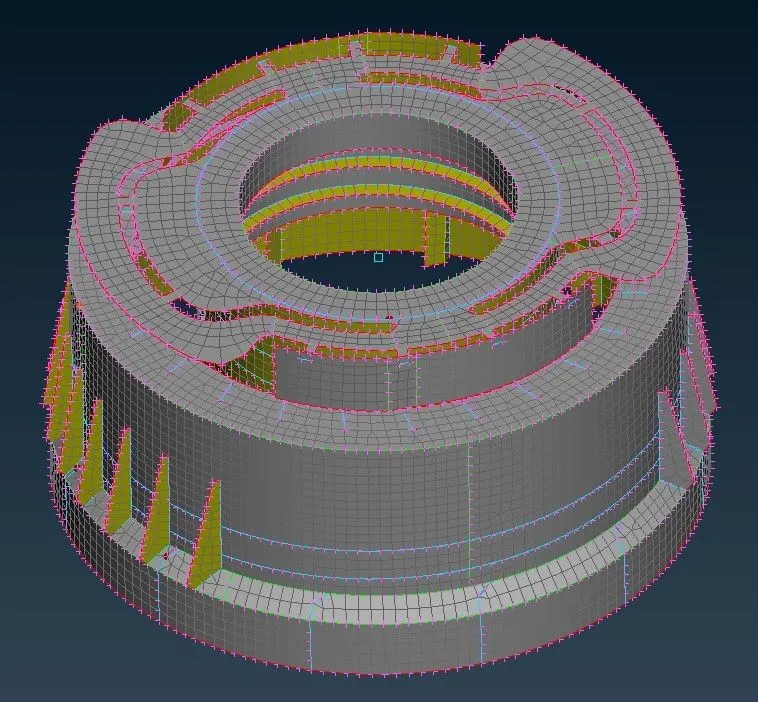
Meshed model of Plastic Bottle Cap
In PID mode
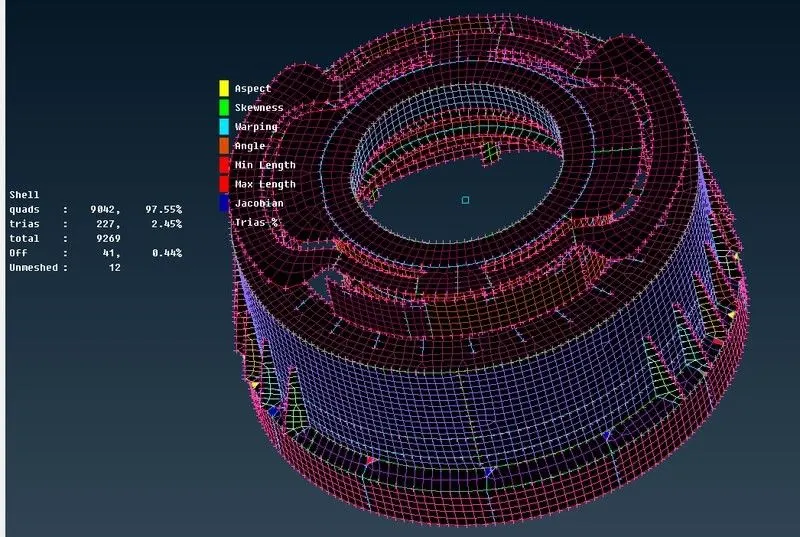
Final Meshed model of Plastic Bottle Cap
Learning Outcomes
- Understanding about manual mid-surfacing
- Understanding about plastic meshing
- Understanding about general difference between sheet metal meshing and plastic meshing
- Understanding about how to take a mid-surface in complicated regions
Conclusion:
The given bottle cap model is meshed with given quality criteria using midsurface
Model link:
https://drive.google.com/drive/folders/1F9_3tx_gXOHZYOPM1piSFctHj8BOO4SF