Week 4-1D Element Creation Challenge
AIM: To mesh the midsurface of the given component and create 1 D elements of given cross section and degree of freedom.
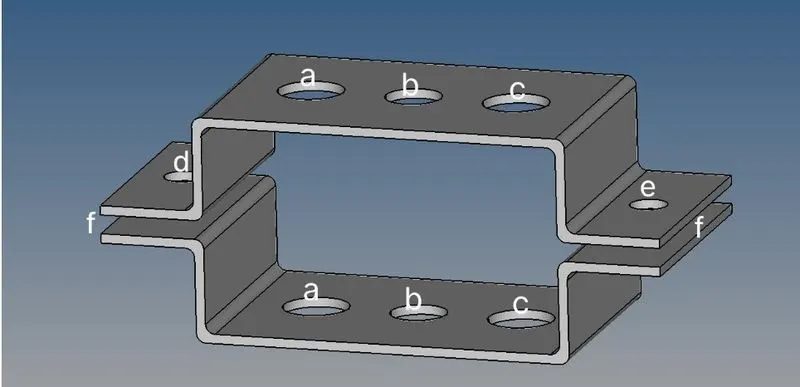
1) ROD element (a)- With constrained translational degree of freedom with RBE2 link.
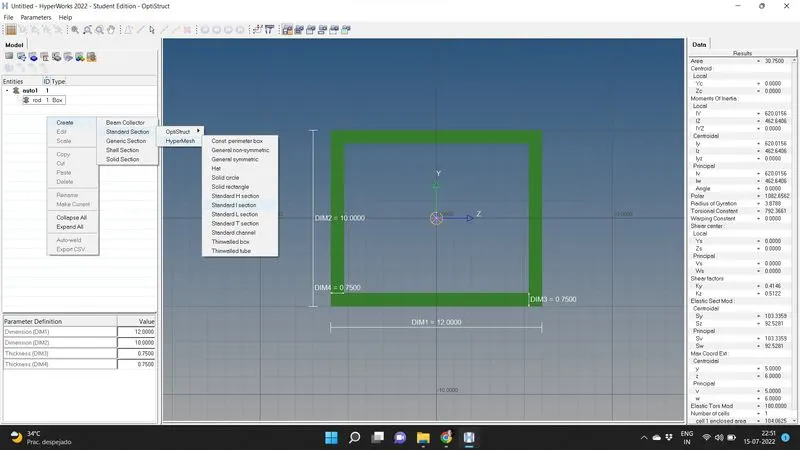
cross - section : BOX
a= 12 mm, b= 10 mm, t= 0.75mm
2) BEAM element (b) - will all DOF constrained and RBE2 link
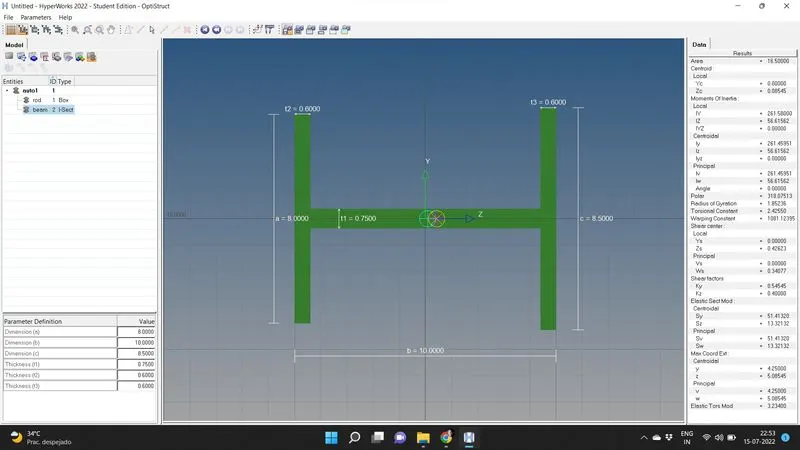
cross- section : I SECTION
a=8mm,b=10 mm, c=8.5 mm, t1=0.75mm, t2=0.6mm, t3=0.6 mm
3) BAR element(c)- with x and y DOF constrained and RBE3 link
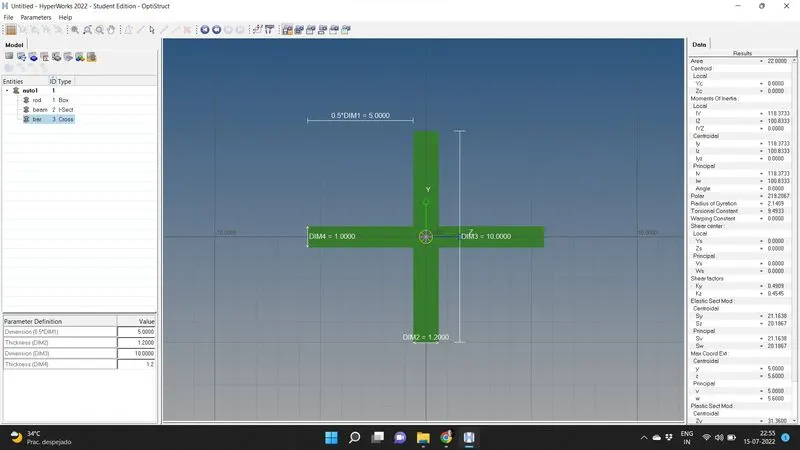
cross section: CROSS
dimention, dim1 = 5 mm, dim2 = 1.2mm, dim3 = 10mm, dim4 = 1.2mm
4) Apply MASS of magnitude 10 with RBE2 link (d) & (e)
5) Join two components with SPRING elements (f)
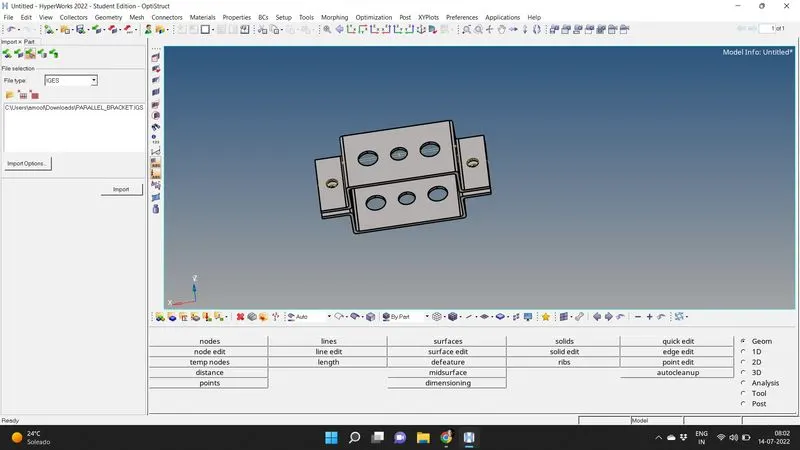
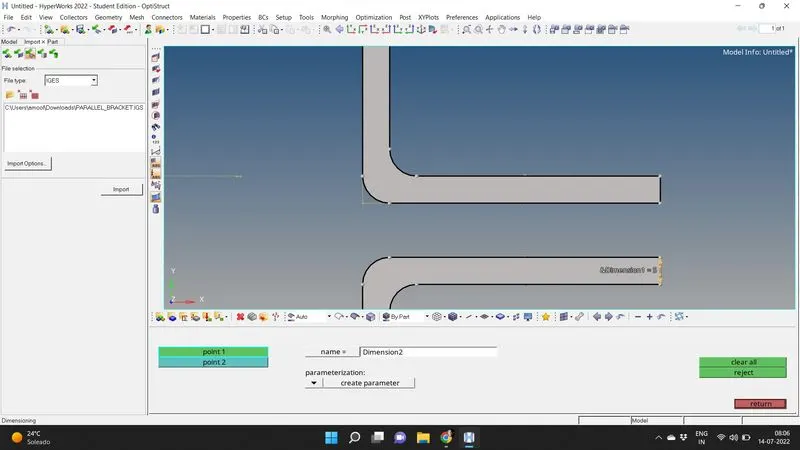
Procedure: Import the CAD model in to hypermesh and the model thickness is checked with dimensioning, in geometry from the main menu page.
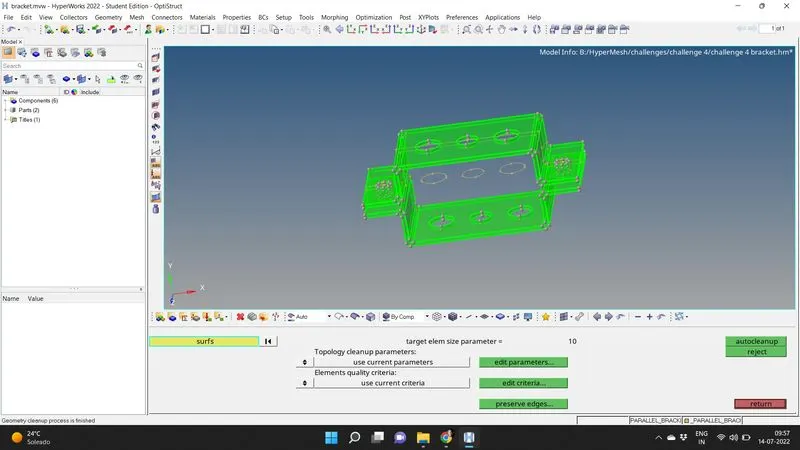
To begin with we need to extract midsurface and mesh it before deploying 1D elements as it would be easier to give connections on the nodal elements. We do a geometry auto clean up for the model and extract midsurface using midsurface in the geometry. We select auto midsurface and select offset+ plane in the extraction options.
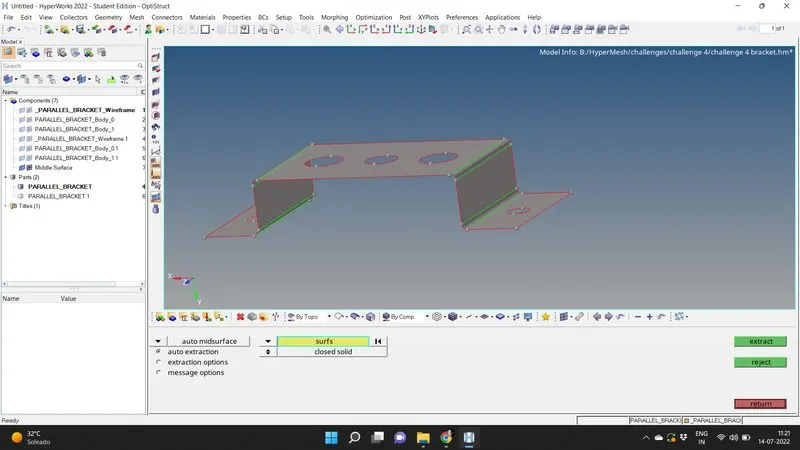
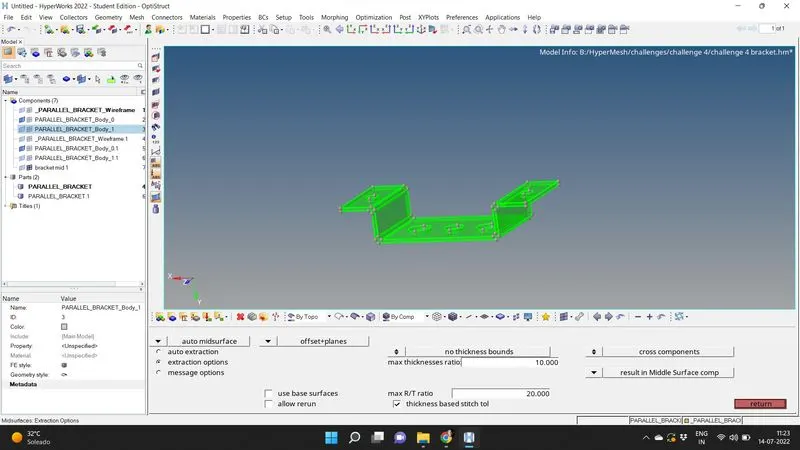
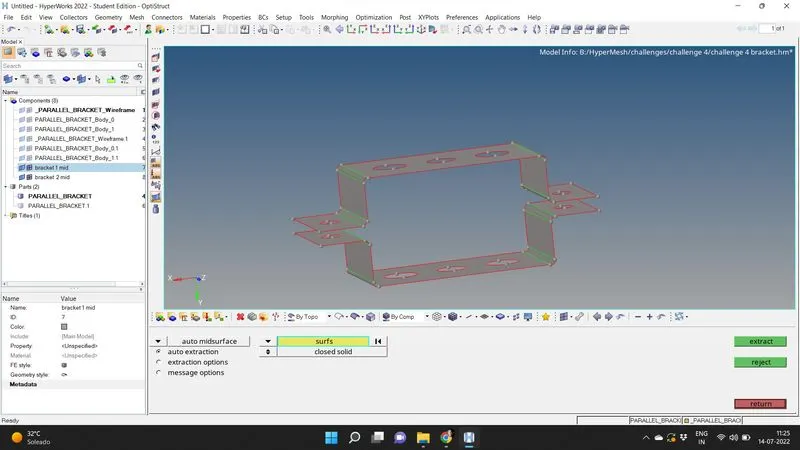
Each part midsurface is saved as bracket 1 and bracket 2, Then we assign properties to each bracket as bracket 1 and bracket2 and assign the material 'steel' to both the brackets.
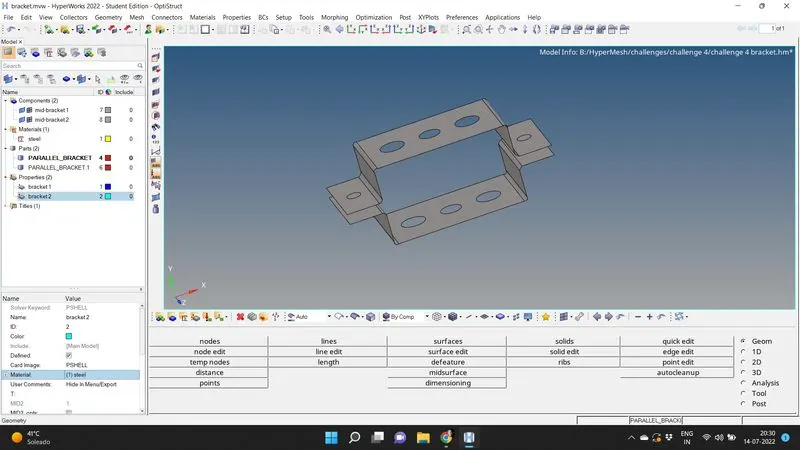
We add a washer elements of 5mm on all the holes using washer split on quick edit, geometry.
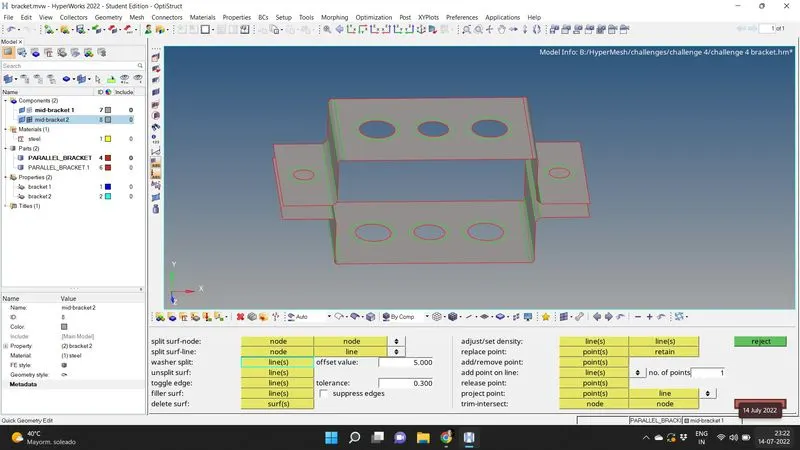
Then we mesh the midsurface using automesh on 2D, from main menu page. We select the mesh size as 5 mm and mixed as mesh type. As the quality of the nodes is not important here, we make the number of nodes on the hole and washer elements equal.
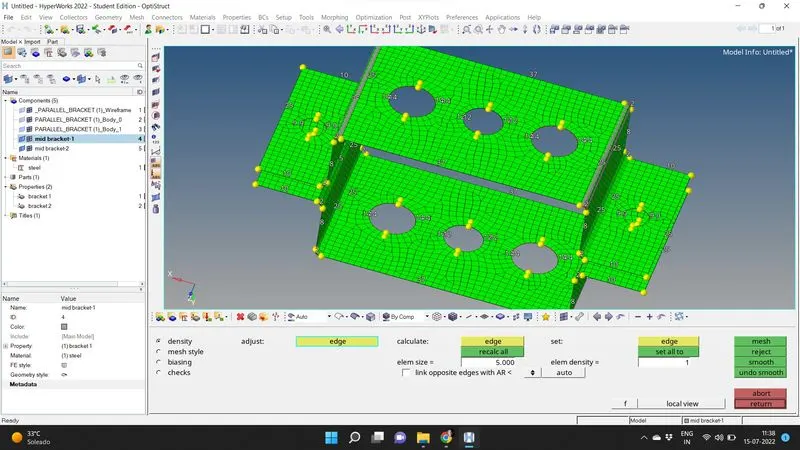
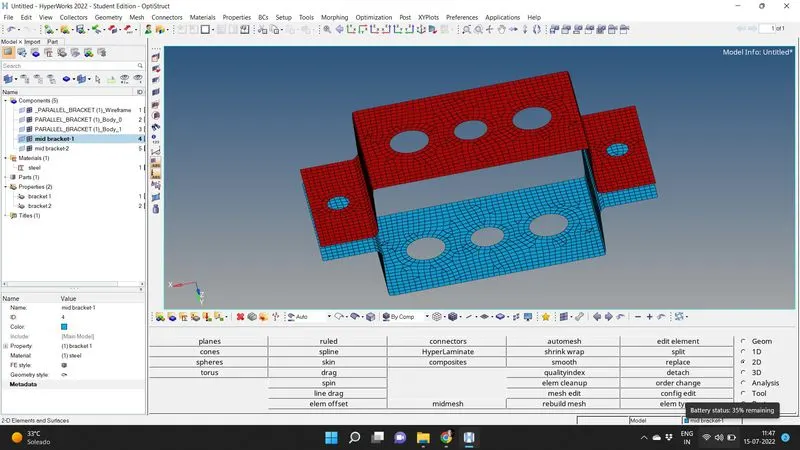
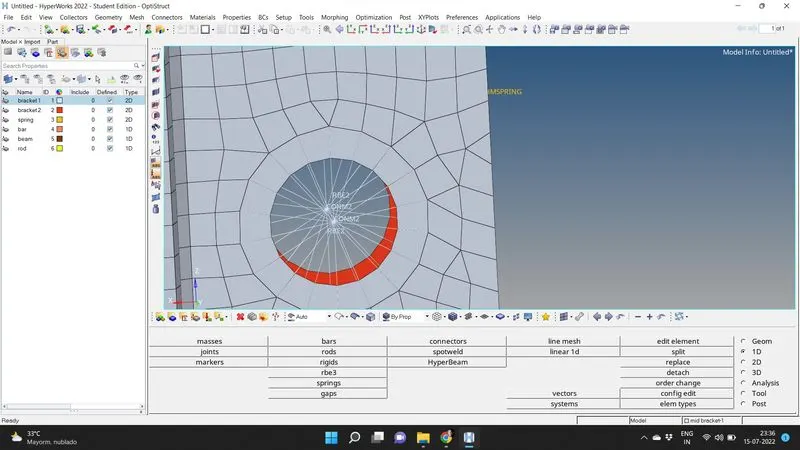
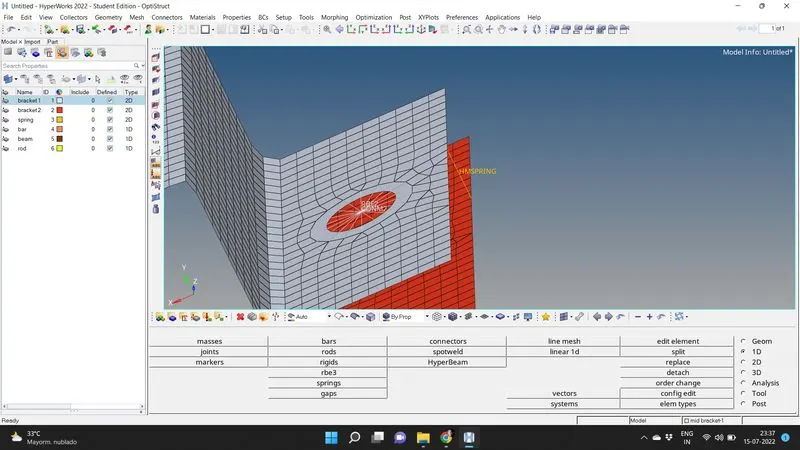
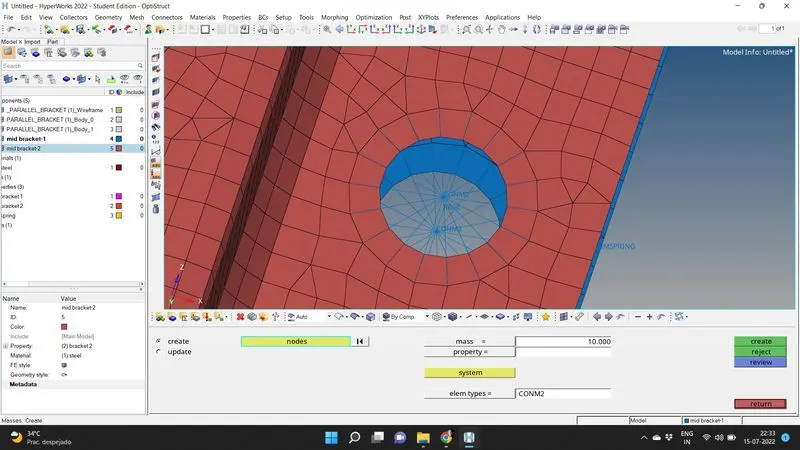
we create rigid elements at point a with all translational DOF constrained ( DOF1, DOF2,DOF3 constrained) and RBE3 elements at b,c with all DOF constrained at b( beam element) and x and y DOF constrained ( DOF 1, DOF 2, DOF 4, DOF5 constrained) at c, the bar element. The rigids with all DOF constrained are created at points d and e.The rigids and rbe3 is created in 1D, main menu page. We also create spring elements HMSPRING at 'f' using spring in 1D. We add in mass by selecting mass, in 1D and select nodes at d, e and inputting mass of magnitude 10 and CONM2 as the element type.
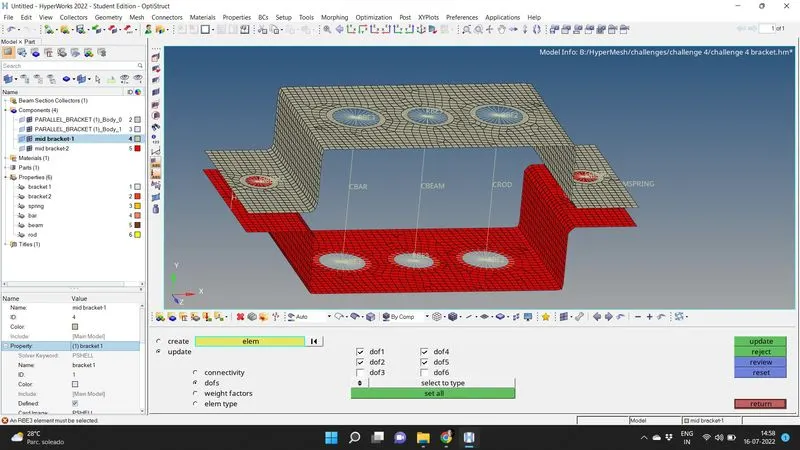
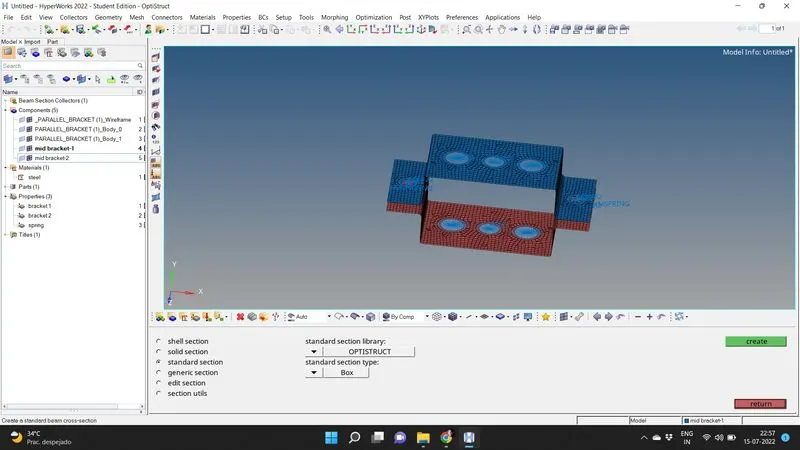
The cross section of the connections are defined in hyperbeam , in 1D, main menu page. In hyperbeam we create a BOX section selecting in Tab bar, create, standard section, optistruct. Then we rename it as ROD , edit the given dimensions. We create a I SECTION by selecting create, standard section, hypermesh and standard I section in Tab bar and rename it as BEAM and input the given dimensions in the status bar. Then we proceed to create CROSS element by selecting cross from optistruct in the standard section. We rename it as BAR and input the given dimensions.
After returning to model view from hyperbeam mode we create bar,beam and rod elements connecting Rigids and RBE3 elements created using rod, bar options in 1 D , main menu page.
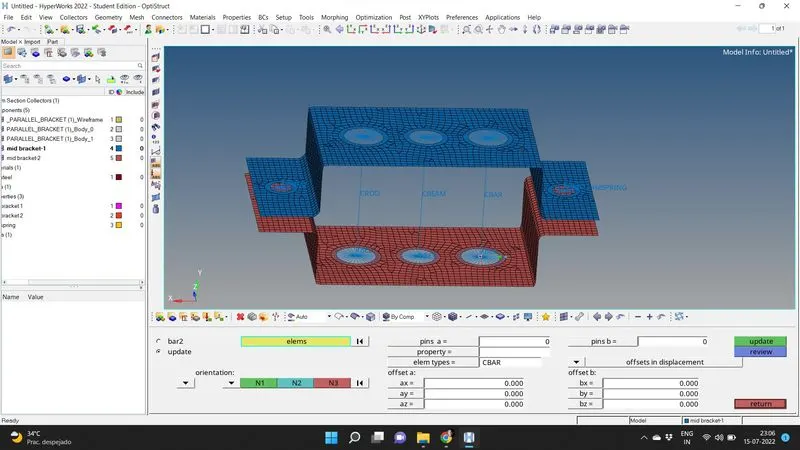
we define 3 properties Bar, beam and rod . Card image is selected as Pbar,Pbeam and PRod. Beamsec as BAR, BEAM and ROD (created using Hyperbeam). then we update the property Beam and element type Cbeam in Beam connections and similarly for Rod and Bar by selecting Rod and Bar for property and their element types as Crod and Cbar. As beam is included in Bar element, in 1D, main menu page. We use the option Bar in 1d for both bar and beam. We can view the connections by selecting 1D detailed element representation in the Tool bar.
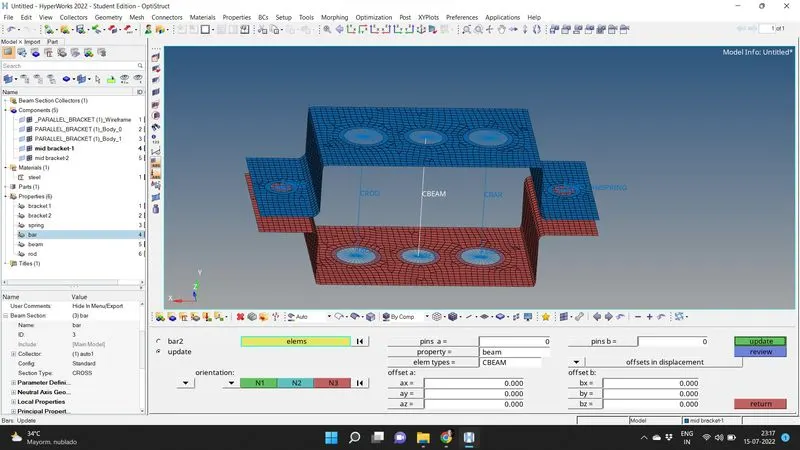
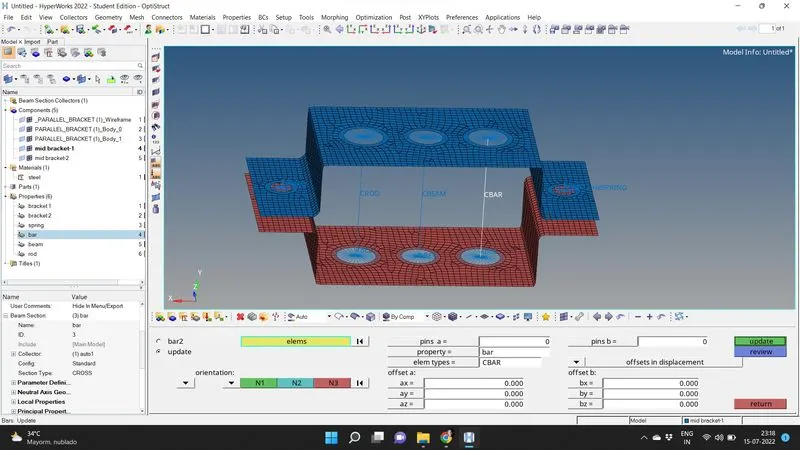
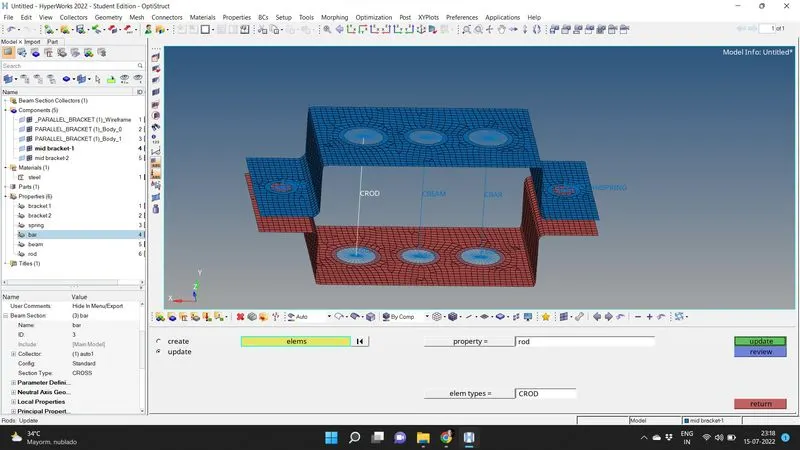
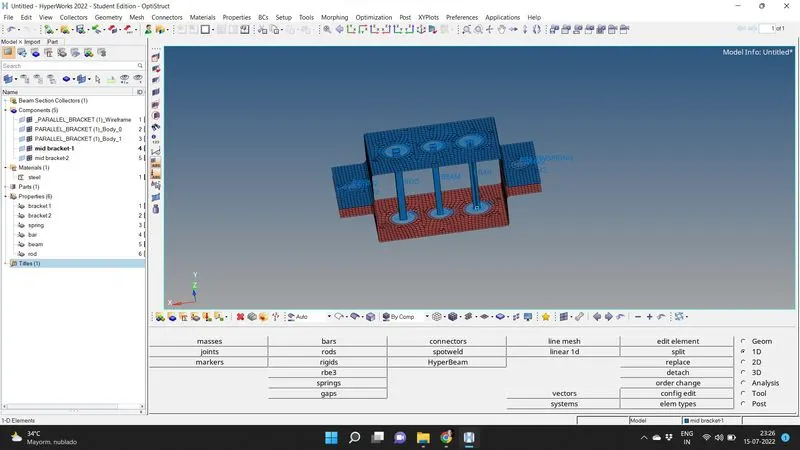
For our visual aid, i have changed the colour of bracket 1 and elements ( rigids and RBE3),in the status bar.
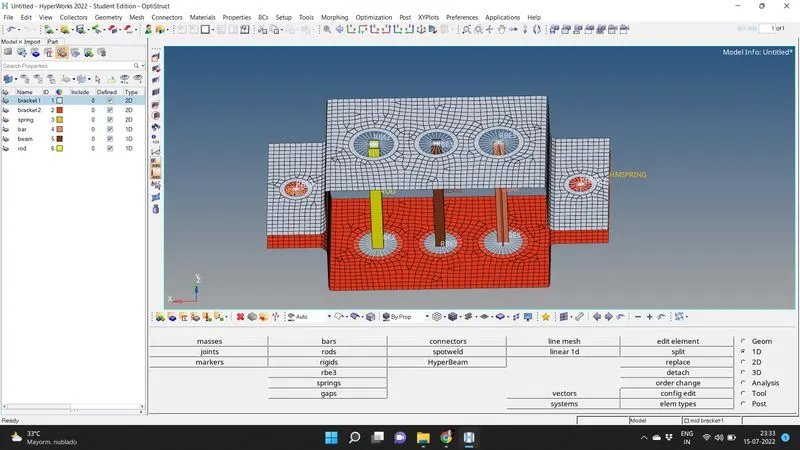
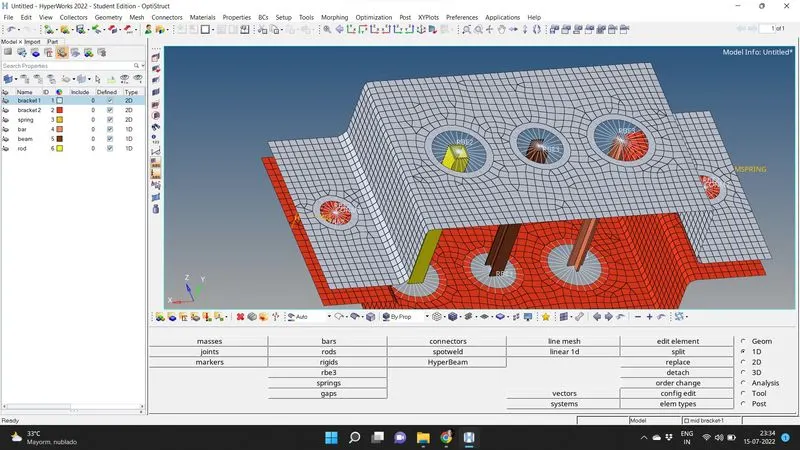
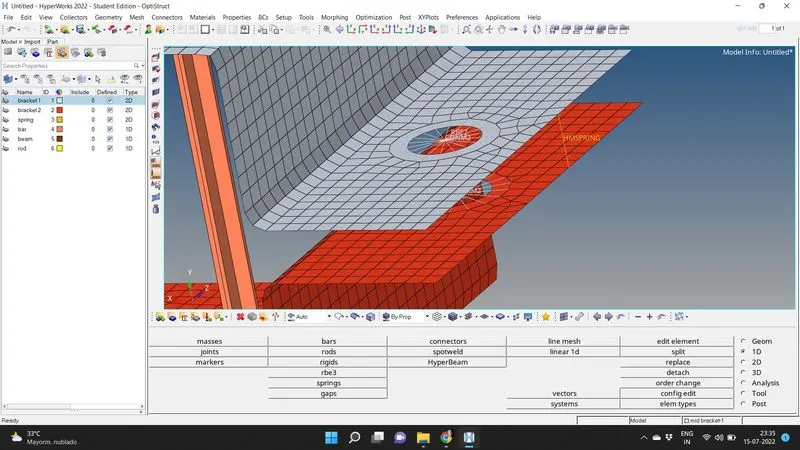
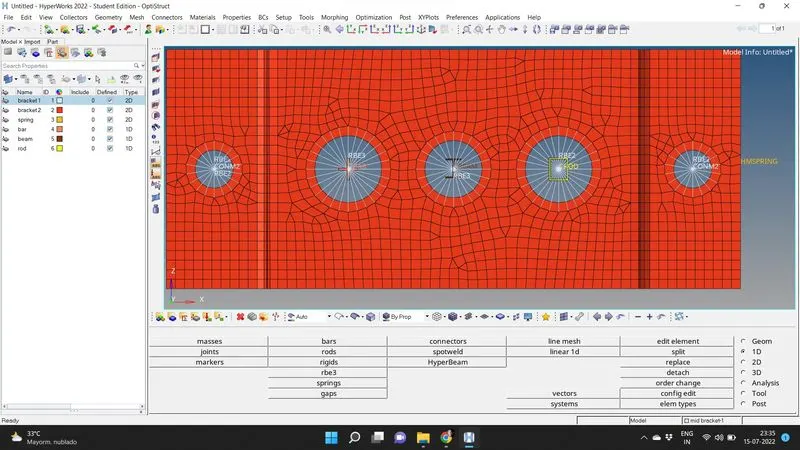
Result: After Deploying required connections on the meshed model we got the following result. Con mass 'CONM2 'is given on rigid elements at E and spring connection 'HMSPRING 'is deployed at F, as given in figure.