Week 3
MESHING OF HOOD BY EXTRACTING THE MID SURFACE USING ANSA
Objective: Clean up the geomentry of the model,extract the mid surface by assigning the thickness and mesh the model according to the given quality criteria.
HOOD: A car hood, also referred to as a bonnet in some other countries, is the hinged cover that rests over the engine of a front-engine vehicle. Its purpose is to provide access to the engine for repair and maintenance. A concealed latch is typically used to hold down the hood. On vehicles with an aftermarket hood and on racecars, hood pins may be used to hold down the car hood. Hoods sometimes also contain a hood scoop, wiper jets, power bulge, and/or hood ornament. Car hoods are typically constructed from steel and sometimes from aluminum. Aftermarket car hoods may be constructed from various other materials, including carbon fiber, fiberglass, or dry carbon. The hood design may vary from one make and model to another.the components of hood are outer pannel,inner panel,lach reinforcement plate and hinge rein forcement plates.
Procedure: To fullfill the above objective folllowing steps are performed:
- Import the model.
- Clean up the model.
- Extract the mid surface.
- Assigning the pid's to the model.
- Mesh the model according to the given quality criteria.
- The tools used to perform the above steps are:
- Universal delete:The universal Delete function of the Geometry Group can be used to delete various ANSA entities (Curves, Faces, FE-Model entities etc.).
- release: Release the topology of the selected cons
- fill hole:This function fills holes on Faces. The holes can be of any shape. we can select manually or automatically.
- compress:This function is used to compress an ANSA database. Compression may be selectively applied either on geometric entities only (faces, curves 3D-points) or on the entire database. By this operation, all information concerning deleted entities is lost.
- paste:This function is used to paste nodes.
- coon's:This function defines a new multi-patch Surface, using the Coons interpolation principal. This is an easy way to define a new surface by its boundary curves. Quadrilateral and triangular surfaces are created.
- move surface:This function moves a selected mesh node on the Macro Area's surface, or a perimeter node along the perimeter segment on which it lies. Also it moves a node belonging to FE-model mesh on the surface which is defined by the adjacent shell elements.
- split:This function splits quadrilateral and triangular shell elements into smaller ones.
- reconstruct:The Re-construction function is a powerful tool for the creation of a high quality surface mesh.
- project:This function projects, as CONS or 3D Curves, a number of selected 3D-curves, CONS, element edges, line elements or Hexa Box edges on a number of selected Faces, in a user controlled direction. The selection of the CONS or 3D-curves can be assisted by the 'Corner Angle', 'PID Neighbs' for line elements or 'Path'
- Swap:Swap function rotates the shell edge picked by the user, inside the two shells which have that edge as common.
- cut:This function cuts (splits) an existing Face or joins if inverse operation is applied.
- Rm-dbl: It compares and remove the similar surfaces.
- Import the model:
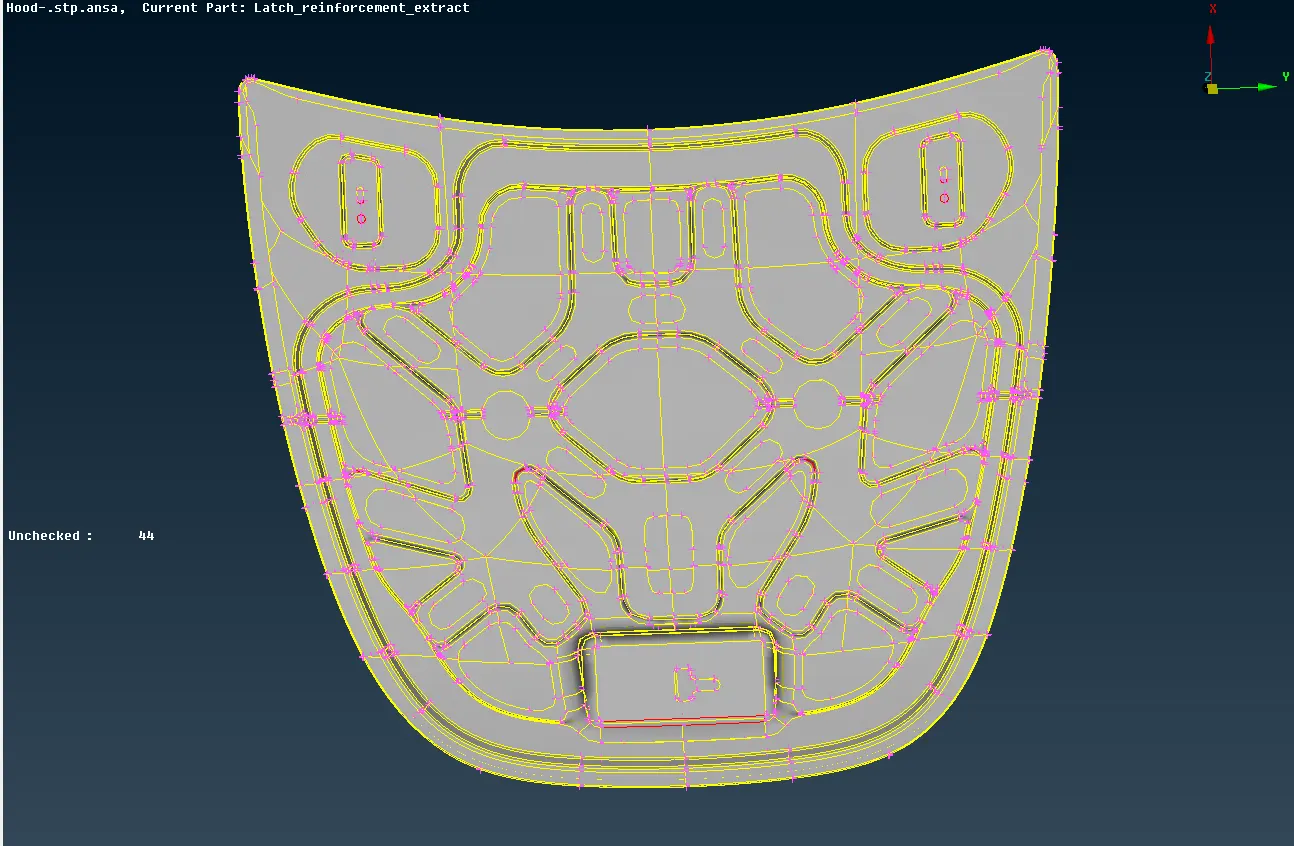
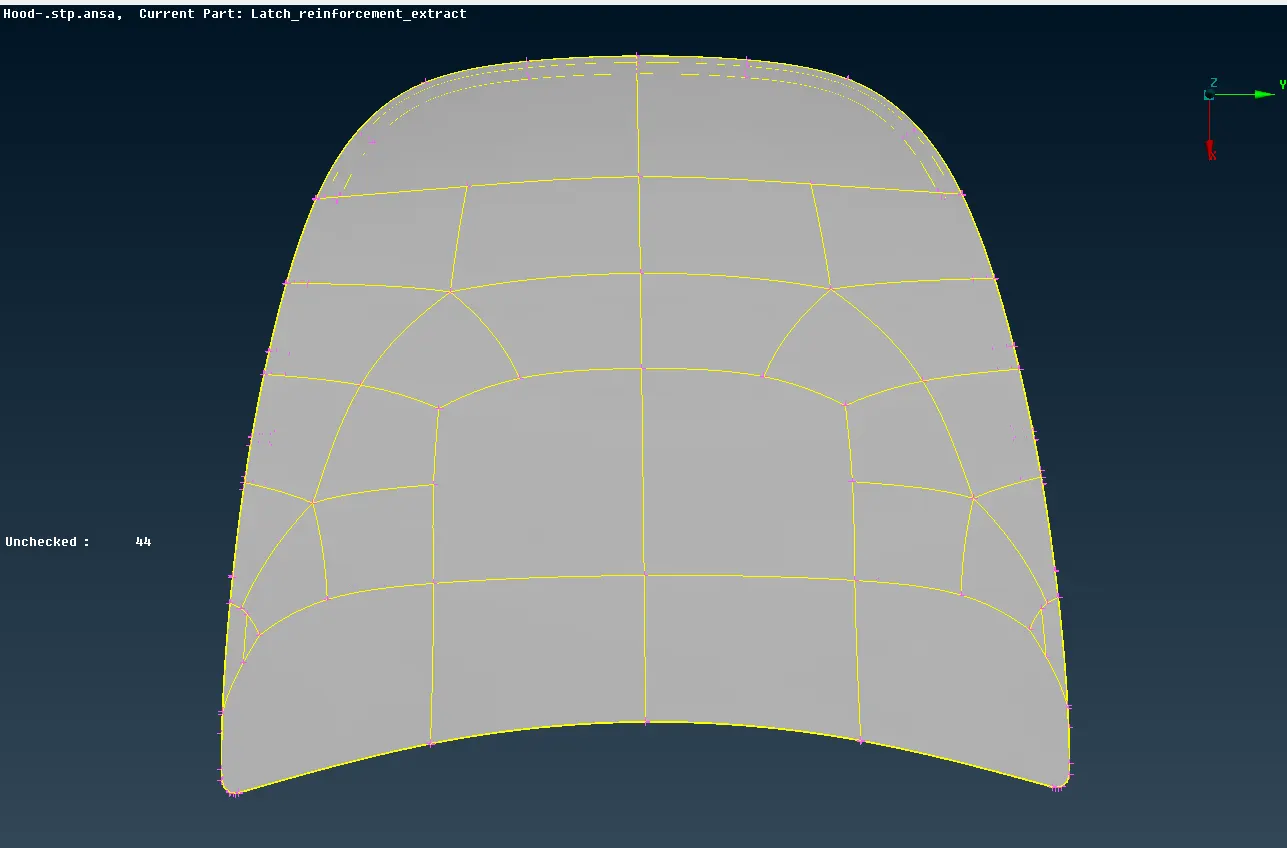
- We import the cad model into ANSA,the file transfers from igs file to ansa database file,then we switch to topo mode.
2.Clean up the model:
- In order to extract the midsurface we make sure that the model is clean.
- We first delete the junk entities or surfaces created while transfering the file.
- Then we locked the inner panel of the hood and we created new the surfaces using the fitted and coons options where ever crack surfaces get removed.
- While we make topology corrections some hotspots are created,we get rid of this by releasing the con's near the hotspot and delete the overlapping cons and surfaces.
- we use the auto fix option in the checks manager inorder to get rid of the unchecked faces in the model.
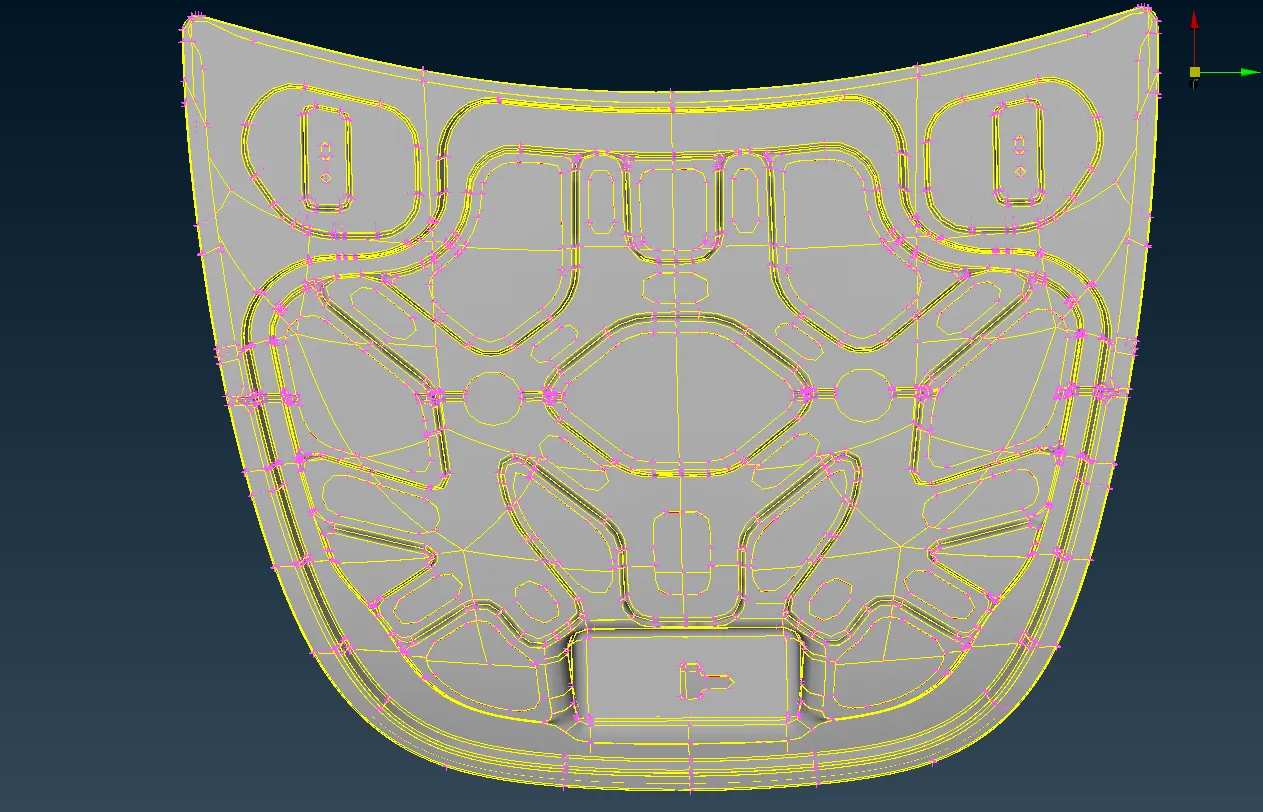
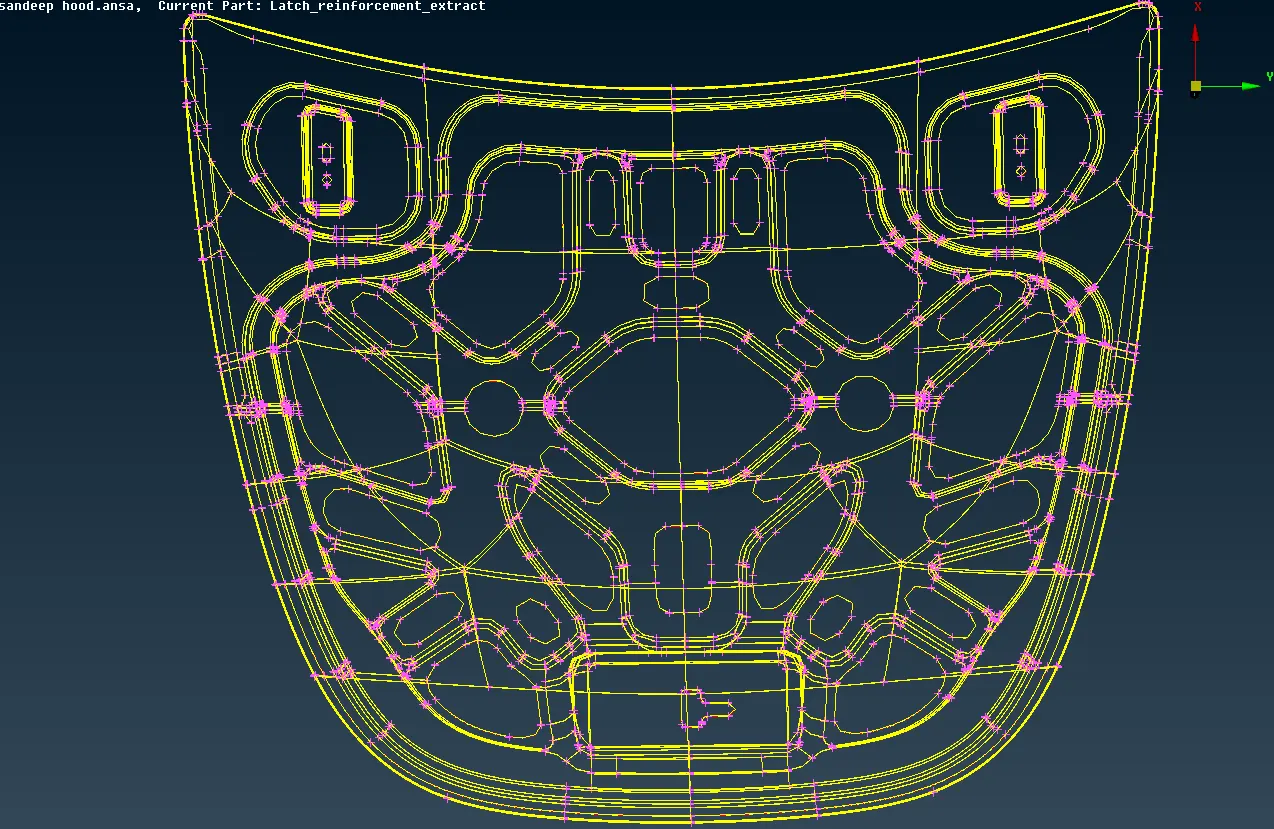
- After clean up is done we goes to check manager and perform geomentry checks inorder to confirm the entire model is clean.
3. Extract the mid surface:
- Inorder to extract the mid surfaces we use auto-midsurface option,we can also extract the midsurface maually using offset option.
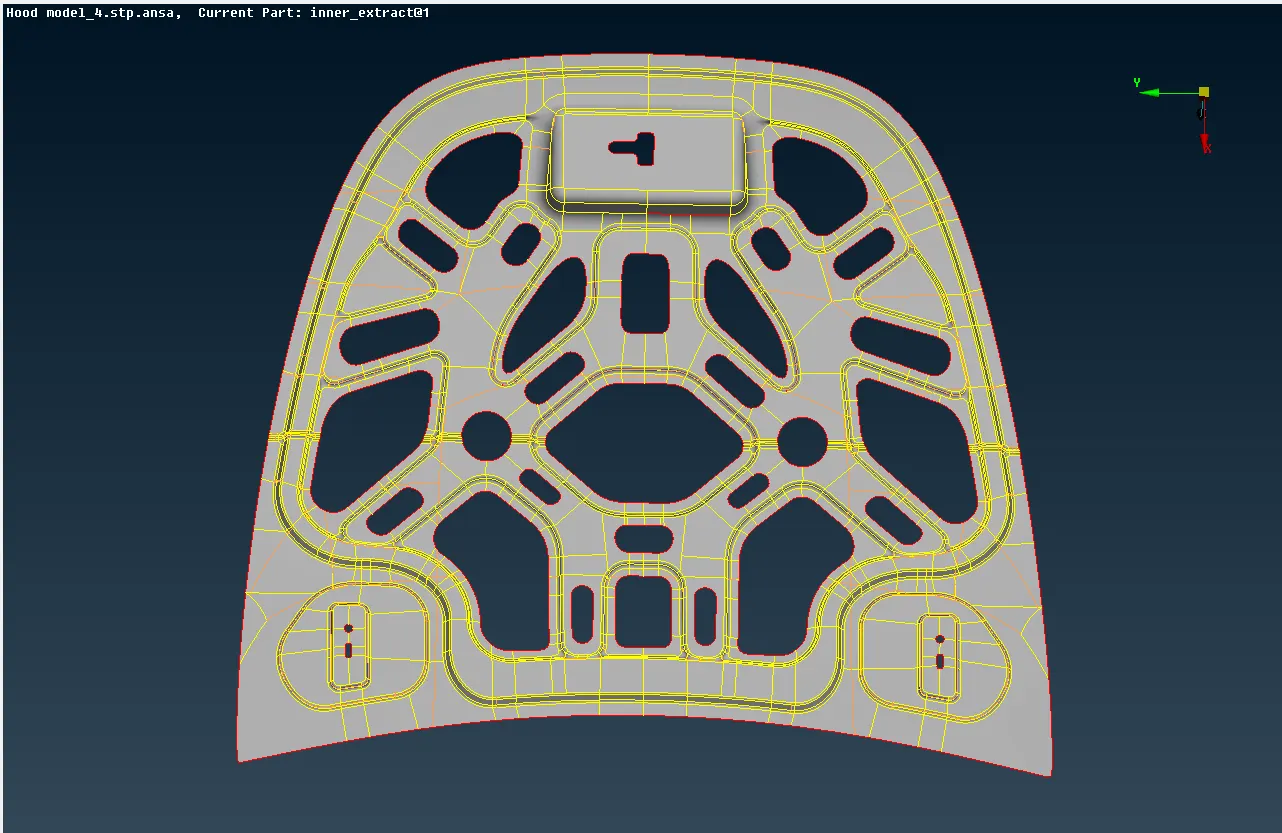
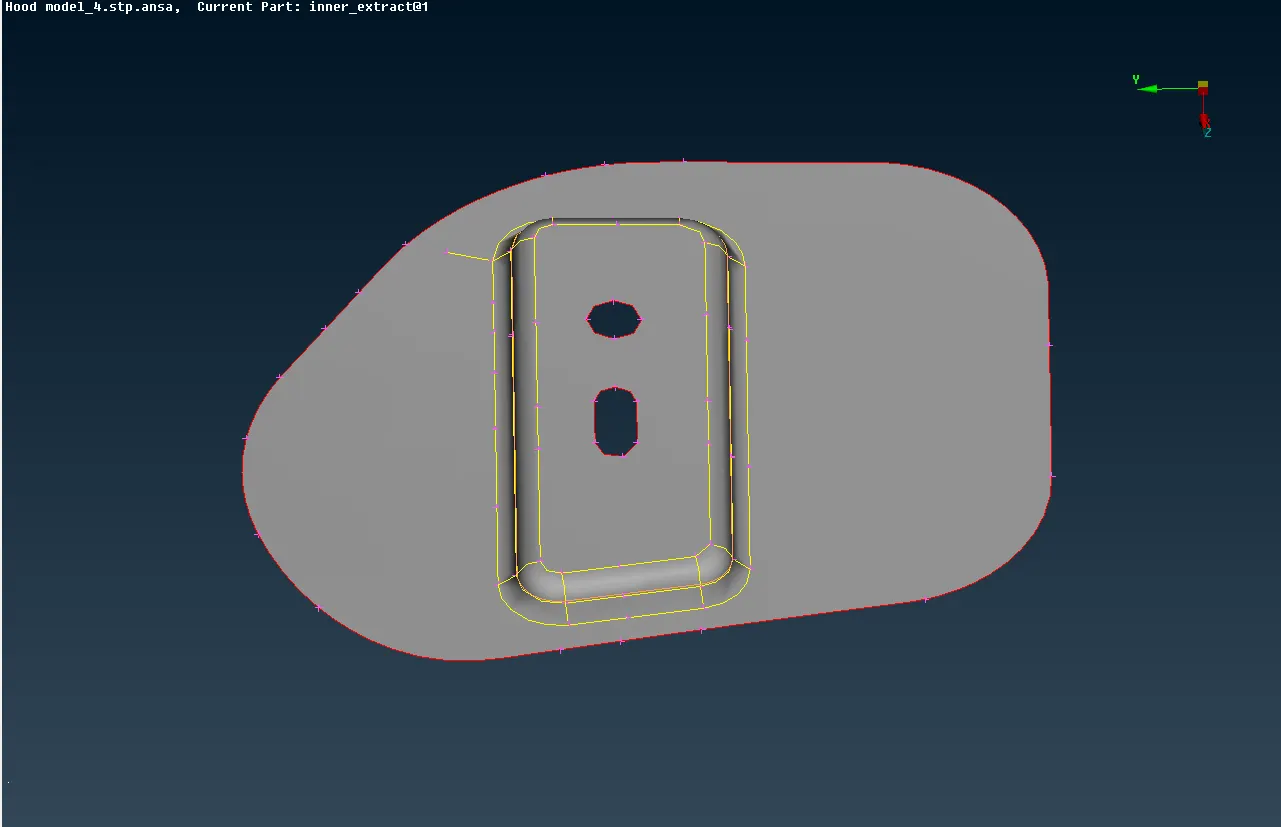
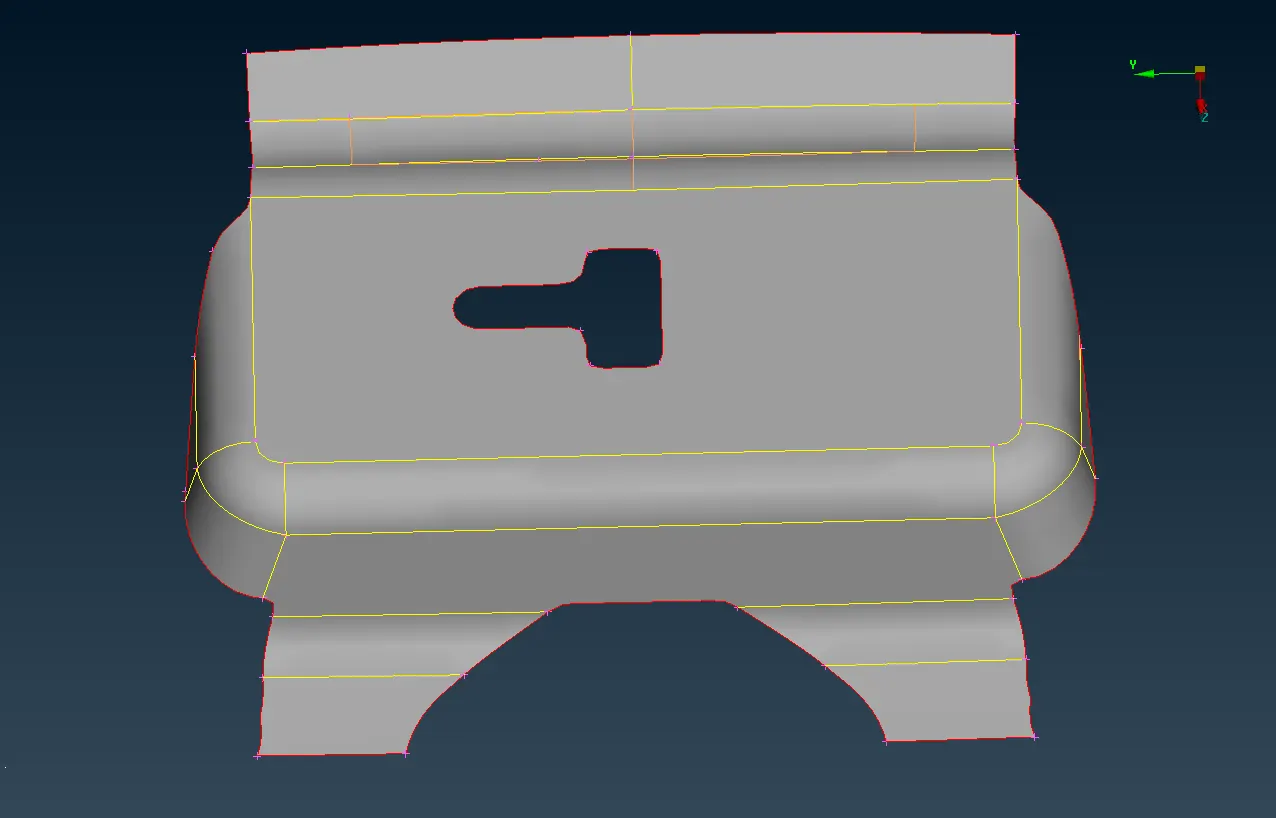
- After extracting the midsurface we make sure that the midsurface extracted is free from geometry and topology errors.
- If any cleaning of geometry is necessary we perform cleaning operations and we check weather the geomentry is similar or not by using the RM.DBL option and we fix the unsimilarties faces if necessary.
- Then we delete the half of the inner pannel middle plane using universal delete option and so we mesh the undeleted half using best mesh option and then we make symmetry to other half using the TRANSFORM option .
4.Assigning the pid's to the model:
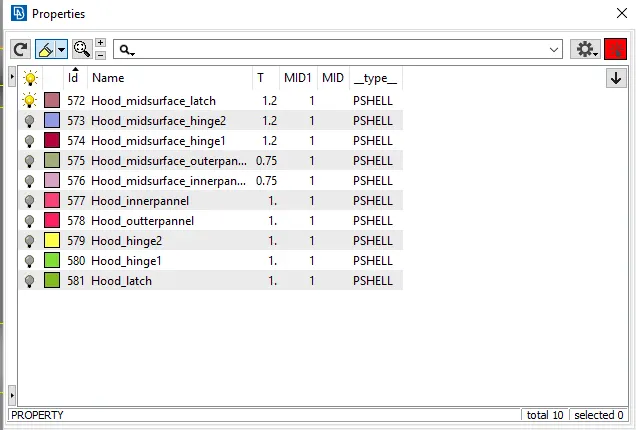
- We assign the pid's to the extracted mid surface parts by clicking the property id tab.
- we also assign thickness to extracted midsurface parts with respect to their parent parts.
- The pid's we assign are shown in the figure:
5.Meshing:
- In order to mesh the model we need to make sure that the model is error free.
- Now to perform meshing we switch to mesh mode and assign the element length size as 5mm.
- We assign the quality parameters in the quality criteria tab.
- We apply the best mesh as the mesh generation tool,element shape as mixed and the quality criteria as shown below.
- The mesh is applied first to the complex geometry,
- After meshing the midsurface we make sure that the mesh generated passes quality criteria if some element fails we adjust or reconstruct the mesh.
- we also try to reduce the no.of trias as much as possible.
- The quality criteria as shown below:
|
S.No |
Quality Criteria |
Value |
|
1 |
Target/Average length |
5 |
|
2 |
Minimum Length |
2 |
|
3 |
Maximum Length |
7 |
|
4 |
Aspect |
3 |
|
5 |
Warpage |
15 |
|
6 |
Skewness |
45 |
|
7 |
Jacobian |
0.7 |
|
8 |
Minimum Quad Angle |
45 |
|
9 |
Maximum Quad Angle |
135 |
|
10 |
Minimum Tria Angle |
30 |
|
11 |
Maximum Tria Angle |
120 |
|
10 |
Tria Percentage |
15 |
- We first mesh half of the inner and outer pannel midsurface.
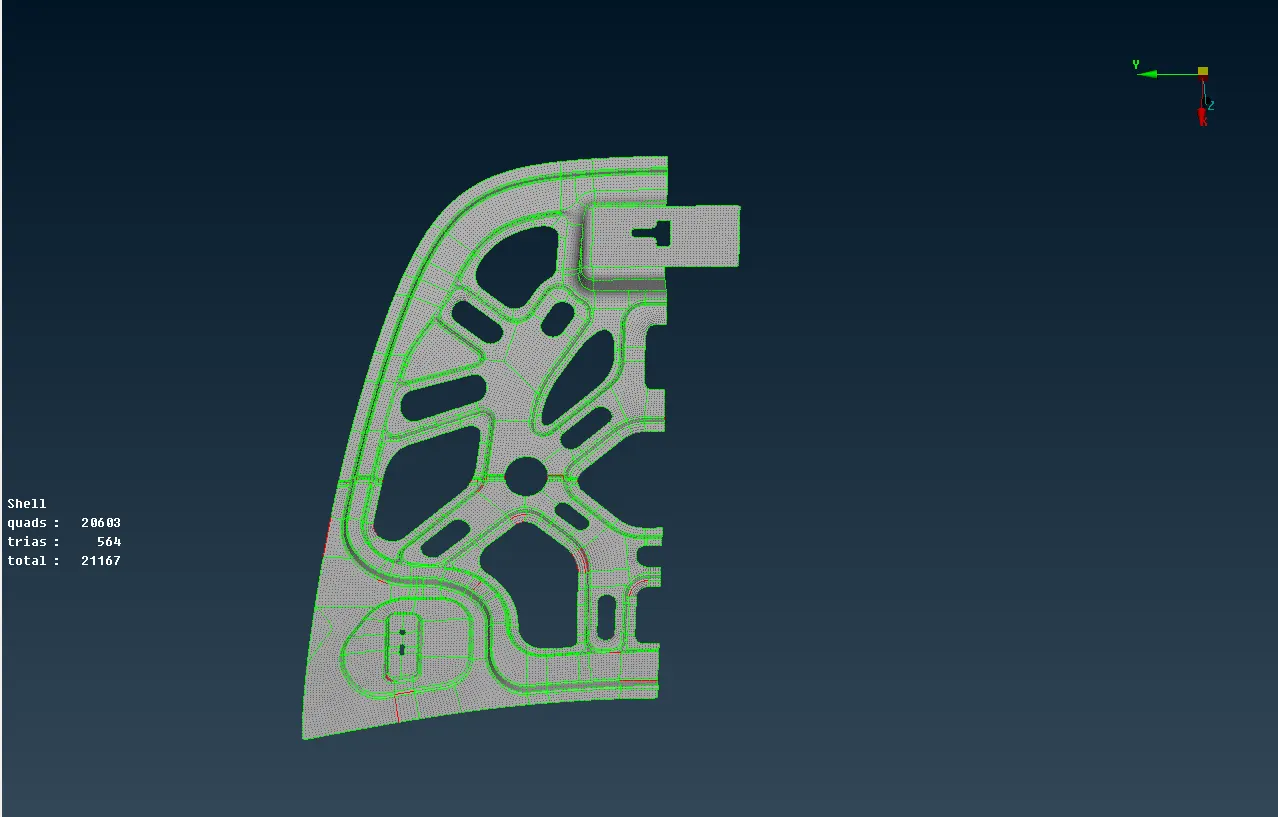
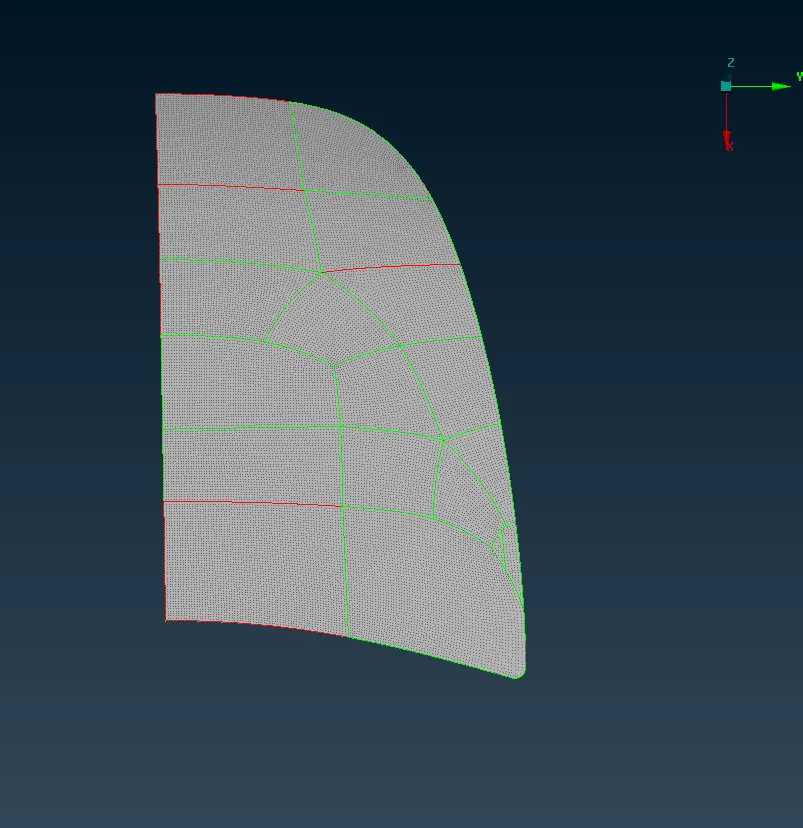
- After mesh half of the parts we use copy from transform option and we reflect the geometry and fea to the other side.
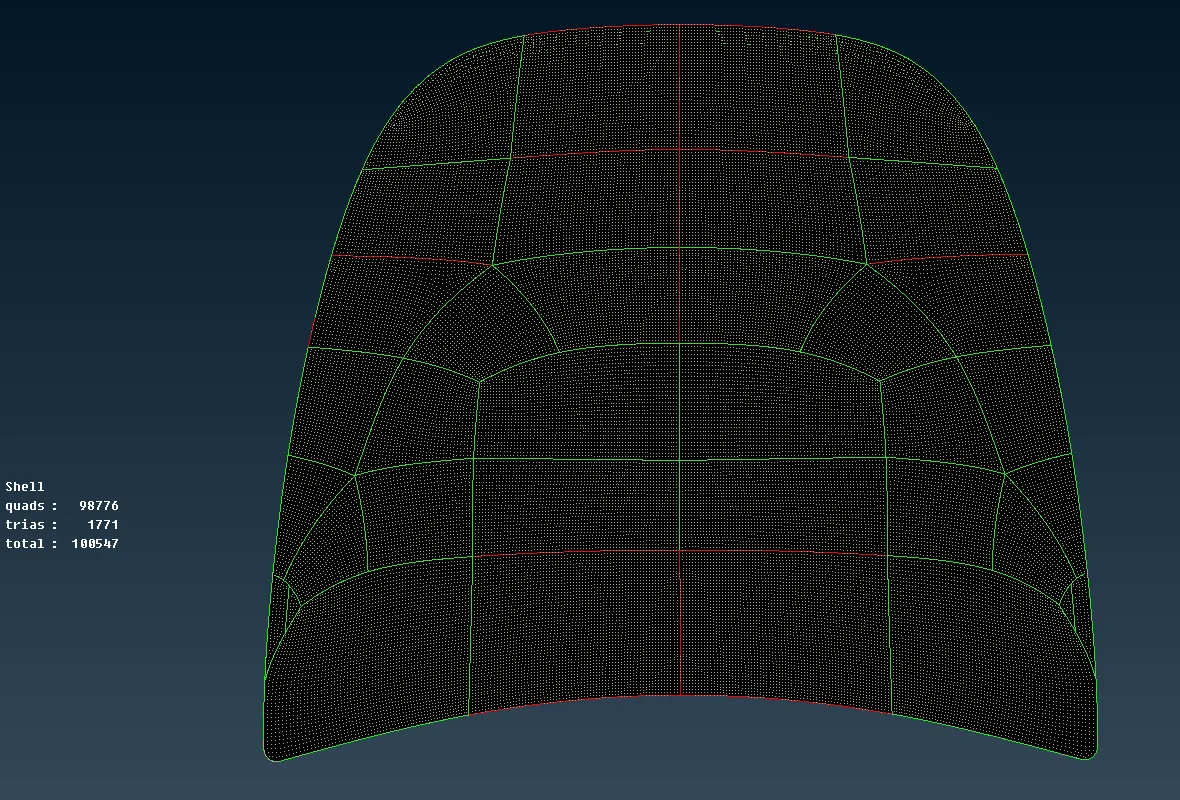
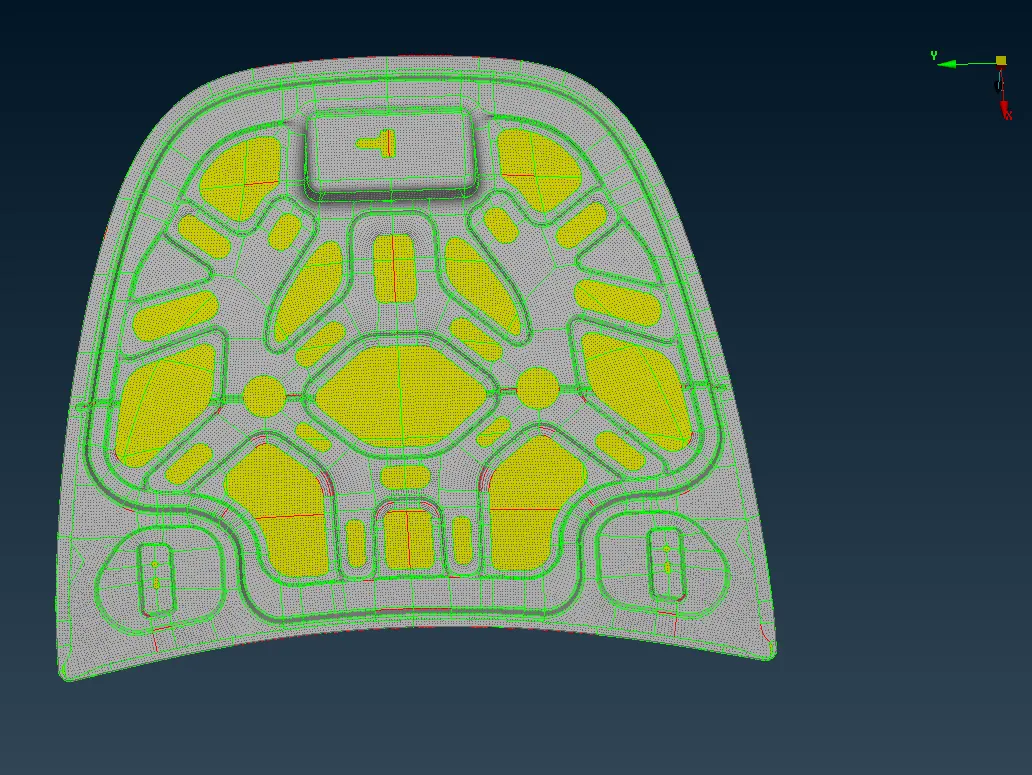
- The results of meshing are we have 98.3% of quad elements and 1.7% of tria elements.
Learning outcomes :
- We get introduced to the graphical interface of ansa and learn how to use different commands in ansa.
- We learn extracting of mid surface manually and using auto midsurface option and making the topology corrections.
- We also learn how to mesh components using 2dmesh and also making the mesh corrections using different options.
Conclusion:We succesfully meshed the hood by extracting the midsurface and also assign thickness to the assigned midsurface.