Week 3 - 2D meshing for sheet metal
Aim:
To Take the mid surface of the hood model and check for the geometrical errors and mesh the mid surface with the given element quality criteria.
S.No Quality criteria value
1 target average length 5
2 minimum length 2
3 maximum length 7
4 expect 3
5 warpage 15
6 skewness 45
7 jacobian 0.7
8 minimum quad angle 45
9 maximum quad angle 135
10 minimum tria angle 30
11 maximum tria angle 120
12 tria percentage 15
Data to be used :
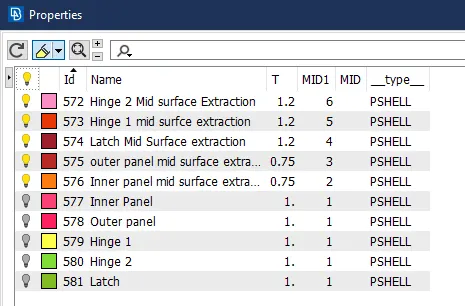
wood thickness information
outer panel thickness = 0.75 mm
inner panel thickness = 0.75 mm
Latch = 1.2 mm
Hinge 1 = 1.2 mm
Hinge 2 = 1.2 mm
Parts of the Hood model described below with Meshing :
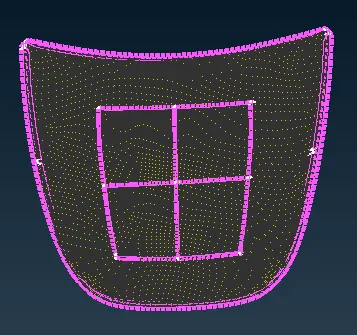
1.Inner panel
Inner panel supports outer panel it consists of different embosses and hole at different places embosses provide stiffness as well as dissipate energy towards Hinges. To determine the most effective position of the hole, the method of modal stiffness is employed inner panel is offset of the parent work surface.
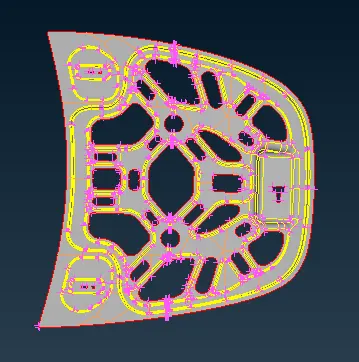
Inner panel with meshing
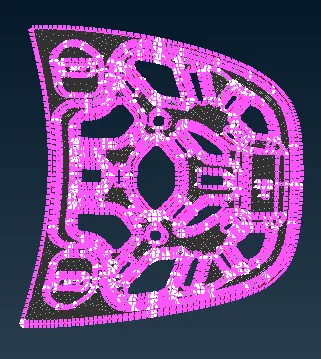
2.Outer panel
The outer panel is the outer surface/skin of the inner panel and also called the cover of the inner panel it is the path with gives a luxurious and stylish look to the bonnet.
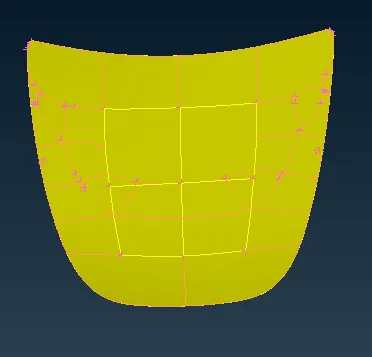
Outer Panel Meshing
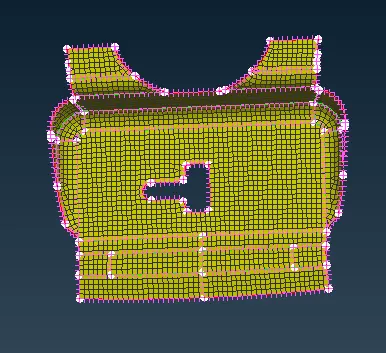
3.Latch:
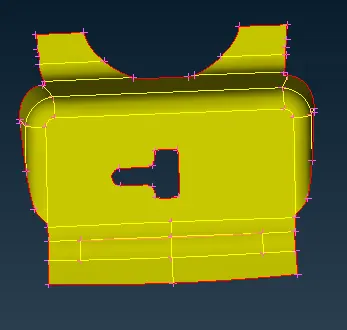
Latch meshing
4.1 Hinge 1
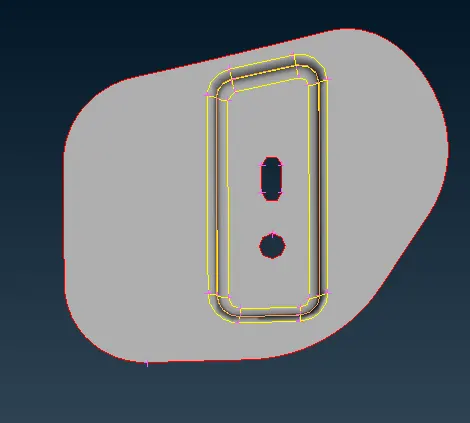
Hinge 1 meshing
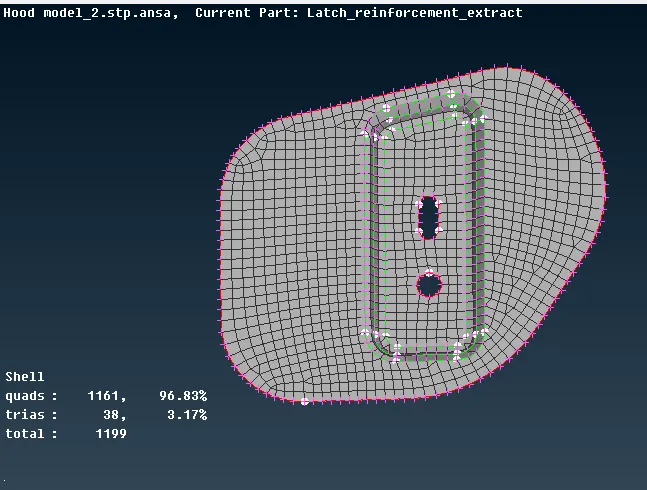
4.2 Hinge 2
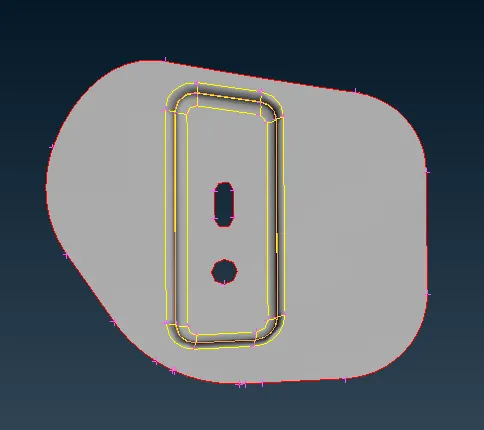
Hinge 2 meshing
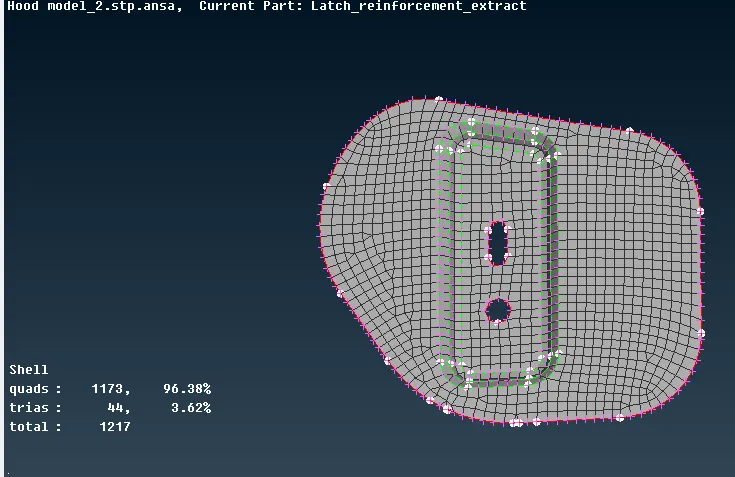
The above images shows the individual parts of the hood model in which we follows some Procedure:
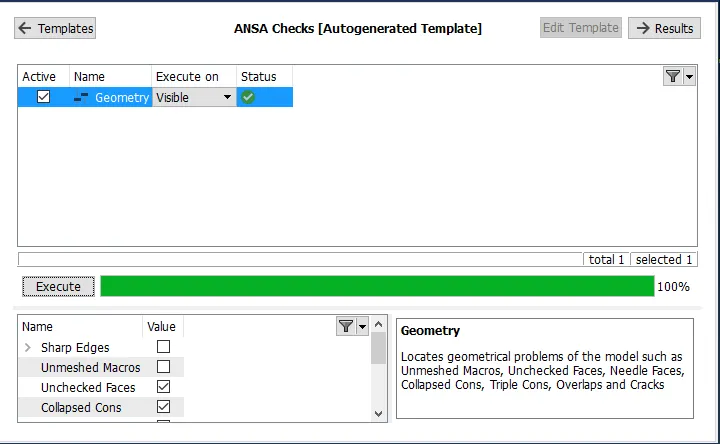
1. we analyse the model i.e the model is having some errors or not, then we go for the geometry error where we got the error of the model like unchecked faces ,needle face,triple cons etc. The below image shows the error occured in the given model.
For Removal of such error we go with the auto fix option to clear that issues, some of the issues resolved automatically (i.e minor issues) and rest can be resolved manually.
Geometry Error:
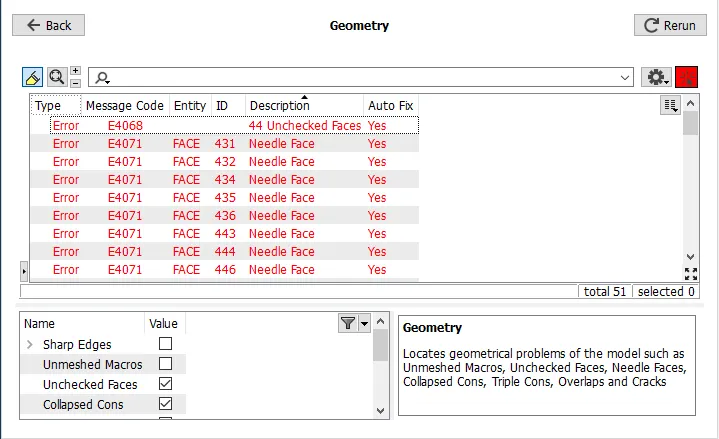
After Removal of all the errors we have to go for the geometry cleanup,If all the errors are resolved then in the geometry cleanup our execution is 100%. After the successful execution we have to go with the mid surface to obtained the mesh flow. The below figure shows the removal of error interface.
Removal of Error's:
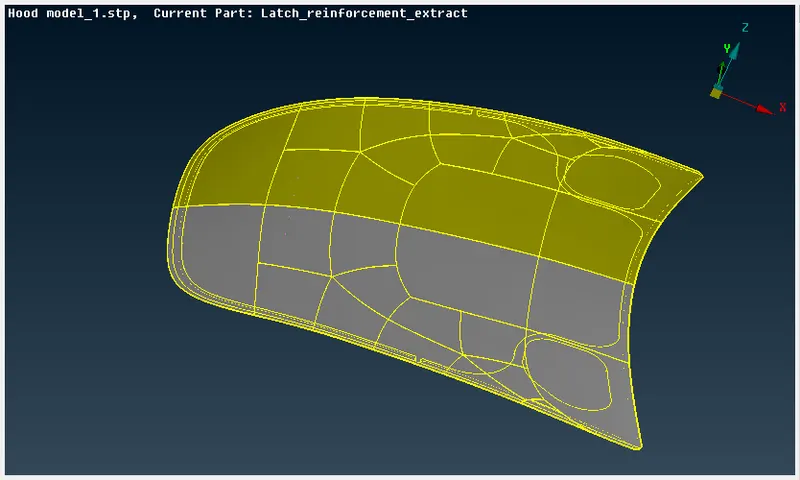
After Geometry Cleanup the below image shows given model look like, In the below image we have to follow some procedure like, we have to remove some of the cons (Double or Tripple Cons) such that the surface of the model is converted into rectangular/square shape so the we obtained the better form of mesh i.e structured mesh.
Geometrical Cleanup:
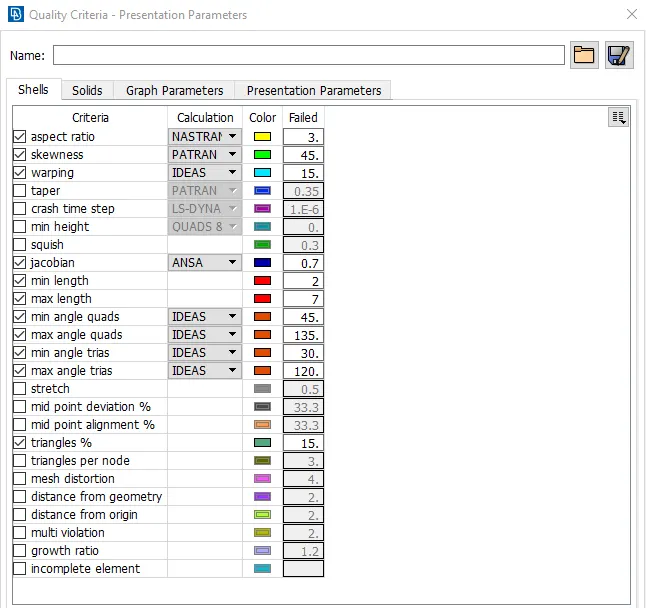
To obtained the better Mesh flow the following quality criteria we have to follow,Such that the mesh element obtained is within the quality range and get the average element size, We Mesh the model in such way that we get an linear mesh flow and elements are not failed to obtain quality perameters.
The following image shows the perameters comes under quality criteria:
Quality Criteria:
To Mesh the model we have to go with best Mesh to obtained good quality mesh,If some of the elements is going to fail and not getting the desired quality perameters then we have to go with reconstruct option which includes the option like smooth,swap,reshape etc. to obtained the mesh in linear form with that to maximize the quad elements and minimize the tria elements.
The hood model consist of Complex shapes and features, first we have to Analyze the models and removes the cuts to obatined the good quality mesh and elements are not going fail.again and again we have perform to perform the same method to obtained the structued mesh.
To Mesh the model we have to analyze each part separately and mesh them accordingly.
After the meshing the model we have to check that our model is within the quality criteria or not,i.e No Off elements and tria percentage is below 15% which comes under quality criteria.
The completion of all the steps implies that the model ready then we have to assign the actual thickness of the model in the midsurface extraction such that we get our complete model.
Mid Surface extraction(Thickness Assign):