Week 3 - 2D meshing for sheet metal
AIM
To create a 2D mesh in the given hood model which is sheet metal.
PROCEDURE
Important steps to be followed in 2D meshing
GEOMETRY CLEAN UP
MIDSURFACE EXTRACTION
2D MESHING
QUALITY CHECK-UP
- GEOMETRY CLEAN UP
Open ANSA software
In the Main pull-down menu
Go to File→Open →import a CAD model(which is a .stp file)
Go to Tools→checks→geometry →execute to find the error
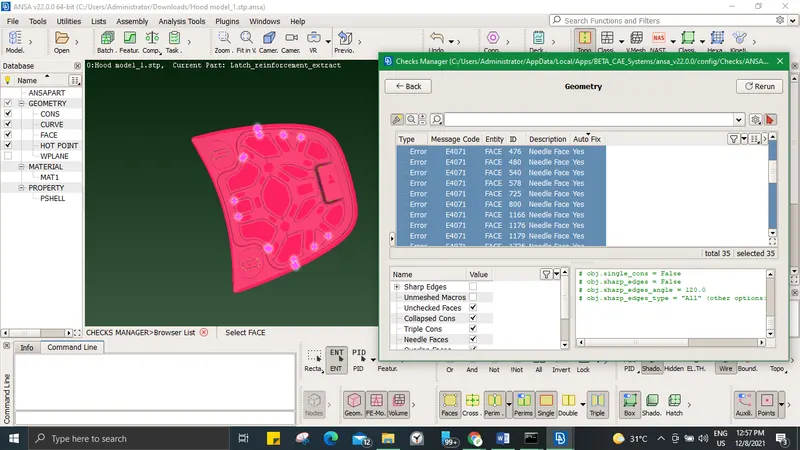
Model before geometry clean up
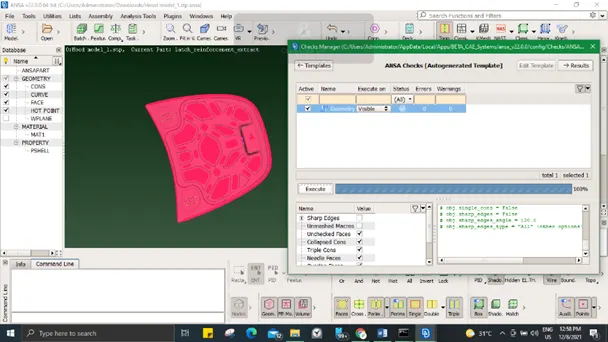
The above image shows the model after the Geometry clean up
After geometry clean up
This model has four components as an inner extract, outer extract, latch and hinge
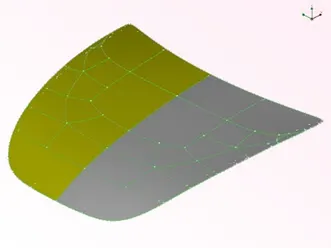
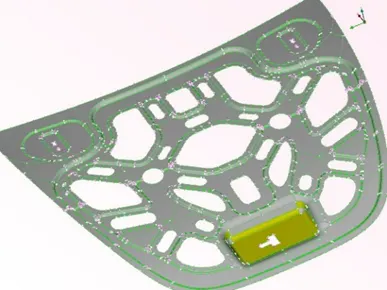
The inner and outer extract has a thickness of 0.75mm
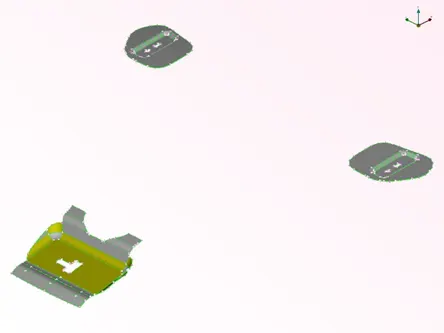
The latch and hinge has a thickness of 1.2 mm
Go to FOCUS menu →lock →store lock to separate components to make easier mid surface extraction
- MIDSURFACE EXTRACTION
Go to topo in module toolbar → 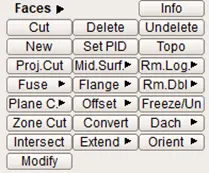 →mid surface→ select faces to take mid surface
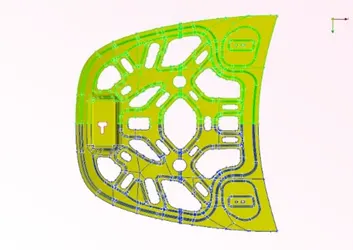
TOPO→Faces→RM.dbl is used to check the symmetry of a component
MESHING
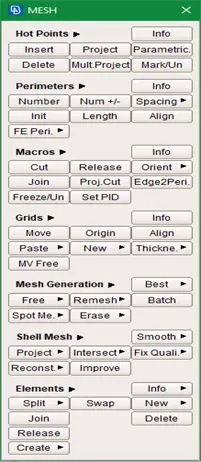
Select classic mesh in the toolbar and choose mesh tools from the module
Given quality criteria
|
S.No |
Quality Criteria |
Value |
|
1 |
Target/Average length |
5 |
|
2 |
Minimum Length |
2 |
|
3 |
Maximum Length |
7 |
|
4 |
Aspect |
3 |
|
5 |
Warpage |
15 |
|
6 |
Skewness |
45 |
|
7 |
Jacobian |
0.7 |
|
8 |
Minimum Quad Angle |
45 |
|
9 |
Maximum Quad Angle |
135 |
|
10 |
Minimum Tria Angle |
30 |
|
11 |
Maximum Tria Angle |
120 |
|
10 |
Tria Percentage |
15 |
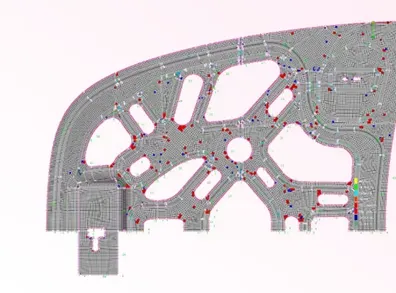
FE MODEL before quality correction
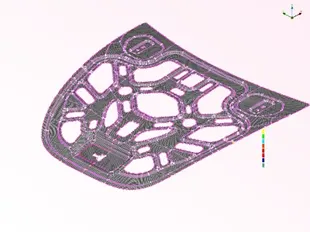
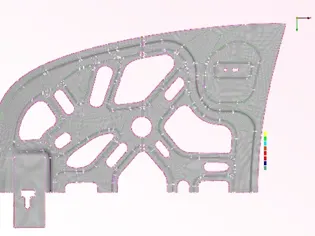
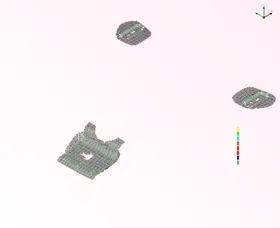
FE model after quality correction
As a final step
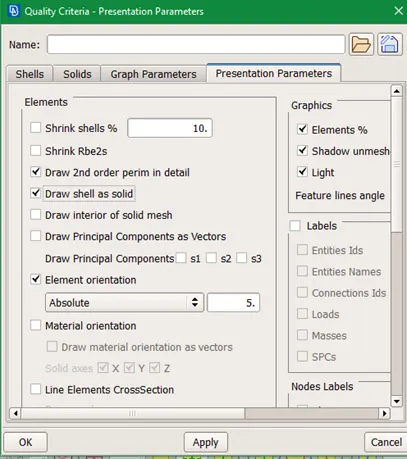
Go to quality criteria → presentation parameters → enable draw shell as solid
LEARNING OUTCOMES
During this 2D meshing, I get familiarized with tools used for geometry clean up and meshing.
Especially on focus, utilities, drawing styles, lists, shortcut keys, and controls in keyboard and mouse
How to assign quality for meshing and how to solve quality issues in meshing.
CONCLUSION
The hood model has been meshed under quality criteria.
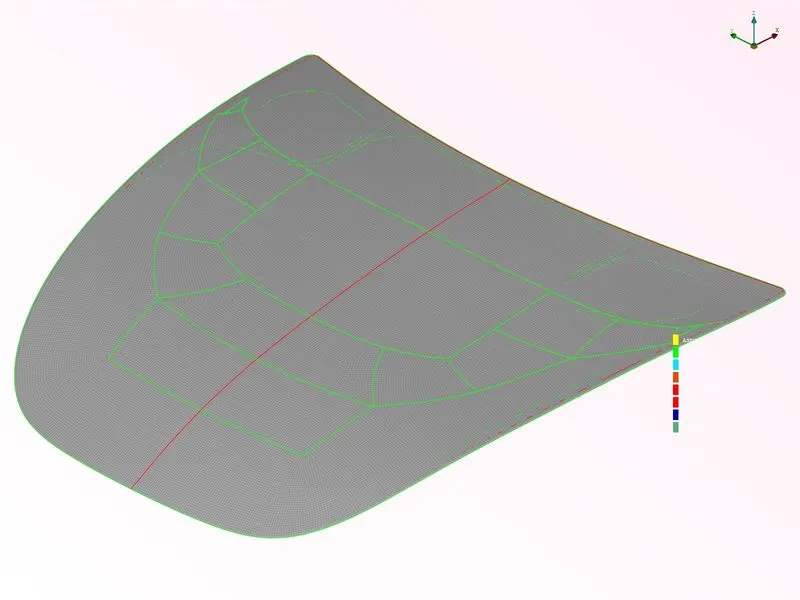
Isometric view of the meshed hood model.