Week 2 Challenge : Surface meshing on a Pressure valve
Aim: To perform Surface meshing on a Pressure valve with 3 different target lengths 1mm, 3mm, and 5mm as three different cases and experimental verification of optimum meshing length
Procedure:
- Any geometry has to be a closed volume to perform CFD analysis on it.
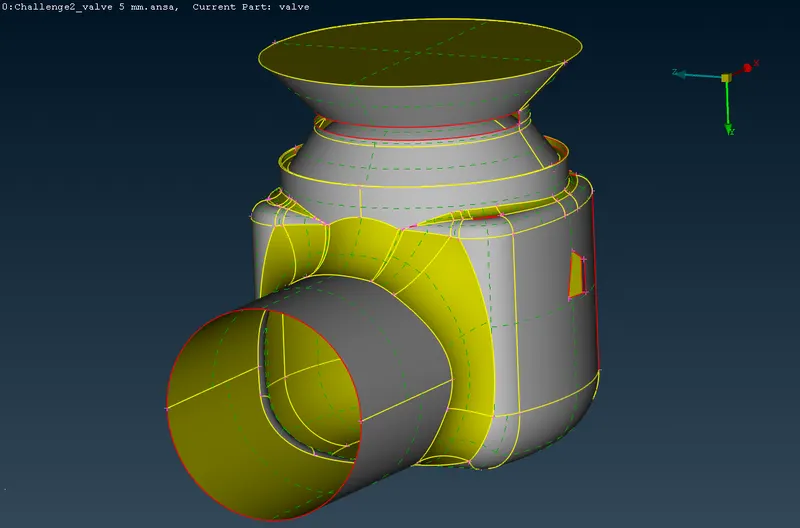
- Check Geometry: Before proceeding with meshing, it is important to ensure that the geometry is free from any errors or inconsistencies. In ANSA, you can visualize geometrical errors by inspecting the body in wireframe mode or by using the "checks -> geometry -> check single cons -> execute" command, which highlights errors in the model. Rectify these errors using the Topo clean-up functionality.
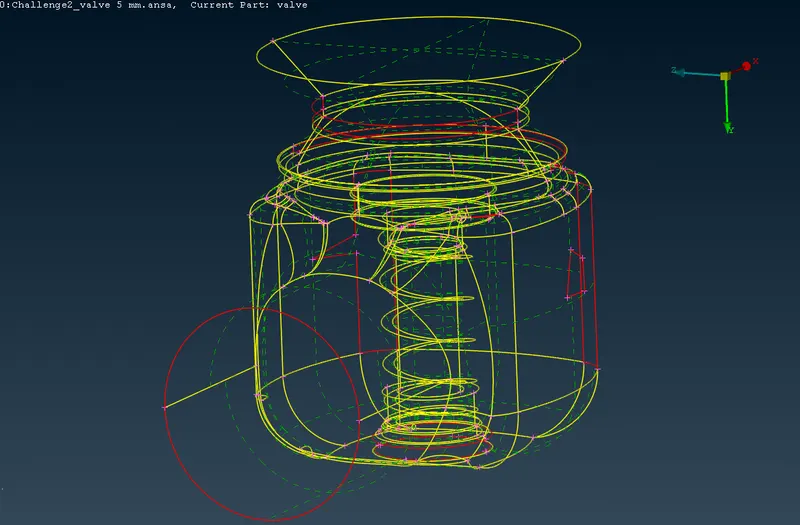
- This execution displays all the errors in the model which can be highlighted when the specific error is selected. These errors have to be rectified by Topo clean-up of the surface using the creation of new faces in the Topo deck.
- The type of faces you create (coons, planar, fitted, or existing surface) depends on the specific error. For faces with two unconnected single cons, you can follow a two-step process: a. Select parallel cons of similar length and apply coons or fitted to them. b. Fill the remaining surface using an appropriate method.
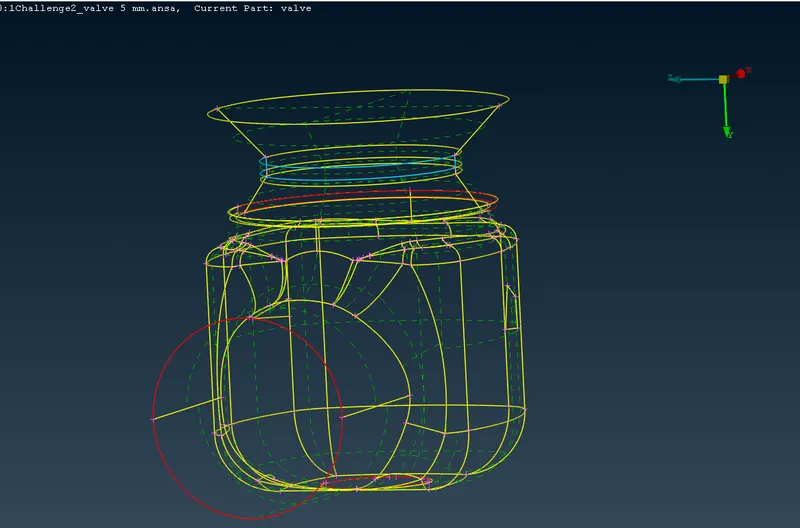
- Fill Triple Cons: Some faces may require filling with triple cons, which is not considered an error as the volume needs to be a closed entity. Fill these faces accordingly.
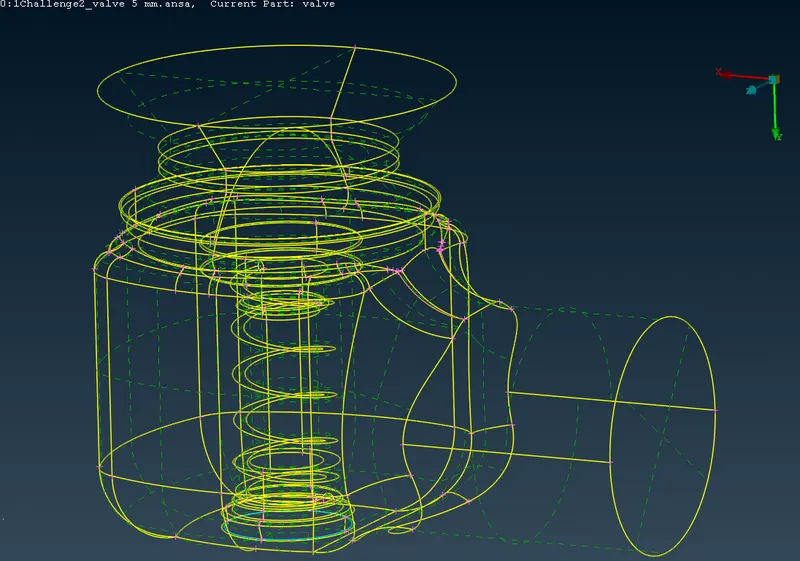
- Discretize and Assign Properties: Once the entire volume has been rectified for geometrical errors, the model needs to be discretized into individual parts and assigned their respective properties. In ANSA, you can use the Properties tab to assign properties such as material, boundary conditions, and other relevant parameters to each entity. Different entities can be assigned different colors for visual distinction.
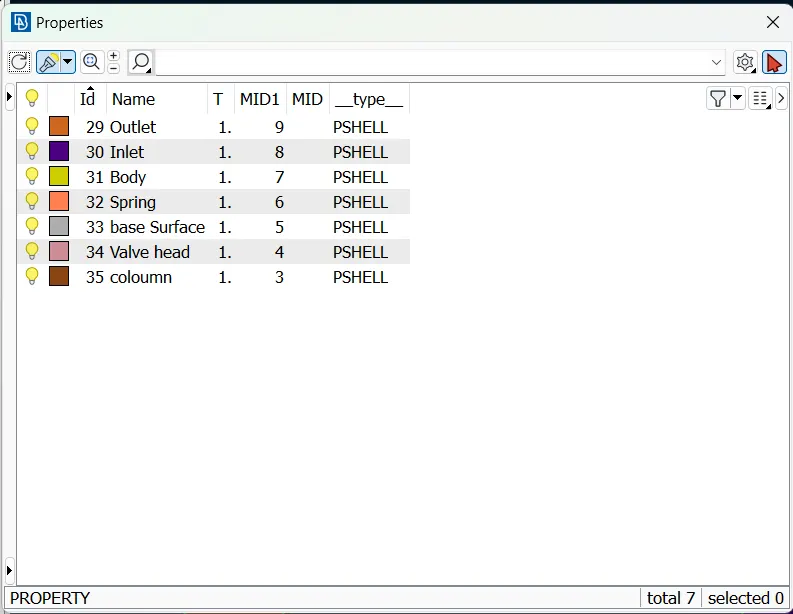
By following these steps, you can prepare the pressure valve model for surface meshing and assign the necessary properties for subsequent CFD analysis.
To assign mesh to the pressure valve model with three different target lengths (1mm, 3mm, and 5mm) using triangular elements (trias) and minimum and maximum limits of -2 to +2, we will follow the procedure below:
- Setting the Meshing Parameters: In ANSA, go to the Mesh deck and select "Length" in Perimeters. Set the sizes of macros and perimeters length according to the specific target length.
- In ANSA, go to the Mesh parameters menu. Set the Element Shape to "Tria" to specify triangular elements for the mesh and target length.
- Define the Meshing Range: In the quality criteria window. Set the minimum and maximum lengths for the meshing range to -2 and +2, respectively.
- Generate the Mesh: Once the target lengths are assigned to the surfaces, you can proceed to generate the mesh. Go to the Mesh deck and select "spot mesh" in Mesh Generation. Select the complete surface for which we have assigned target lengths.
- Review and Validate the Mesh: After the mesh generation is complete, review the mesh to ensure it meets your requirements. Check for element quality, mesh density, and adherence to the specified target lengths.
5mm Target Length
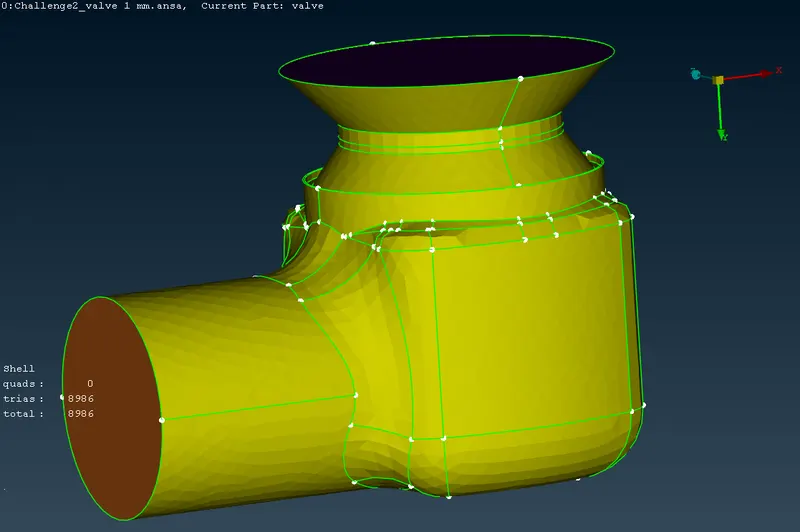
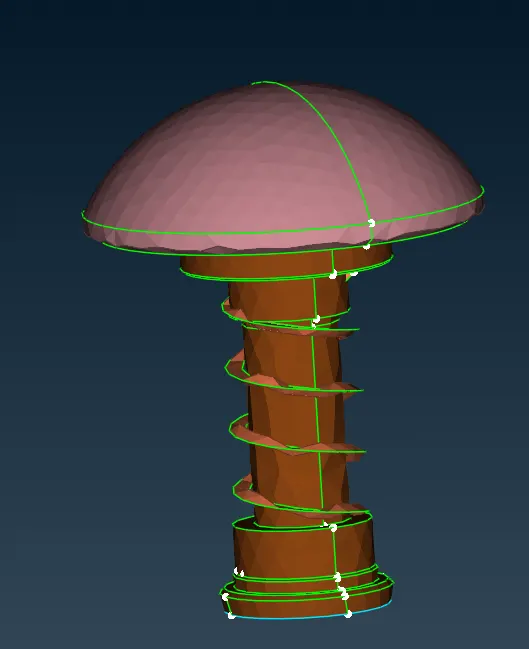
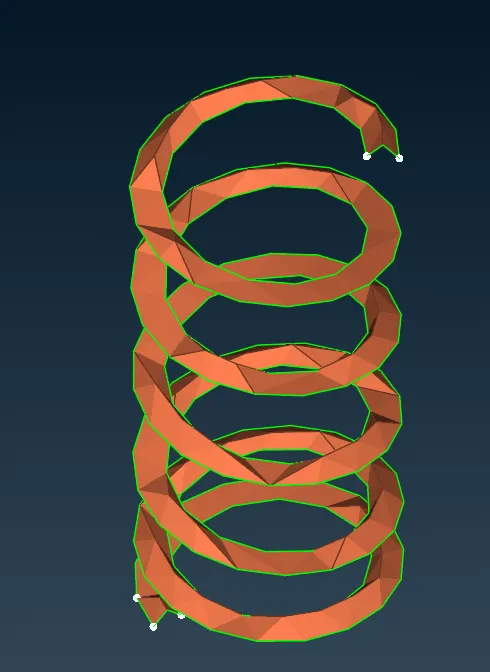
3mm Target Length
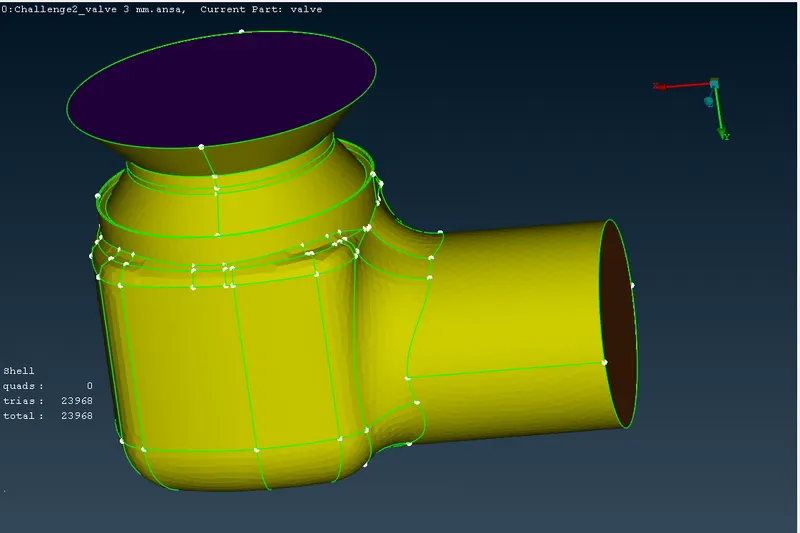
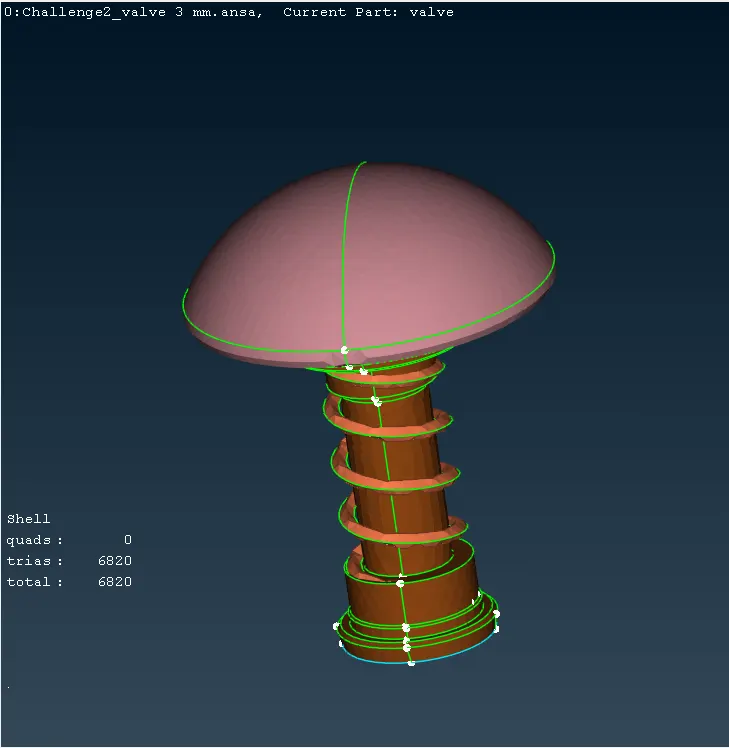
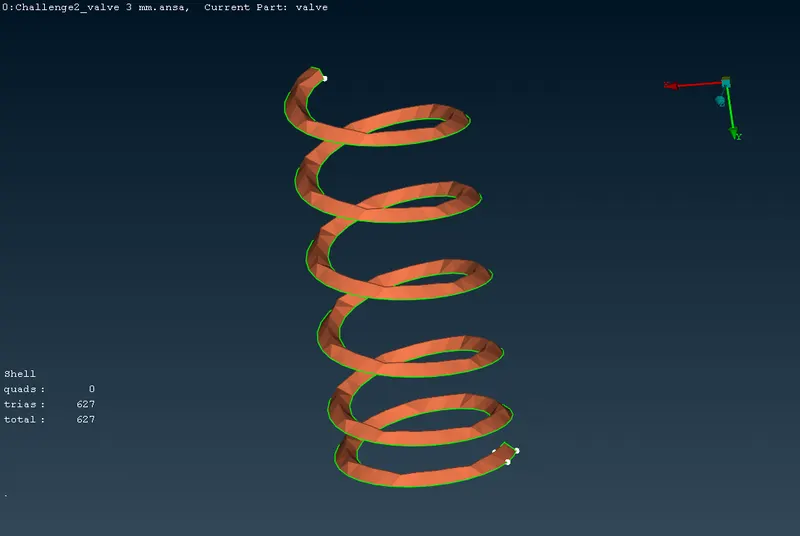
1mm Target Length
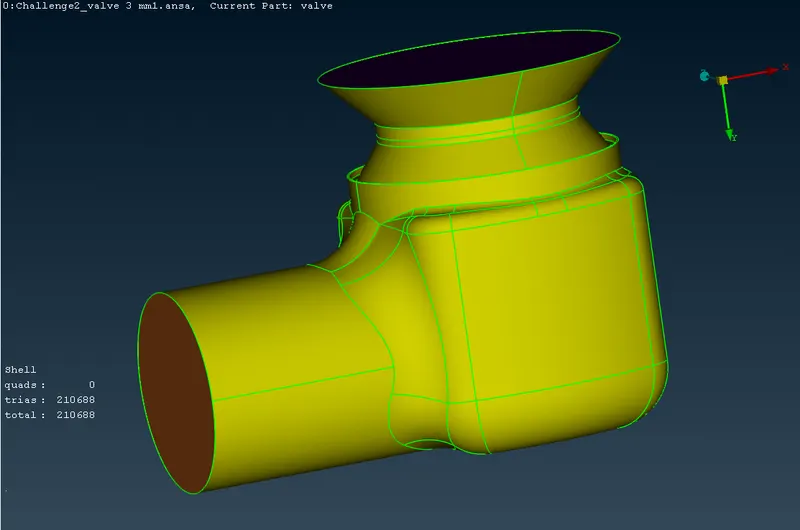
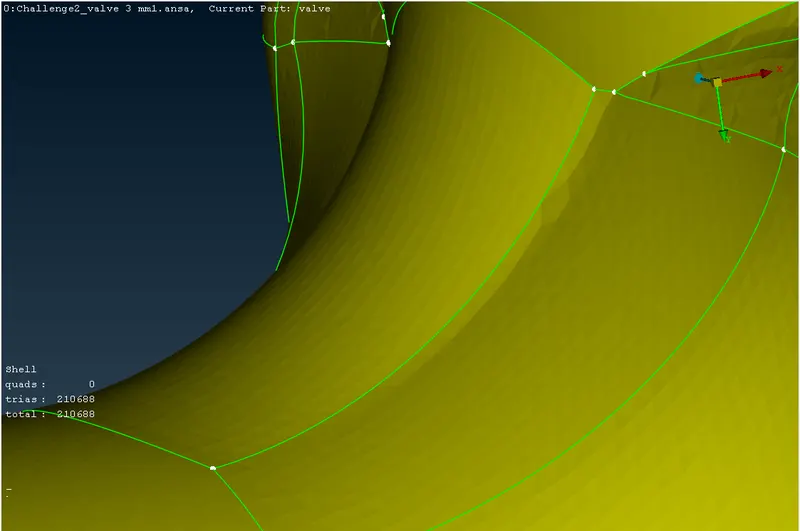
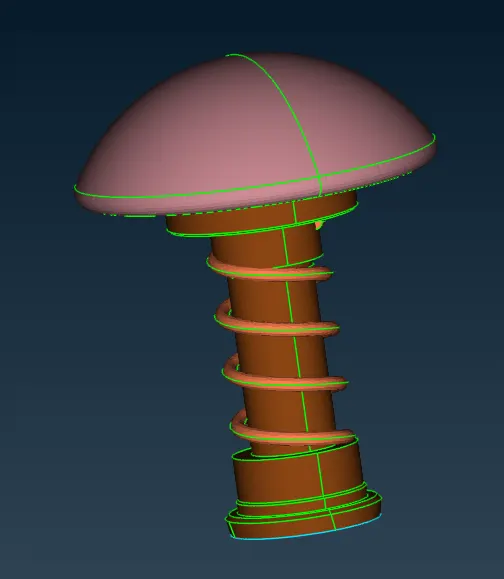
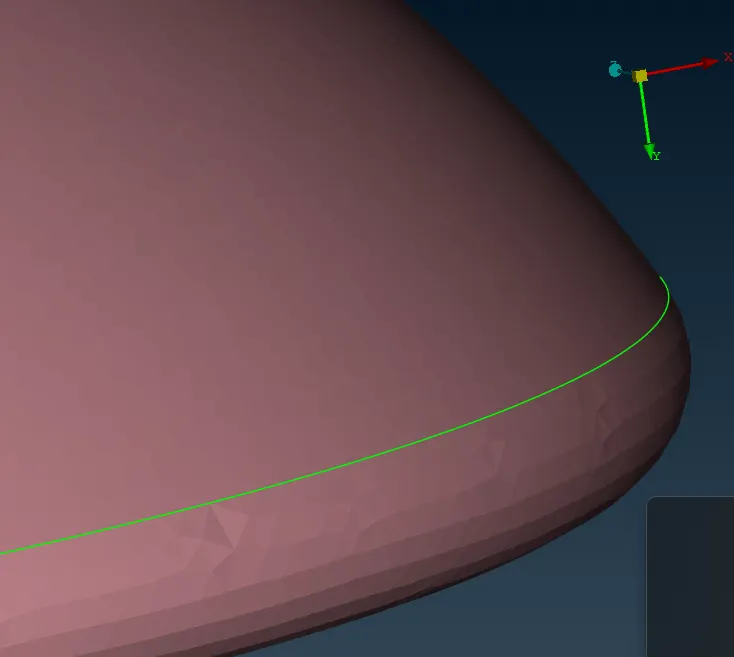
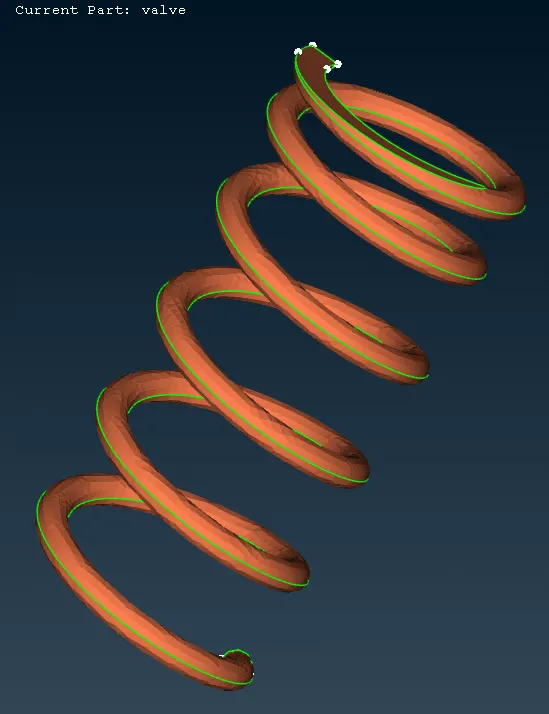
After meshing with different target lengths, we will gain the following learning outcomes:
- Understanding the trade-off between mesh resolution and computational cost.
- Evaluating mesh quality and its impact on solution accuracy.
- Optimizing time and resources by choosing appropriate target lengths.
- Refining the mesh iteratively to improve accuracy.
- Validating the mesh to ensure reliable results.
Result:
Meshing with larger target lengths may result in geometric disfigurements but reduces computational time. Smaller target lengths create denser meshes with more accuracy but increase processing time. It is important to strike a balance and validate the mesh for reliable results.
In summary, meshing with different target lengths allows for a trade-off between computational efficiency and accuracy. Using larger target lengths reduces processing time but may lead to distortions in the mesh and potentially less accurate results. On the other hand, smaller target lengths yield denser meshes that capture details more accurately but come at the cost of increased computational time. Striking a balance between these factors is crucial, and validating the mesh is essential to ensure reliable simulation outcomes. Ultimately, this understanding of the impact of target lengths on the meshing process helps optimize the trade-off between efficiency and accuracy in CFD analyses.