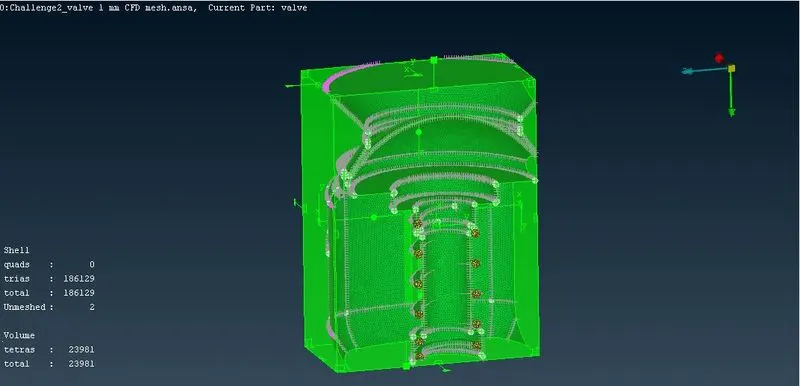
Week 2 Challenge : Surface meshing on a Pressure valve
Aim :
To do geometry cleanup on a pressure valve and to do surface meshing using three target lengths with triangular elements.
Case(i) Target length 1mm with triangular element
Case(ii) Target length 3mm with triangular element
Case(iii) Target length 5mm with triangular element
Procedure :
In the given model, first we need to cleanup the topological geometry model i.e, surfaces(Faces) which are being missed out.
For geometry cleanup, Select Under Modules-> Topo -> Faces -> New
A below tab appears and asks for the surface type to be selected,
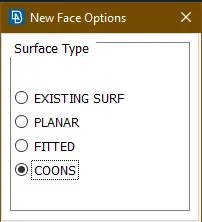
Select "COONS" option and then select the boundary lines of missing faces.
If there is a missing surface with irregular patterns i.e, hatches on the boundary lines of the existing
surfaces
Then, Select "Fitted" option and select the boundary lines of missing faces and click 'OK'
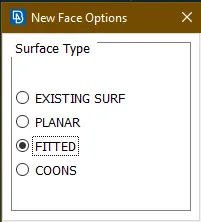
Below are the steps involved in identifying topological errrors and cleaning up the geometry wherever is required.
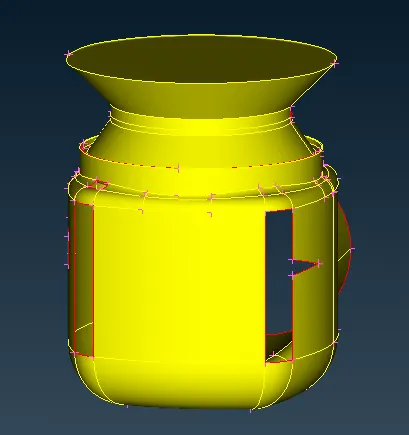
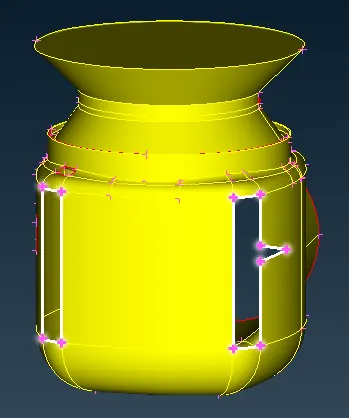
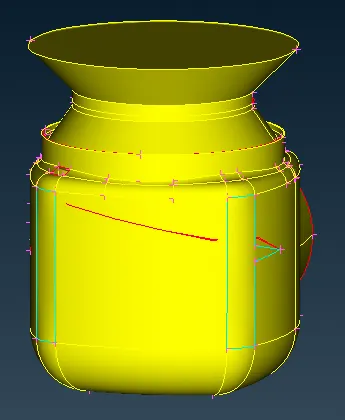
Step 1: Identifying topological Step 2 : Creating Faces Step 3 : Cleaning up the
errors entire geometry
After cleaning up the geometry, we need to do geometry checks for finding out an error or warnings.
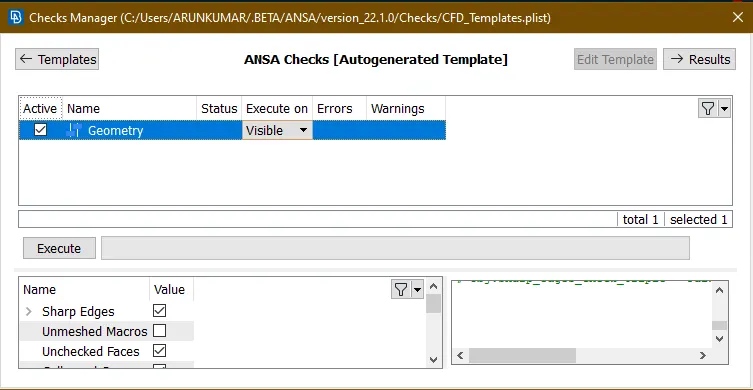
Go to Tools -> Checks -> Geometry
A below 'Check manager' Tab appears and then click "Results" to see the geometrical errors.
For working on the geometry with inner componets , we can perform boolean operations to hide/show of an each entity. In this model, there is a spring and shaft assembled inside in it.
To perform topological cleanup in the inner parts, we can use "NOT" boolean option to eliminate the surfaces in the visible region.

After eliminating various surfaces or parts, we can now work on the spring and the shaft by creating new faces on the mssing region.
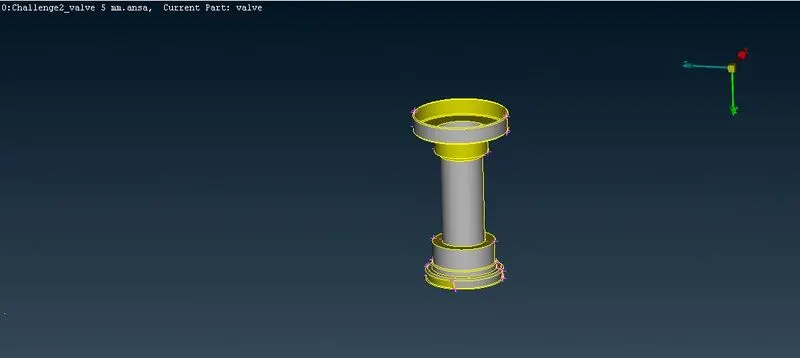
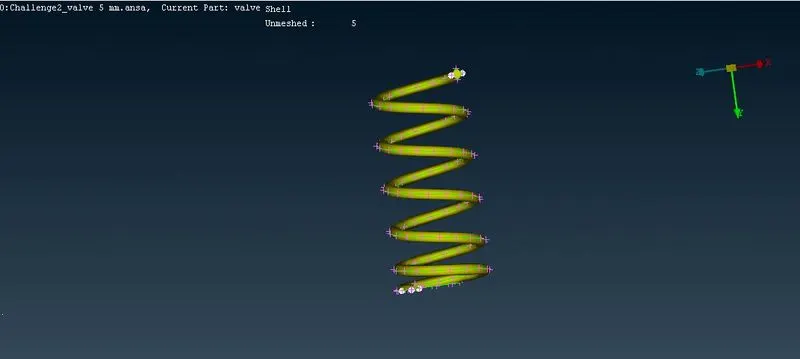
Before doing volumetric meshing on the spring, it is necessary to do surface meshing with the given three target lengths 5mm, 3mm and 1mm and tria elements respectively.
Case (i) For Target Length 5mm,
Select Under Modules-> Mesh-> Perimeters -> Length ->Enter 5 mm
and then select mesh parameters to set minimum and maximum target length as shown below,
When selecting Mesh Parameters, the below Tab appears
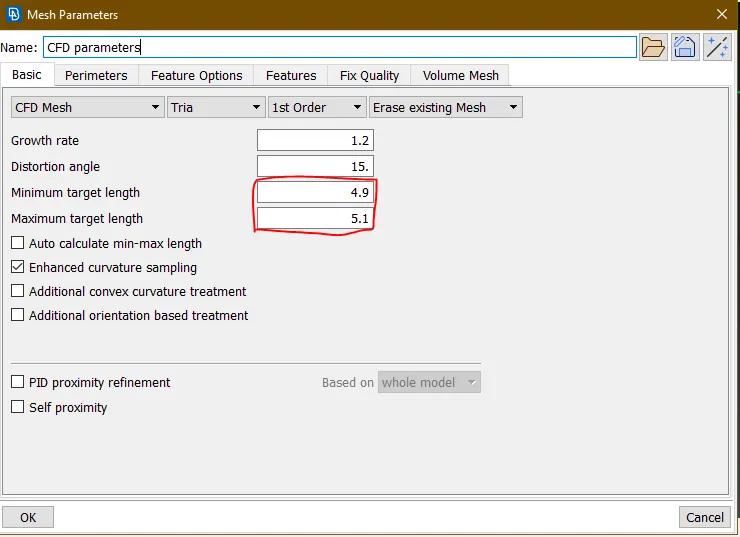
Then do CFD Mesh by Selecting under Modules->Mesh->Mesh Generation-CFD
and Click 'Ok'. The below image appears,
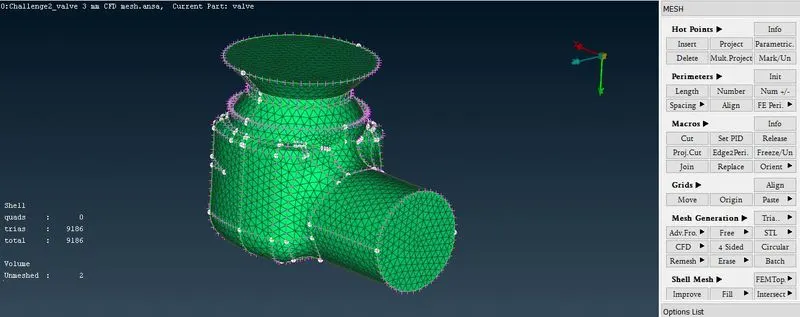
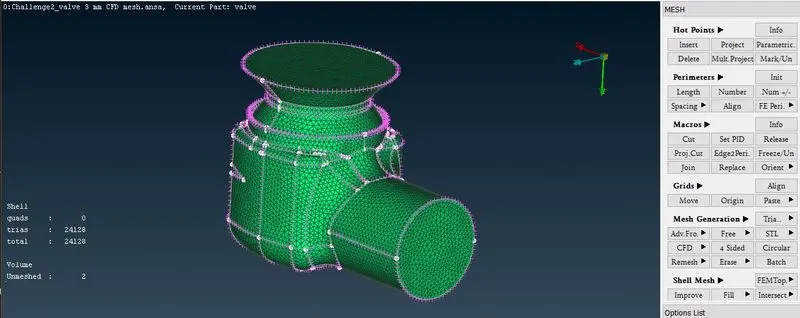
Case (ii) For Target Length 3mm,
Select Under Modules-> Mesh-> Perimeters -> Length ->Enter 3 mm
and then select mesh parameters to set minimum and maximum target length as shown below,
When selecting Mesh Parameters, the below Tab appears
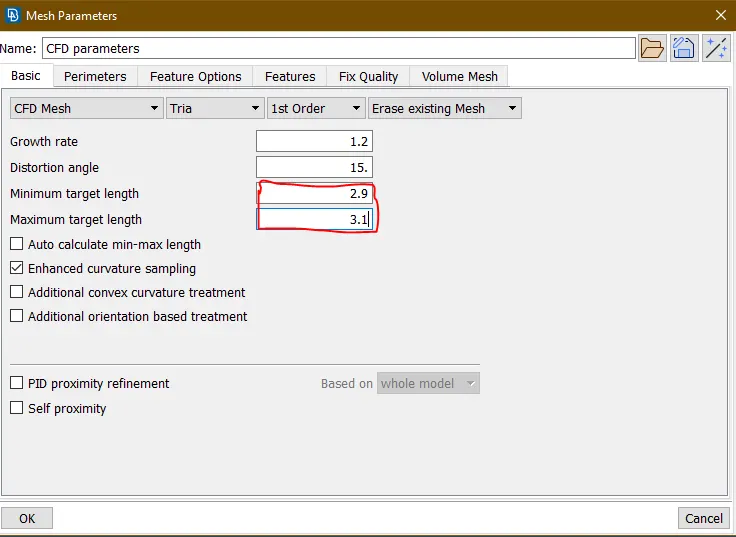
Then do CFD Mesh by Selecting under Modules->Mesh->Mesh Generation-CFD
and Click 'Ok'. The below image appears,
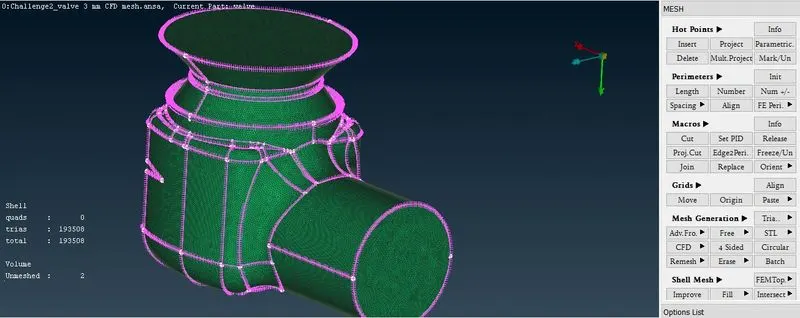
Case (iii) For Target Length 1mm,
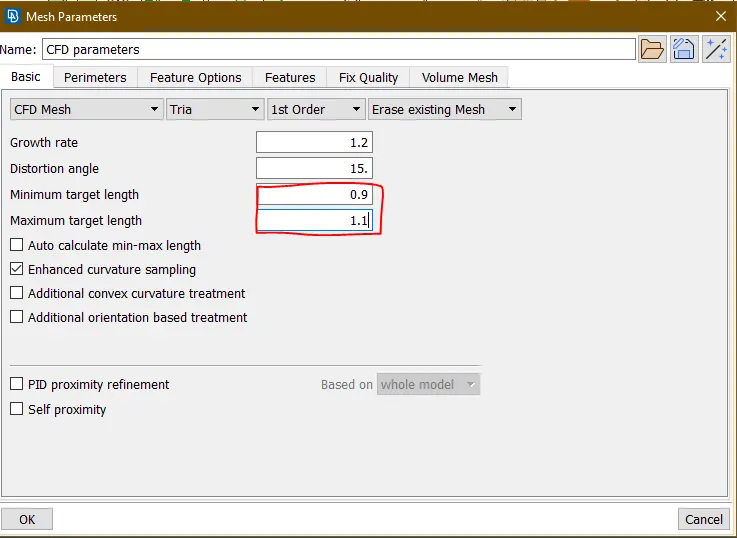
Select Under Modules-> Mesh-> Perimeters -> Length ->Enter 1 mm
and then select mesh parameters to set minimum and maximum target length as shown below,
When selecting Mesh Parameters, the below Tab appears
Then do CFD Mesh by Selecting under Modules->Mesh->Mesh Generation-CFD
and Click 'Ok'. The below image appears,
Learning Outcomes :
From the surfacing meshing of target length 1mm , it is clearly understood that there is a surface coverage of maximum area and the spring is meshed with triangular elements. For target lengths 5mm and 3mm , there is no surface coverage for surface meshing as well as for volumetric meshing with traingular elements. After setting minimum and maximum target length, the mesh itself constrained within the geometry and produced the below elements,
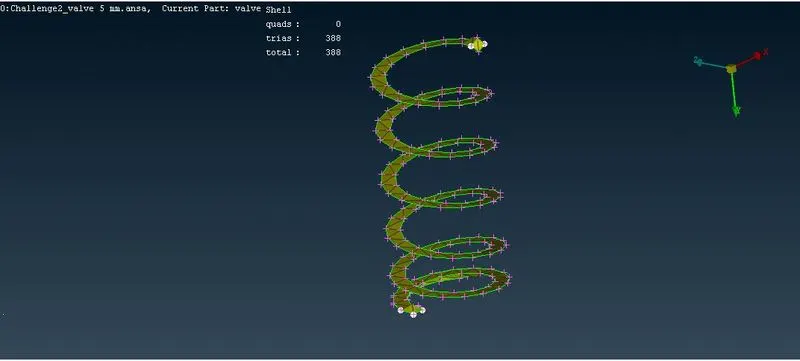
For 5mm target length, No. of tria elements generated = 9,186
For 3mm target length, No. of tria elements generated = 24,128
For 1mm target length, No. of tria elements generated = 1,93,508
Results :
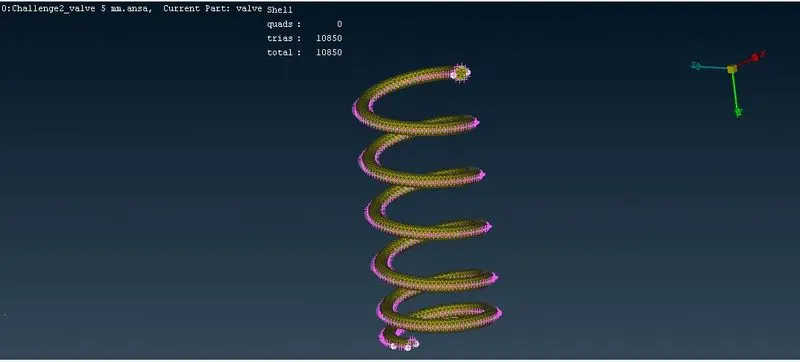
When surface meshing the pressure valve, a) 5mm target length covers only upper surfaces of the spring
b) 3mm target length covers partial volume of the spring without intersections
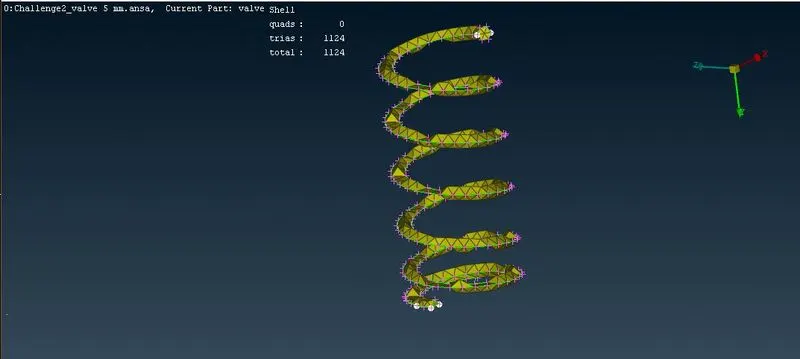
c) 1mm target length covers the whole geometry of the spring and it is fit for doing volumetric meshing
Conclusion :
Thus by selecting "target length of 1mm" for surface meshing, we can cover more smaller volumes and perform volumetric mesh without any errors or warnings.
A below image shows the cross section view of the surface mesh and volumetric mesh of a pressure valve.