Week 2 Challenge : Surface meshing on a Pressure valve
Aim: Check the geometrical errors and perform Topology cleanup for different target lengths and mesh the model of a Pressure value.
Software Used: ANSA Pre-Processor
CAD File:
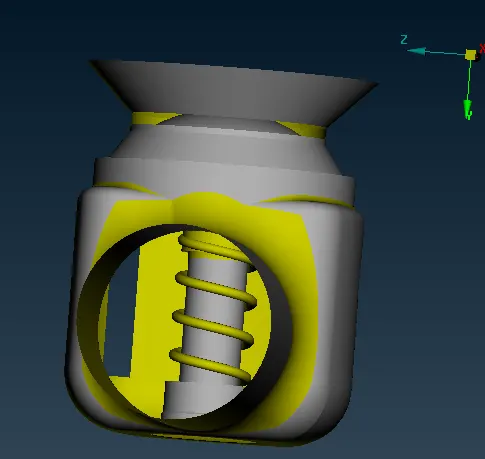
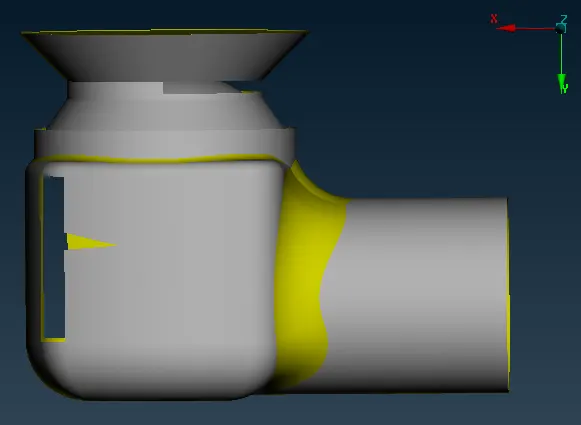
figure - 1
Geometry Clean-up:
Goto topo-faces-new-surface type- Existing surface-select single concs-right click- select face using cross hatches.
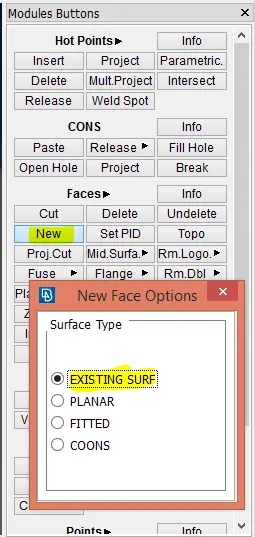
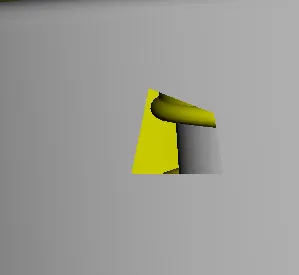
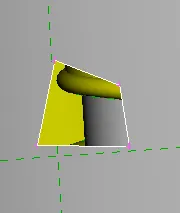
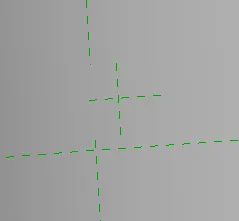
figure - 2
Goto topo-faces-new-surface type-coons-loop select-middle click- surface created
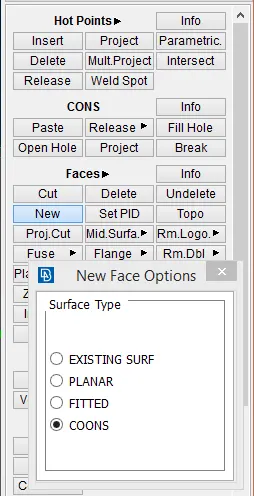

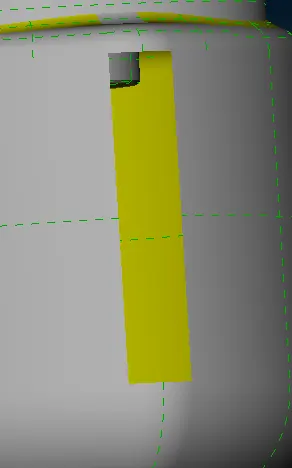
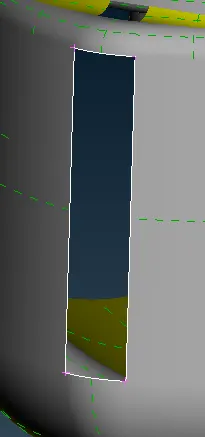
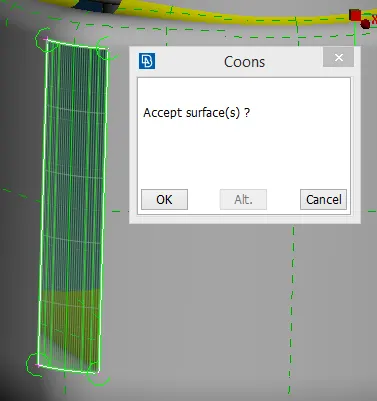
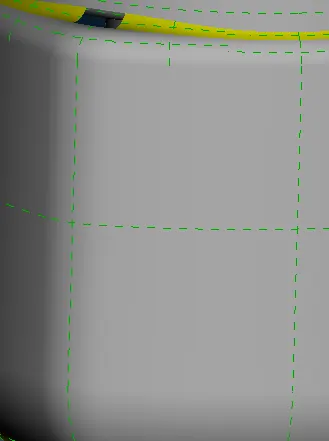
figure - 3
Goto topo-faces-new-surface type-fitted-loop select-middle click- surface created
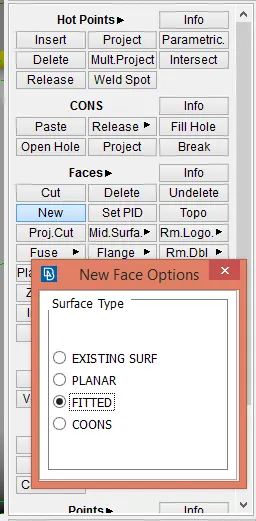
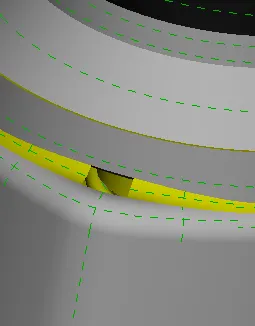
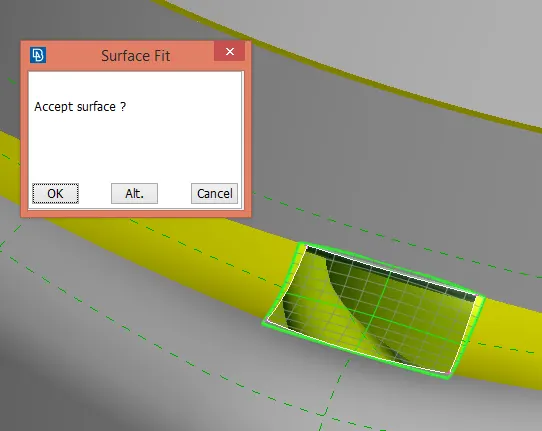
figure - 4
Use the cut tool under faces and use the right click to remove unnecessary cut lines or extra edges which are not needed in the model and might cause mesh errors.
Goto Topo - CONS - Hole -select hole - middle click
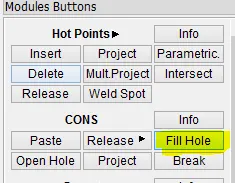
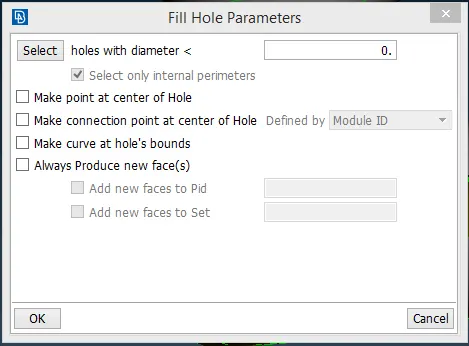
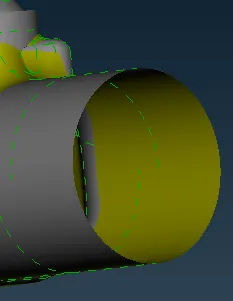
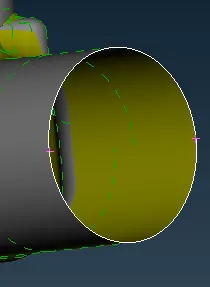
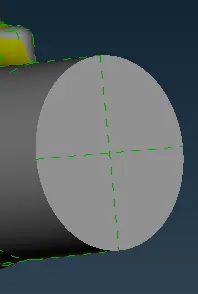
figure - 5
If you have circular surfaces in geometry clean up, dont directly selected the entire loop, it will not give the good surface.
Select half of the circular using coons - ENT then perform surface clean as shown in figure below.
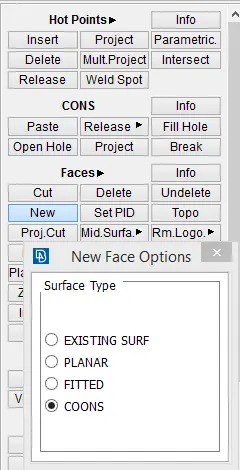
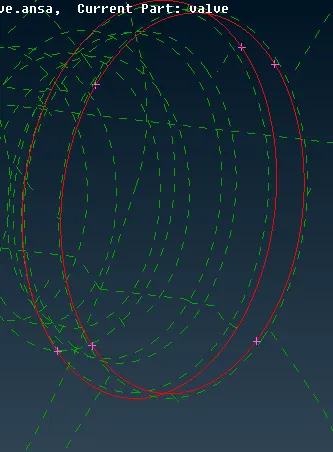
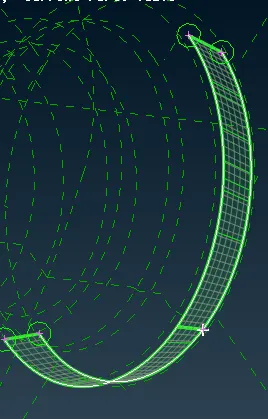
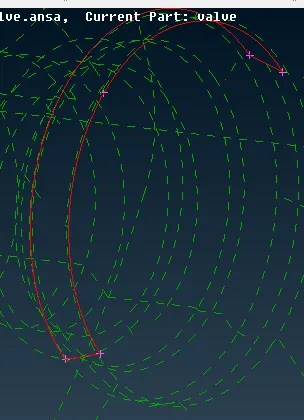
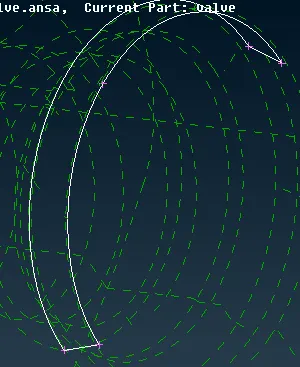
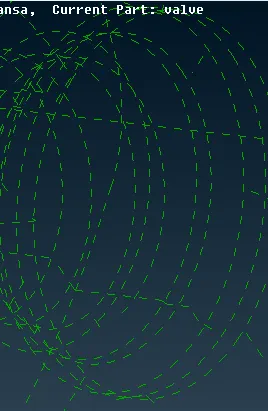
figure - 6
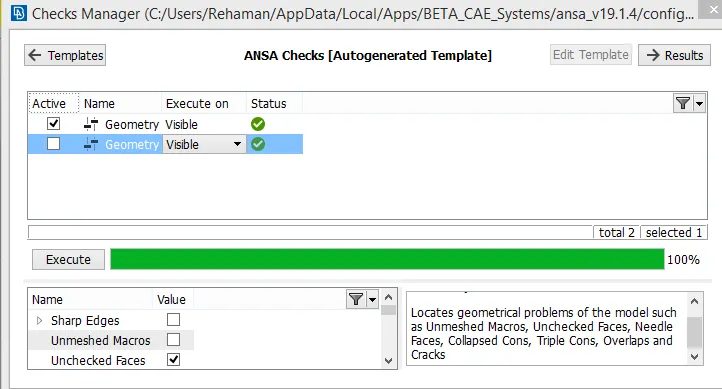
Go to geometry checks for any error is available in the geometry.
Goto script - checks -geometry -execute.
Checking single, double and triple coons in the geometry:
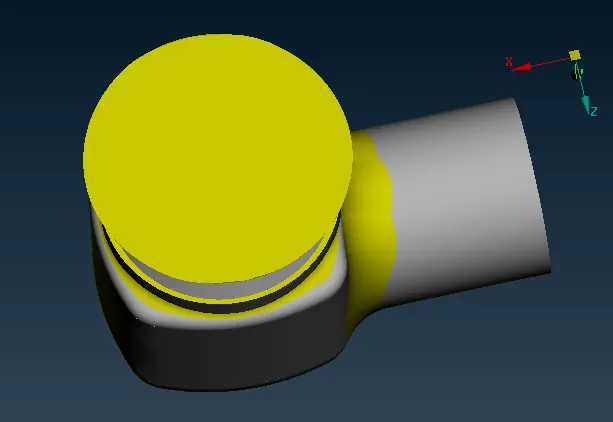
figure - 7
If any single coons are available in the geometry, it will show in red colour.
Currently in our geometry we clean all single coons.
Double coons:

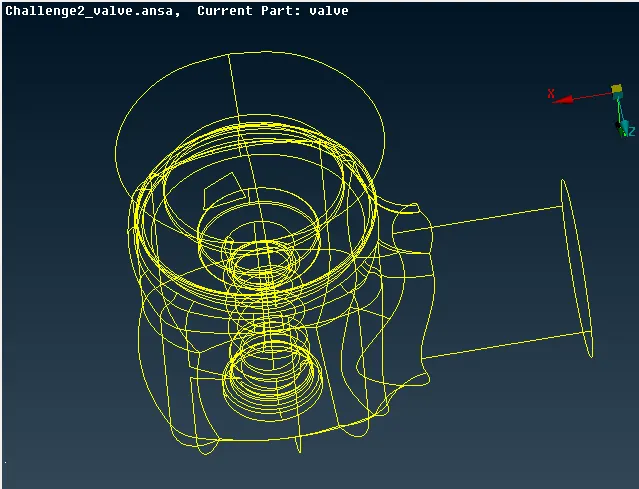
figure - 8
Triple coons:

figure - 9
PID's:
Enable PID, next go to properties for creating more PID's.
in properties window-right click - new - Pshell -Pshell
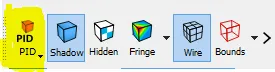
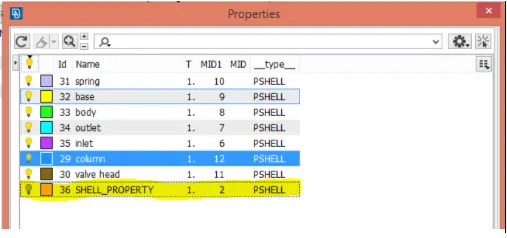
Make sure delete all unassigned PID in the properties box.
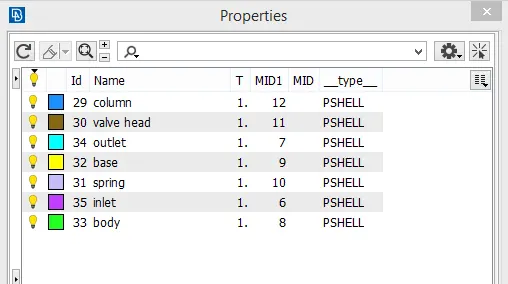
Assign the PID's to geometry
Select property - right click - Apply -select the cross hatches of the particular surface - click middle button.
Inlet and outlet:
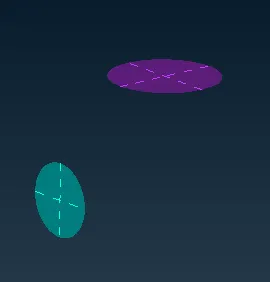
figure - 10
Body:
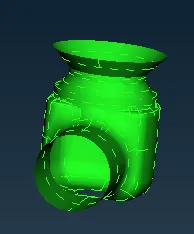
figure - 11
Base, valve head and Spring:
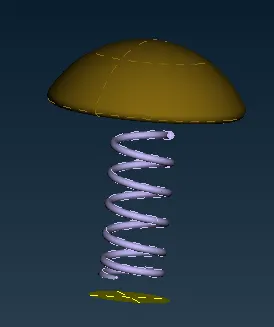
figure - 12
column:
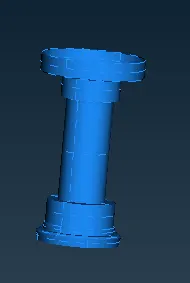
figure - 13
Meshing:
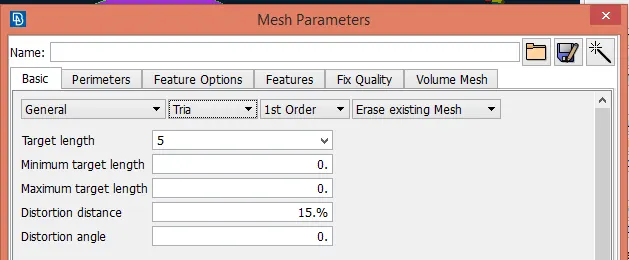
First go to mesh assign the Target length and Element type in mesh.
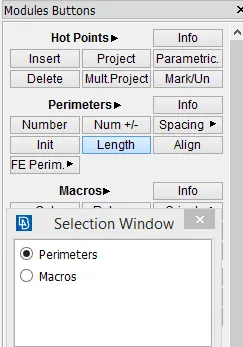
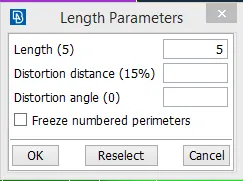
Similar select the Macros and given the target length as 5 mm.
Mesh Parameters:
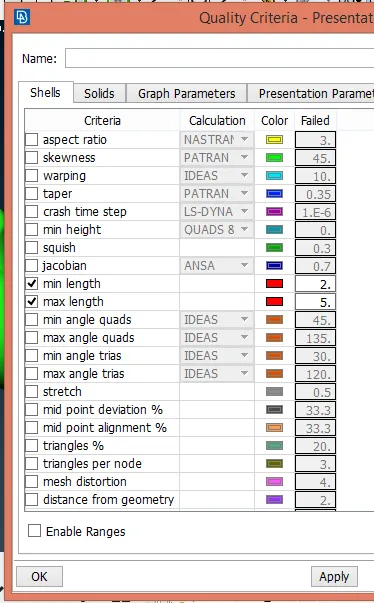
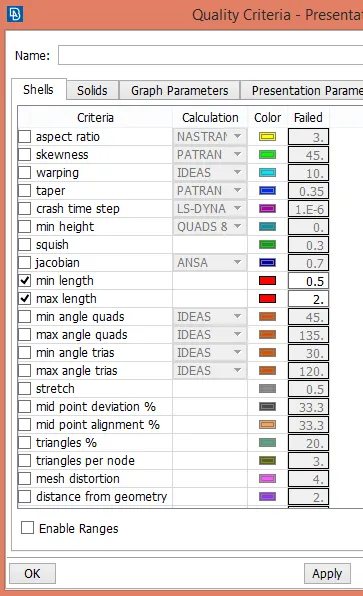
Quality criteria:
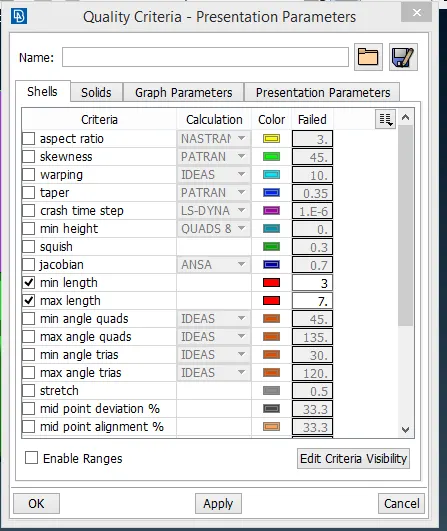
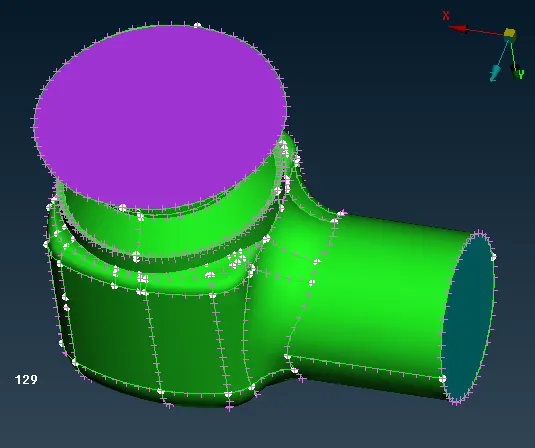
figure - 14
Case 3: Mesh Target length = 5mm, Element type = Tria
Inlet, outlet and Base:
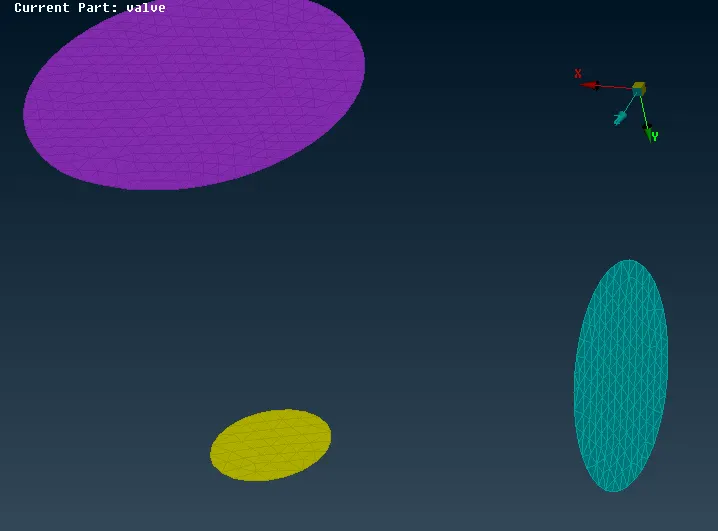
figure - 15
Body:
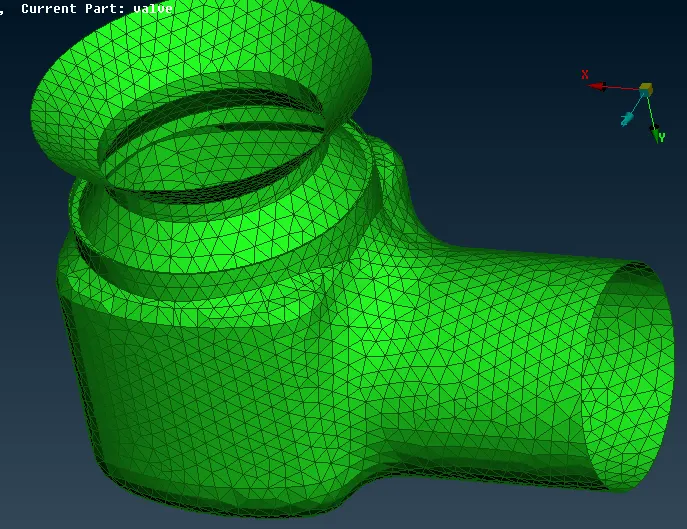
figure - 16
Valve head, Column, Spring:
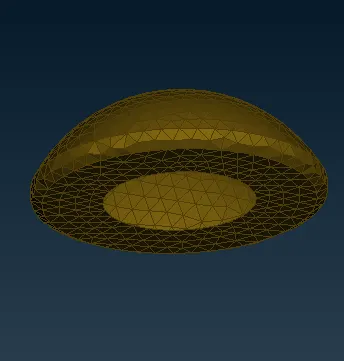
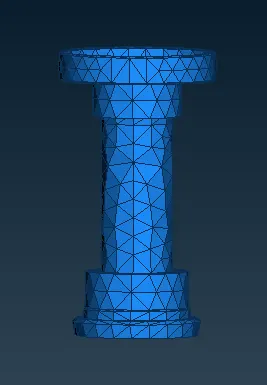
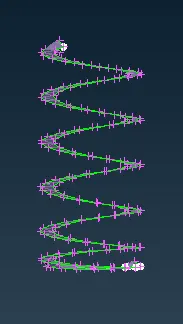
figure - 17
Case 2: Mesh Target length = 3mm, Element type = Tria
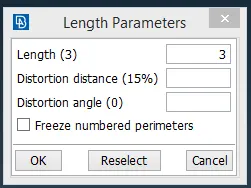
Similar select the Macros and given the target length as 3 mm.
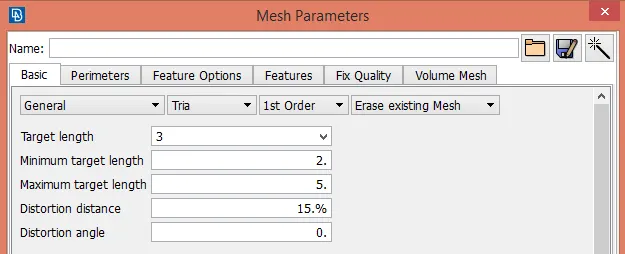
Mesh Parameters:
Inlet, outlet and Base:
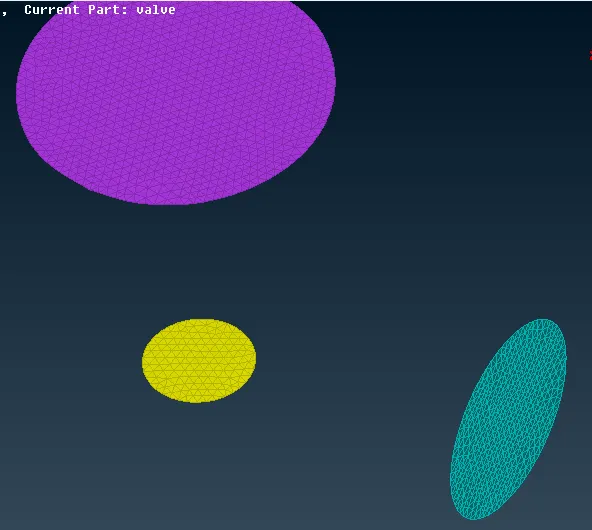
figure - 18
Body:
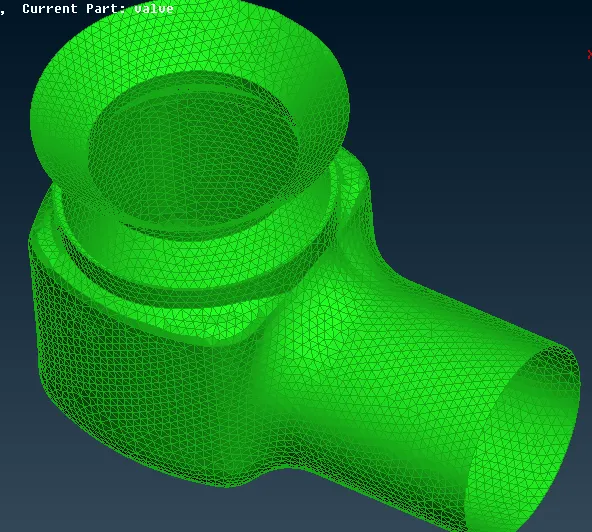
figure - 19
Valve head, Column, Spring:
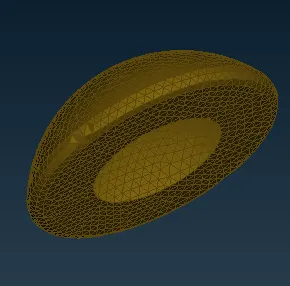
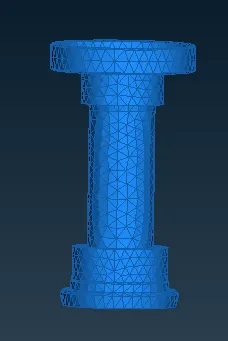
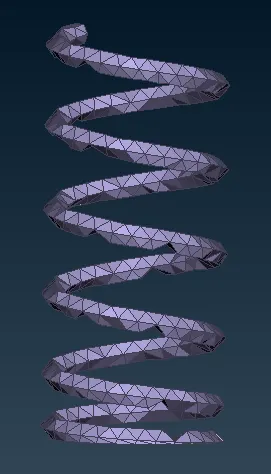
figure - 20
Case 3: Mesh Target length = 1mm, Element type = Tria
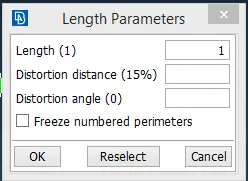
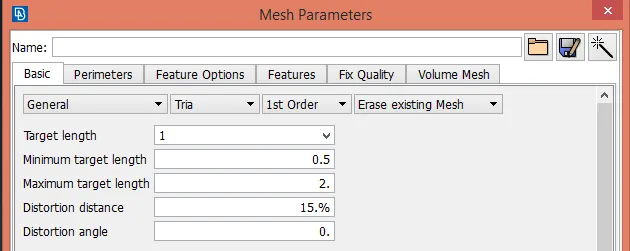
Similar select the Macros and given the target length as 1 mm.
Mesh Parameters:
Inlet, outlet and Base:
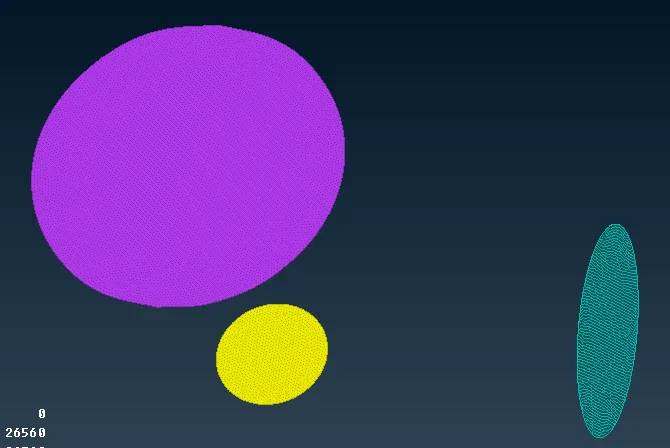
figure - 21
Body:
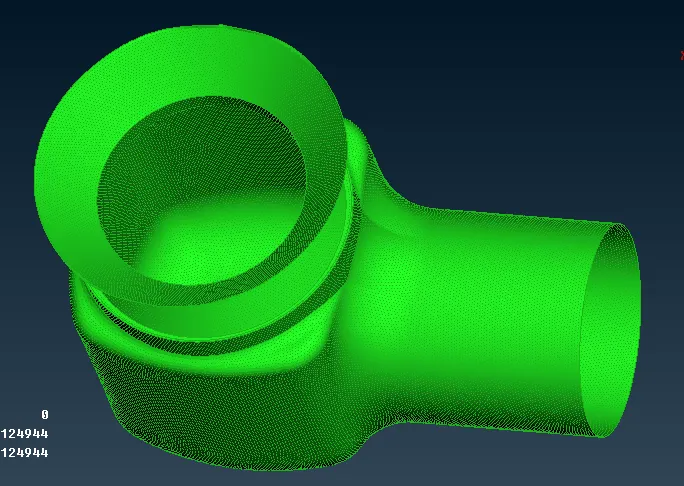
figure - 22
Valve head, Column, Spring:
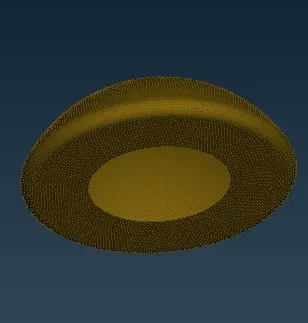
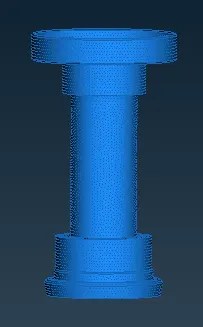
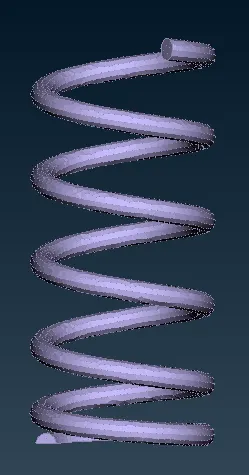
figure - 23
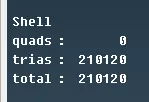
Comparing Meshing Process for different cases
:
Case1:
It can be observed that at the spring region and valve head, shape of the spring and valve head is changed.
Because the mesh length is greater than the dia of the spring and it causes the geometry to change and looks like a 2D surface rather than 3D surface. The mesh of the valve head also not capture very well.
So we have to assign the mesh lengths depending on the smallest region of the model.
Poor mesh will not give the accurate results. That will leads to fail the design.
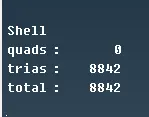
The total no of triangles is 8842, So simulation time will take less time.
Case2:
In case 2 we observed that, since the diameter of the spring is less than the mesh length or almost same as the mesh length.
In this case spring is not in original shape, but it looks like in 3D. so mesh refiniment is needed for better results.
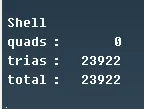
The total no of triangles is 239922. it will capture some what good results instead of case1.
Case3:
In case 3, mesh length is more refined and small, the geometry is more cleaner and shape of the spring maintained as original shape.
It will capture the accurate results in the simulation.
The total no of triangles is 210120. it will capture the mesh very good and predict the results accurately while performing the simulation.
Conclusions:
- Clean the Geometry errors using checks.
- PID can be used for selected the particular regions.
- PID helps to editing the meshing in the geometry.
- Smaller the mesh length, quality of the mesh should be better in the geometry.