Week 2 Challenge : Surface meshing on a Pressure valve
OBJECTIVE- To perform the surface meshing on pressure valve.
PROCEDURE- the objective is performed in following steps:
1. download the model from challenge section and import to ANSA software.
2.do the topology checks for the model. go to check bar and select geometry.
3. in geometry checkbar go to template and select ANSA checks.
4. tick the geometry which is needed to be checked.
5. execute it and see the errors.
6. single cone errors need to be solved . single cones can also be seen easily by turning off double cone, triple cone and cross-hatch. After then turn ON the wire frame.
7. single cones error can be solved by introducing new faces.
8. new face is created by selecting face tool.
9. new face can be created by 4 methods i.e. existing surface,coons, fitted and planer.
10. again cross check geometry after elimination of single coons.
11. this time it is showing triple coon as error but its just a warning and we can perform mesh.
12. remove lines which are very close to each other on surface.
13.create new PIDs through PID manager.
14. assign PIDs and apply it to geometry.
15. cross check if all geometry can has been assign PID.
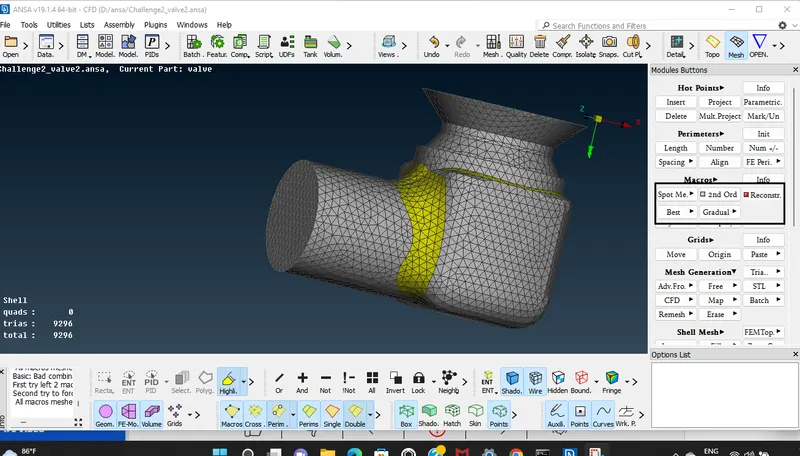
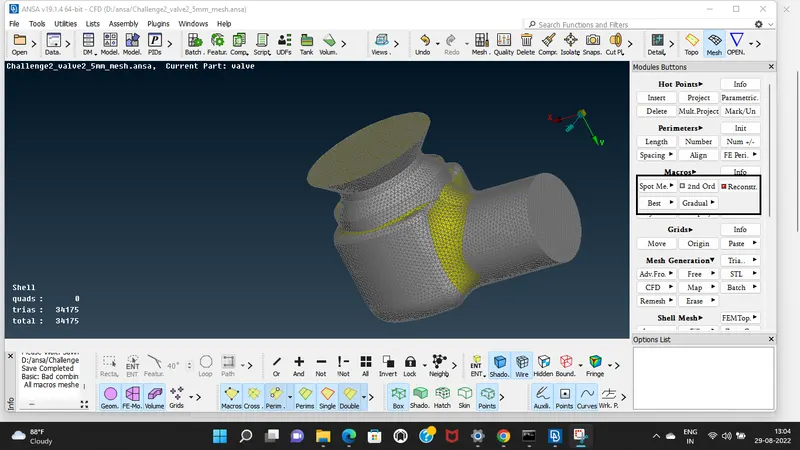
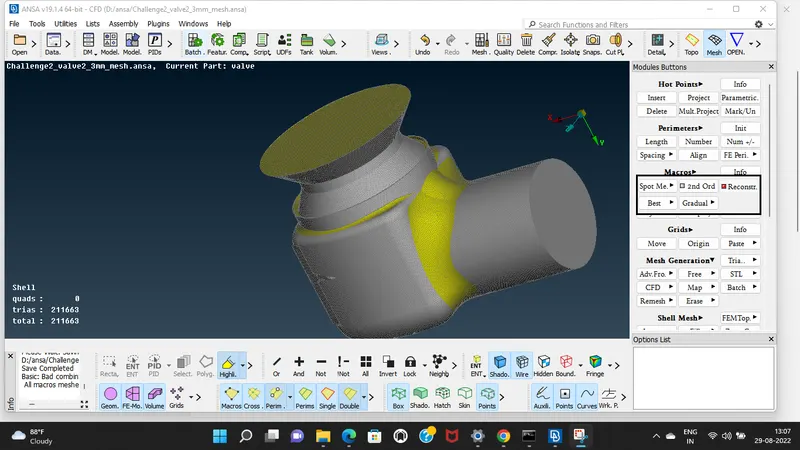
16. assign the mesh length of 5mm by selcting length tool in parameter section.
17. give mesh length to both perimeter and macros.
18. then go to mesh perimeter and mesh quality section to give min and max mesh length.
19. go to mesh generation and select spot mesh to execute meshing.
20. repeat step from 16 to 19 by giving the mesh length of 3mm and 1mm.
LEARNING OUTCOME- THE following points are learned:
1. topology checking and solving the errors.
2. create new PIDs through PID manager.
3. meshing the surfaces
RESULT- the surface meshing on pressure valve is performed. the mesh length with 1mm has best and efficient meshing.